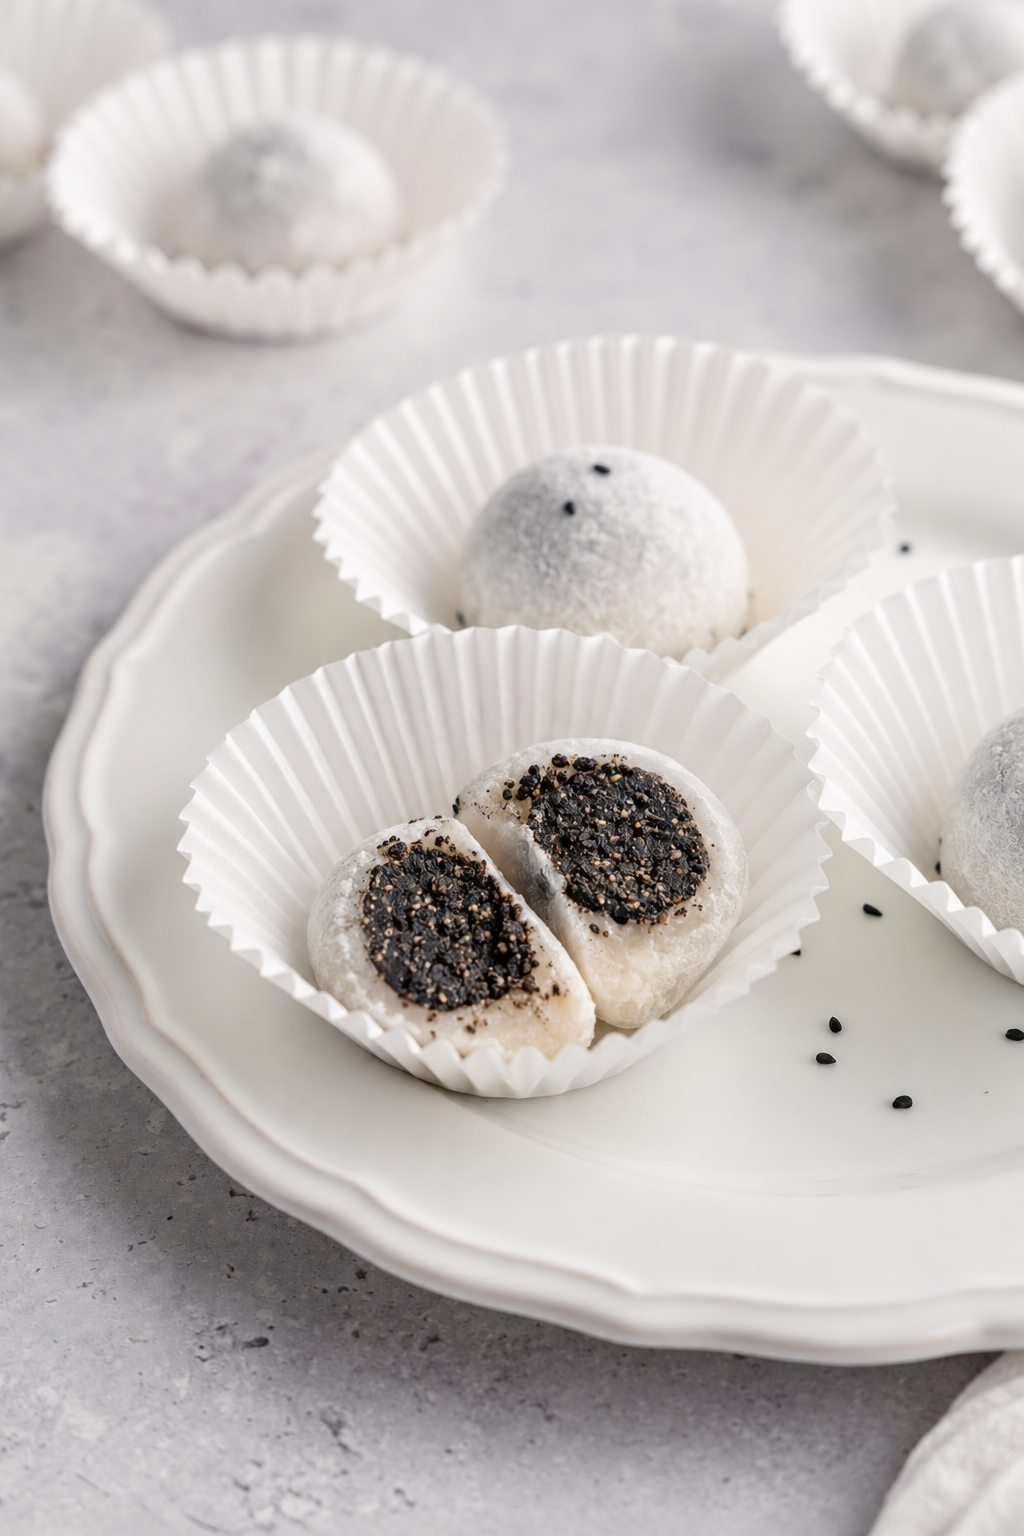
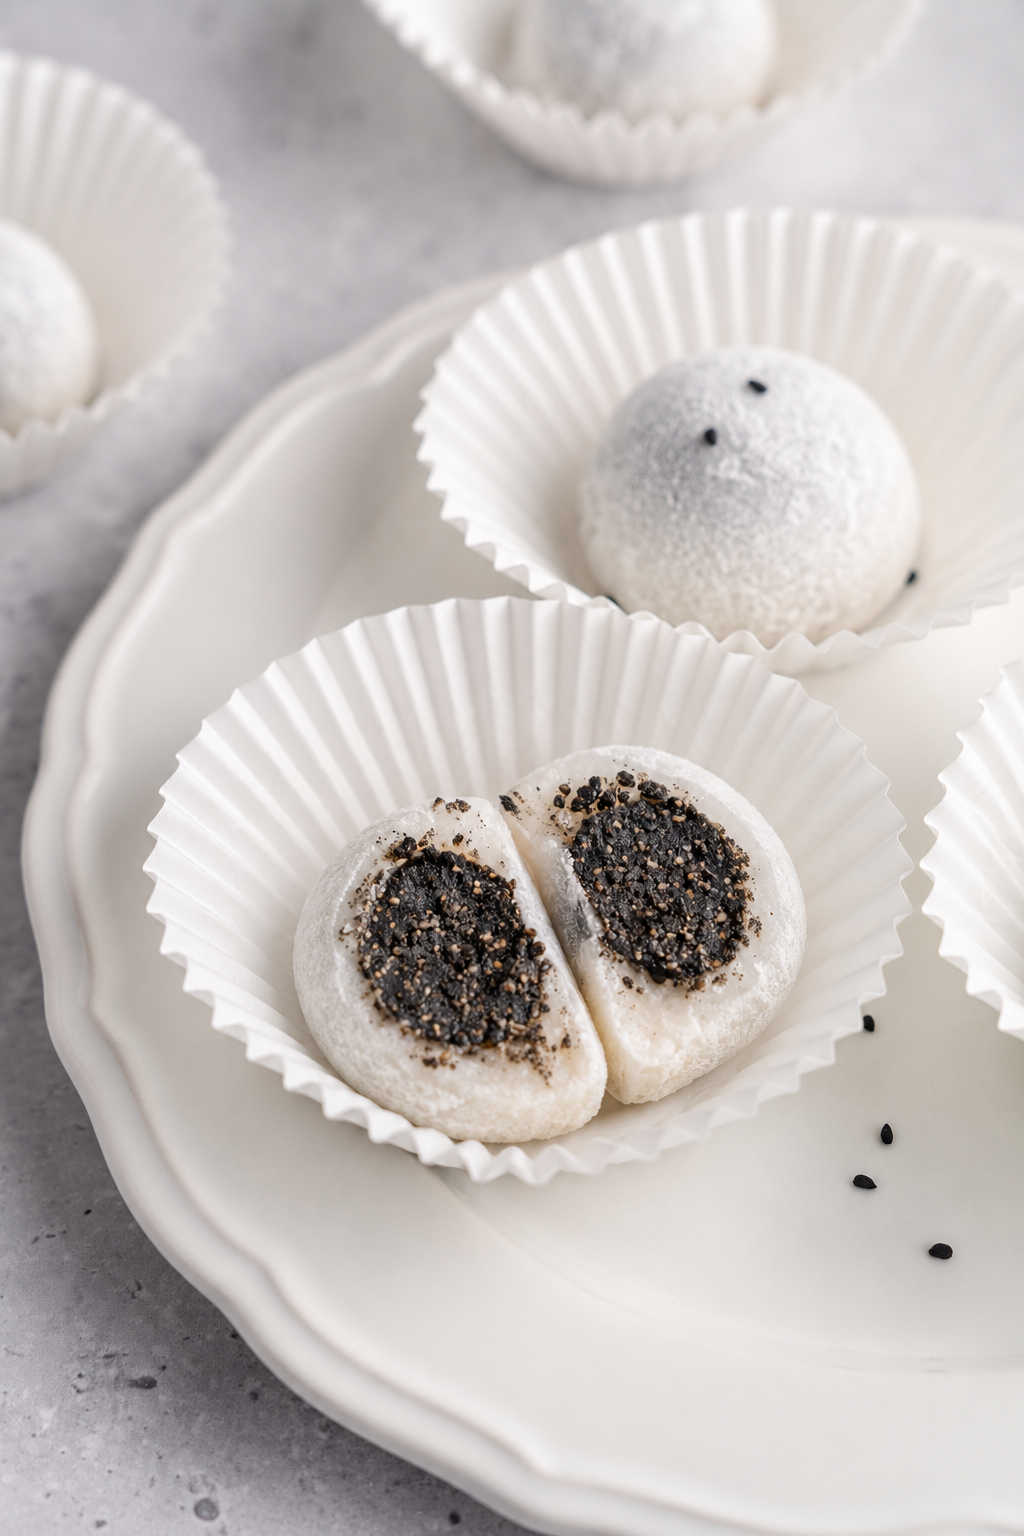
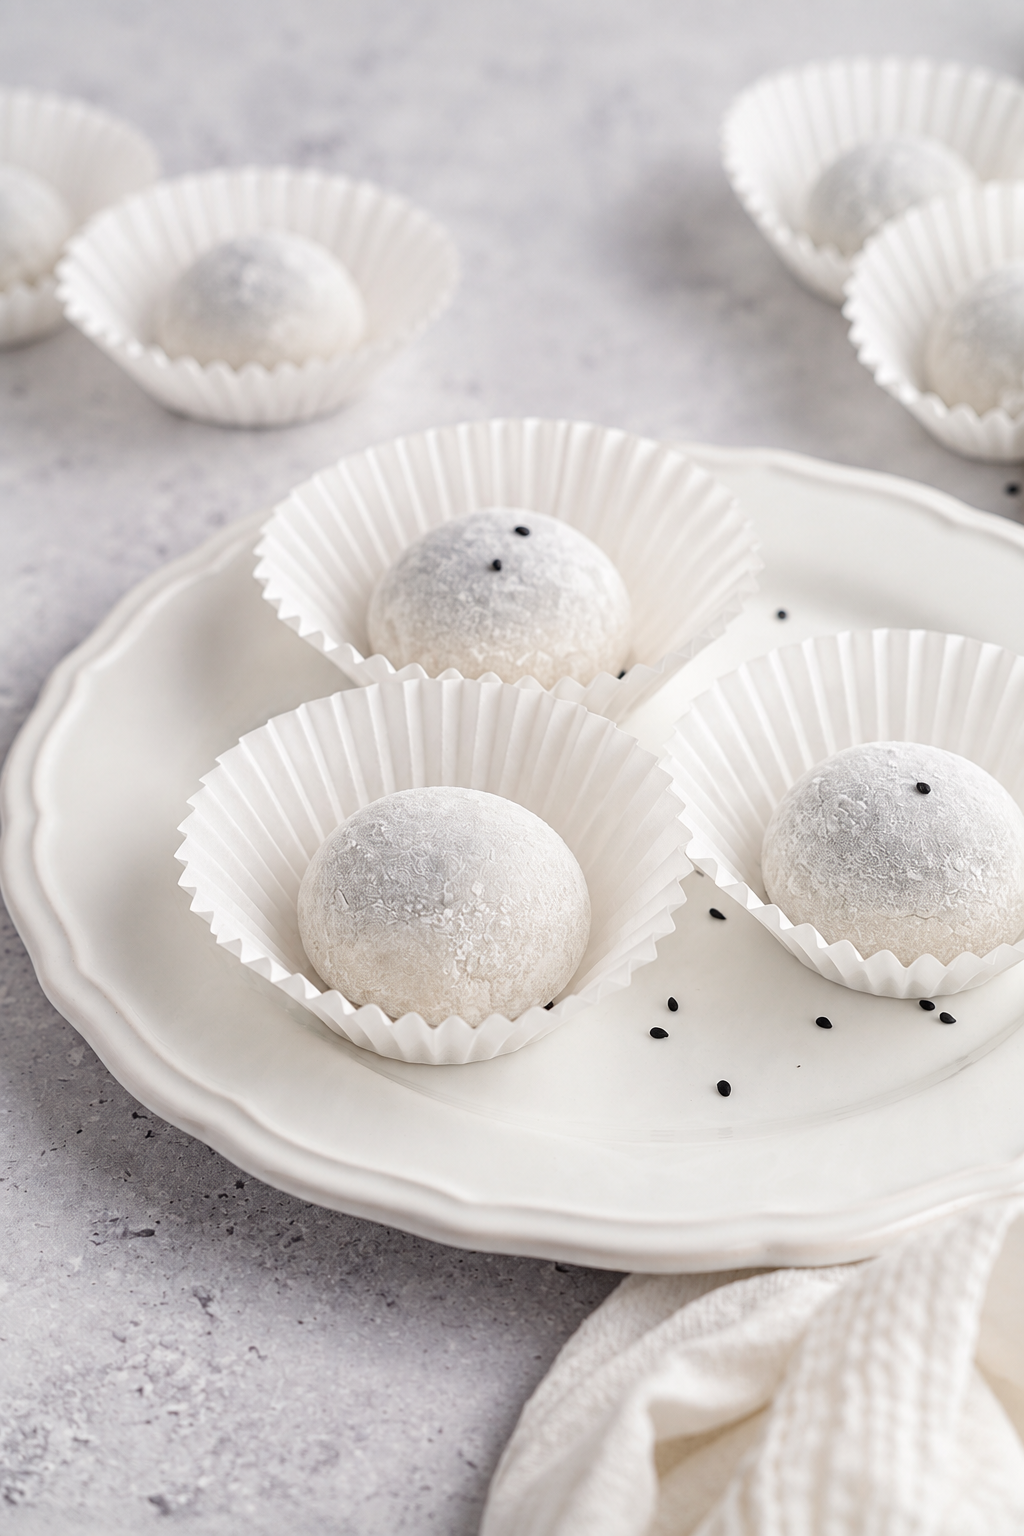
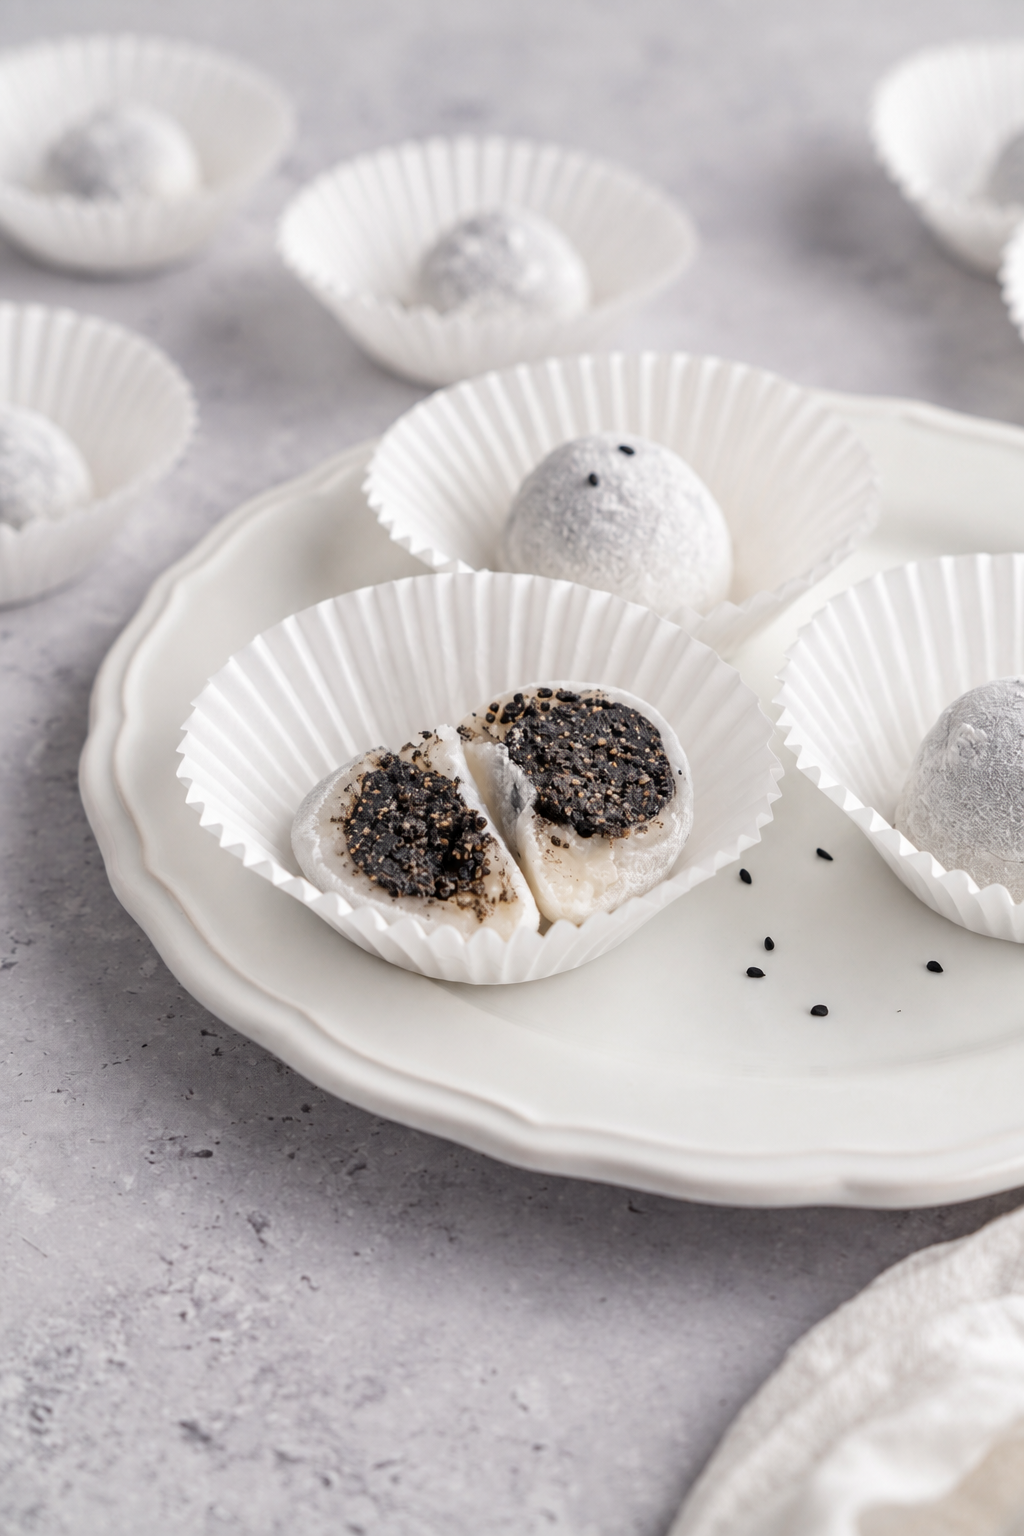
Black sesame mochi is what I make when I want something that tastes properly old fashioned and still looks like a little cloud: a soft, starch dusted shell that gives way to a dark, nutty, almost savoury centre.
I have made a lot of mochi on this blog and black sesame is the filling I keep coming back to. It does something no other sweet filling manages. It is toasty and faintly bitter at the edges, rich from the butter, and it hits the back of your throat the way really good tahini does. Against a plain sugared mochi shell it is perfect, because the dough is so mild that the sesame gets the whole stage to itself.
My first test batch was a mess and I want to be honest about why, because it is the one thing that will ruin yours too. I ground the seeds while they were still warm from the pan, which turned them into a loose oily slick that would not hold a ball. I froze it and wrapped it anyway, and by the time I got to the twelfth mochi the first four had split along the seam and were weeping grey. Cooling the seeds completely before they go anywhere near the processor fixed it in one go. The second batch took forty minutes start to finish and every single one sealed.
What Is Black Sesame Mochi
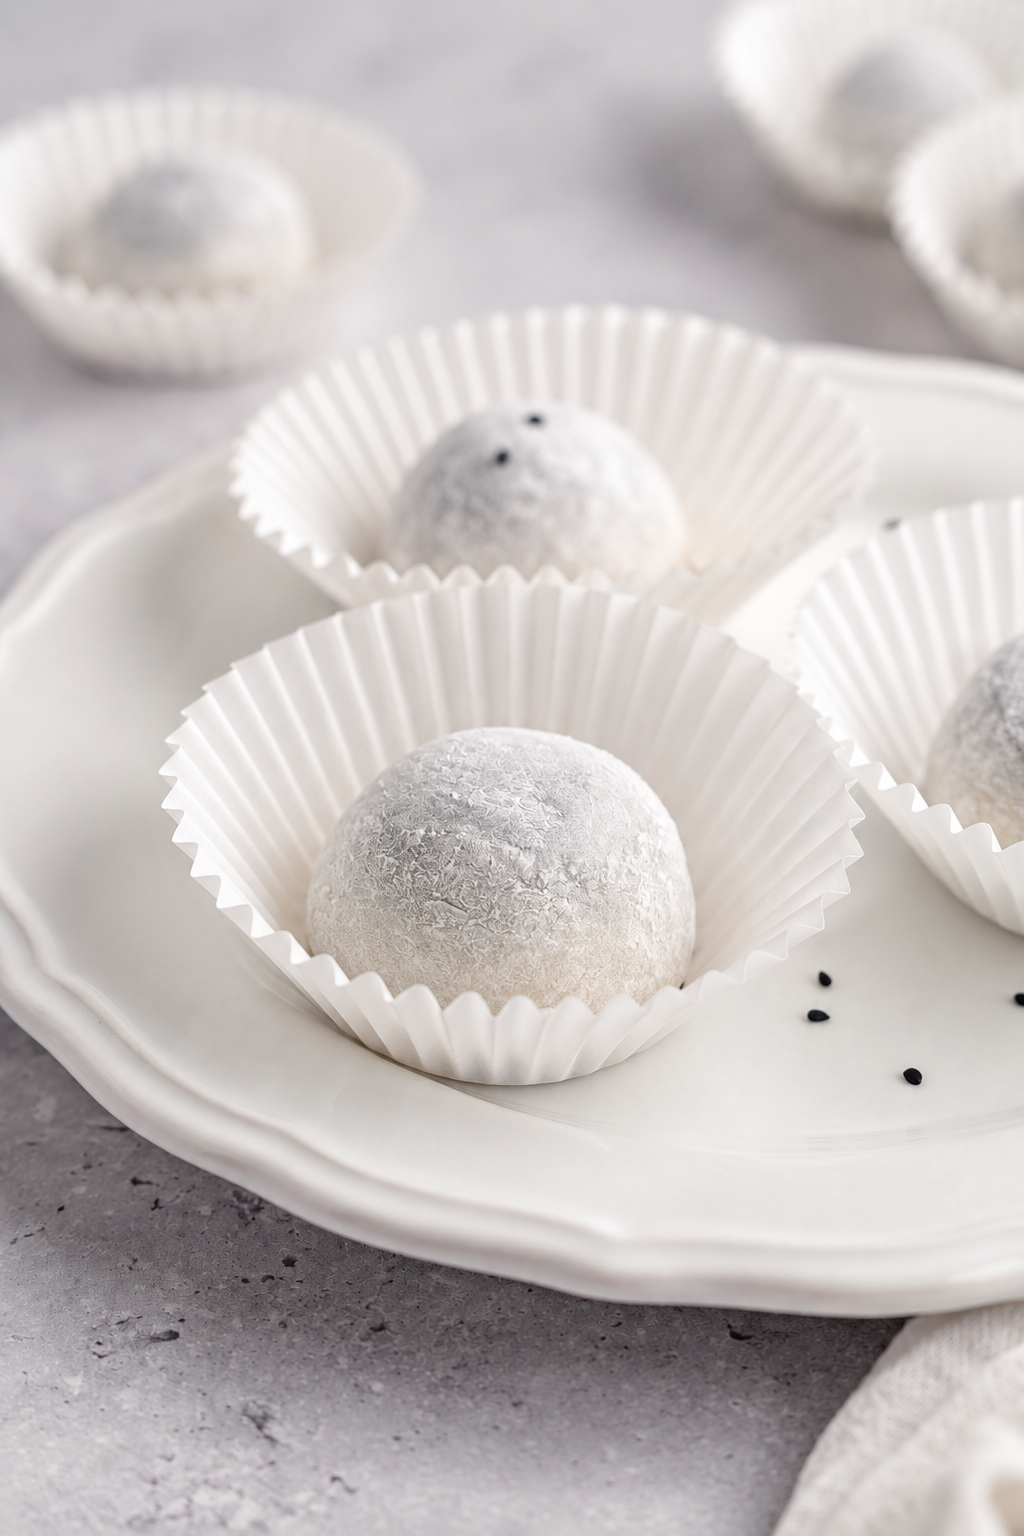
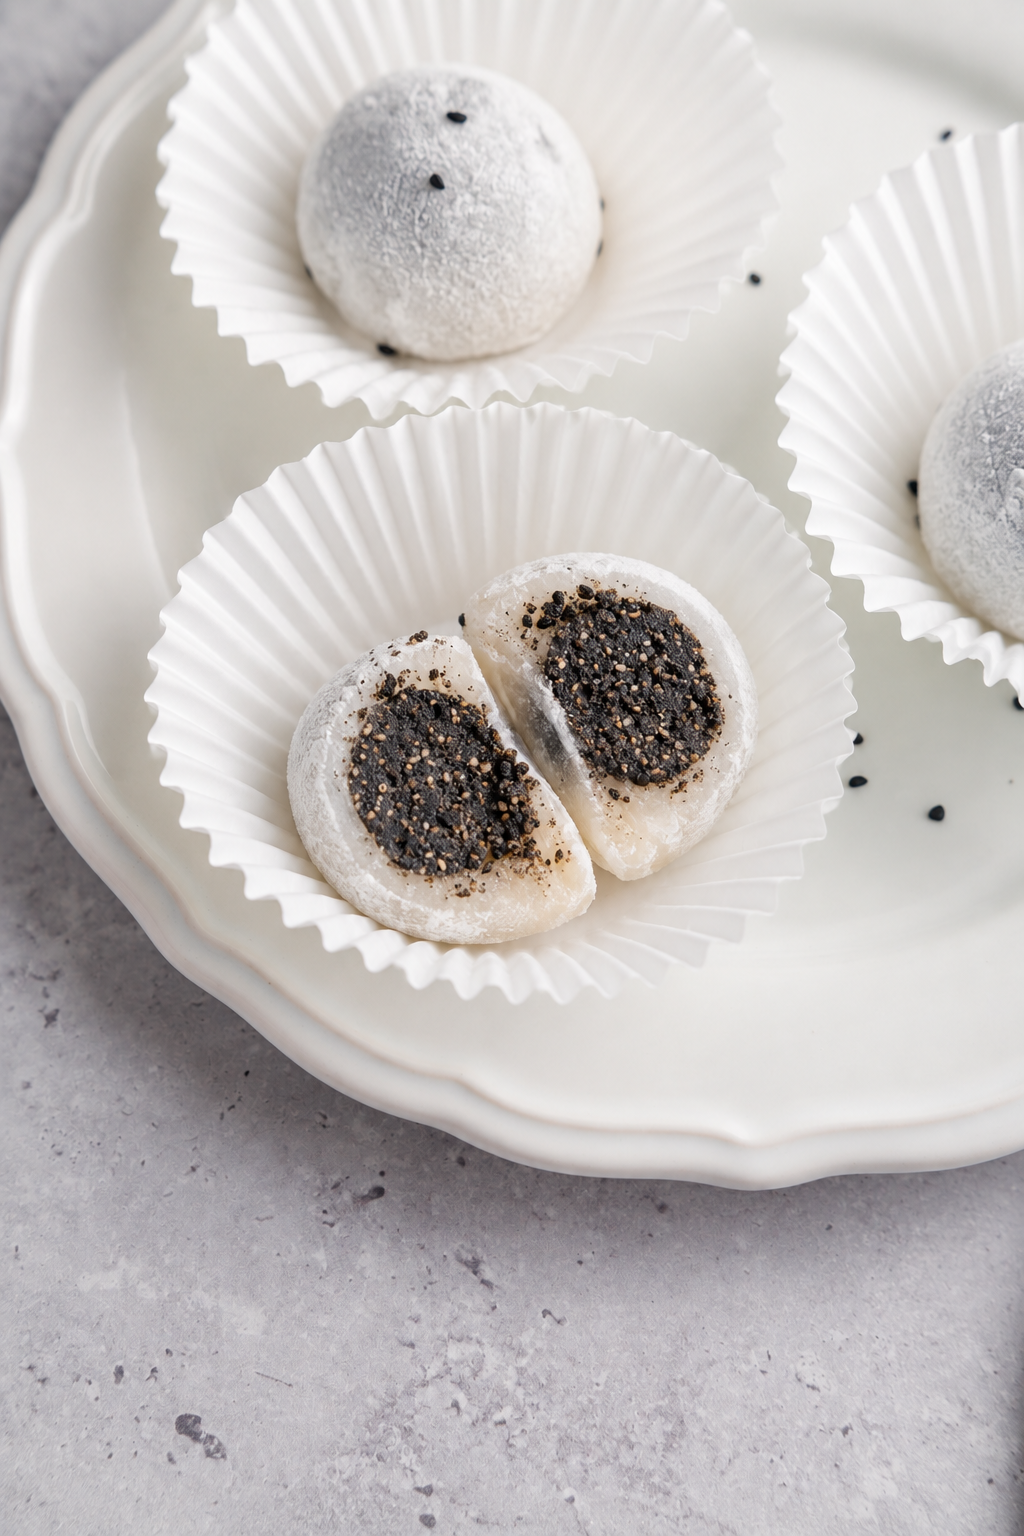
Black sesame mochi is a Japanese style daifuku: a small round of soft glutinous rice dough wrapped around a thick paste of toasted black sesame seeds, sugar and a little fat. The dough is barely sweet and very stretchy, so it works as a wrapper rather than as a flavour. Everything you actually taste comes from the centre.
It sits somewhere between a dessert and a snack, and one is genuinely enough, which is not something I say often. The contrast is the whole point. The shell is cool, slightly tacky and yielding, and the filling is dense and fudgy, much closer to a nut butter that has been set firm than to a jam or a custard. If you like the flavour but want it in a colder format, my black sesame ice cream uses the same paste as a base.
Where Black Sesame Mochi Comes From
Mochi is Japanese, made from pounded glutinous rice, and daifuku, the filled round version, has been sold there since the Edo period. The classic filling is sweet red bean, which is what goes into my red bean mochi, and black sesame came along later as a variation that stuck.
Black sesame as a sweet flavour is much more broadly East Asian than it is specifically Japanese. Chinese tang yuan carry a black sesame paste that is deliberately looser so it runs when you bite in, and the same paste turns up inside sesame balls and steamed buns across southern China. What I have written here keeps the Japanese format, a firm wrapped daifuku, with a filling closer in richness to the Chinese version.
How to Make Black Sesame Mochi
There are two halves to this and the order matters. First the filling: toast the seeds until they smell nutty, cool them completely, then blitz them with powdered sugar, butter and salt until the mixture turns thick and glossy rather than grainy. Chill it for half an hour, roll it into twelve balls, and put those in the freezer while you deal with the dough.
Then the dough: whisk glutinous rice flour, sugar and water into a smooth batter and cook it in the microwave in short bursts, stirring hard between each one, until it goes from chalky white to thick and translucent. Tip it onto a heavily starched bench, divide it while it is still warm, flatten each piece, sit a frozen filling ball in the middle and pinch it shut. That frozen centre is what makes wrapping easy, so the fifteen minutes in the freezer is not optional.
At a Glance: Black Sesame Mochi
| Prep | Cook | Chill | Total | Makes |
|---|---|---|---|---|
| 30 minutes | 5 minutes | 45 minutes | 1 hour 20 minutes | 12 pieces |
Ingredients
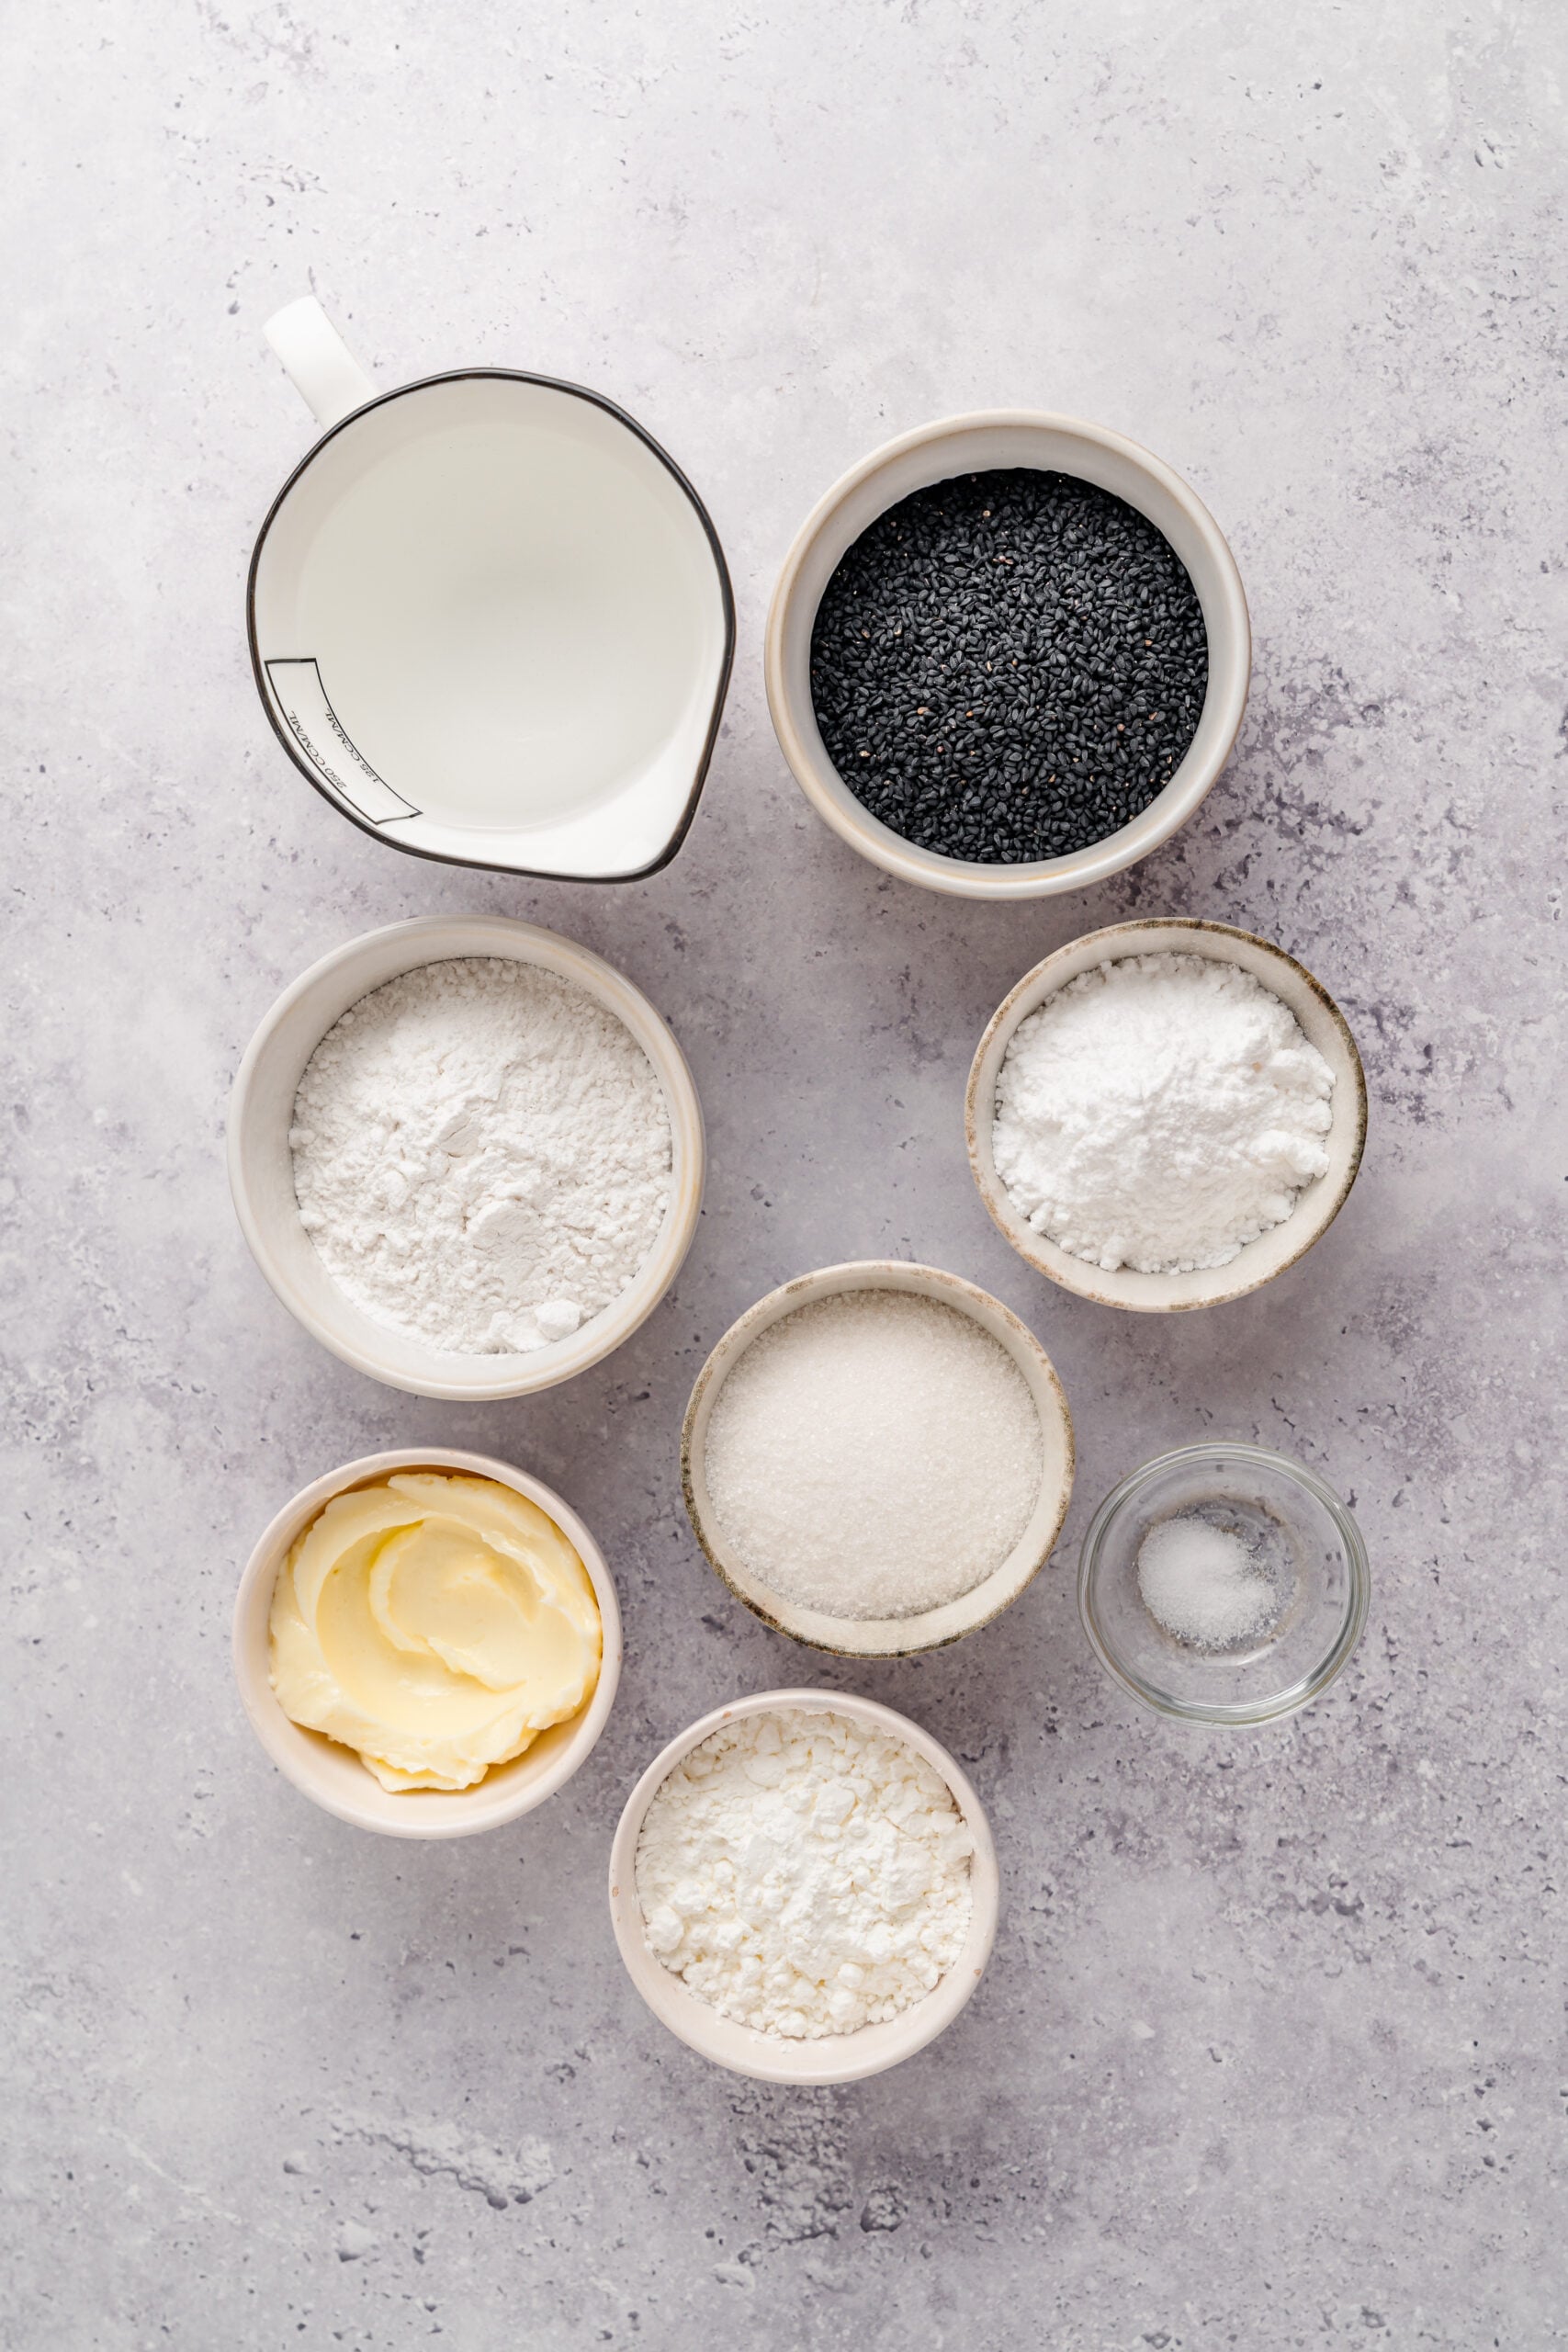
Quantities are in the recipe card at the bottom. This section is about what each thing is doing, because black sesame mochi has very few ingredients and each one is carrying real weight.
Black Sesame Filling
- Black sesame seeds: the entire flavour of the dessert. Buy them from an Asian grocer rather than a supermarket spice aisle, where they are usually older and taste flat. Toasting wakes up the oils and is what turns them from dusty to nutty.
- Powdered sugar: dissolves instantly into the warm paste, so the filling stays smooth instead of gritty. Granulated sugar will not break down properly in a food processor and you will feel every crystal.
- Unsalted butter: binds the ground seeds into something you can roll, and sets firm in the fridge so the ball holds while you wrap it. It also rounds off the slight bitterness that toasted black sesame carries.
- Fine salt: a pinch, and it matters more than it sounds. Salt pushes the sesame forward and stops the filling reading as flatly sweet.
Mochi Dough
- Glutinous rice flour: mochiko or shiratamako, and nothing else will do. Regular rice flour has no stickiness and will give you a crumbly paste rather than a stretchy dough. Shiratamako gives a slightly springier chew, mochiko a softer one.
- Granulated sugar: sweetens the shell just enough to register and helps keep the dough soft for longer at room temperature.
- Water: the ratio here is what makes the dough pliable rather than stiff. Add it gradually so the batter stays lump free, and sieve it if anything survives the whisk.
- Potato starch or cornstarch: for dusting, and you need much more than feels reasonable. It is the only thing standing between you and dough welded to your palms.
Optional: My Favourite Extras That Add a Little Magic
- Toasted white sesame seeds: a few pressed onto the outside before serving. They look striking against the white starch and tell people what is inside before they bite.
- A teaspoon of black sesame oil: stirred into the filling at the end. It is intense, so this is a quarter teaspoon decision, but it deepens the roast beautifully.
- Kinako: roasted soybean flour, dusted over the finished mochi instead of plain starch. It adds a toasty note that sits very comfortably next to sesame, and it is the same flour I use on injeolmi.
- A pinch of flaky salt on top: sounds odd on a dessert and works for exactly the same reason salted caramel does.
Substitutions: Smart Ingredient Swaps That Still Taste Amazing
- Ready made black sesame paste: replaces the toasting and grinding entirely. Use about 180 g and beat in the powdered sugar and butter, because jarred paste on its own is far too loose to wrap.
- Dairy free: swap the butter for 45 ml of a neutral oil plus an extra 15 g of powdered sugar. The filling stays softer, so keep it in the freezer right up until the moment you wrap.
- No microwave: steam the covered batter over simmering water for 20 to 25 minutes, stirring once at the halfway mark. The texture is very slightly bouncier and just as good.
- Cornstarch for potato starch: works fine for dusting. Potato starch feels silkier and brushes off more cleanly, but cornstarch is in everyone’s cupboard.
Steps
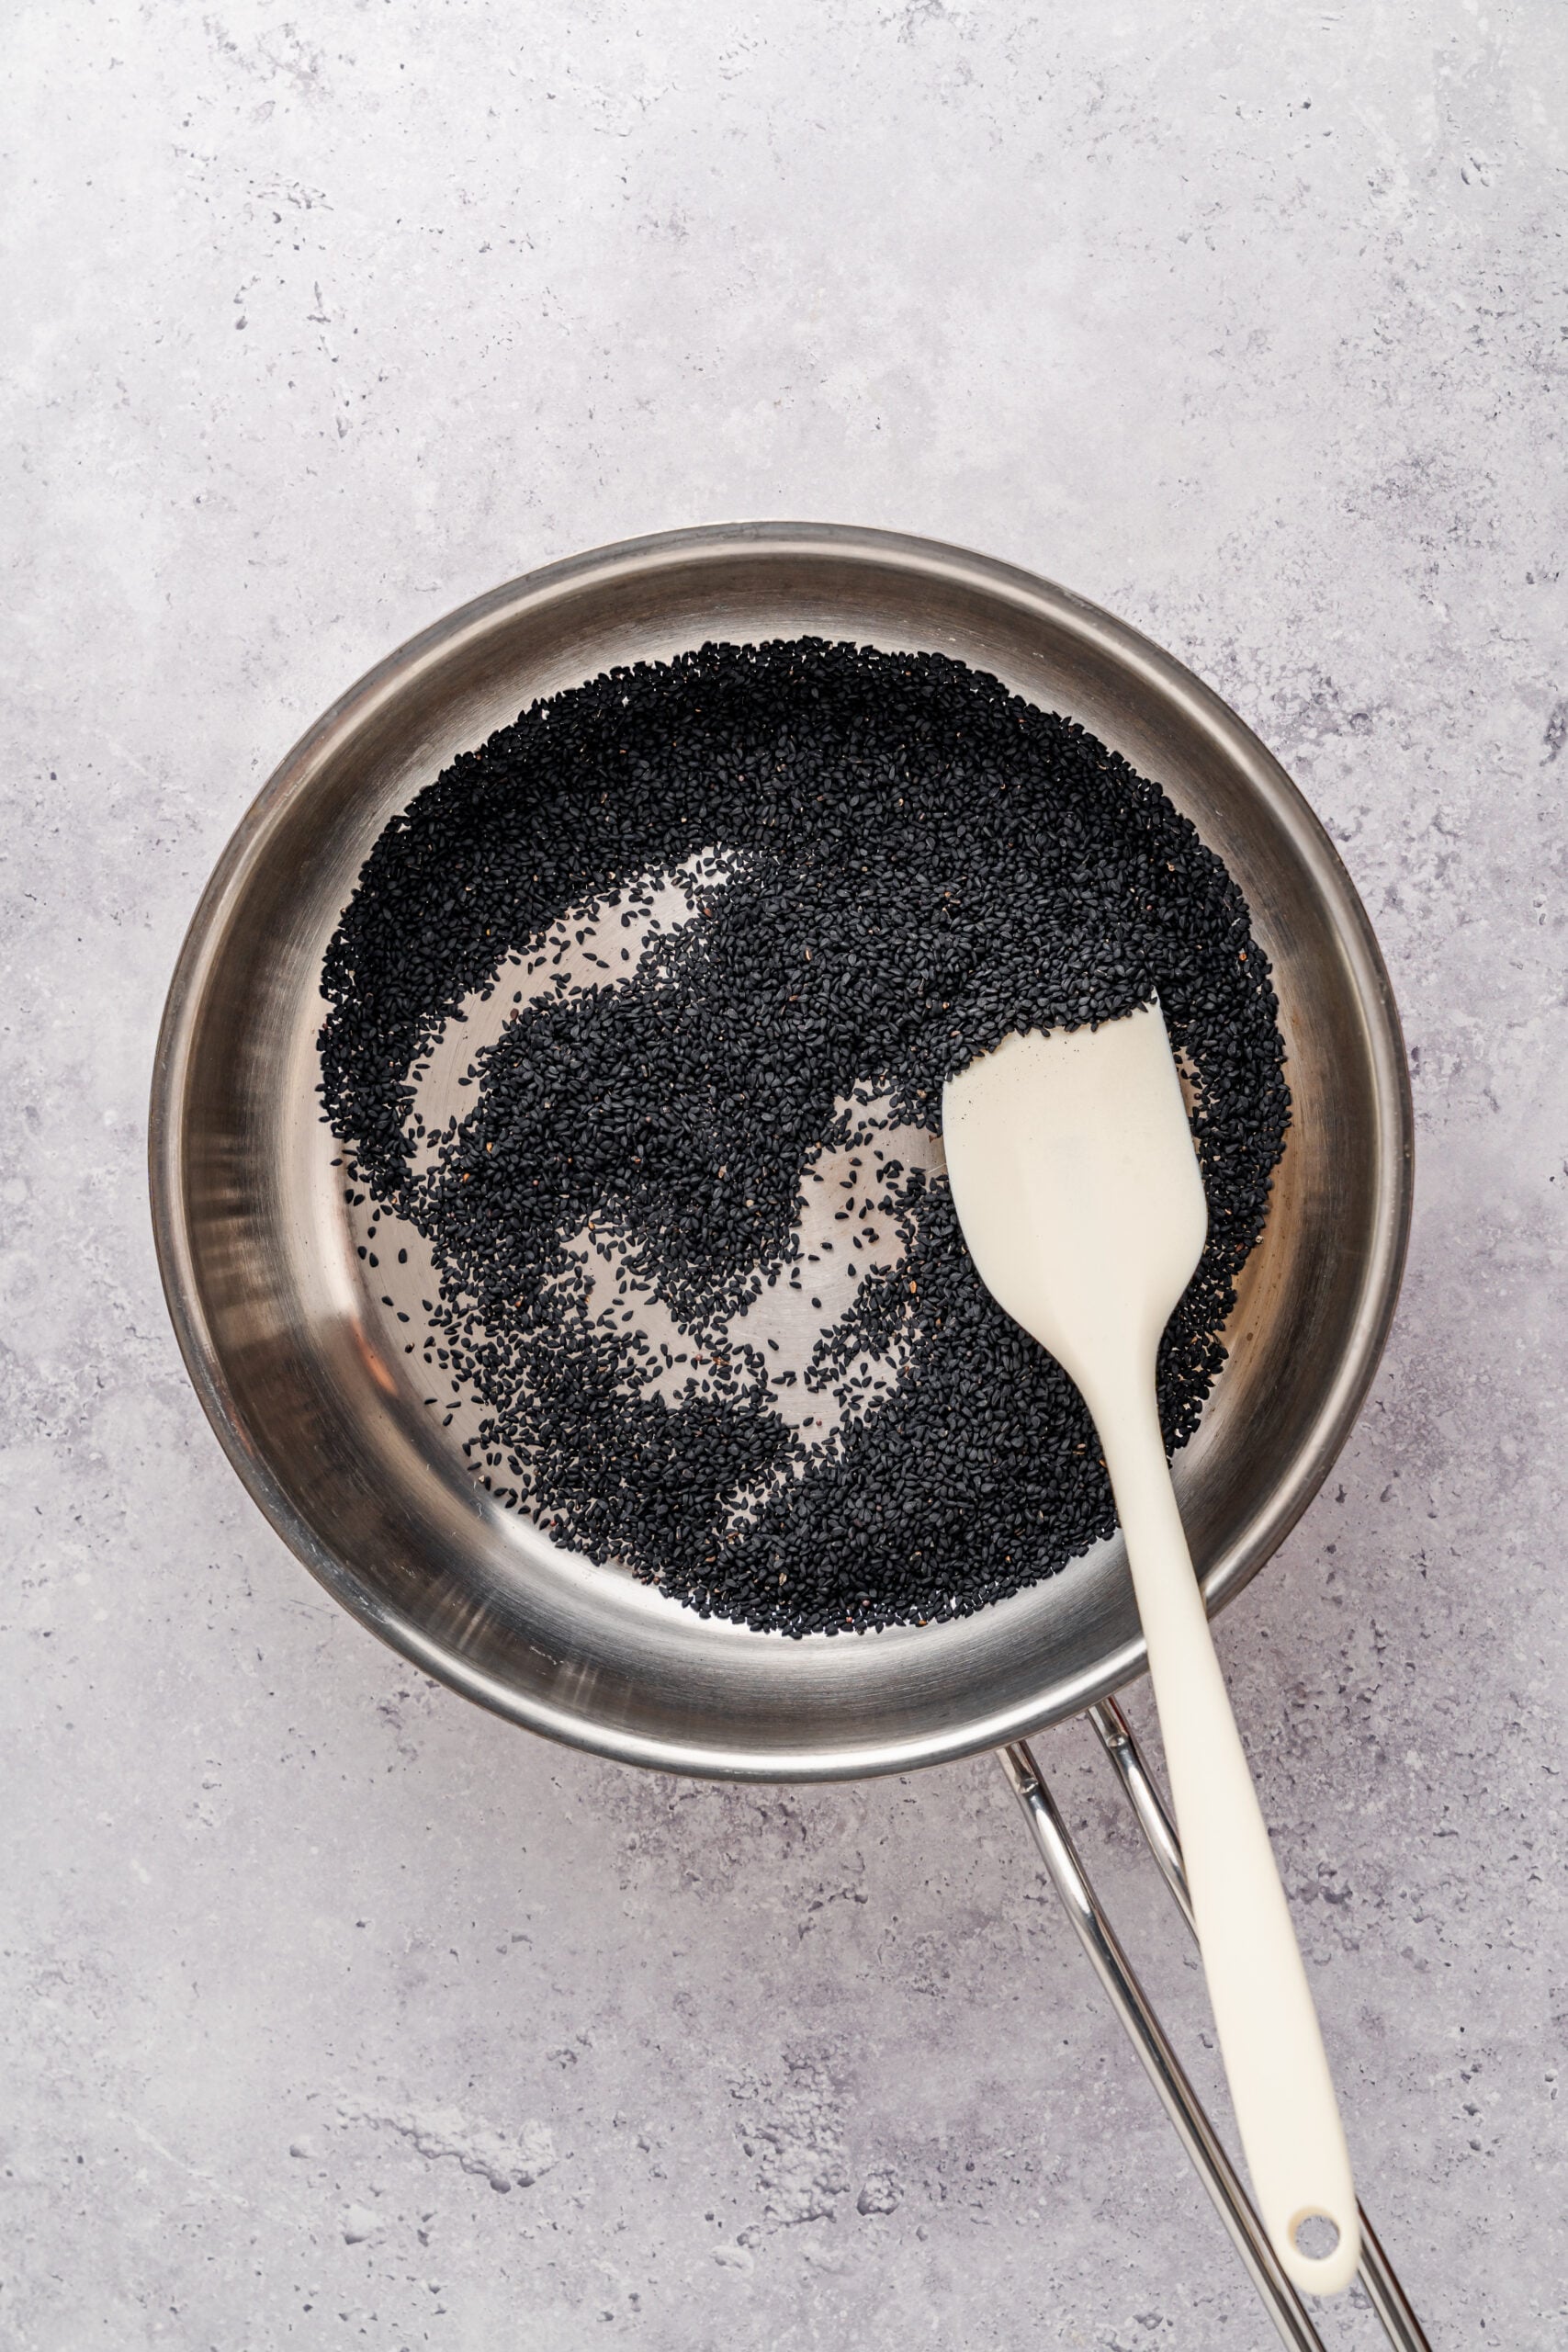
- Toast the black sesame seeds in a dry pan over medium heat for 3 to 4 minutes, shaking often, until they smell nutty. Tip them onto a plate and cool them completely. This is the step people rush and it is the one that decides whether your filling holds together.
- Blitz the cooled seeds in a food processor for 3 to 5 minutes, scraping down often, until they break into a coarse dark paste. Add the powdered sugar, softened butter and salt, then blend again until the mixture is thick and glossy.
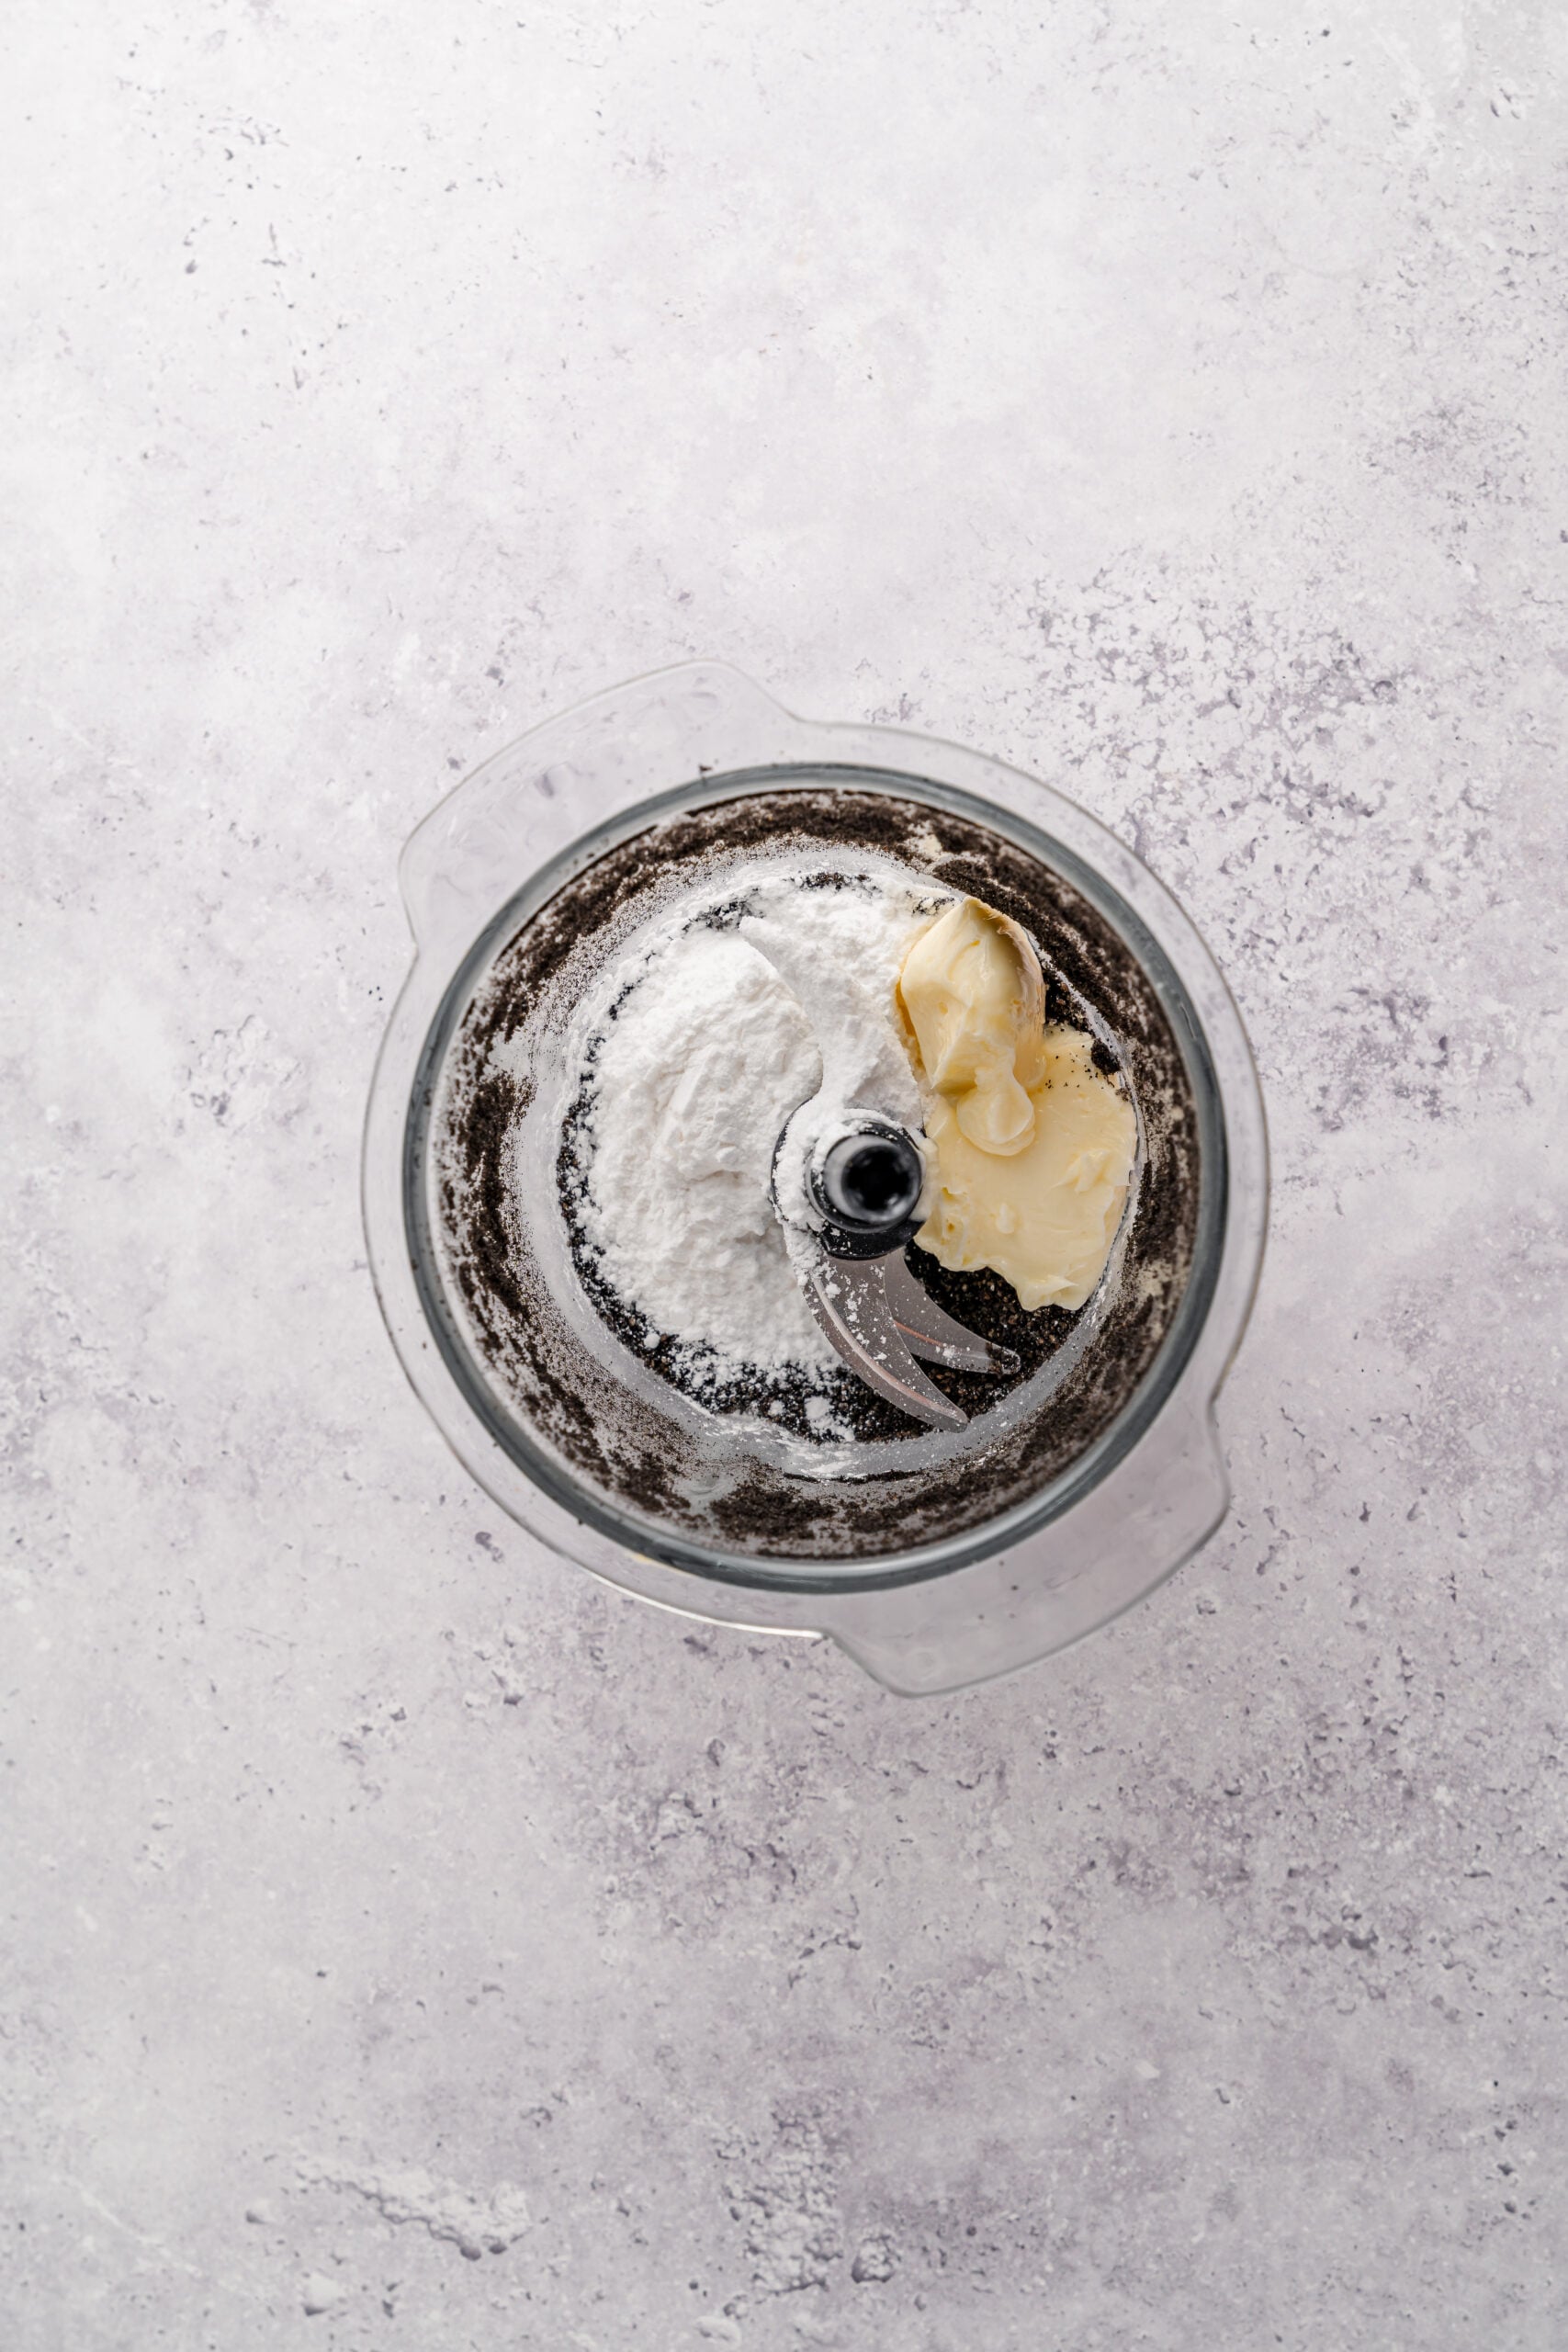
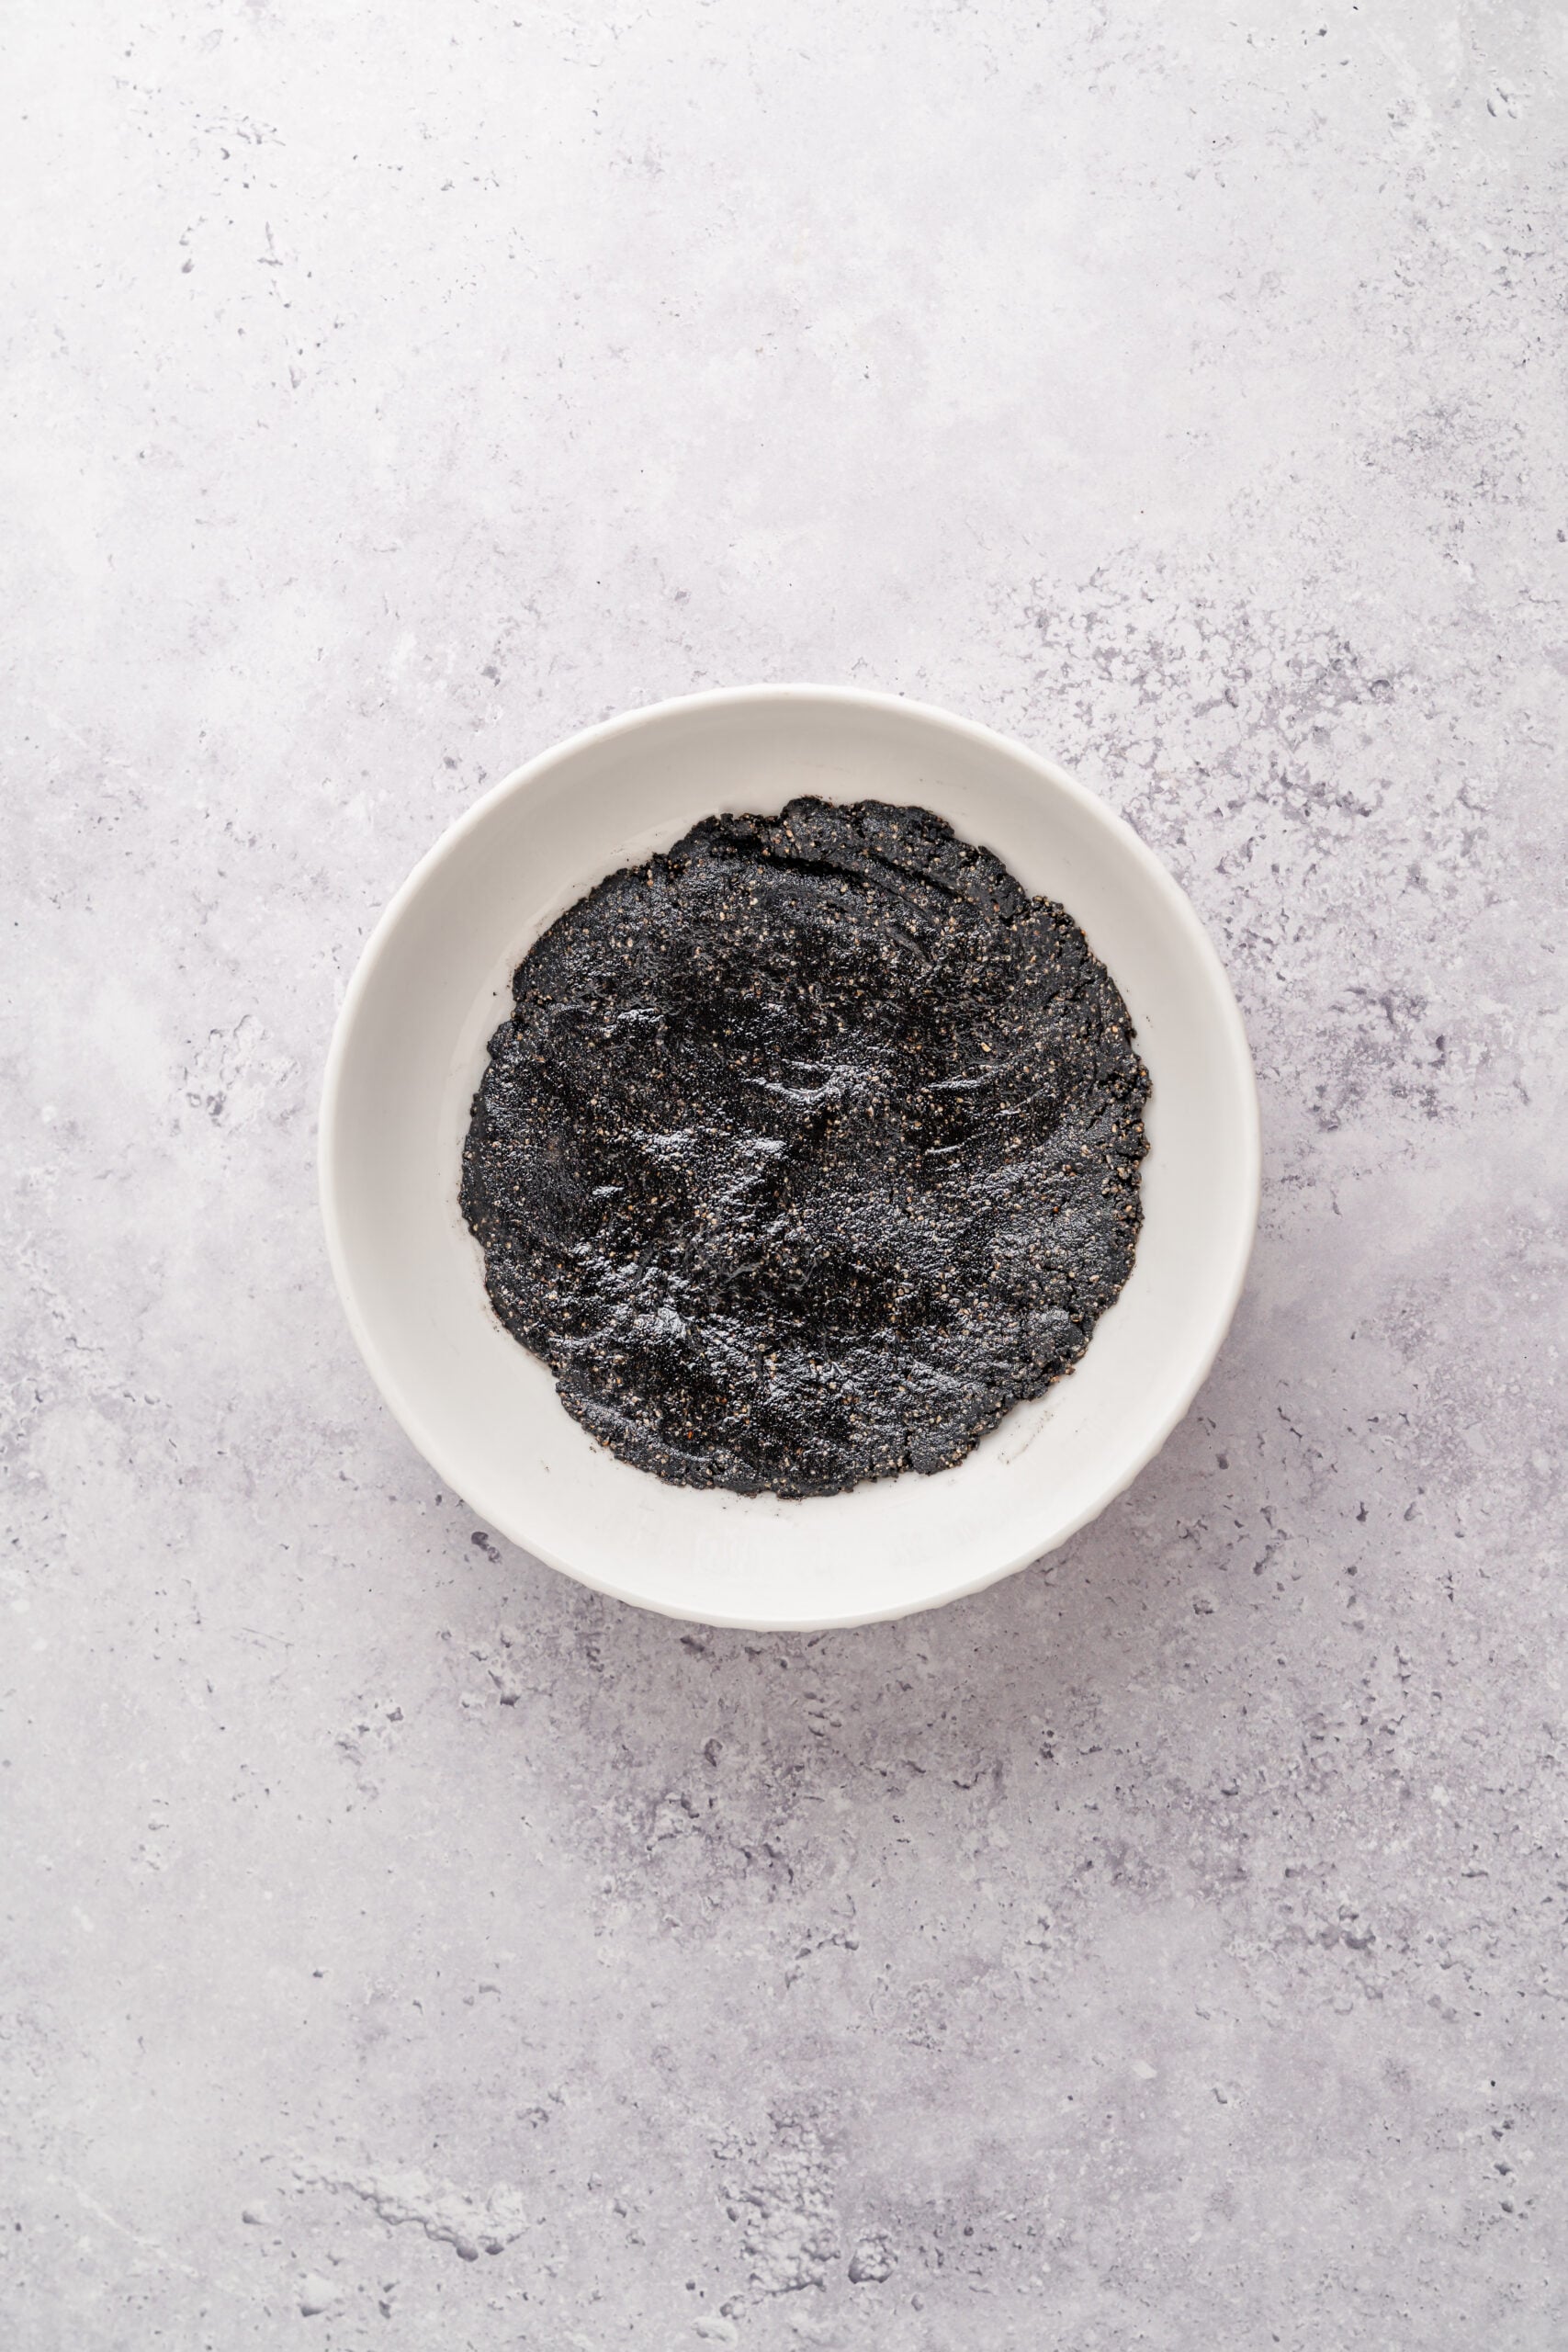
- Scrape the filling into a bowl and chill it for 30 minutes, until it is firm enough to scoop without sticking to the spoon.
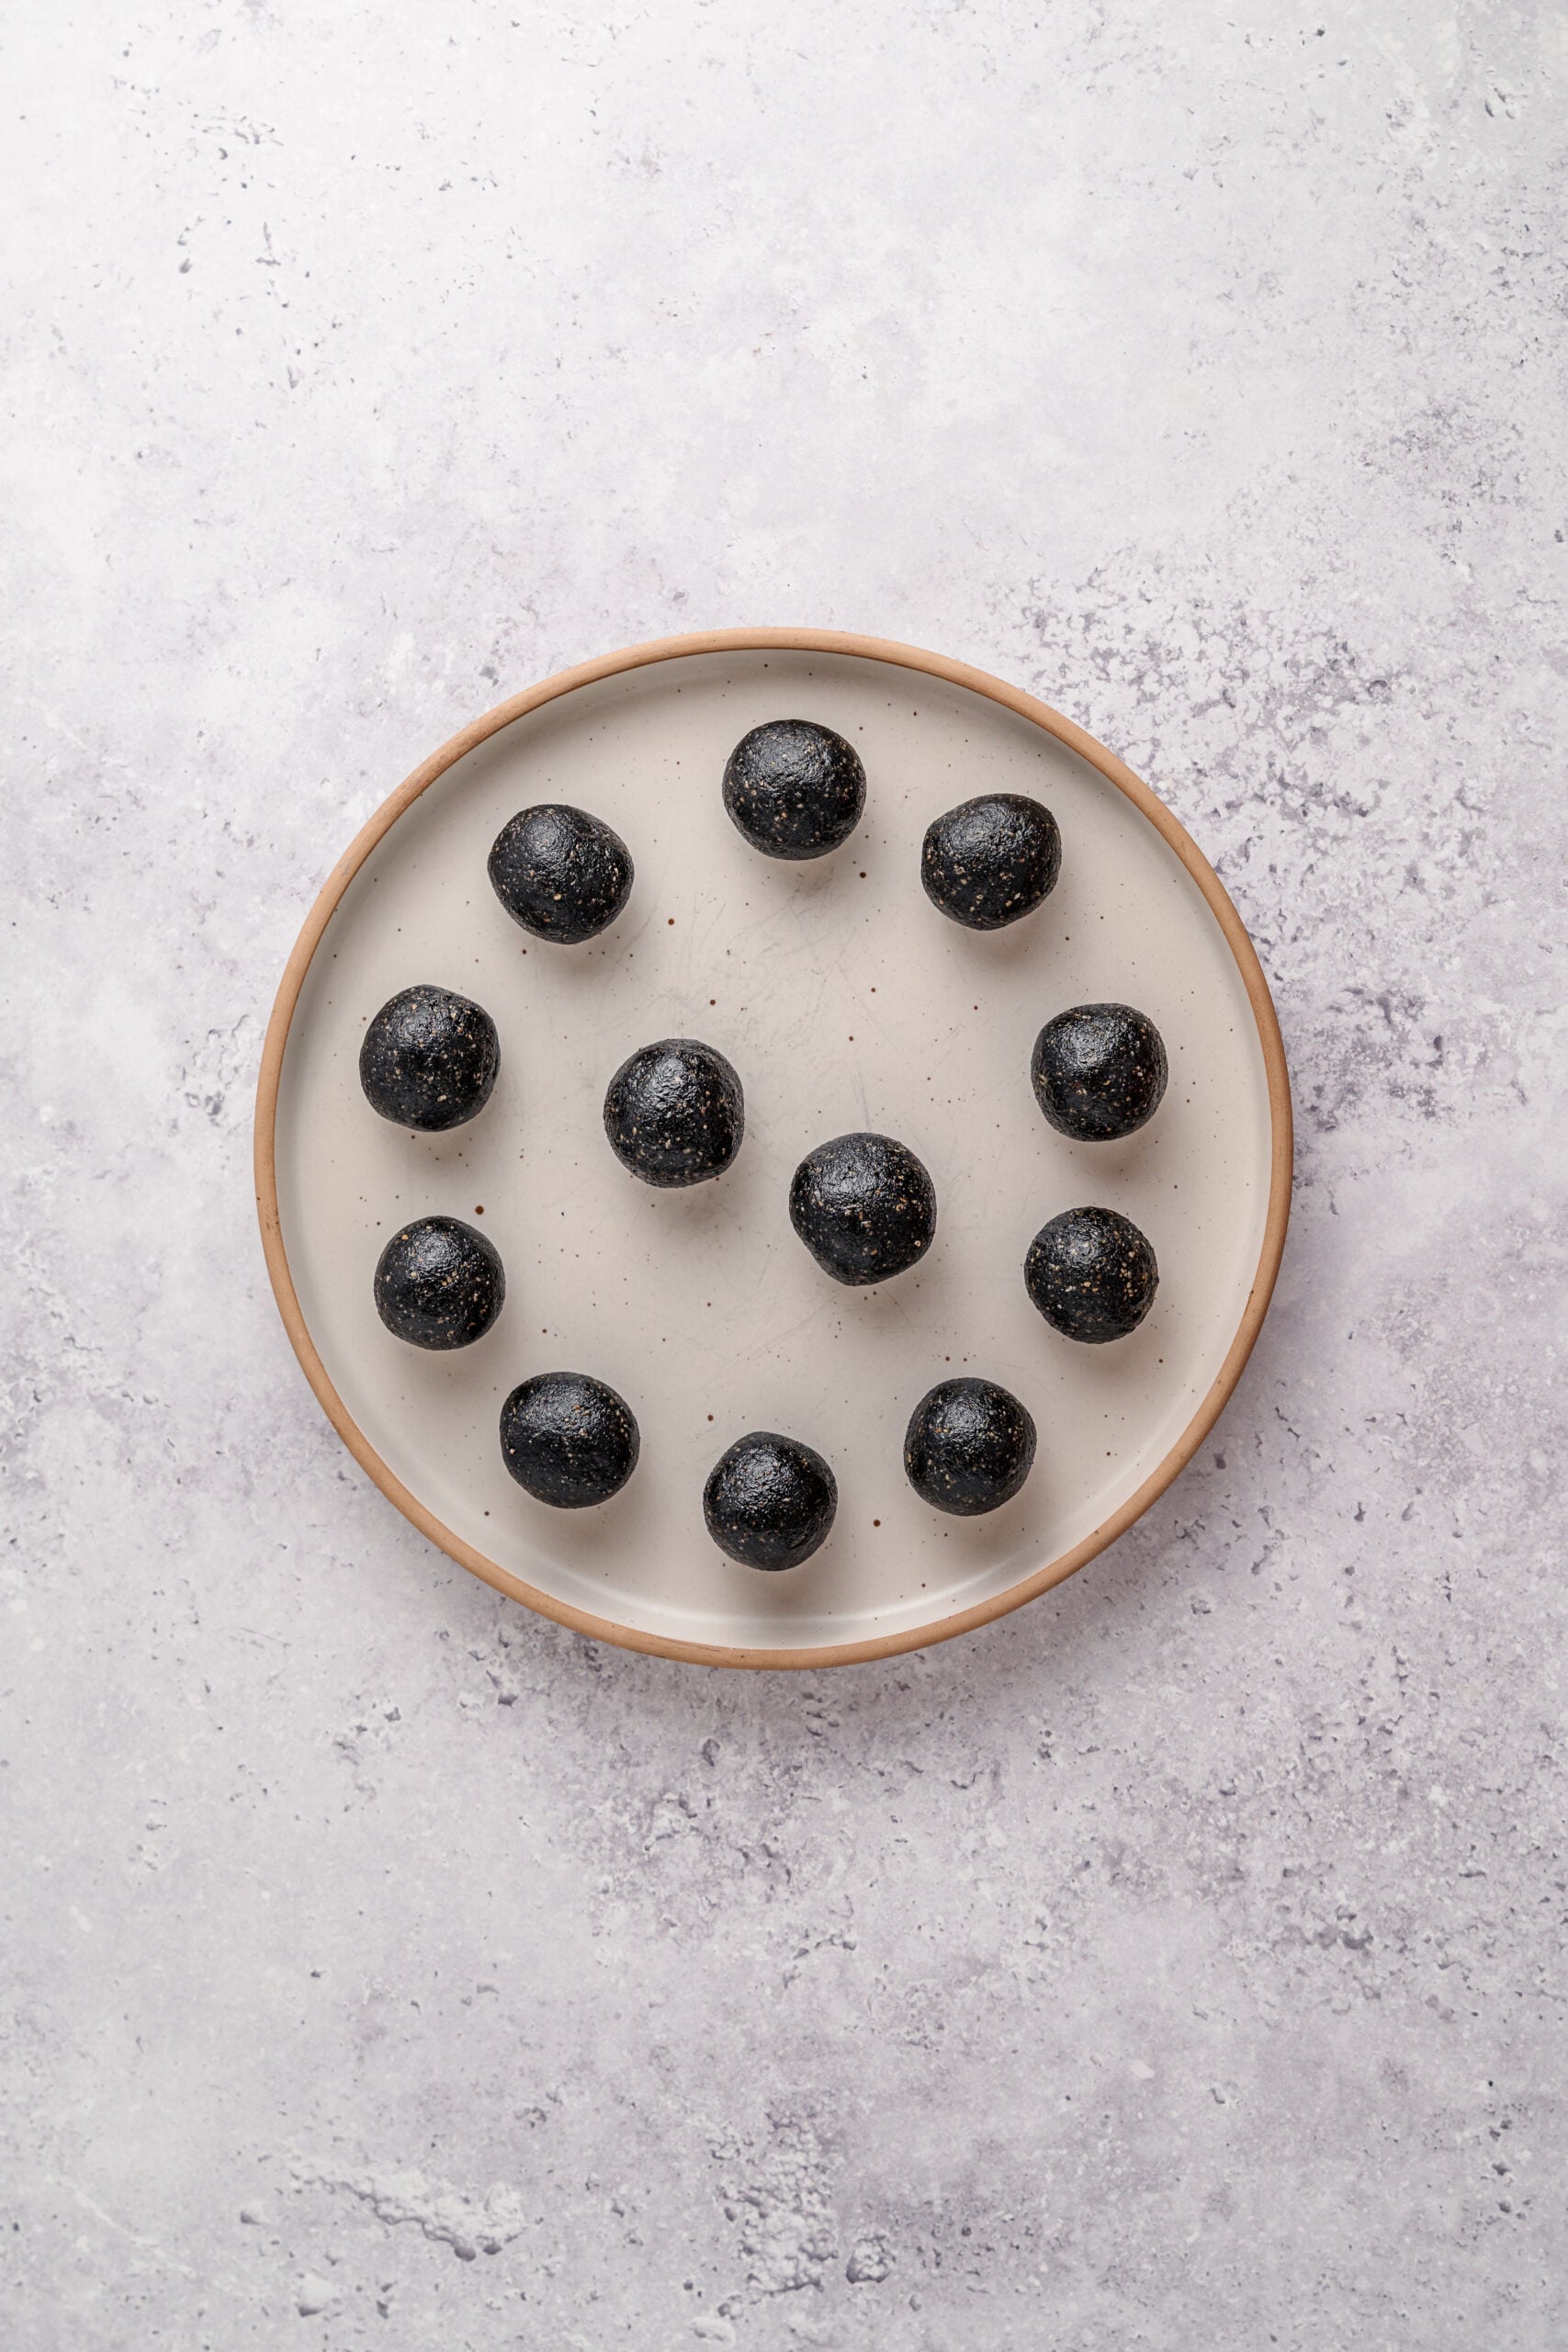
- Roll the filling into 12 balls of roughly 15 g each, then freeze them for 15 minutes. Firm filling is the difference between easy wrapping and a very frustrating twenty minutes.
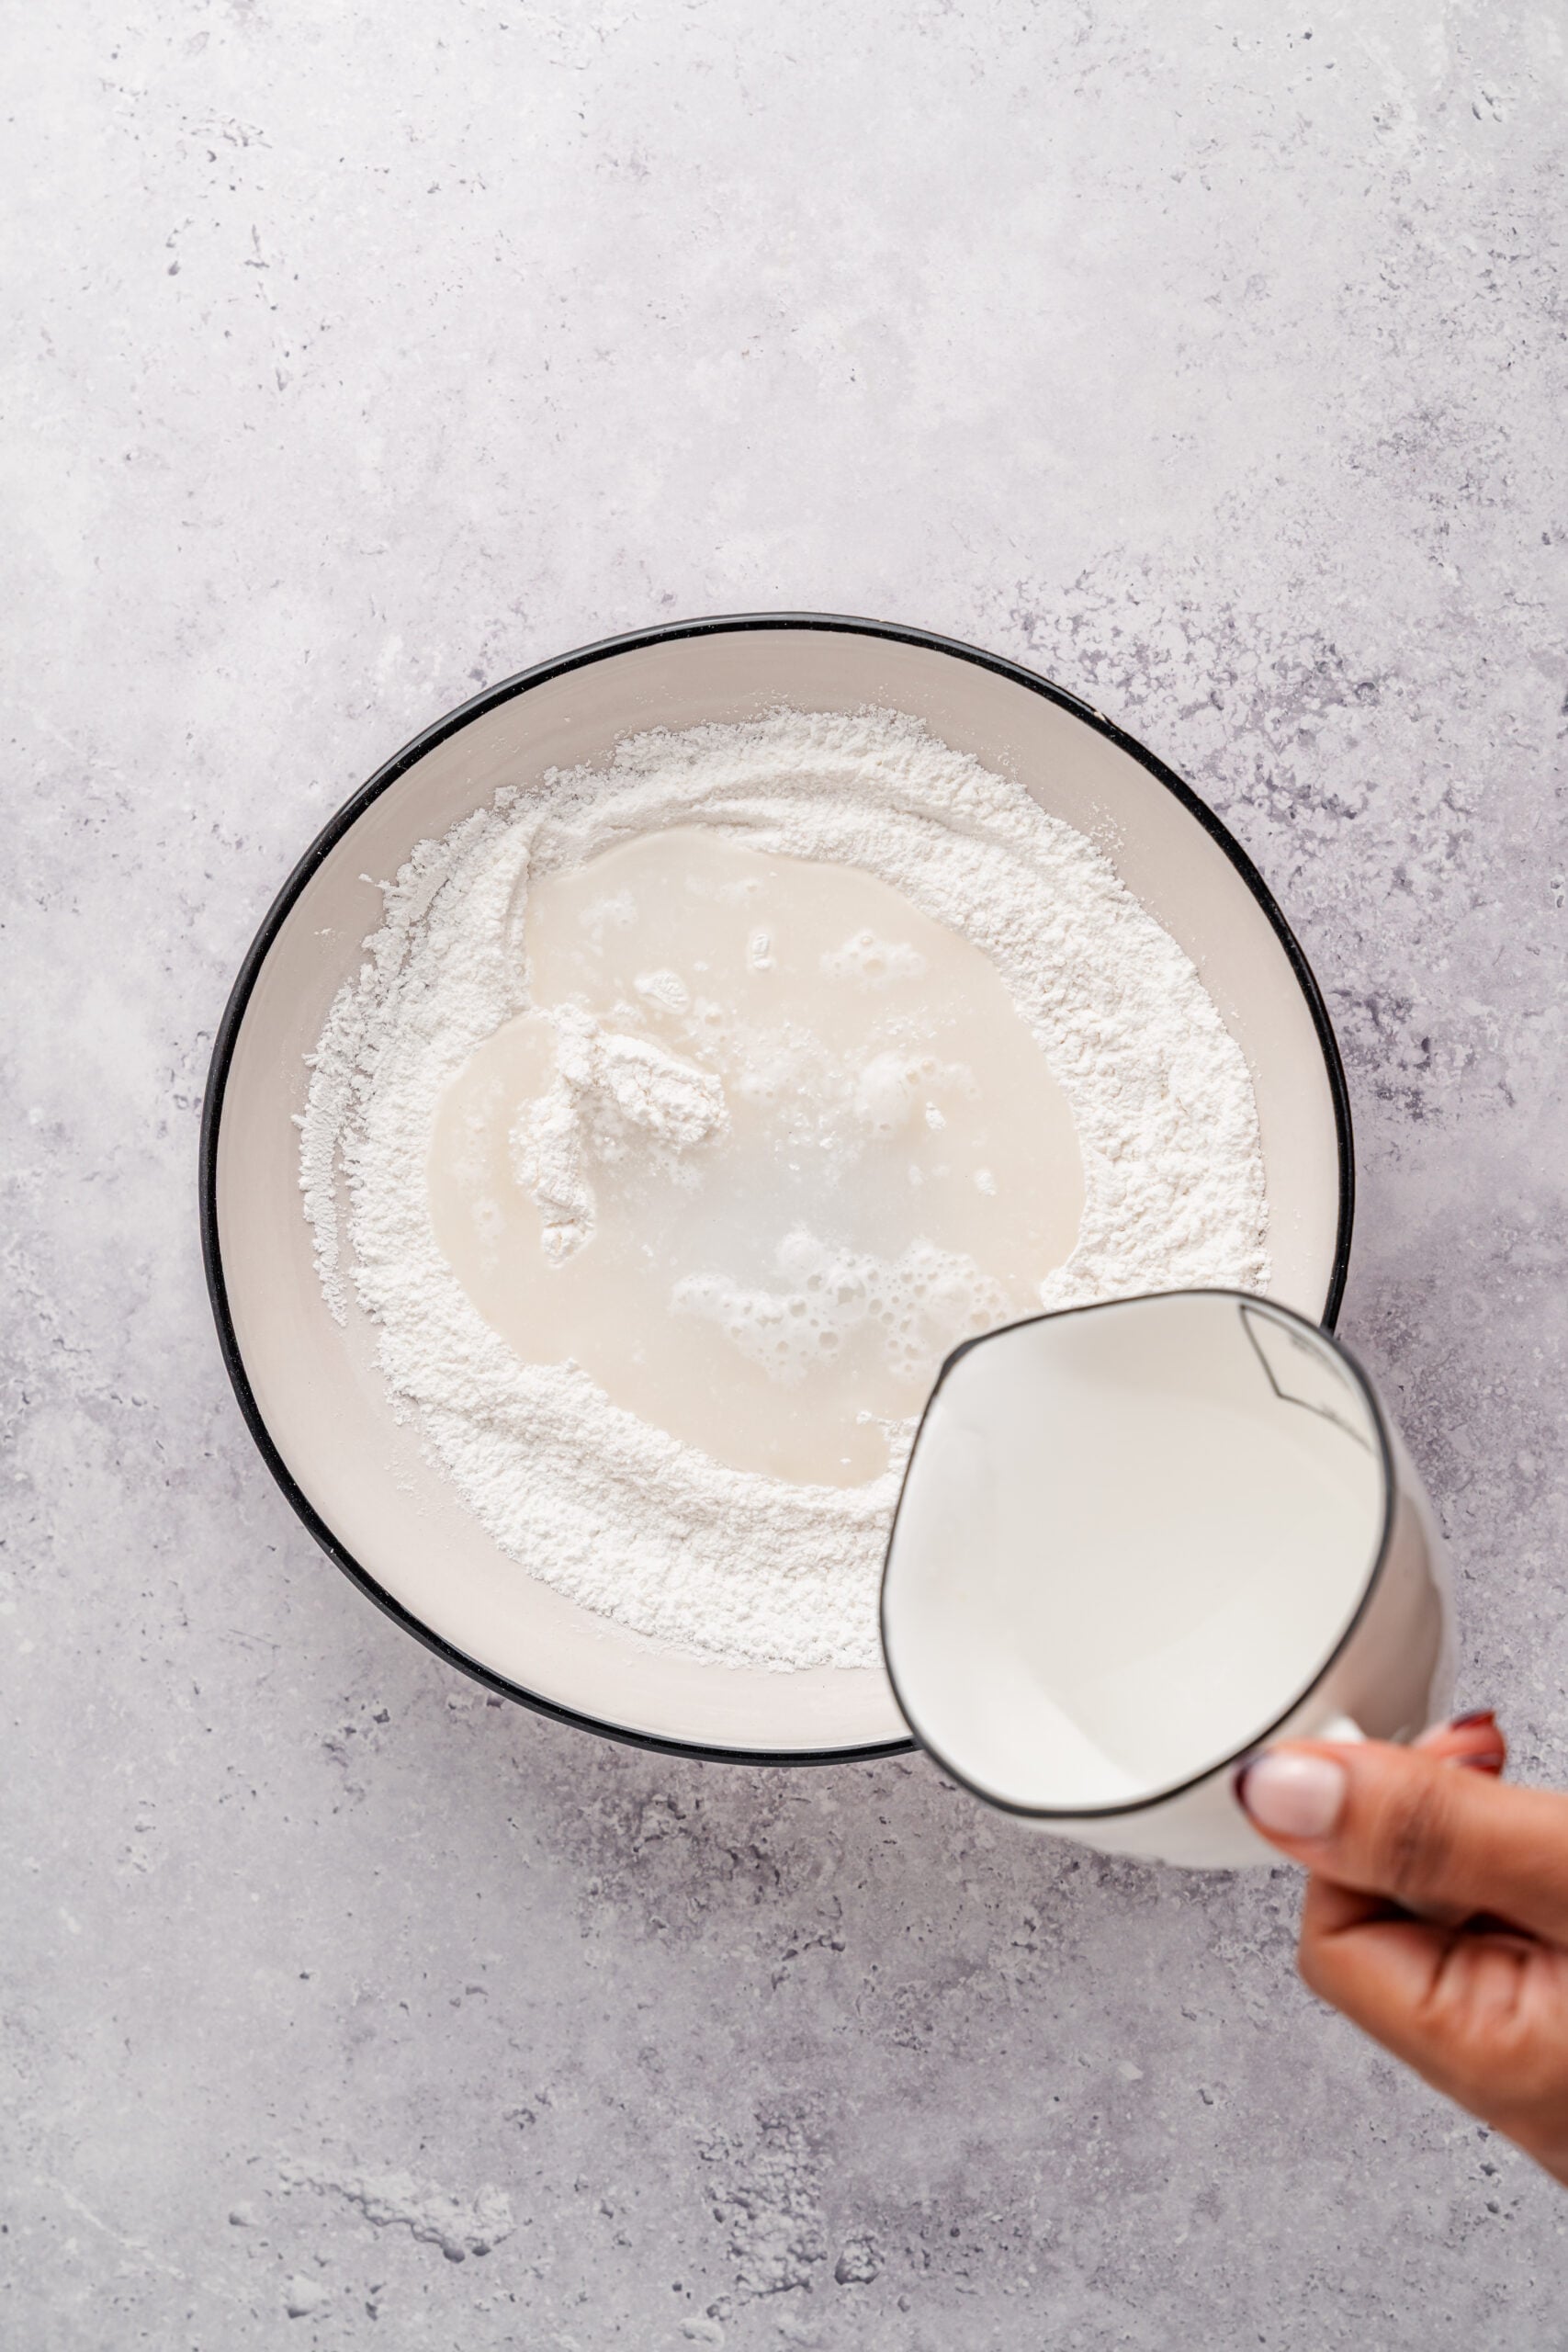
- Whisk the glutinous rice flour and granulated sugar together in a microwave safe bowl. Pour in the water gradually, whisking to a smooth batter with no lumps. Pass it through a sieve if any survive.
- Cover the bowl with plastic wrap. Microwave for 1 minute, stir well, microwave 1 minute more, stir again, then continue in 30 second bursts until the dough is thick, glossy and translucent rather than chalky white. It usually takes 2 and a half to 3 minutes in total.
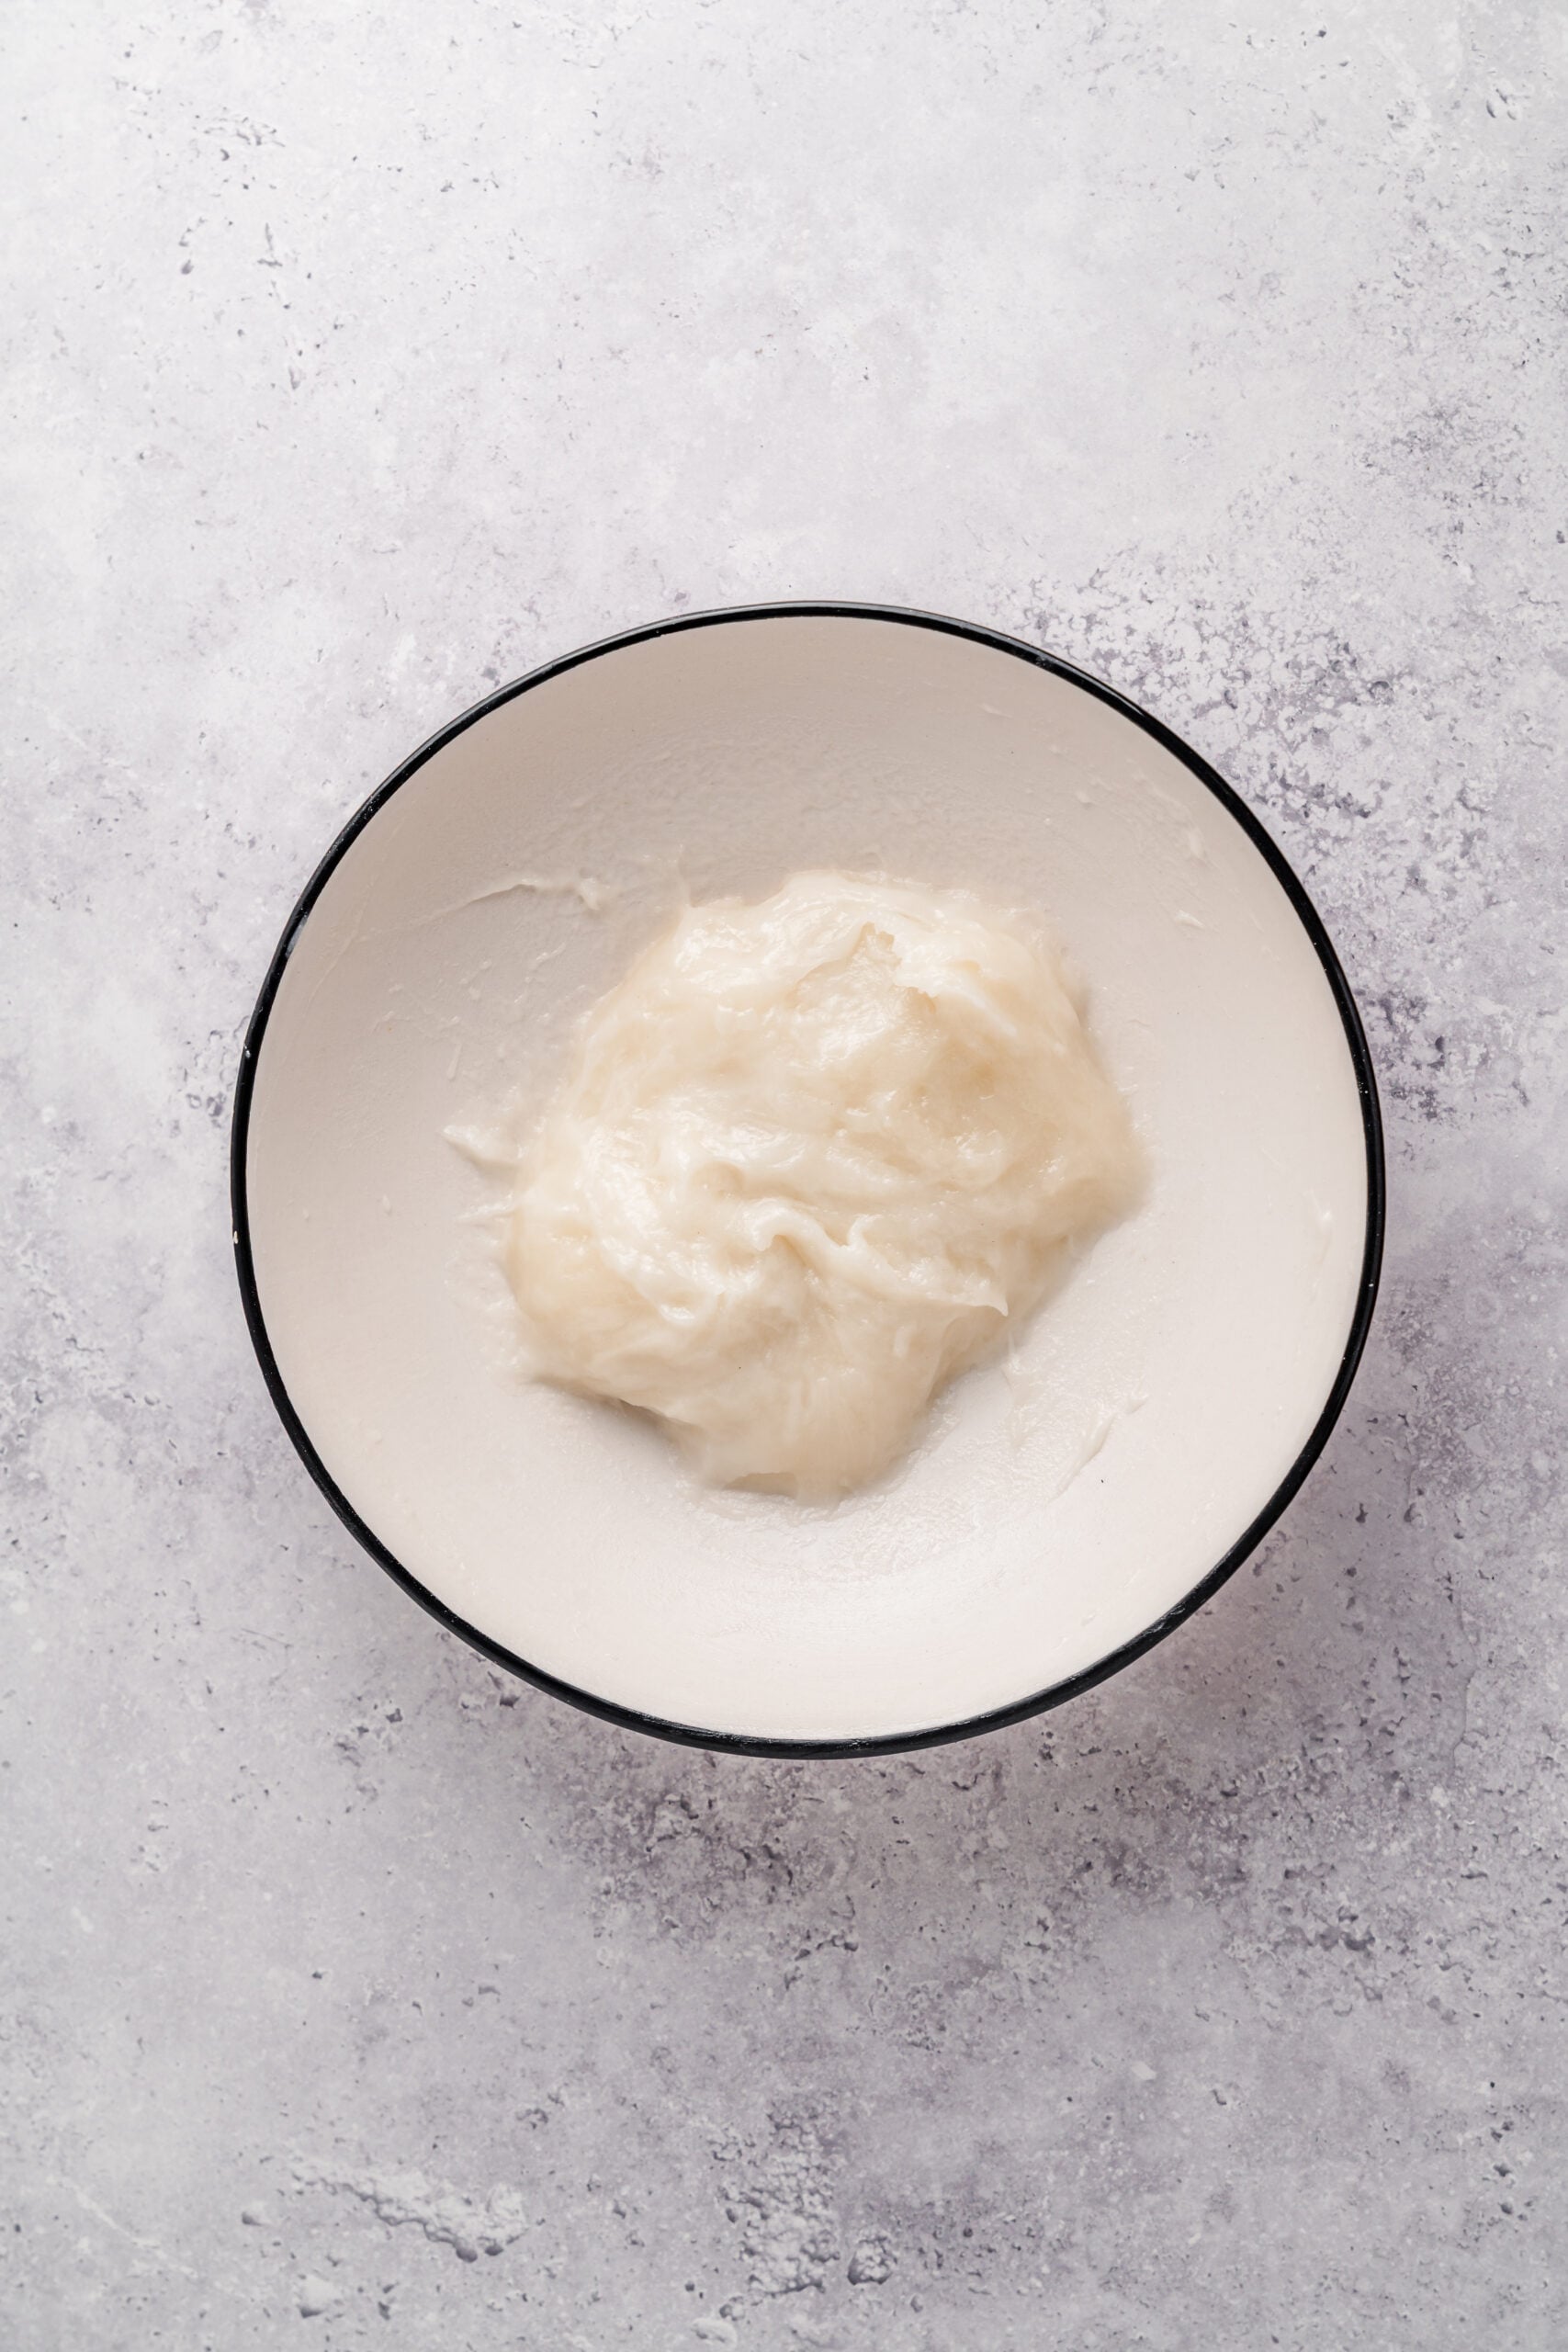
- Dust a work surface generously with starch. Scrape the hot dough out, dust the top as well, and leave it for 5 minutes until it is cool enough to handle but still warm and pliable.
- Divide the dough into 12 equal pieces. Flatten each one into a disc about 8 cm across, keeping the edges a little thinner than the centre so they seal without a thick knot.
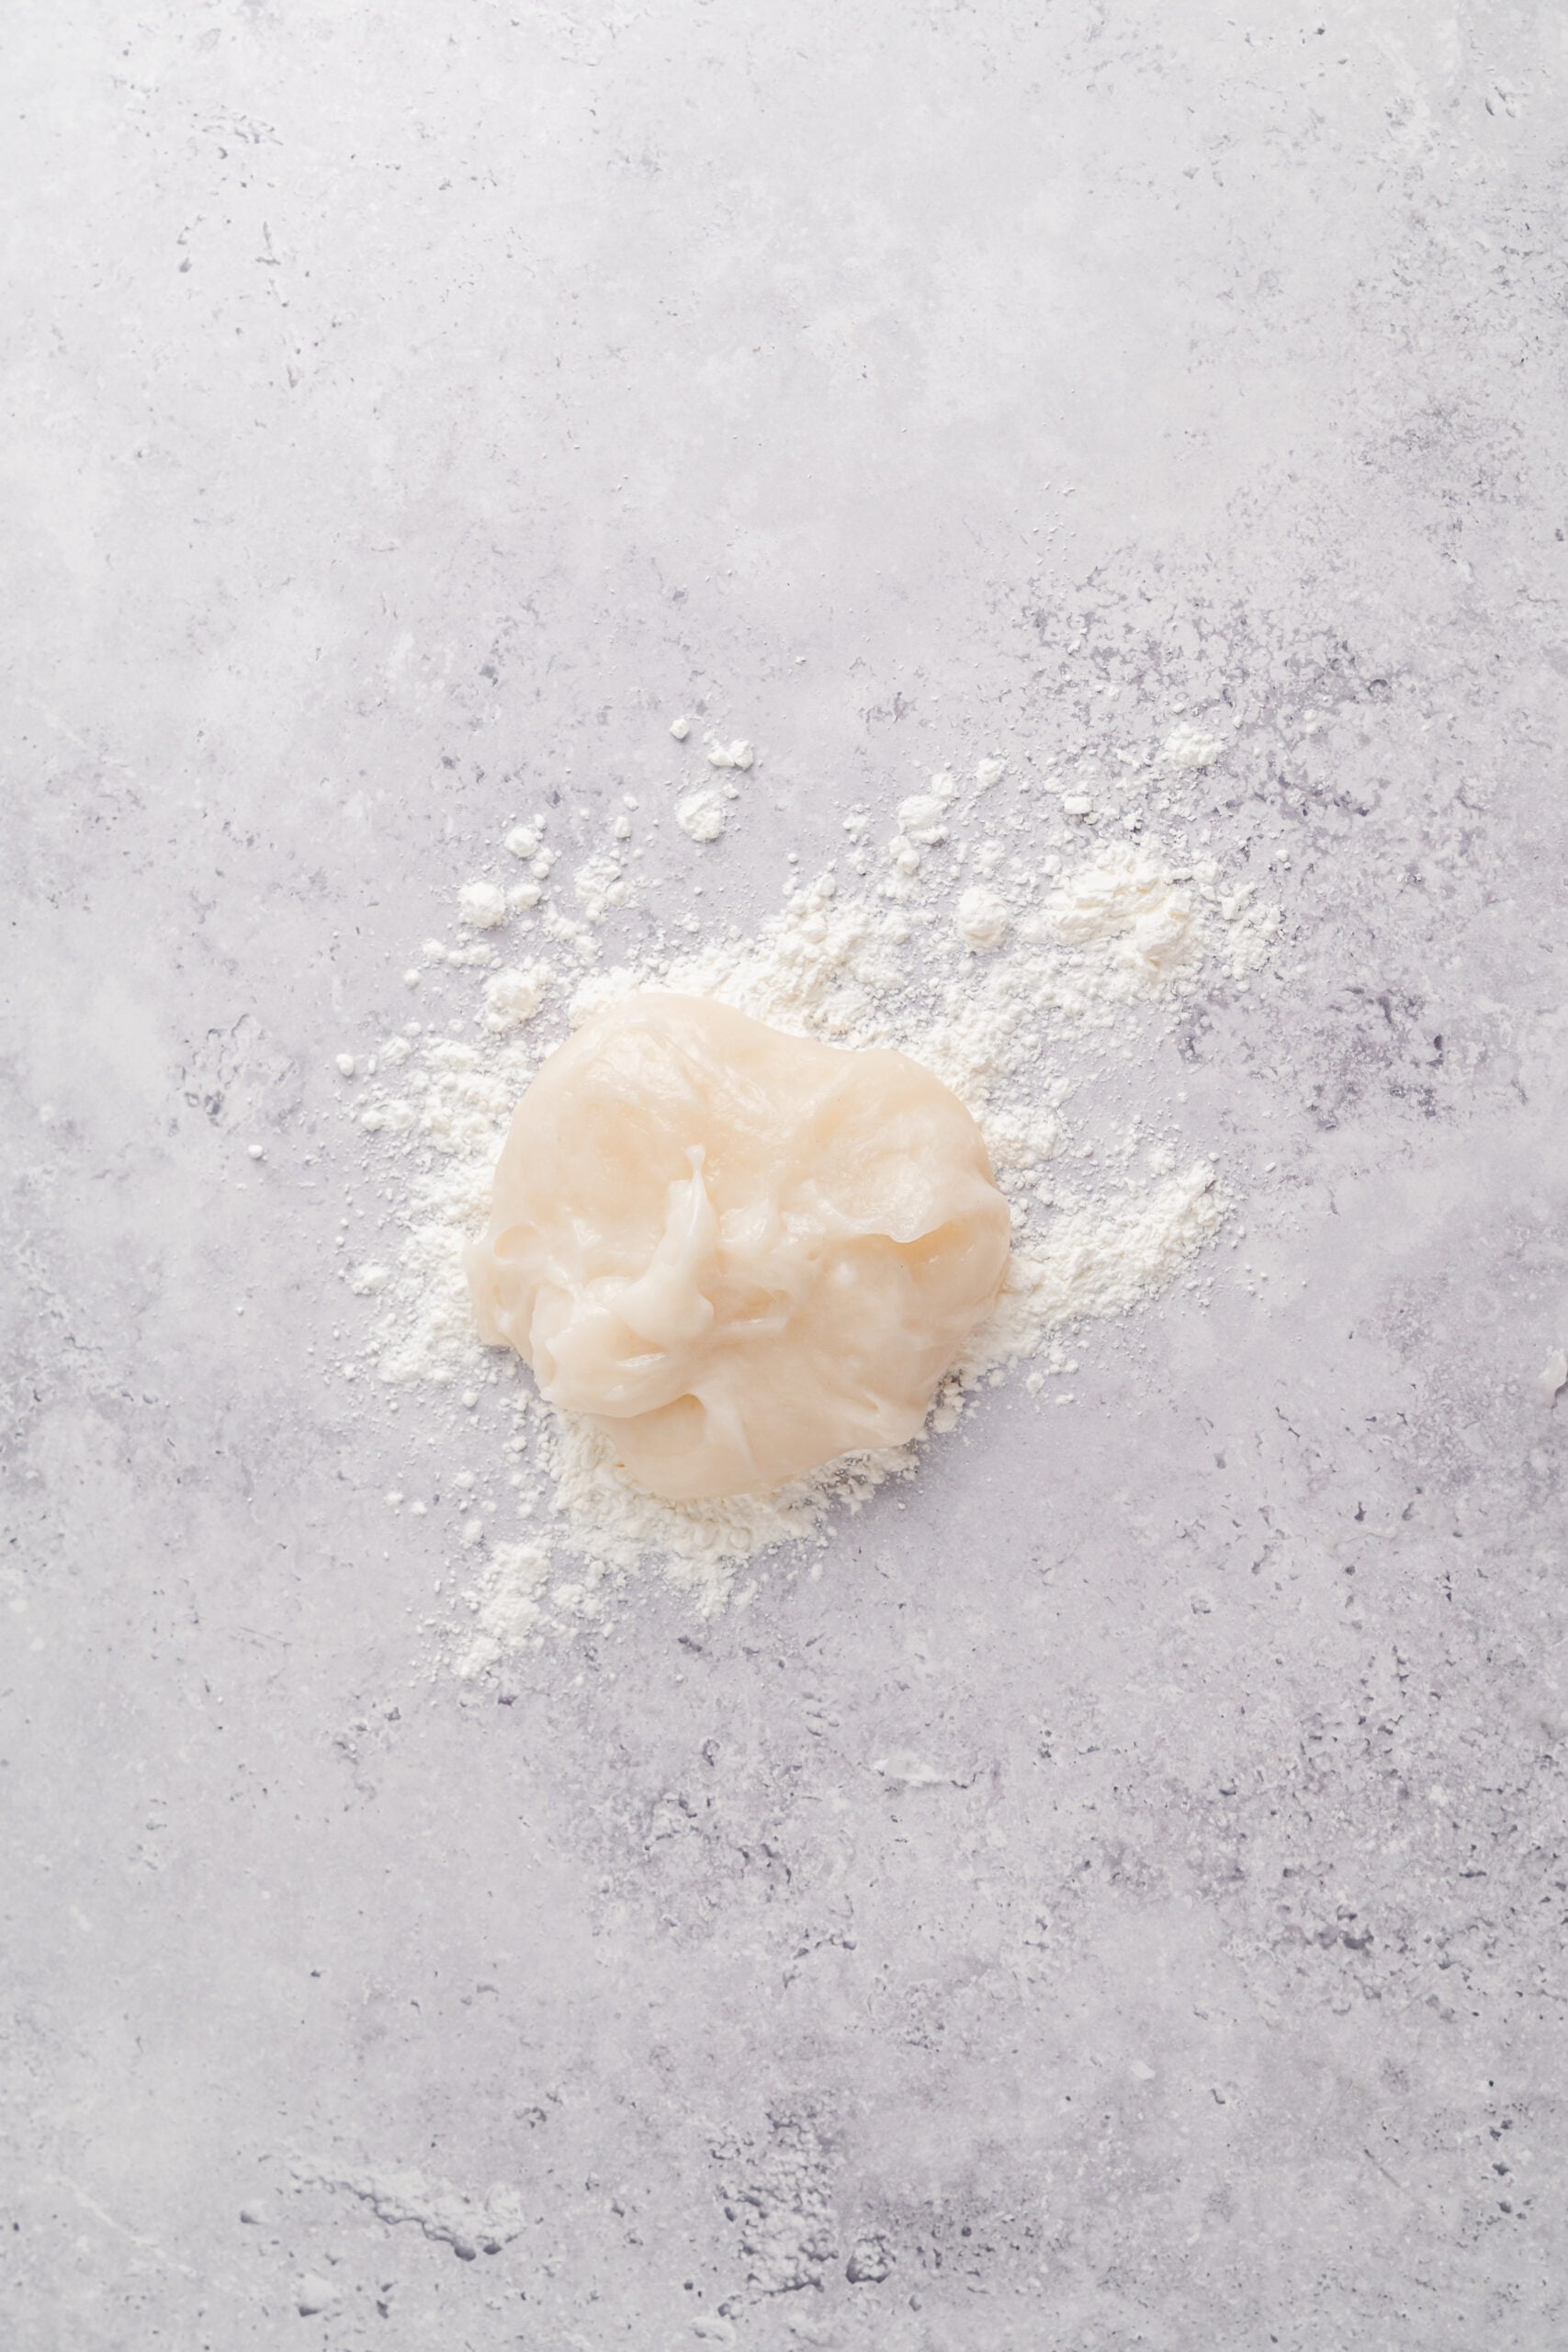
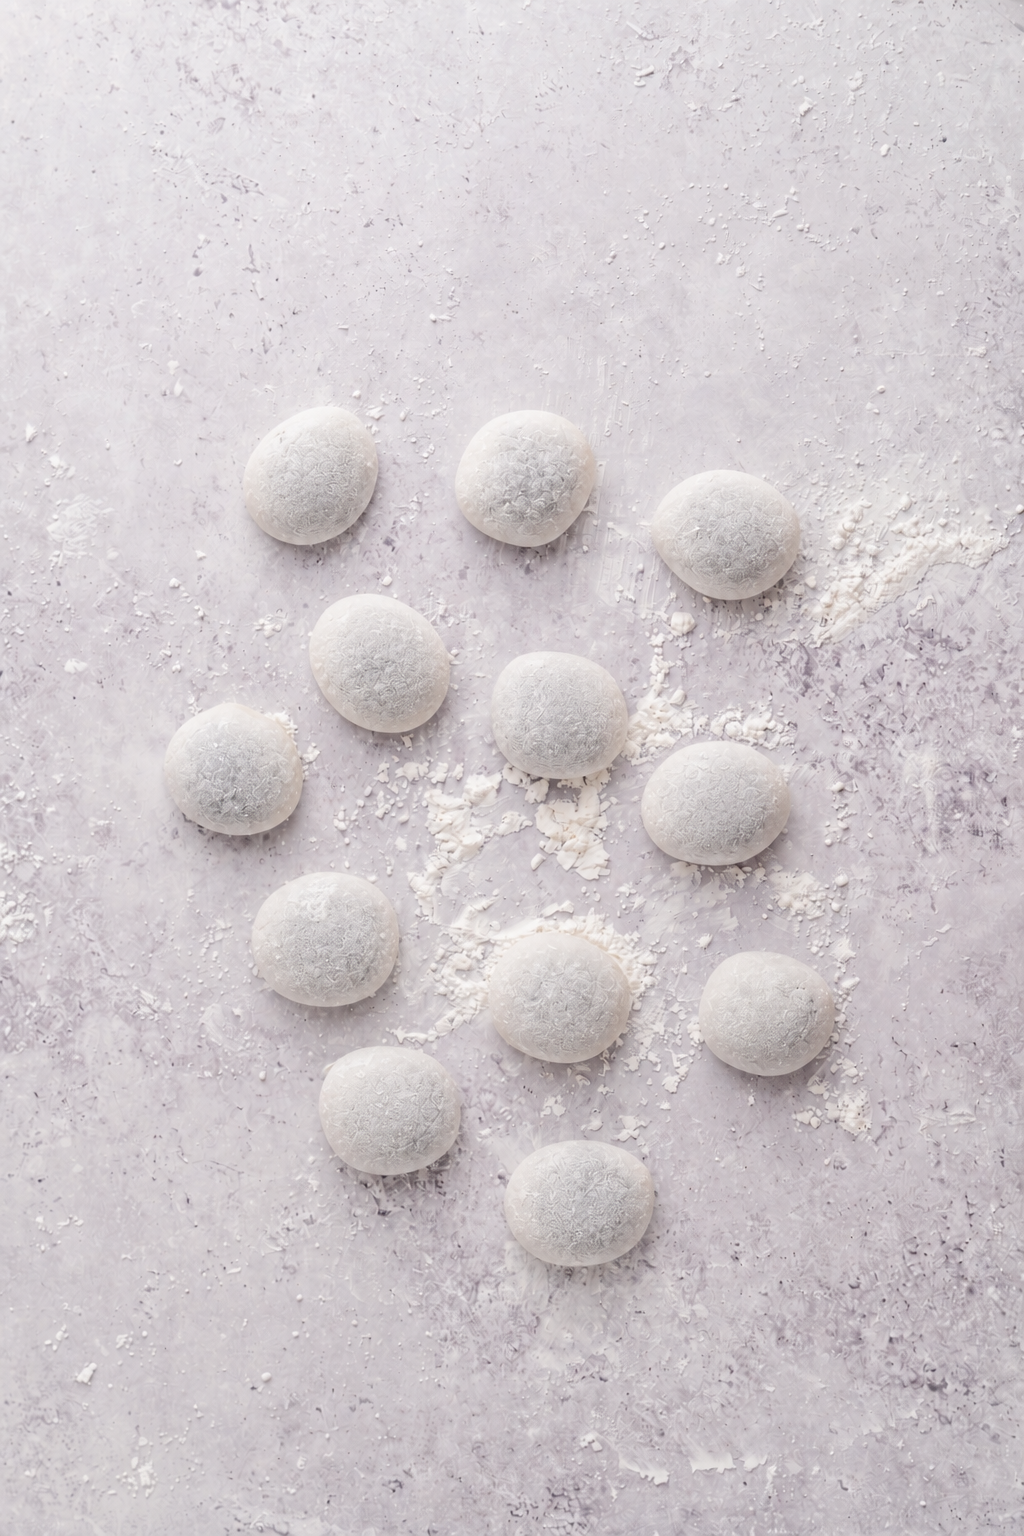
- Sit a frozen filling ball in the middle of a disc. Bring the edges up and around it, pinch firmly to seal, then roll it gently between your palms and set it seam side down.
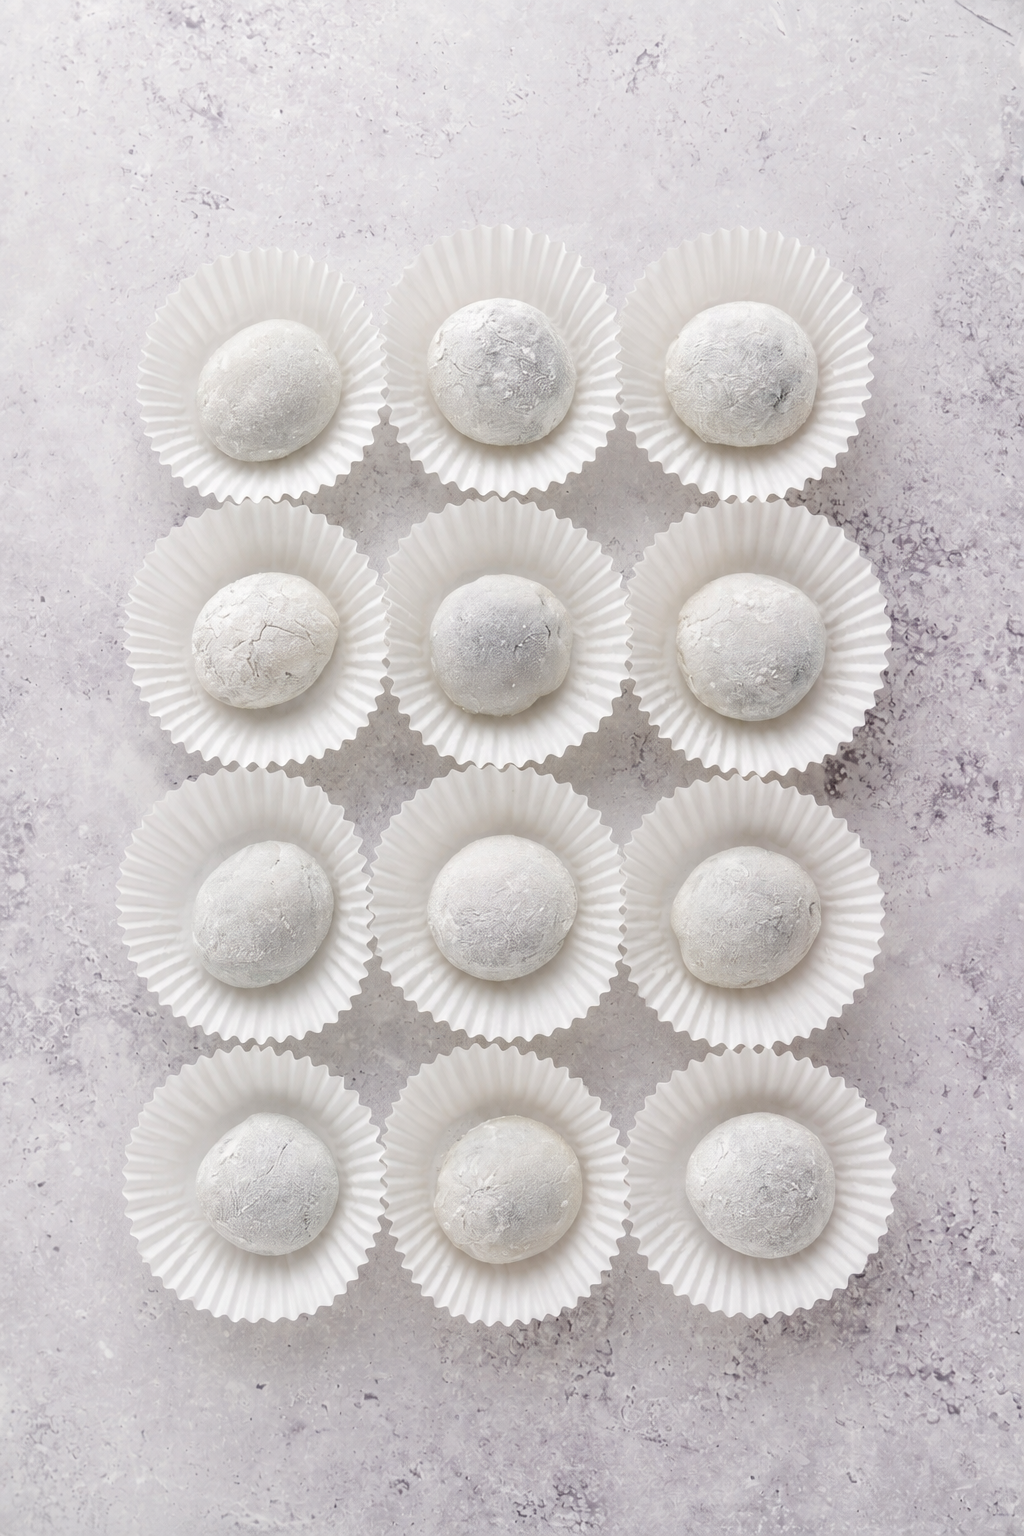
- Brush off the excess starch with a dry pastry brush and serve the same day at room temperature. They are at their best about an hour after wrapping, once the filling has softened again.
Troubleshooting
| What went wrong | Why | What to do |
|---|---|---|
| Filling is oily and will not hold a ball | The seeds were still warm when you ground them, so the oil separated out | Chill it hard for an hour and beat in another 15 g of powdered sugar. Next time cool the seeds fully. |
| Dough tears while wrapping | It has cooled too far and lost its stretch | Microwave the remaining dough for 10 seconds to soften it, then carry on. |
| Dough sticks to everything | Not enough starch on the bench, your hands or the dough itself | Keep dusting. You cannot really overdo it, and the excess brushes off at the end. |
| Dough is chalky and opaque | Undercooked | Another 30 seconds in the microwave, stirring well, until it turns translucent. |
| Mochi went hard overnight | It was refrigerated | Store at room temperature in an airtight box instead. Cold starch retrogrades and there is no way back. |
Tips for the Best Black Sesame Mochi
Toast by Smell, Not by Colour
Black seeds are already black, so you cannot watch them brown the way you can with white sesame. What changes is the smell: at around three minutes the pan goes from smelling of nothing to smelling actively nutty and slightly smoky. A few seeds will start to pop and skip. That is your cue, and thirty seconds past it they turn bitter.
Give the Processor Longer Than Feels Right
Ground sesame passes through a sandy stage that looks like it will never come together, and most people stop there. Keep going for the full three to five minutes, scraping the sides down twice, until the friction warms the seeds and releases enough oil for the paste to turn dark and glossy. A small processor bowl works far better than a large one, because the seeds stay under the blade.
Weigh the Filling Balls
Fifteen grams each sounds fussy but it is what makes the batch look professional. Uneven balls give you mochi with wildly different wall thicknesses, and the thin ones split while the thick ones taste mostly of plain dough. A digital scale and thirty extra seconds fixes it.
Work Fast Once the Dough Is Out
You have roughly ten minutes of comfortable working time before the dough stiffens. Have the starch down, the filling frozen and a tray ready before you start the microwave, so nothing is being hunted for while the dough cools on the bench.
The single best thing you can do for mochi is get everything else ready first. The dough waits for nobody.
Variations
Black Sesame and Matcha
Whisk 4 g of culinary grade matcha into the mochi flour before you add the water, so the shell comes out a soft green against the dark filling. The bitterness of matcha and the roast of sesame are a genuinely great pair, and it is the same logic behind my green tea mochi, which is worth a look if you want the green flavour in the dough rather than the centre.
Black Sesame Mochi Ice Cream
Skip the paste and wrap frozen scoops of ice cream instead, about 30 ml each, refrozen hard on a tray before wrapping. Work with one at a time and keep the rest in the freezer. The dough needs to be slightly thinner here, closer to 6 cm discs, because a thick shell goes tough when frozen.
Salted Sesame Caramel Centre
Fold 20 g of a thick, cooled caramel into the finished sesame paste along with an extra pinch of salt. It makes the filling softer, so freeze the balls for a full twenty minutes rather than fifteen. This is the version that disappears fastest in my house.
Bigger, Bakery Style
Make eight instead of twelve, at 22 g of filling each. The ratio shifts towards the centre and you get something much closer to what you would buy from a Japanese bakery counter. You will need to roll the discs closer to 10 cm across.
Serving Suggestions
With Hot Green Tea
Plain sencha or hojicha, served hot and unsweetened. The tea cuts through the butter in the filling and resets your palate between pieces, which is exactly why it is served this way in Japan. Coffee works too, but it competes rather than complements.
As Part of a Mochi Plate
Three or four flavours together looks far more impressive than it is any real extra work, since the dough is identical every time. Black sesame next to red bean and something fruity gives you a dark, a sweet and a bright, and it is how I serve these at the end of a big dinner.
Straight From the Bench, an Hour Later
Honestly the best way to eat them. About sixty minutes after wrapping the shell has relaxed and the filling has come back from freezer firm to fudgy. That window, on day one, is as good as this dessert gets.
How to Store Black Sesame Mochi
Assembled mochi is a day one food and I would rather you knew that up front. Keep them in an airtight box at room temperature and eat them within 24 hours. Refrigeration is the enemy here: cold makes the starch in the dough retrograde and the soft shell turns hard and chalky, and it does not recover when it warms up again.
The filling, on the other hand, keeps beautifully. It holds for a week in the fridge in a sealed jar, or a month in the freezer. I usually make a double batch of paste and freeze half, which turns the second round into a twenty minute job. If you want to get further ahead than that, freeze the rolled filling balls directly on a tray, then bag them once solid.
Freezing finished mochi does work if you must, wrapped individually in plastic and then bagged, for up to a month. Thaw at room temperature for about an hour. The texture is noticeably firmer than fresh and the shell loses some of its stretch, so treat it as a rescue rather than a plan.
Common Mistakes to Avoid
Grinding Warm Seeds
The mistake I made first and the one that wastes a whole batch. Warm seeds release their oil too readily and you end up with a slick rather than a paste, which will not roll and will not stay put inside the dough. Spread them on a cold plate and give them ten full minutes.
Under Cooking the Dough
A dough that is still opaque and chalky in places has not fully gelatinised, and it tastes raw and floury no matter how good the filling is. Translucent is the word to hold on to. If you can almost see the spoon through it, it is ready.
Being Shy With the Starch
Half the people who tell me mochi is impossible have simply not used enough starch. Dust the bench, the top of the dough, your hands and the rolling area, and re dust between every piece. The excess brushes straight off at the end with a dry pastry brush.
Sealing With Thick Edges
If you flatten the disc evenly, all that dough gathers at the seam and you get a hard knot at the bottom of every mochi. Press the edges thinner than the centre as you shape, so the gathered dough stays in proportion with the rest of the shell.
Treating the Filling Like It Is Optional
It is tempting to cut the butter back because the filling looks rich. Do not. Without it the paste will not set firm enough to freeze into a ball, and unfrozen filling is what turns wrapping into a smeared grey mess. If you want it lighter, use the dairy free swap rather than simply using less. The same principle applies to the paste in my black sesame cookies, where too little fat gives you a dry, dusty dough.
Frequently Asked Questions
What does black sesame mochi taste like?
Toasty, nutty and rich, with a faint bitterness at the edges that stops it being cloying. The closest reference point most people have is really good tahini or halva, sweetened and set firm. The mochi shell itself is only just sweet, so almost everything you taste is the sesame filling.
Can I use ready made black sesame paste instead of grinding my own?
Yes, and it saves you the two longest steps. Use about 180 g of jarred paste, then beat in the powdered sugar and softened butter from the recipe. Jarred paste is made to be spoonable and is far too loose to wrap straight from the jar, so the sugar and butter are doing structural work, not just flavouring it.
Why did my mochi dough tear while I was wrapping it?
It cooled too far. Mochi dough is only really workable for about ten minutes after it comes out of the microwave, and after that it stiffens and splits instead of stretching. Put the remaining dough back in for 10 seconds to soften it and carry on. Having the filling frozen and the bench dusted before you start buys you most of that window back.
Can I make black sesame mochi ahead of time?
Make the filling ahead, not the mochi. The sesame paste keeps for a week in the fridge and a month in the freezer, and the rolled balls freeze well on a tray. Assembled mochi is genuinely a day one food and should be eaten within 24 hours, stored at room temperature in an airtight box.
Why should I not refrigerate mochi?
Cold makes the starch in the glutinous rice dough retrograde, which is a fancy way of saying the soft shell turns hard and chalky. It does not come back when the mochi warms up again. Room temperature in a sealed container is the only good answer, and it is why mochi shops make fresh every morning.
What is the difference between mochiko and shiratamako?
Both are glutinous rice flours and both work here. Mochiko is milled finer and gives a softer, slightly stickier dough. Shiratamako comes in small granules, dissolves into a smoother batter and gives a springier chew that is closer to what you get from a Japanese confectioner. Use whichever your grocer stocks, but do not substitute plain rice flour, which has none of the stretch.
Let’s Get Cooking
If you liked this recipe make sure to leave me a comment and rating down below. I’d love to know how it went! Also, don’t forget to tag me on Instagram @catherine.desserts.
Follow me on Facebook, Pinterest, YouTube, and TikTok for more of my baking creations and updates!
Black Sesame Mochi
Soft, stretchy black sesame mochi with a thick, toasty black sesame filling. Ready in about an hour and a half with no special equipment beyond a food processor and a microwave.
- Prep Time: 30 minutes
- Chill Time: 45 minutes
- Cook Time: 5 minutes
- Total Time: 1 hour 20 minutes
- Yield: 12 pieces 1x
- Category: Dessert
- Method: Microwave
- Cuisine: Japanese
Ingredients
Black sesame filling
- 100 g black sesame seeds
- 60 g powdered sugar
- 55 g unsalted butter, softened
- Pinch of fine salt
Mochi dough
- 150 g glutinous rice flour (mochiko or shiratamako)
- 60 g granulated sugar
- 200 ml water
For shaping
- 50 g potato starch or cornstarch, for dusting
Instructions
- Toast the black sesame seeds in a dry pan over medium heat for 3 to 4 minutes, shaking often, until they smell nutty. Tip onto a plate and cool completely.
- Blitz the cooled seeds in a food processor for 3 to 5 minutes, scraping down often, until they break down into a coarse dark paste. Add the powdered sugar, softened butter and salt, then blend again until thick and glossy.
- Scrape the filling into a bowl and chill for 30 minutes, until firm enough to scoop.
- Roll the filling into 12 balls of roughly 15 g each. Freeze for 15 minutes. Firm filling is the difference between easy wrapping and a frustrating mess.
- Whisk the glutinous rice flour and granulated sugar in a microwave safe bowl. Pour in the water gradually, whisking to a smooth batter with no lumps. Pass it through a sieve if any remain.
- Cover the bowl with plastic wrap. Microwave for 1 minute, stir well, microwave 1 minute more, stir again, then continue in 30 second bursts until the dough is thick, glossy and translucent rather than chalky white. Total time is usually 2 and a half to 3 minutes.
- Dust a work surface generously with starch. Scrape the hot dough out, dust the top, and leave for 5 minutes until cool enough to handle but still warm and pliable.
- Divide the dough into 12 equal pieces. Flatten each into a disc about 8 cm across, keeping the edges slightly thinner than the centre.
- Sit a frozen filling ball in the middle of a disc. Bring the edges up and around, pinch firmly to seal, then roll gently between your palms and set seam side down.
- Brush off the excess starch with a dry pastry brush. Serve the same day at room temperature.
Notes
- Shortcut: ready made black sesame paste can replace steps 1 and 2. Use about 180 g and beat in the powdered sugar and butter to firm it up, since jarred paste is usually too loose to wrap on its own.
- Dairy free: swap the butter for 45 ml of a neutral oil plus an extra 15 g powdered sugar. The filling stays softer, so keep it frozen right up until wrapping.
- Steamer method: if you are avoiding the microwave, steam the covered batter over simmering water for 20 to 25 minutes, stirring at the halfway point.
- Make ahead: the filling keeps 1 week refrigerated or 1 month frozen. Assembled mochi is best on day one. Refrigeration turns the dough hard, so store at room temperature in an airtight box and eat within 24 hours.
- Troubleshooting: dough tearing as you wrap means it has cooled too far, so microwave it for 10 seconds to soften. Dough sticking to everything means not enough starch, so keep dusting. A chalky, opaque dough is undercooked and needs another 30 seconds.
Nutrition
- Serving Size: 1 piece