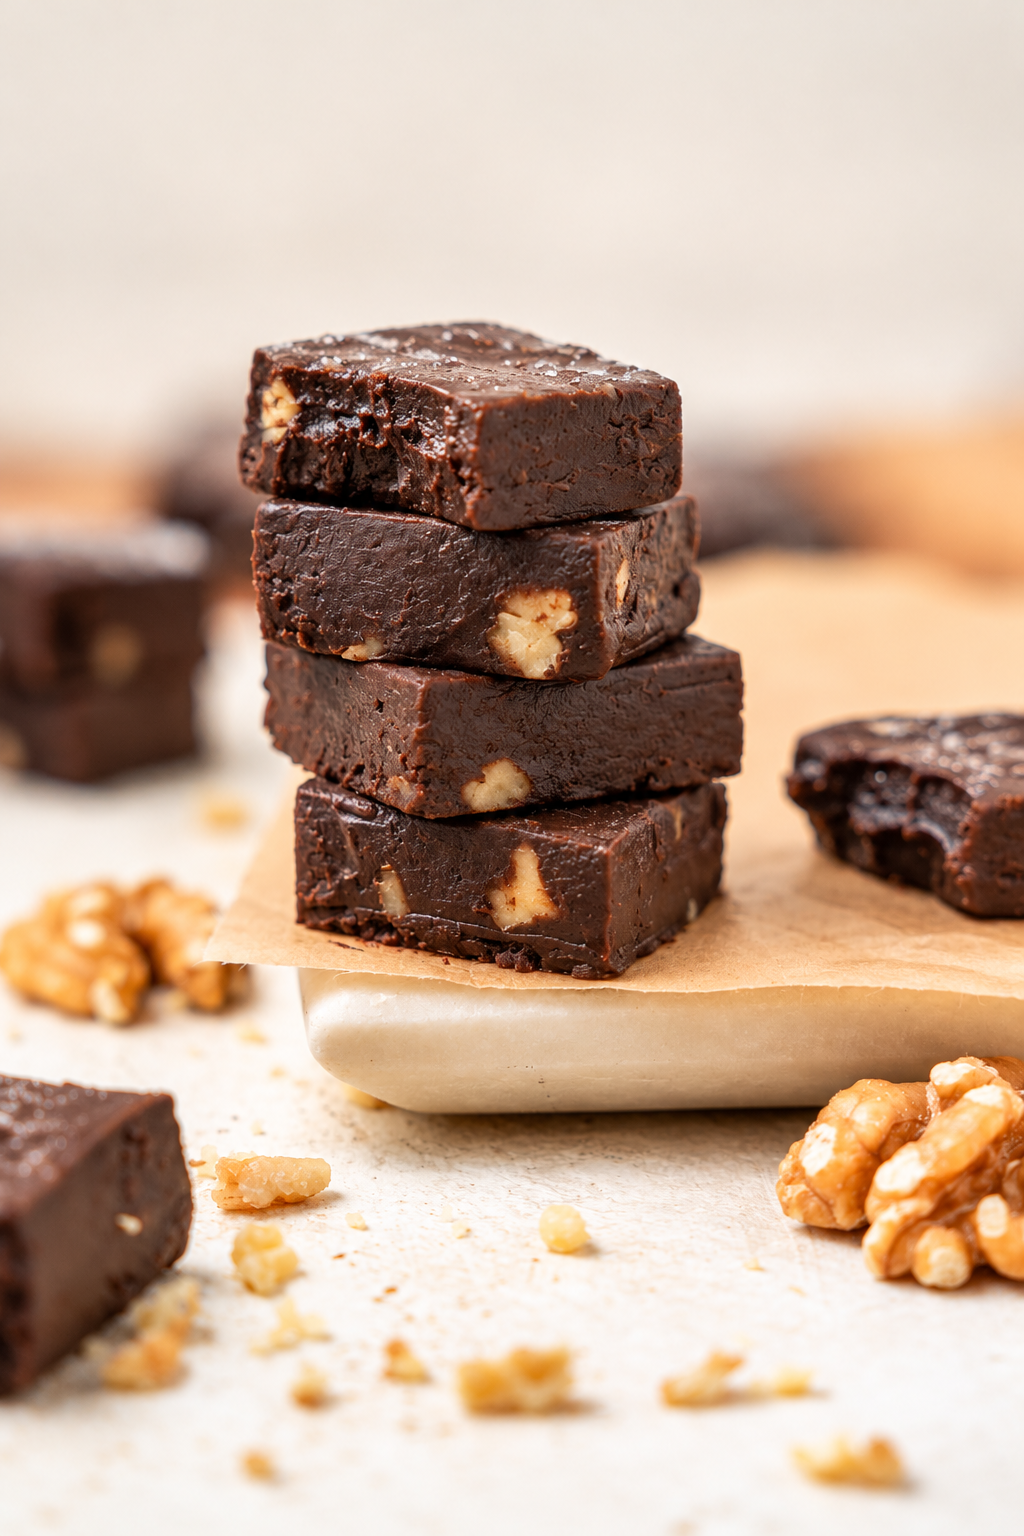
This fudge recipe is five ingredients, one saucepan and no thermometer, and it sets into dense, glossy, melt in your mouth chocolate fudge that cuts into 36 clean squares for gifting.
Old fashioned fudge has a reputation for being fussy, and it earns it: boiled sugar, a candy thermometer, a soft ball stage and a lot of beating. This easy fudge recipe skips all of that. Sweetened condensed milk has already been cooked down into a thick sugar syrup before it reaches your kitchen, so the hard part is done before the pan goes on the stove.
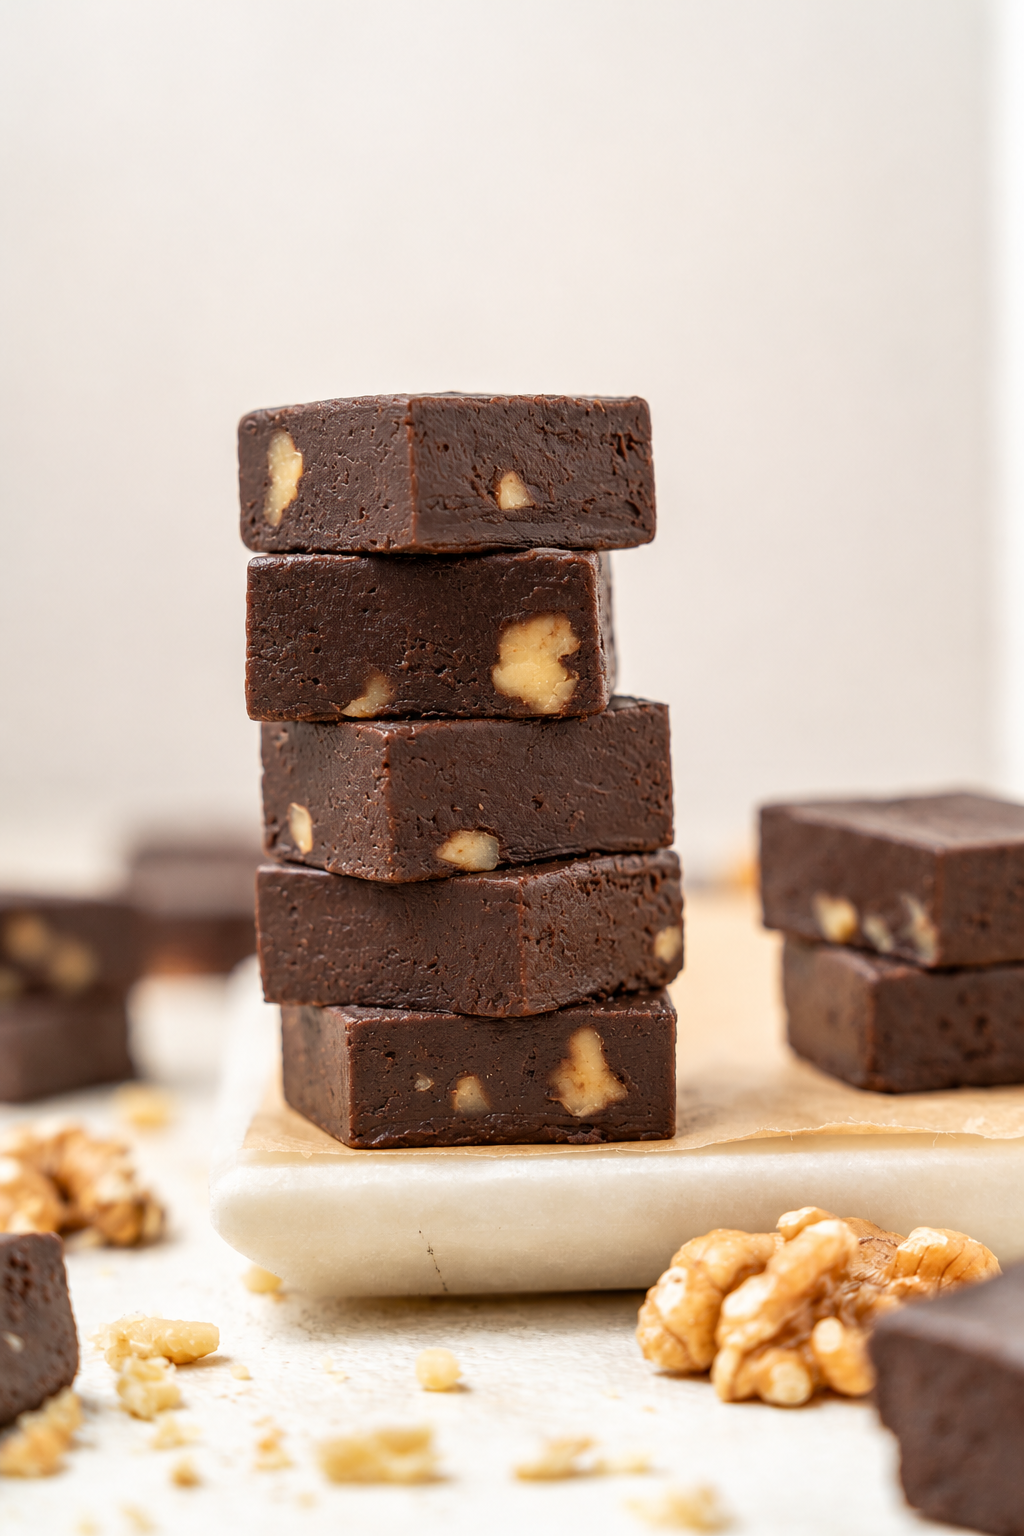
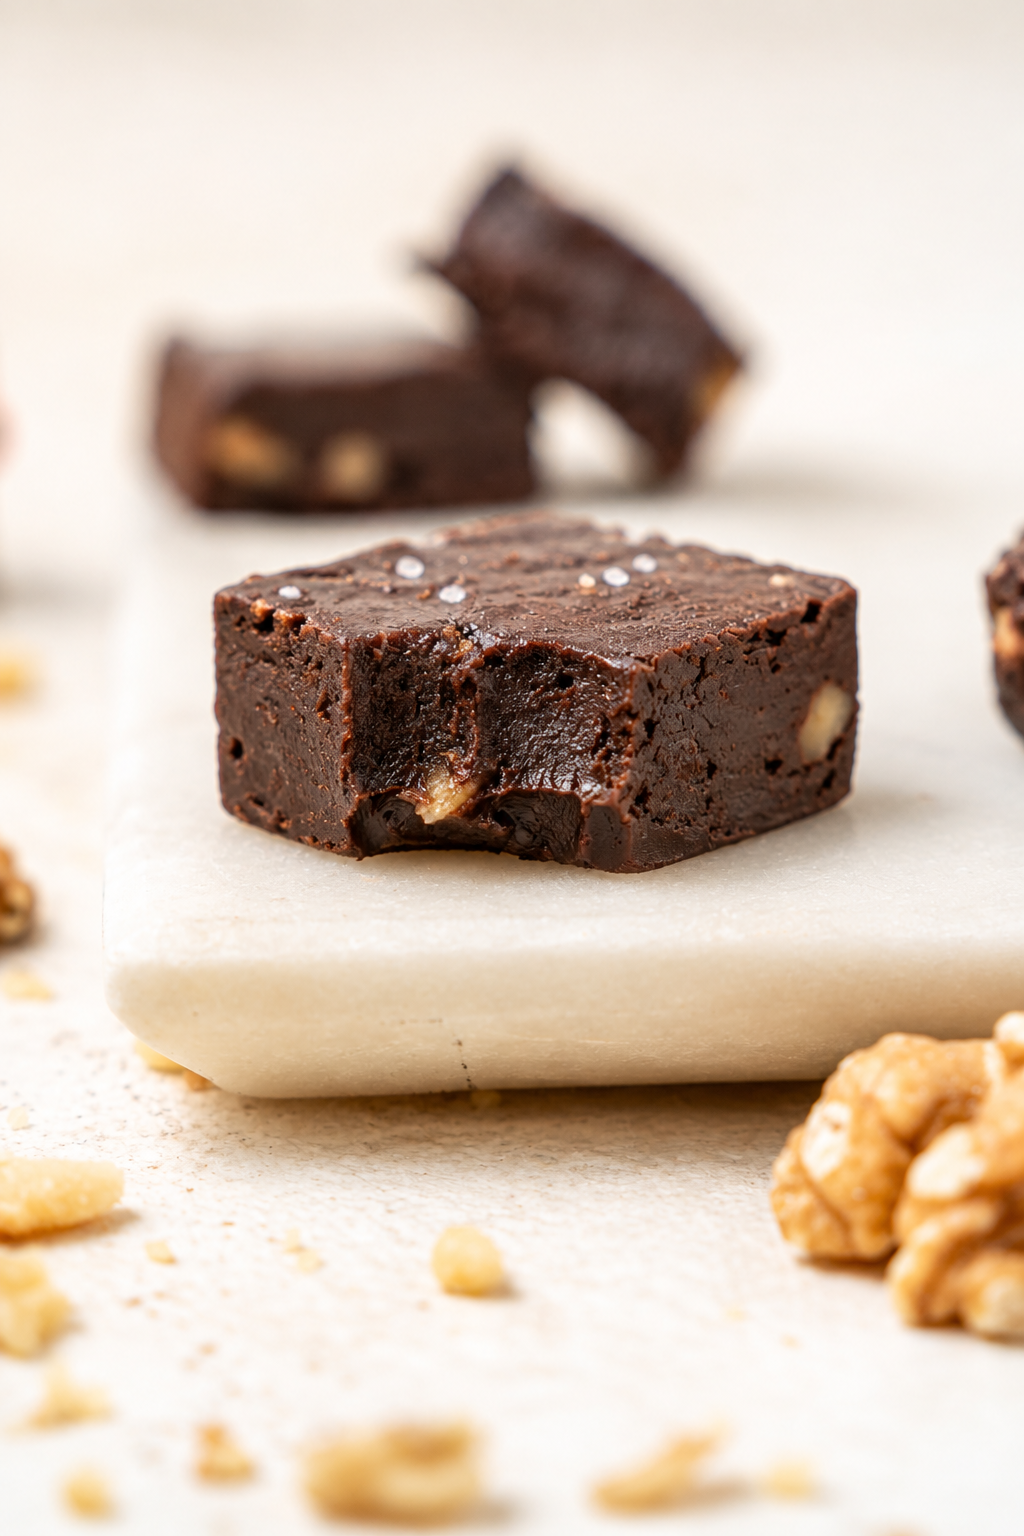
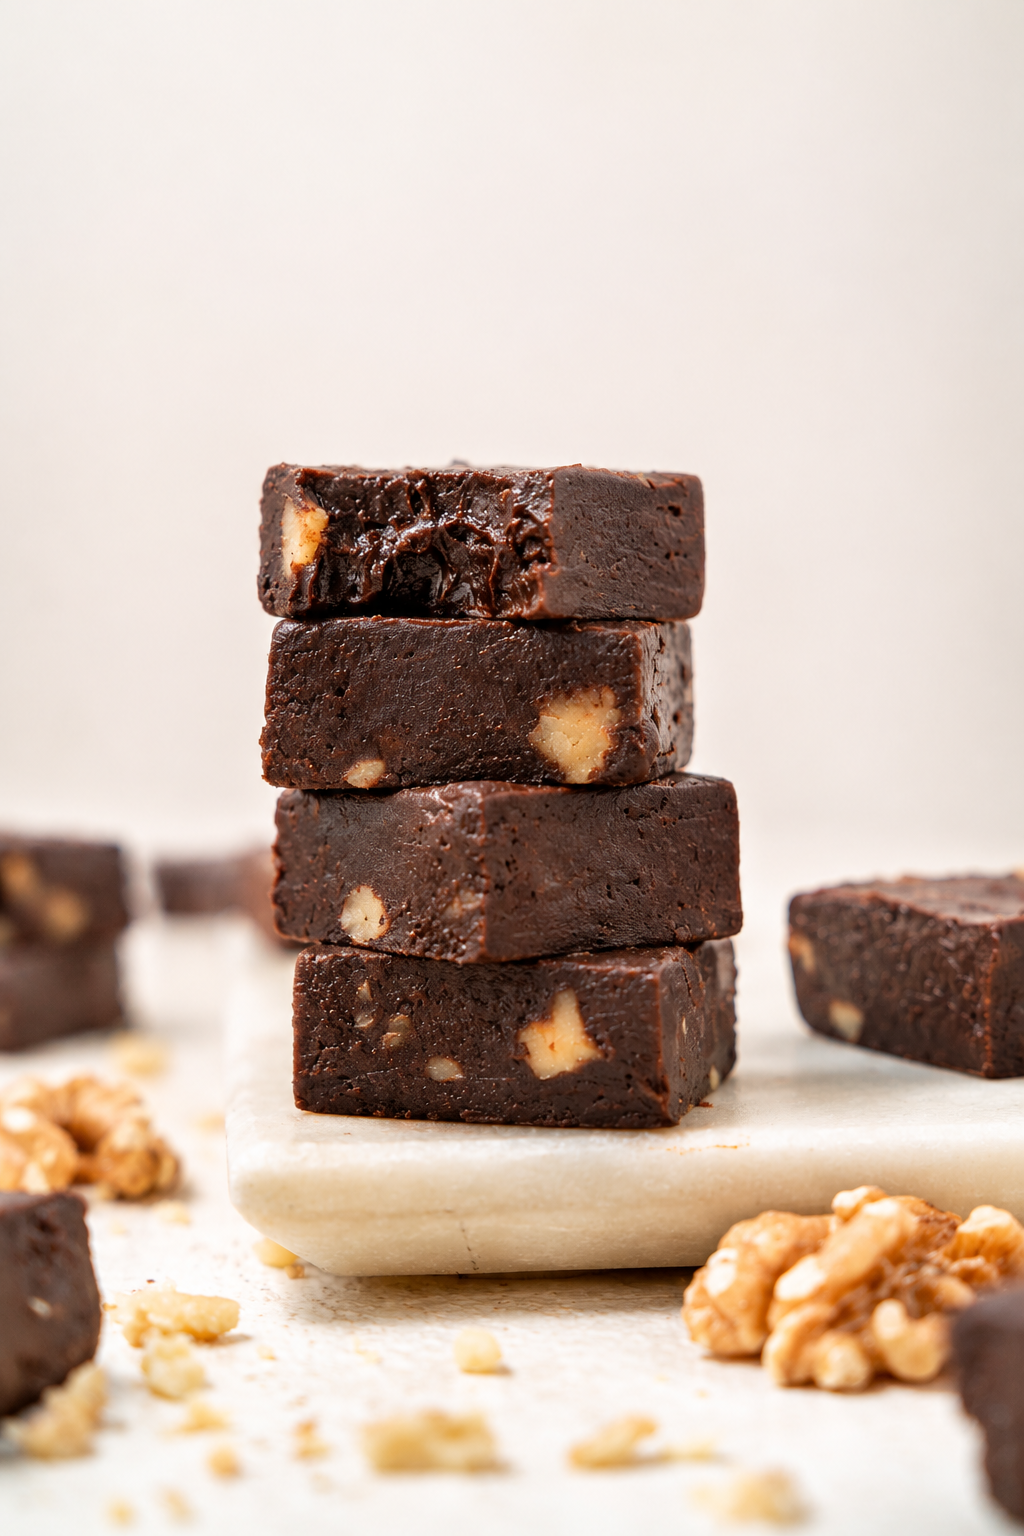
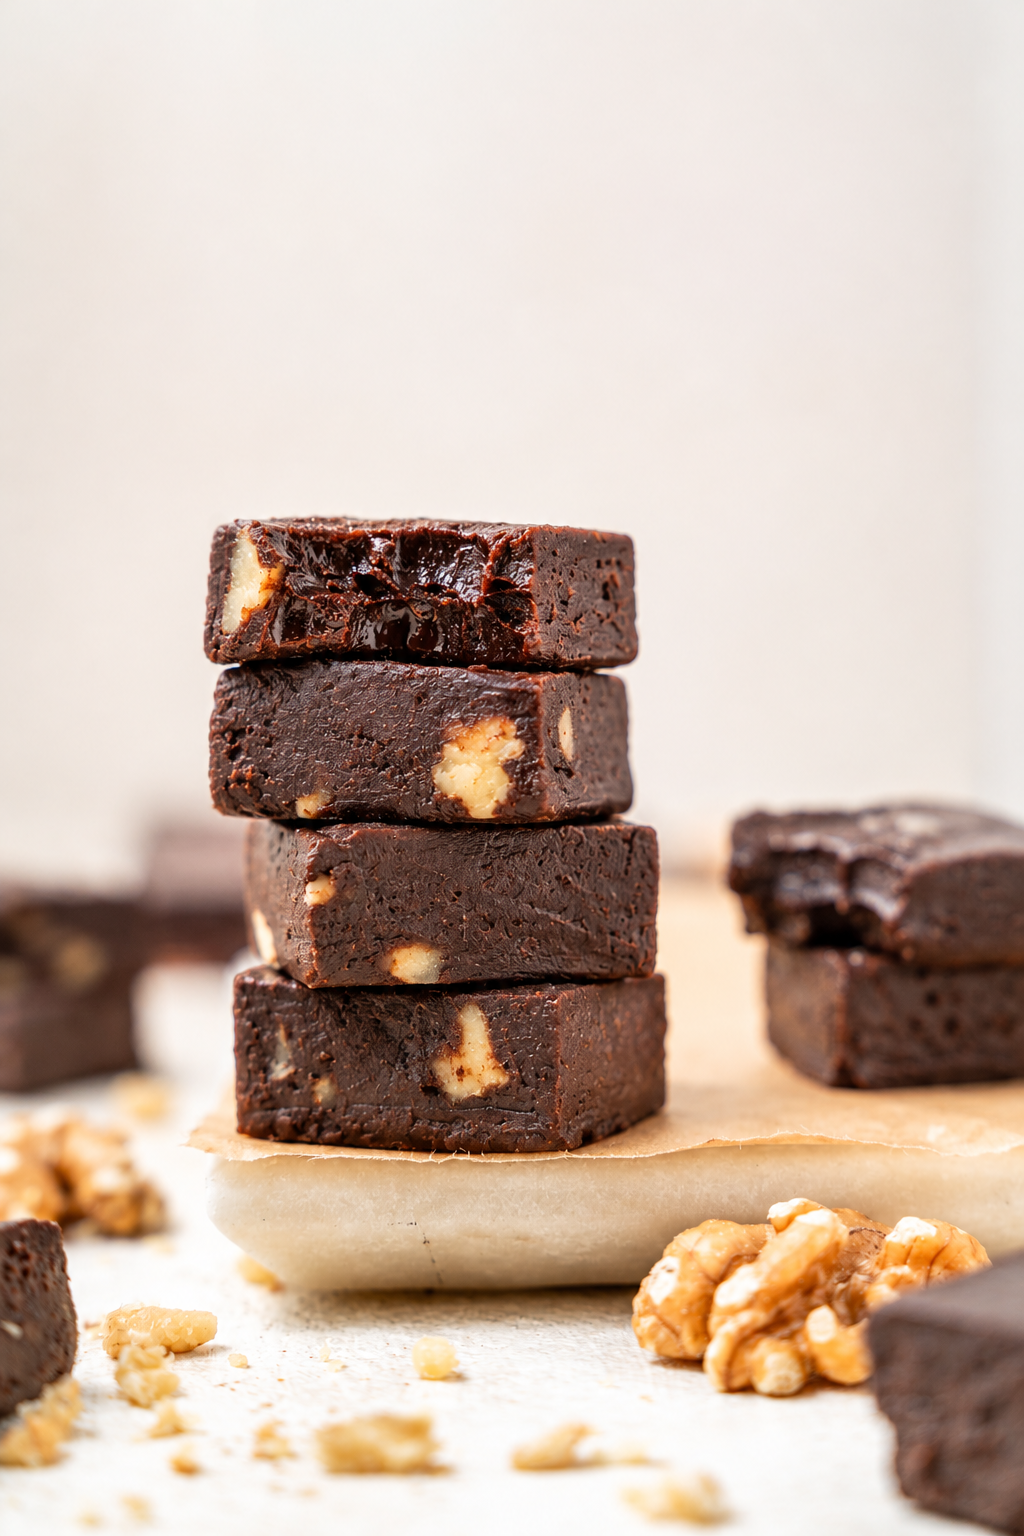
What is left is melting chocolate into it gently, and the only real way to fail is too much heat. The batch in these photos has toasted walnuts stirred through and flaky salt on top, both optional and both worth it. Below is exactly how to keep it smooth, what to do if it goes grainy or will not set, and how to pack it so it arrives looking as good as it left.
Why this fudge recipe needs no thermometer
Traditional fudge is a sugar syrup cooked to precisely 114°C (238°F), cooled, then beaten until it crystallises into a fine grain. Miss the temperature by a few degrees or beat it at the wrong moment and it turns soft, sticky or sandy. That is why a thermometer is normally essential.
Condensed milk fudge works differently. The condensed milk is already a concentrated, cooked syrup of milk and sugar, so you never need to boil anything. Melting a large weight of chocolate into it gives you the structure instead, because the cocoa butter in the chocolate sets firm as it cools. The result is denser and creamier than old fashioned fudge, closer to a firm truffle, and very forgiving.
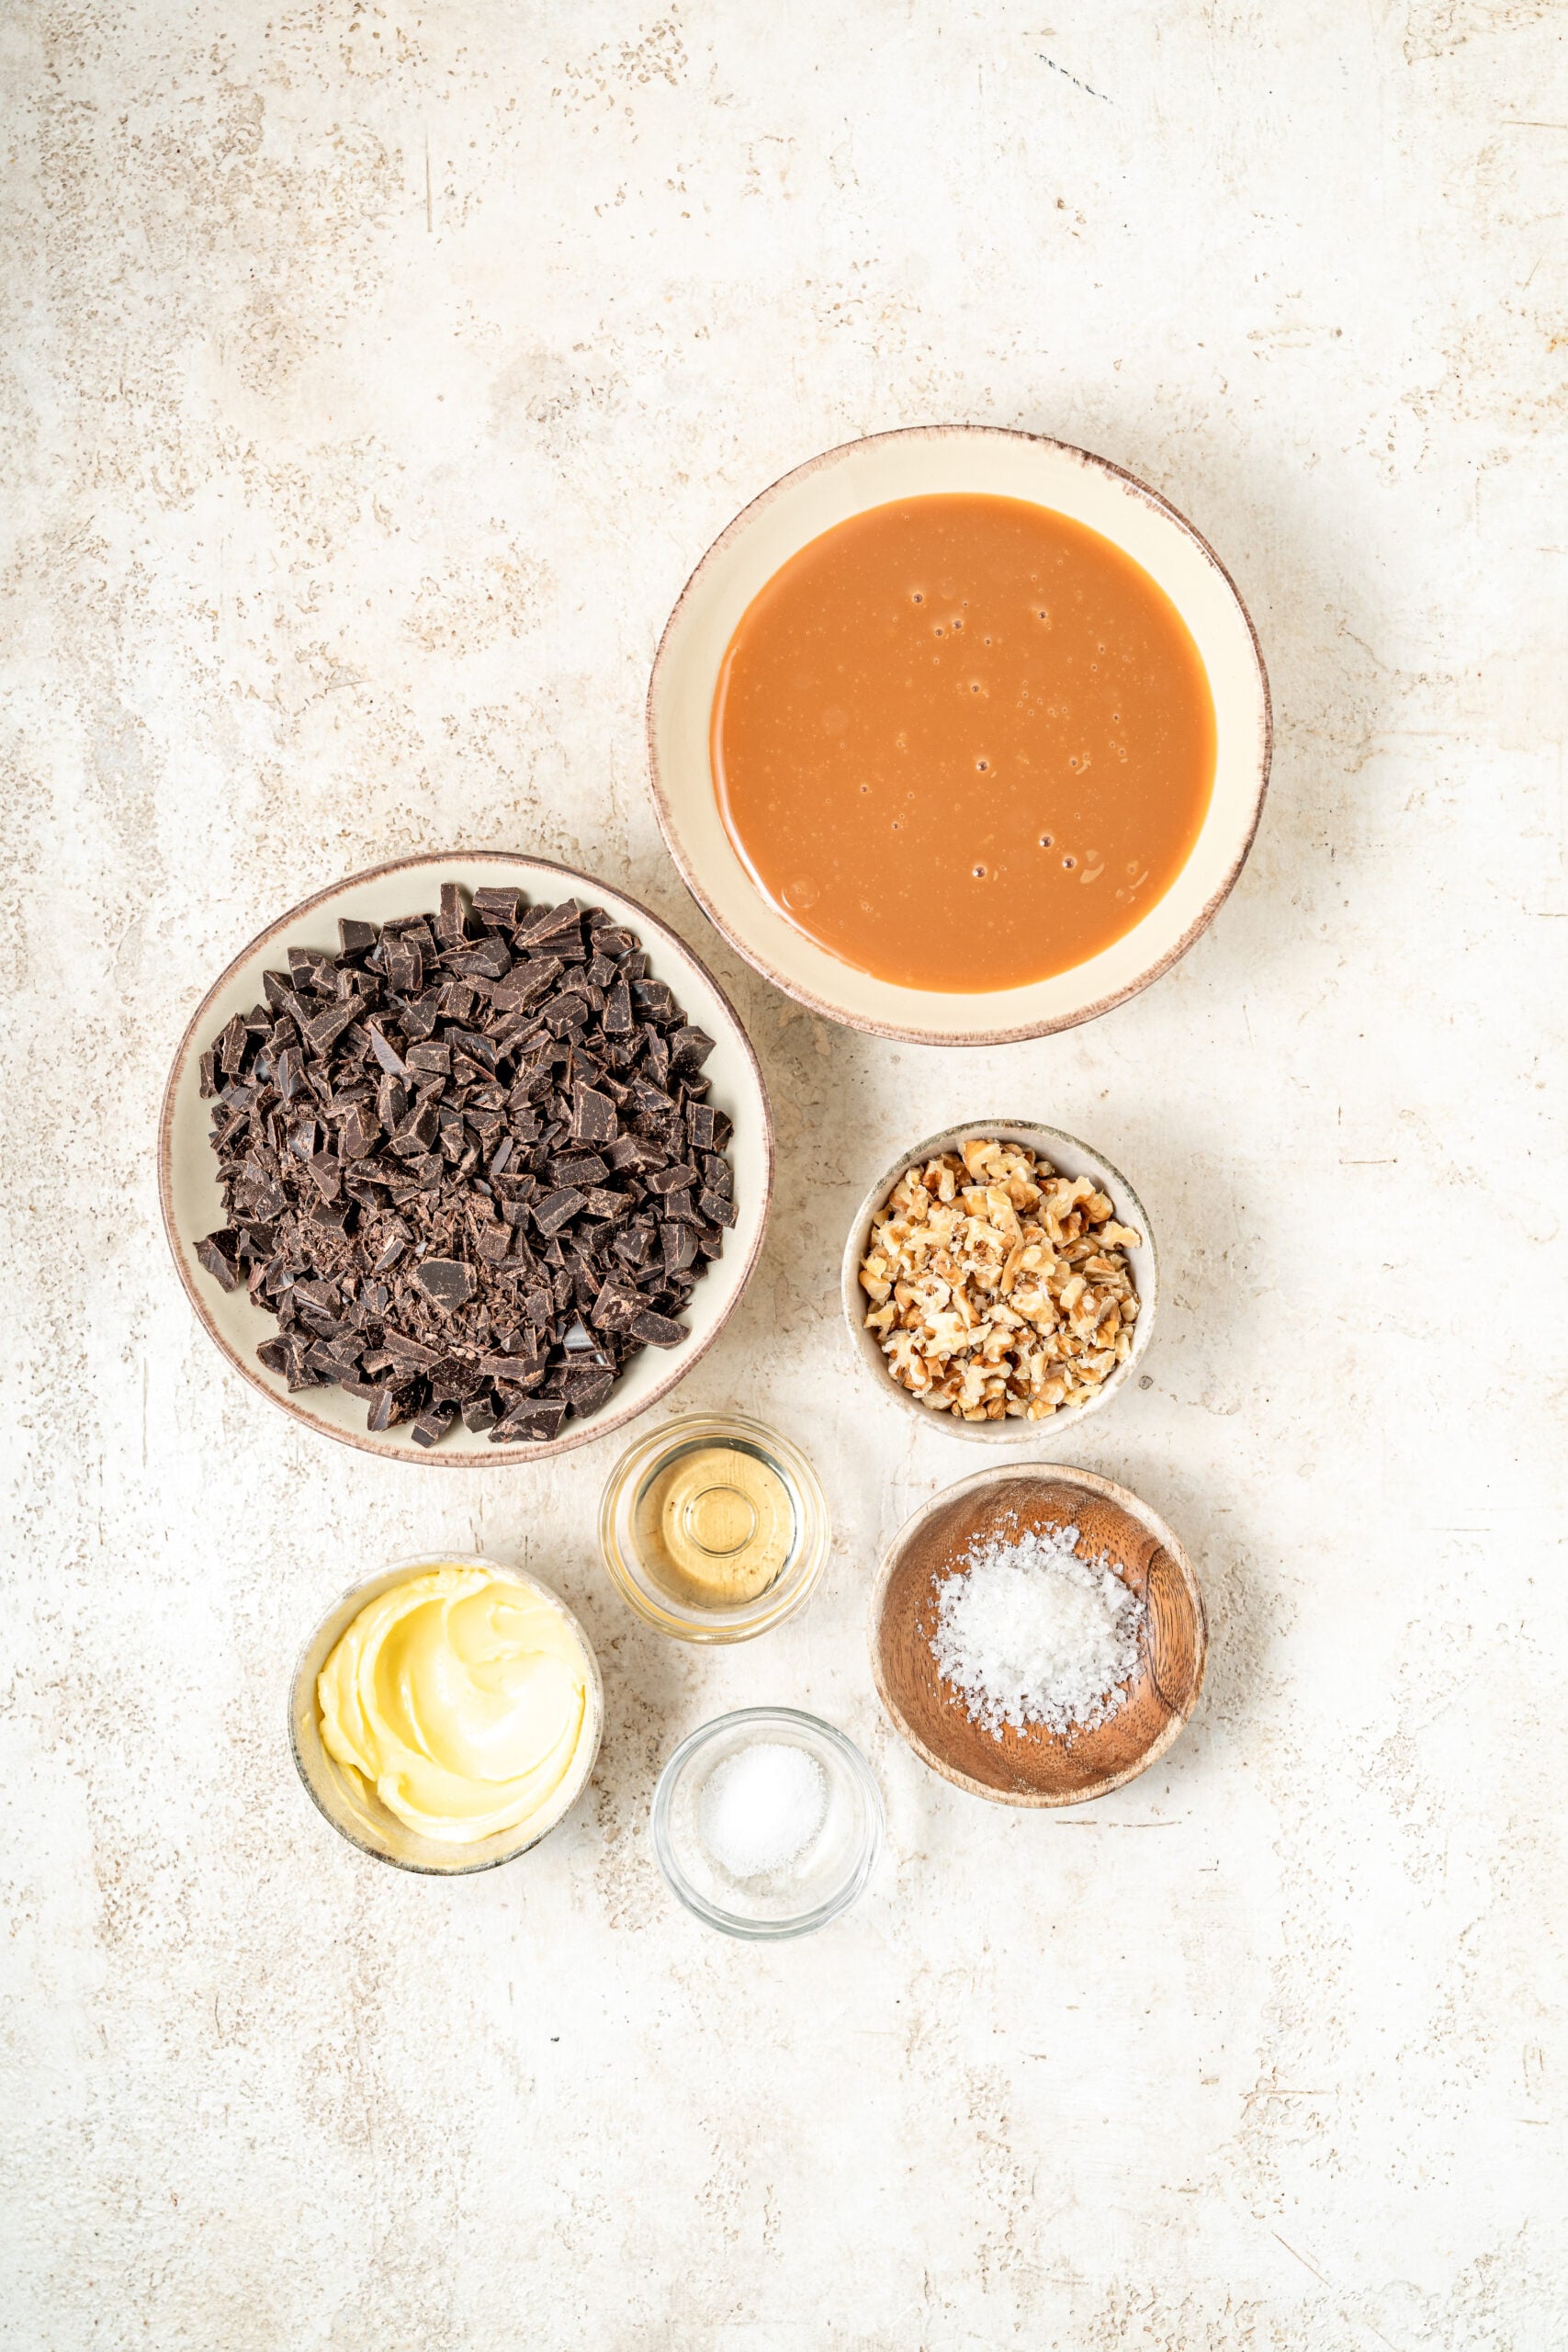
Fudge recipe ingredients
Quantities are in the recipe card at the end of the post. Here is what each one is doing.
For the fudge
- Semisweet or dark chocolate, 50 to 60 per cent: the biggest quality variable in the whole recipe. Use a chopped bar, not chocolate chips, which contain stabilisers that stop them flowing and give fudge a dull, slightly waxy set.
- Sweetened condensed milk: the cooked sugar base that makes this a no thermometer fudge. Make sure the tin says sweetened condensed, not evaporated milk, which has no sugar and will not set.
- Unsalted butter: softens the set slightly and gives the fudge its glossy surface and smooth bite.
- Vanilla extract: stirred in off the heat, where its flavour survives, to round out the chocolate.
- Fine salt: half a teaspoon keeps a very sweet confection from tasting one note.
Optional: my favourite extras that add a little magic
- Walnuts or pecans: toasted and roughly chopped, they add crunch and a slightly bitter edge against all that sweetness. Toasting matters, because raw nuts taste soft and green inside fudge.
- Flaky sea salt: scattered over the top while it is still tacky so it sticks. It makes the fudge taste more chocolatey, not salty.
Substitutions: smart ingredient swaps that still taste amazing
- Milk chocolate: it is softer and will not set at the full weight on its own. Use half milk and half dark, or add extra dark chocolate.
- Salted butter: fine, just drop the added salt to a pinch.
- Other nuts: hazelnuts, almonds and pistachios all work. Keep them to the same weight so the fudge still holds together when cut.
How to make fudge, step by step
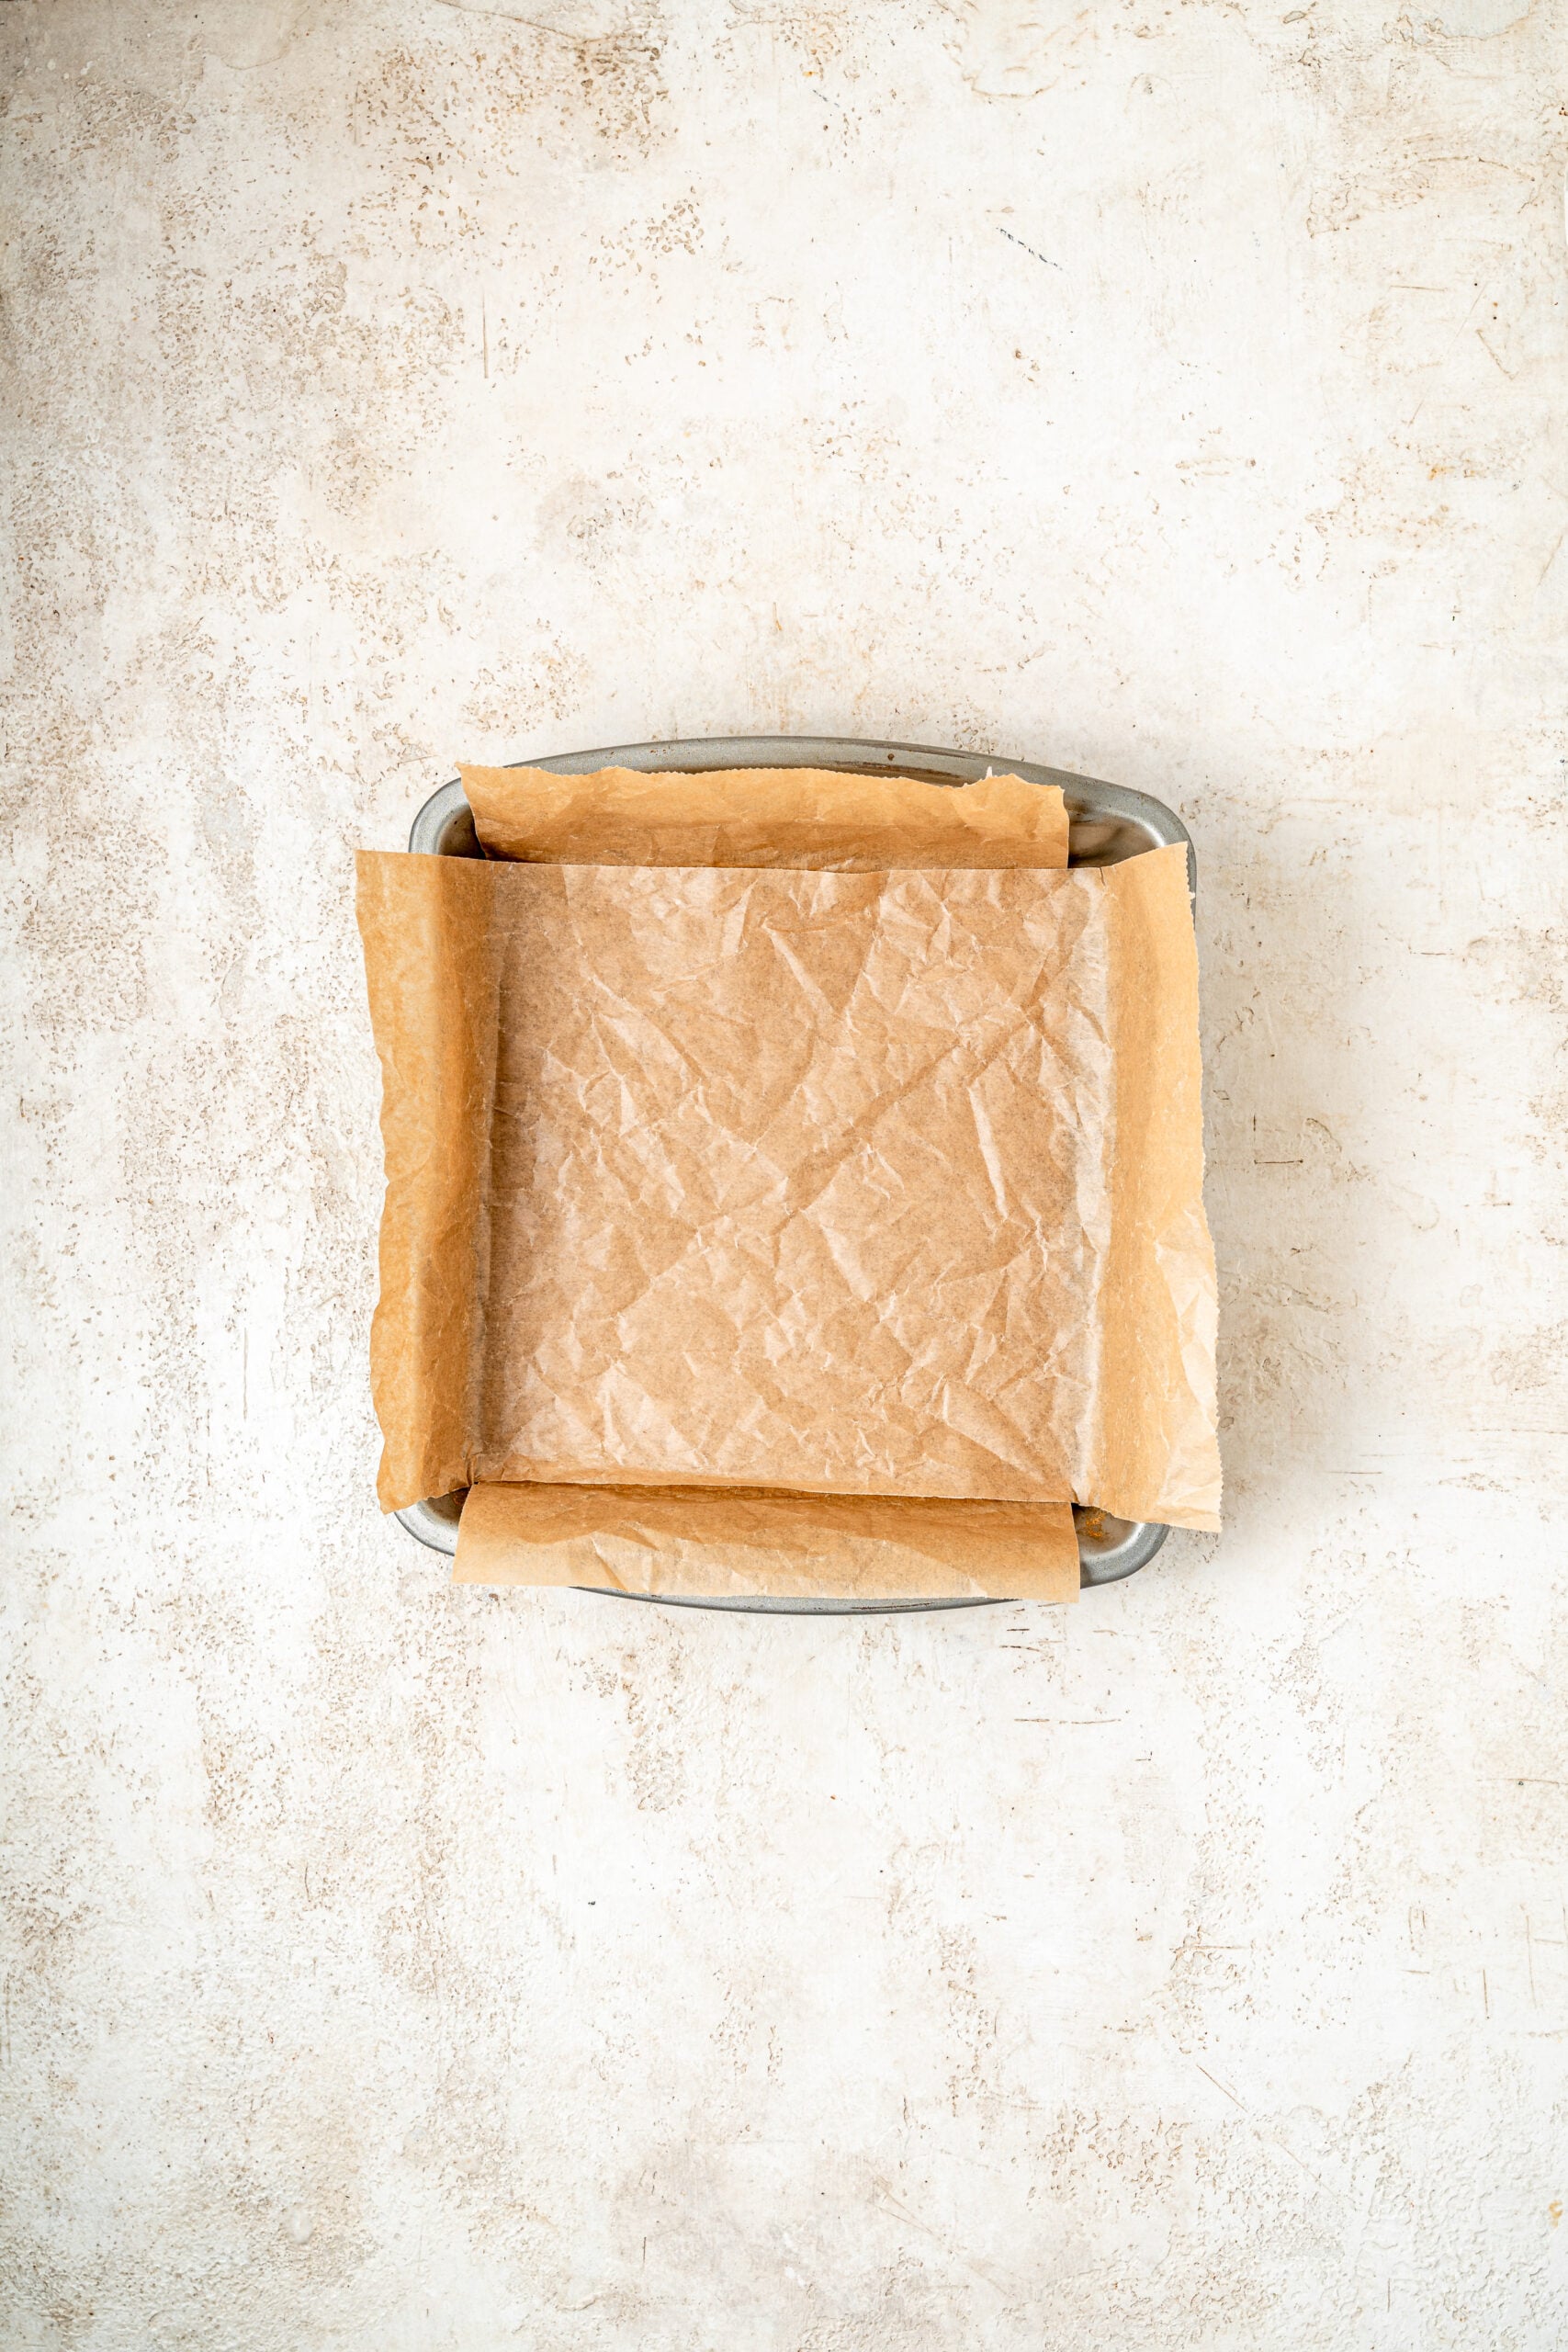
- Line an 8 inch (20 cm) square tin with baking paper, leaving an overhang on two opposite sides. Those flaps are how the slab lifts out in one piece later.
- Chop the chocolate finely and evenly. Even pieces melt at the same rate, which is most of what keeps the texture smooth.
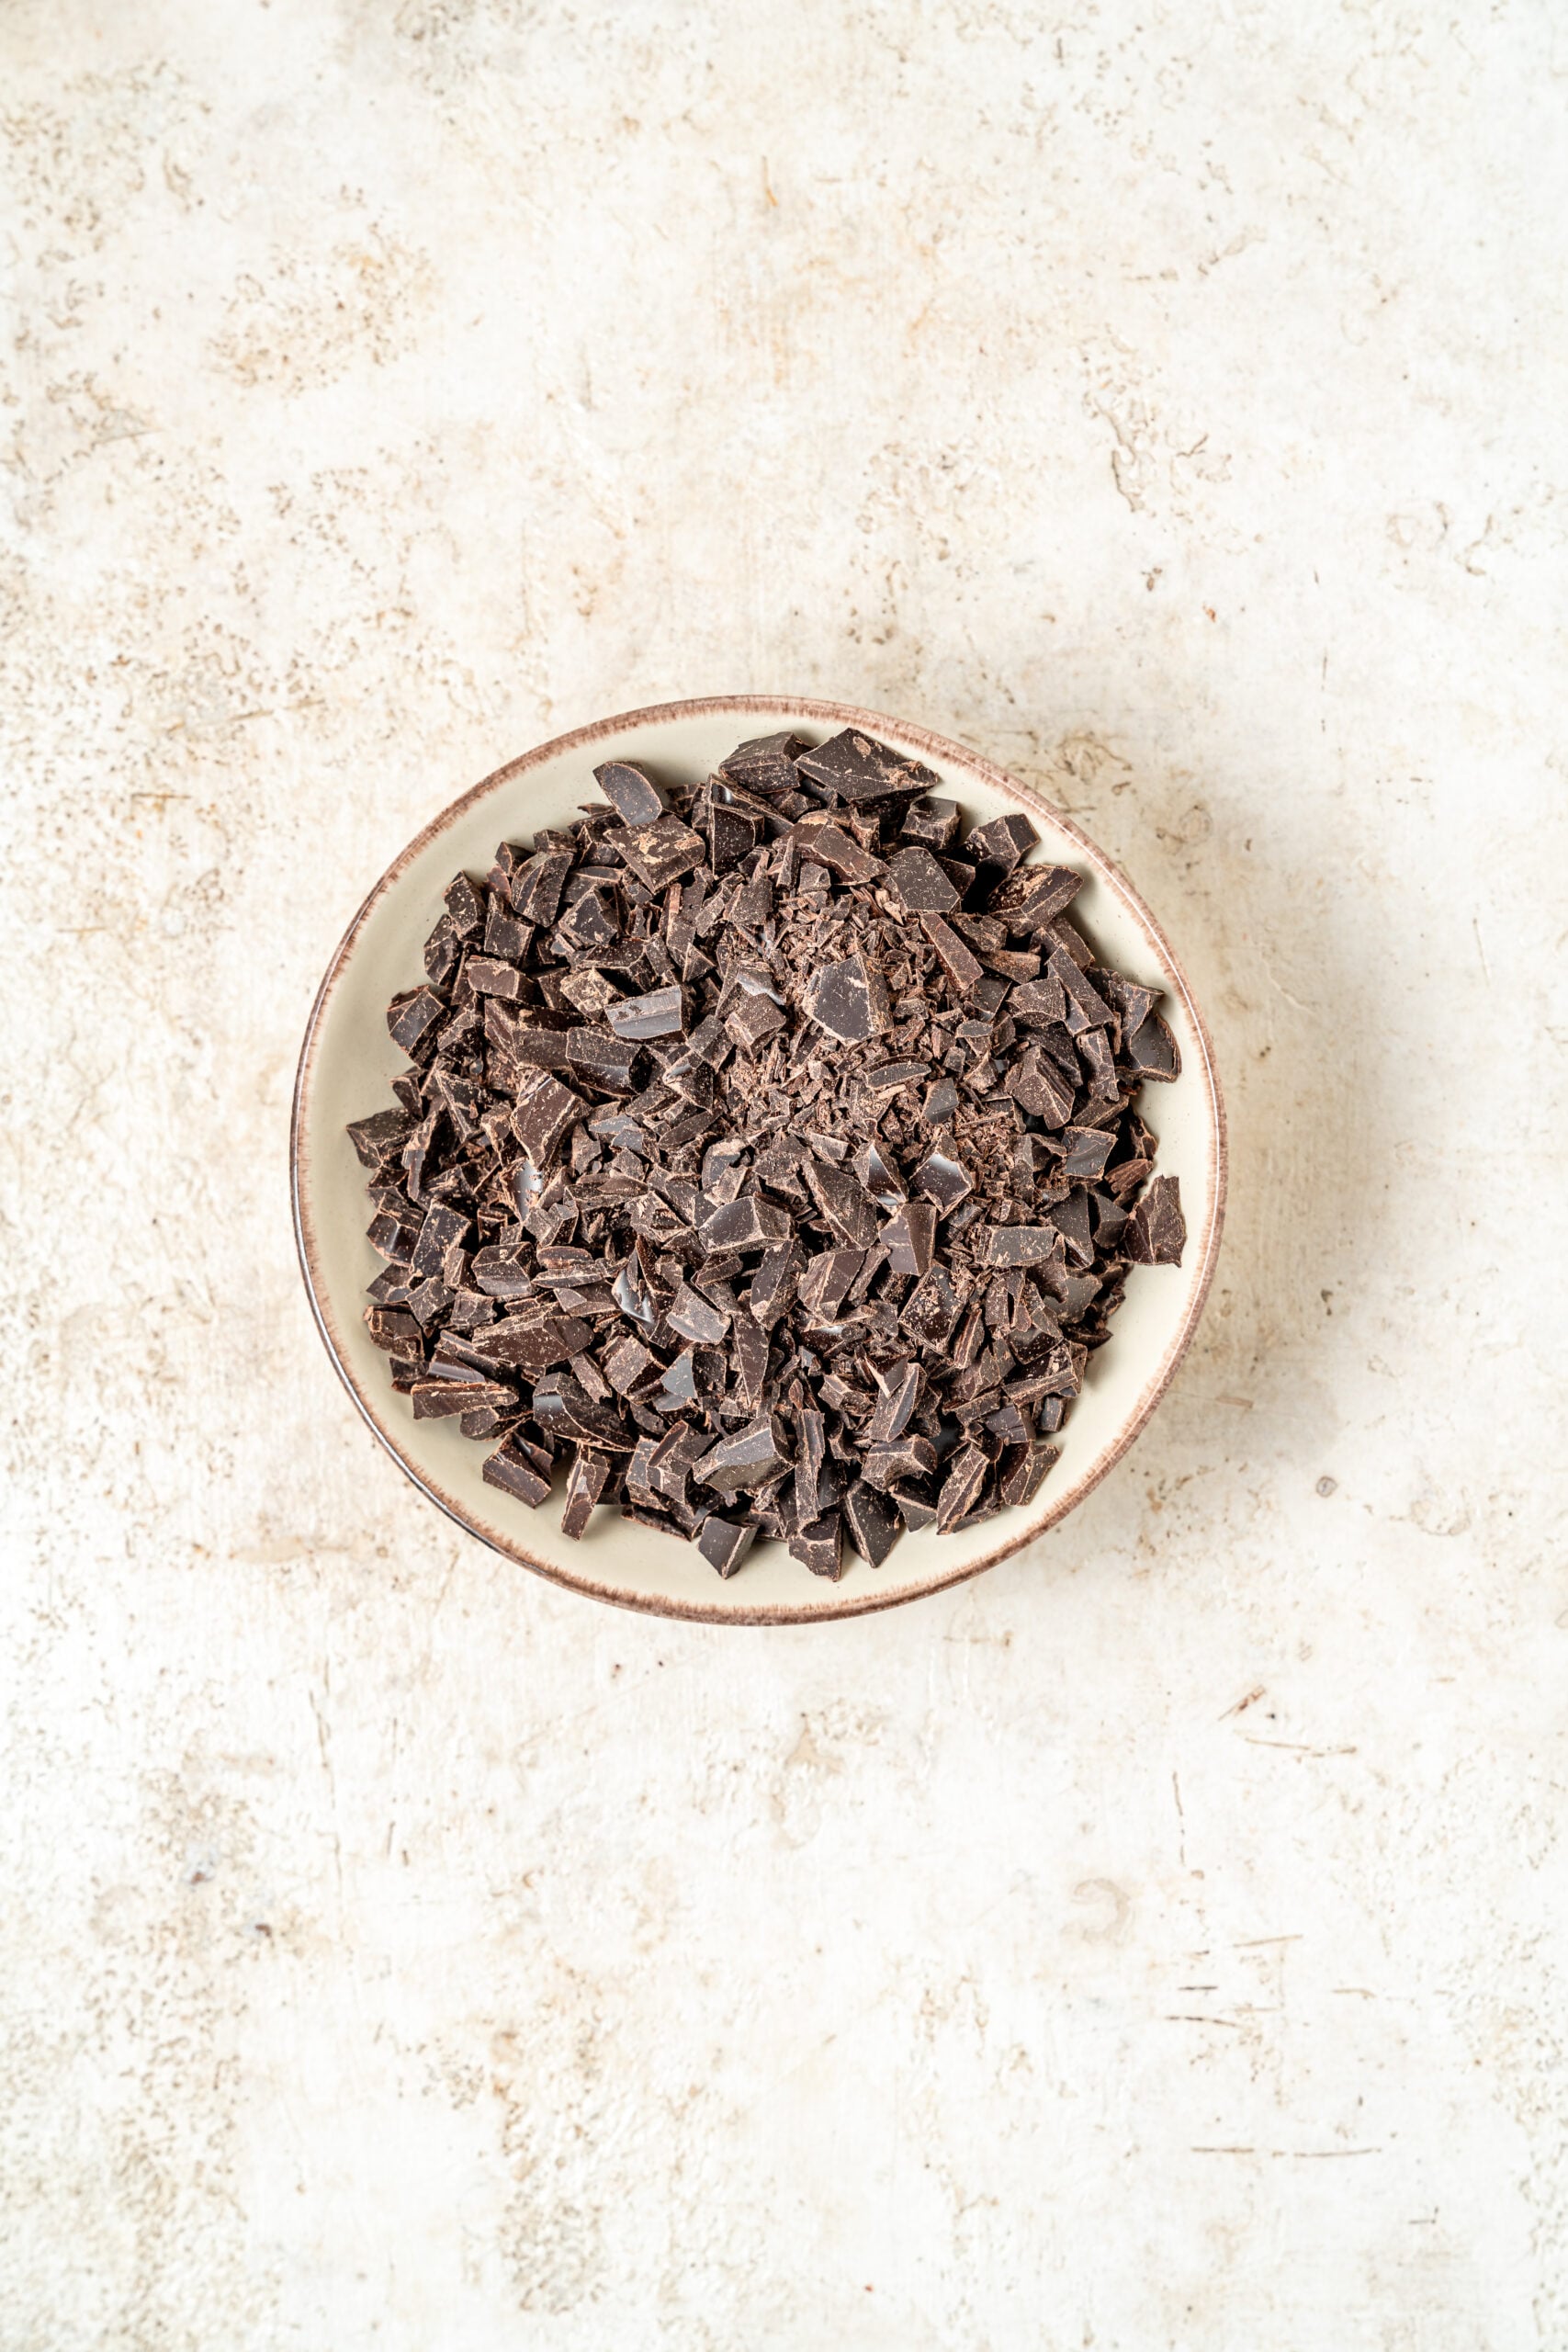
- Put the chocolate, condensed milk, butter and salt in a heavy based saucepan over low heat. Keep it low the whole time, because condensed milk scorches easily and a scorched batch cannot be saved.
- Stir constantly with a silicone spatula for 4 to 6 minutes, scraping the base and the corners. Do not let it boil or even simmer. Boiling drives off water and makes grainy fudge, the most common failure with this recipe.
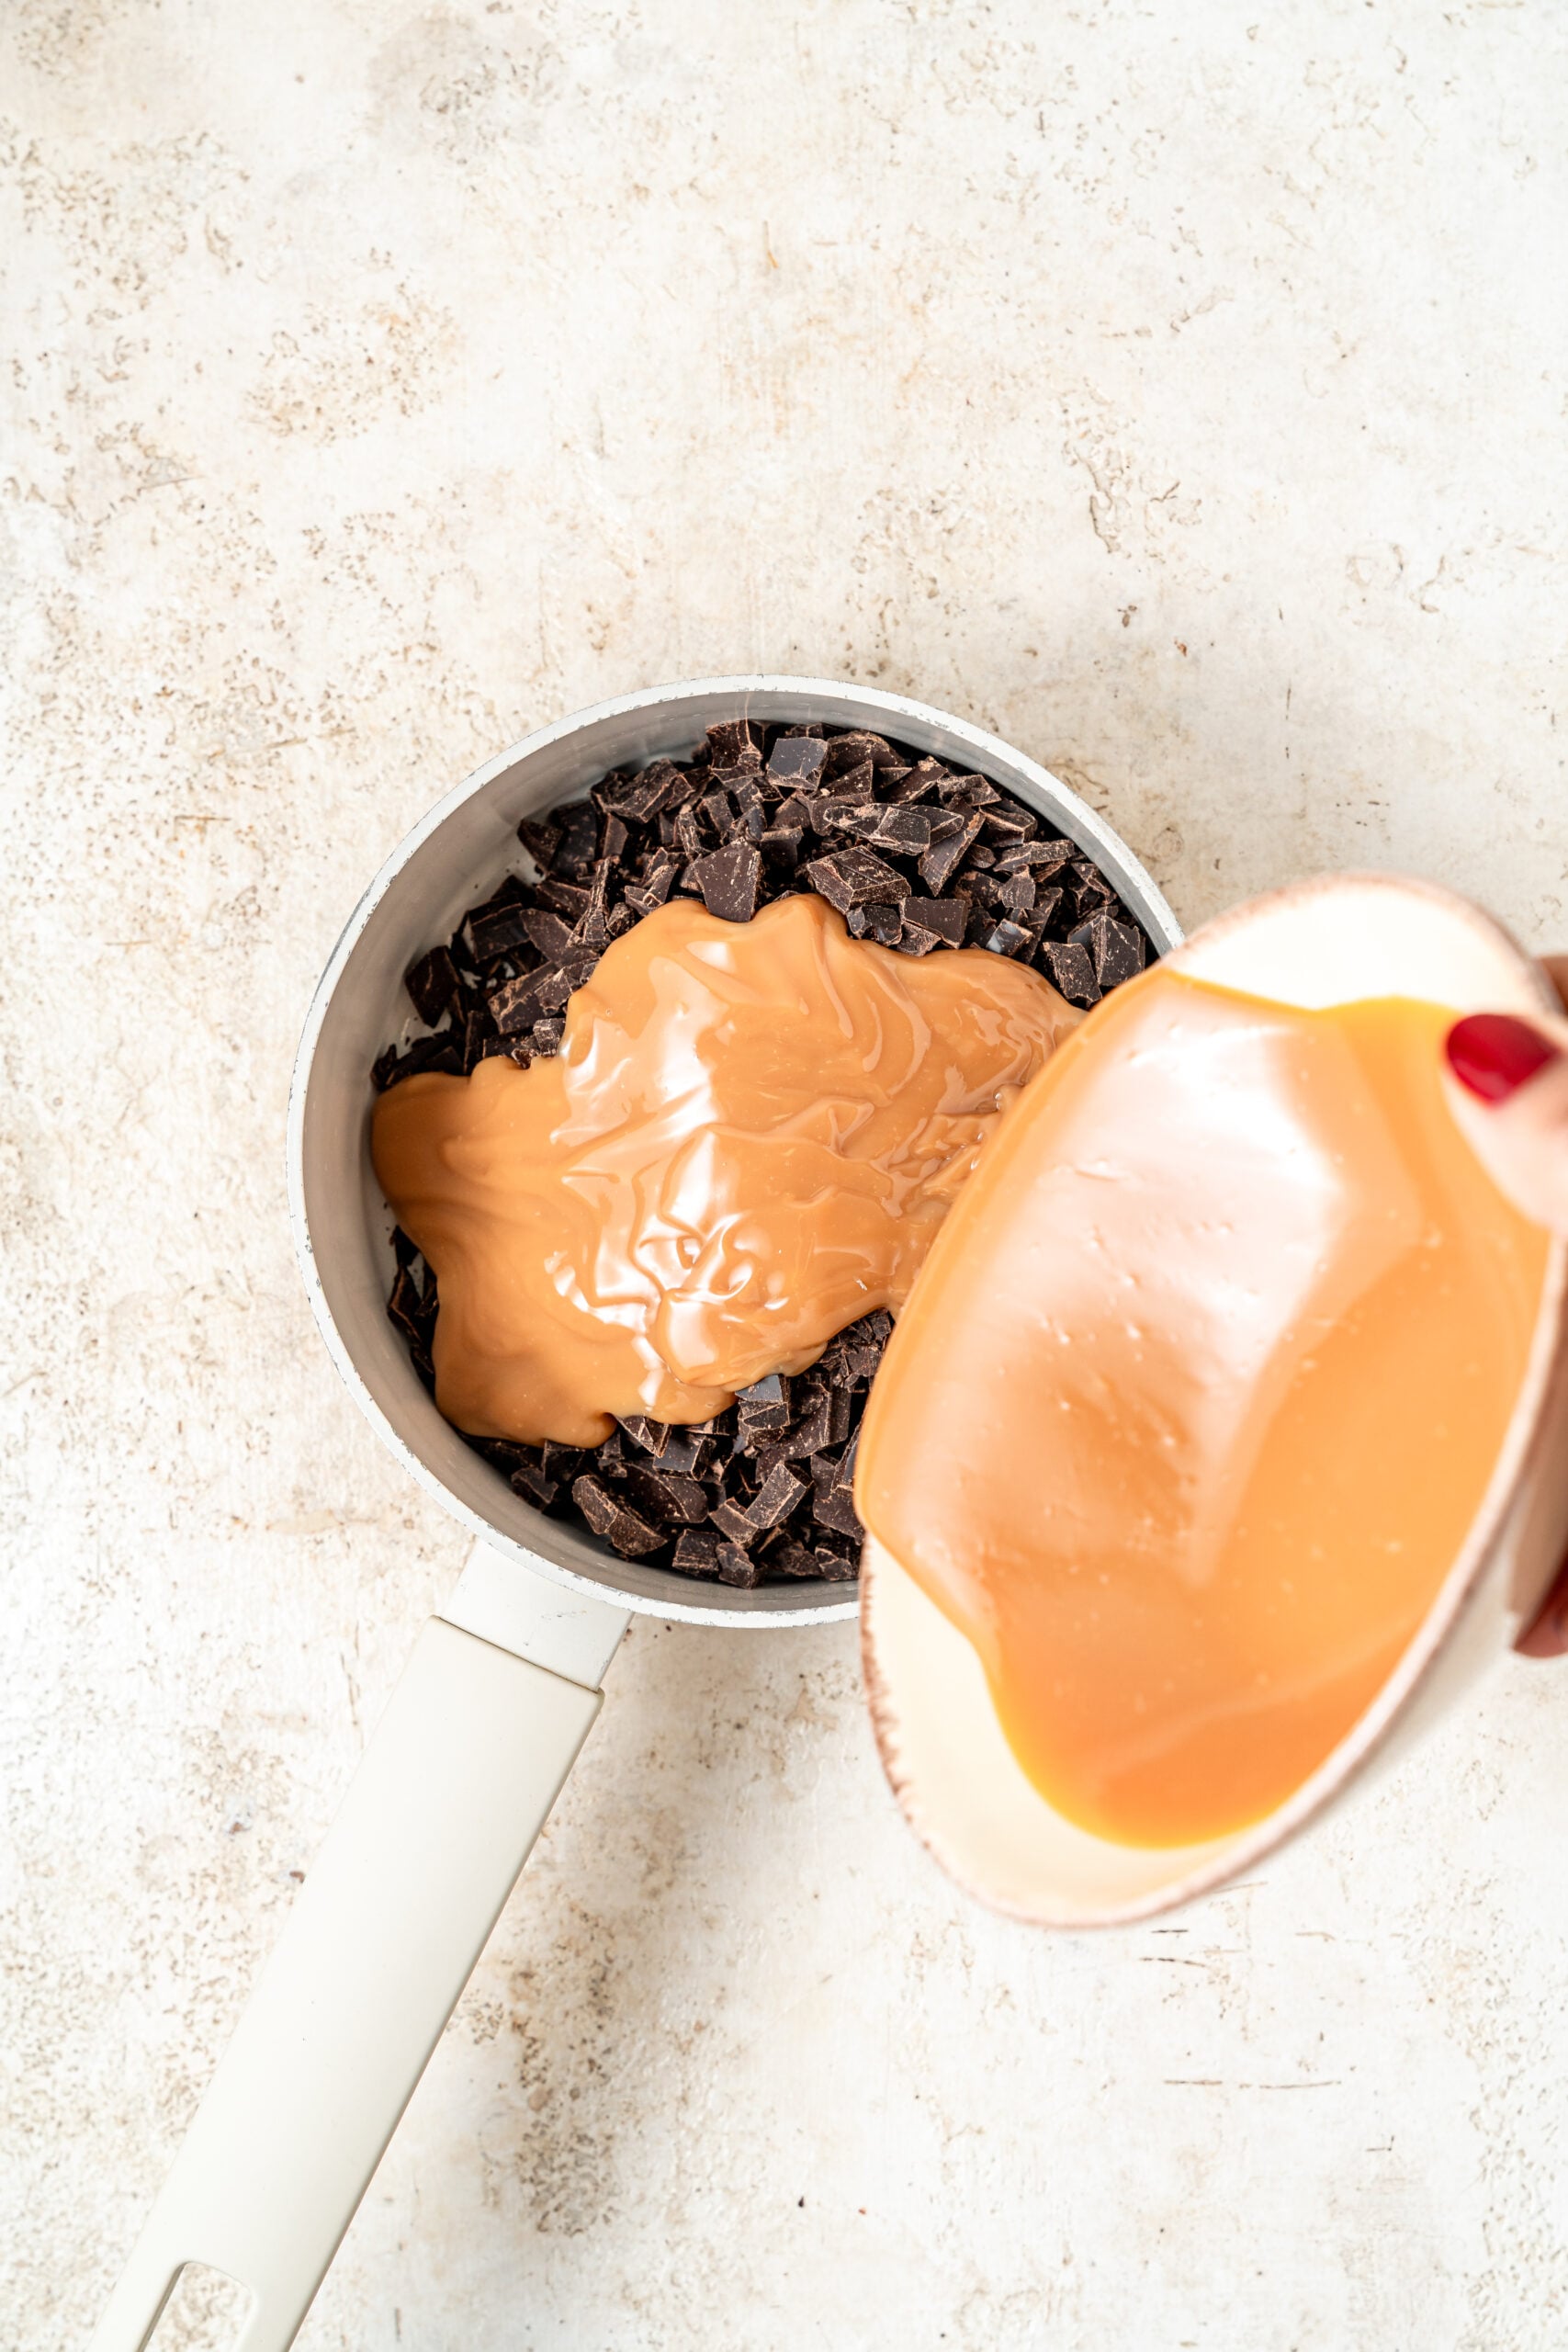
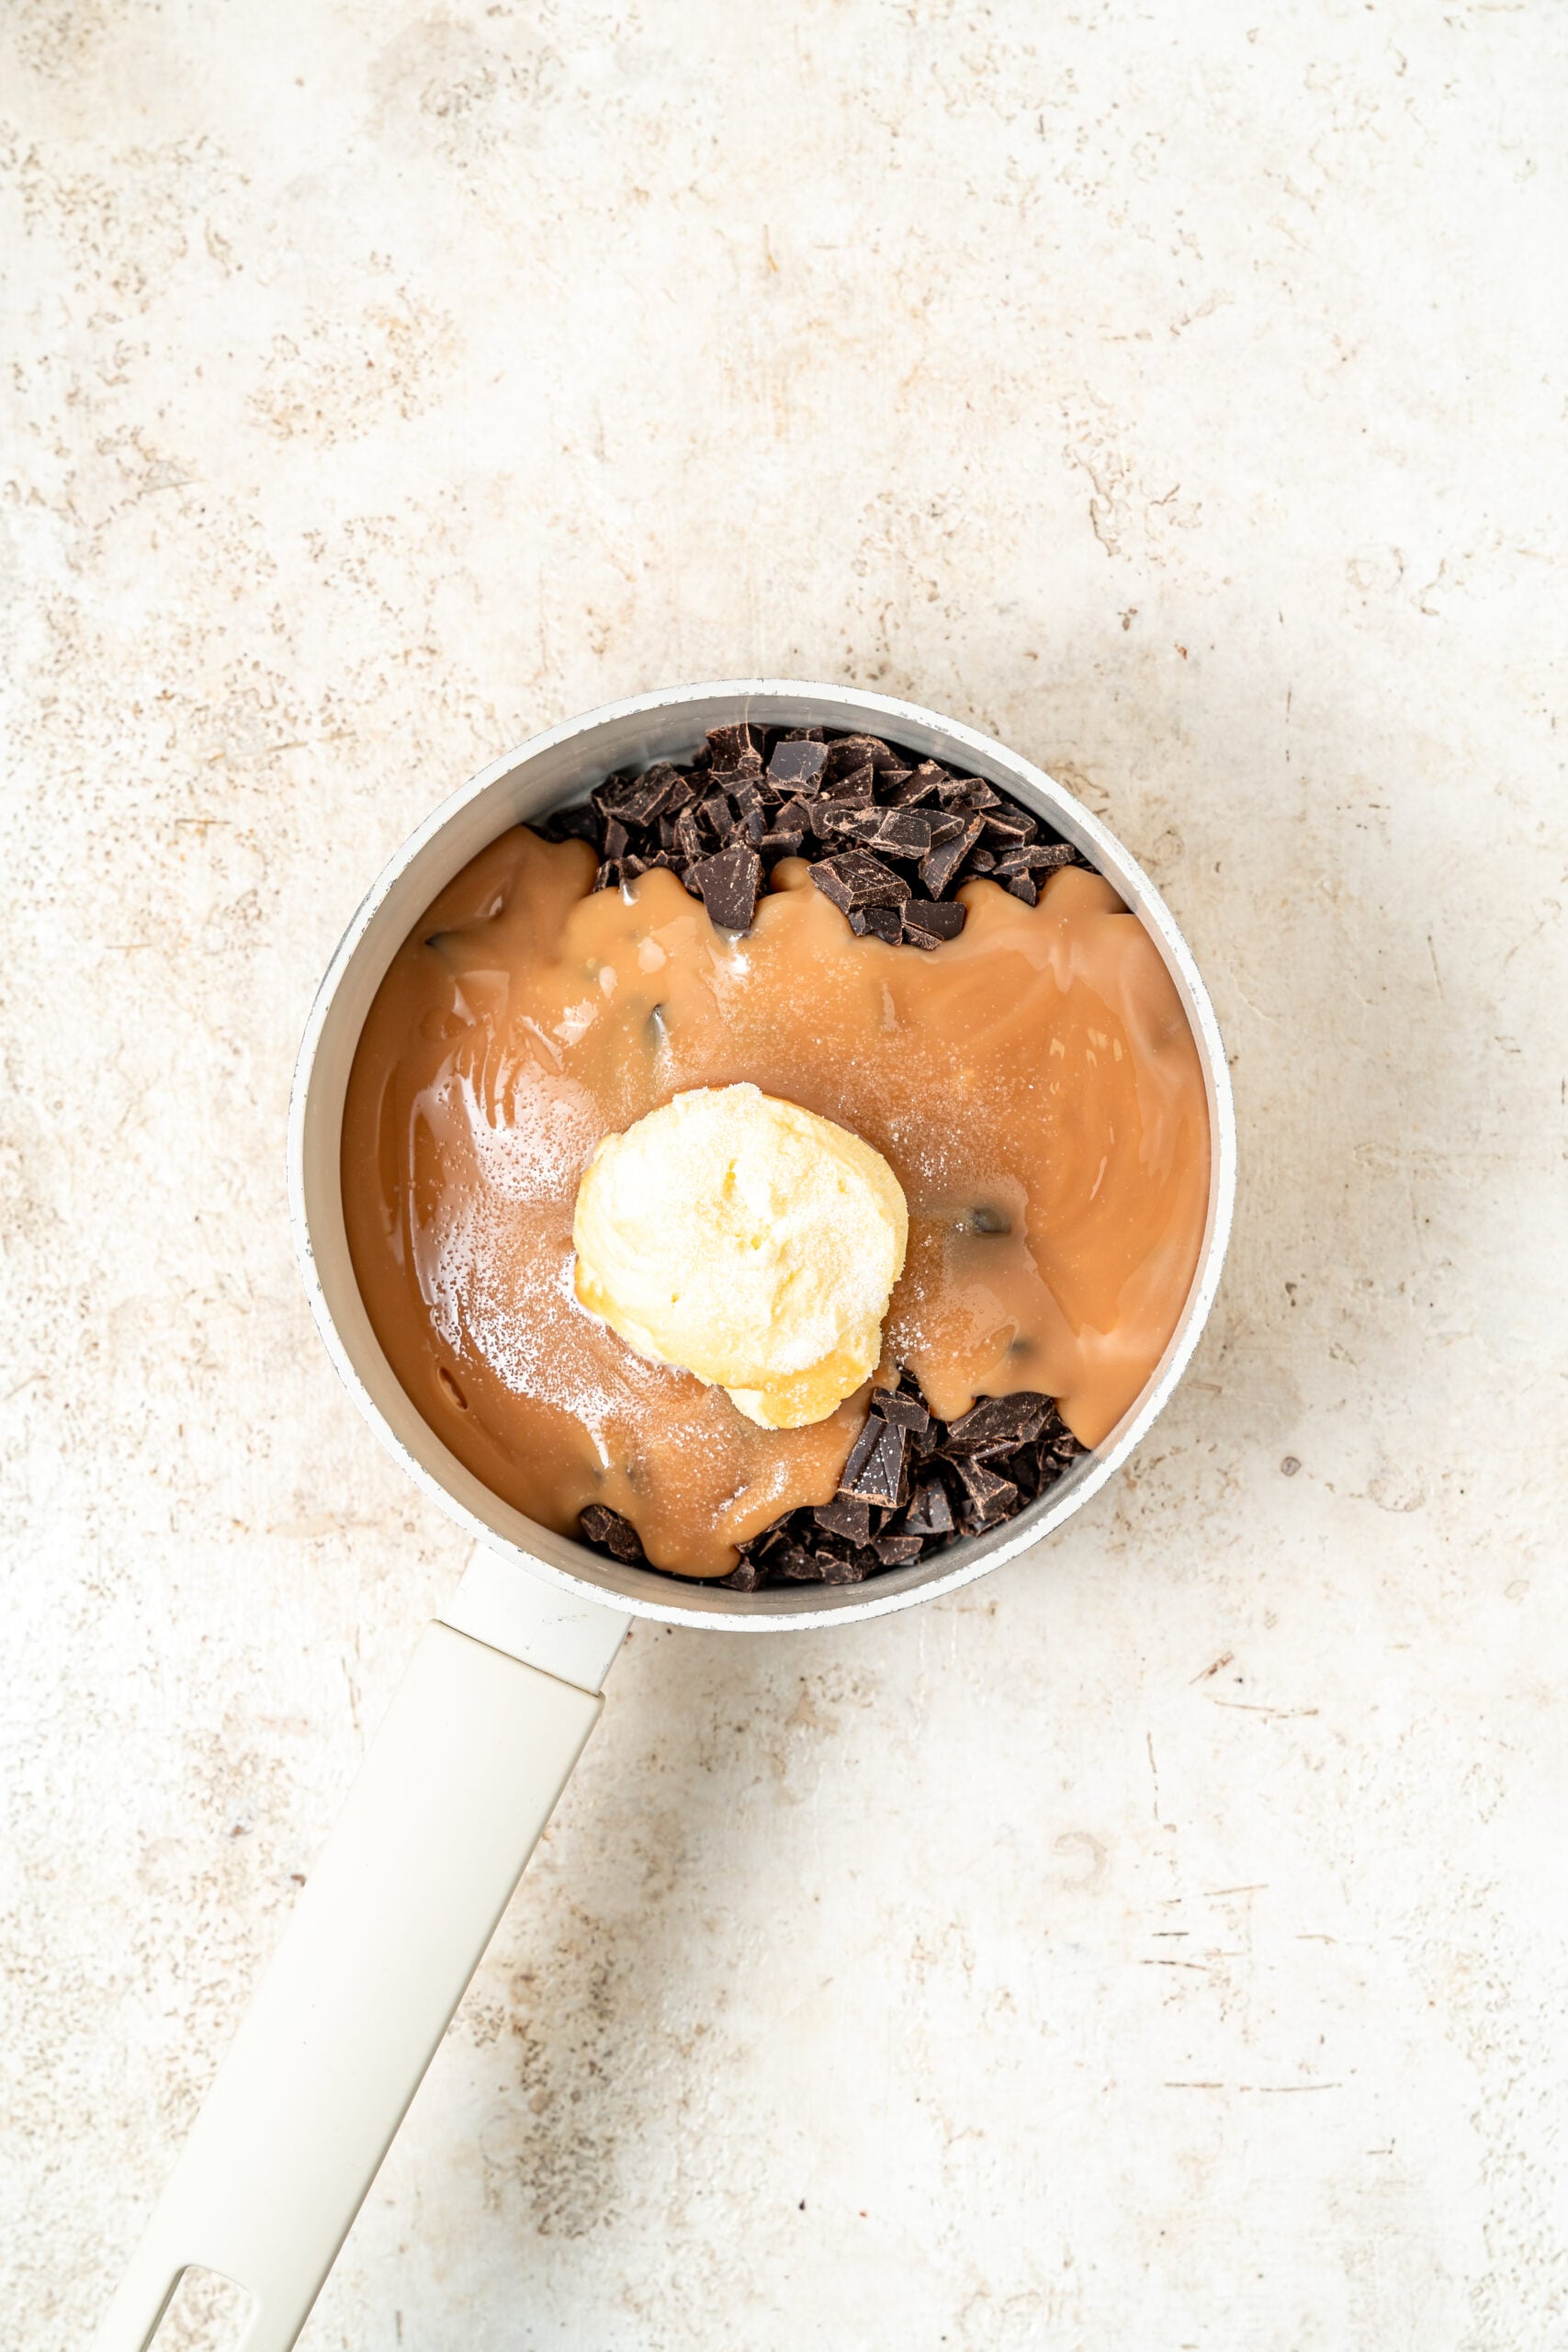
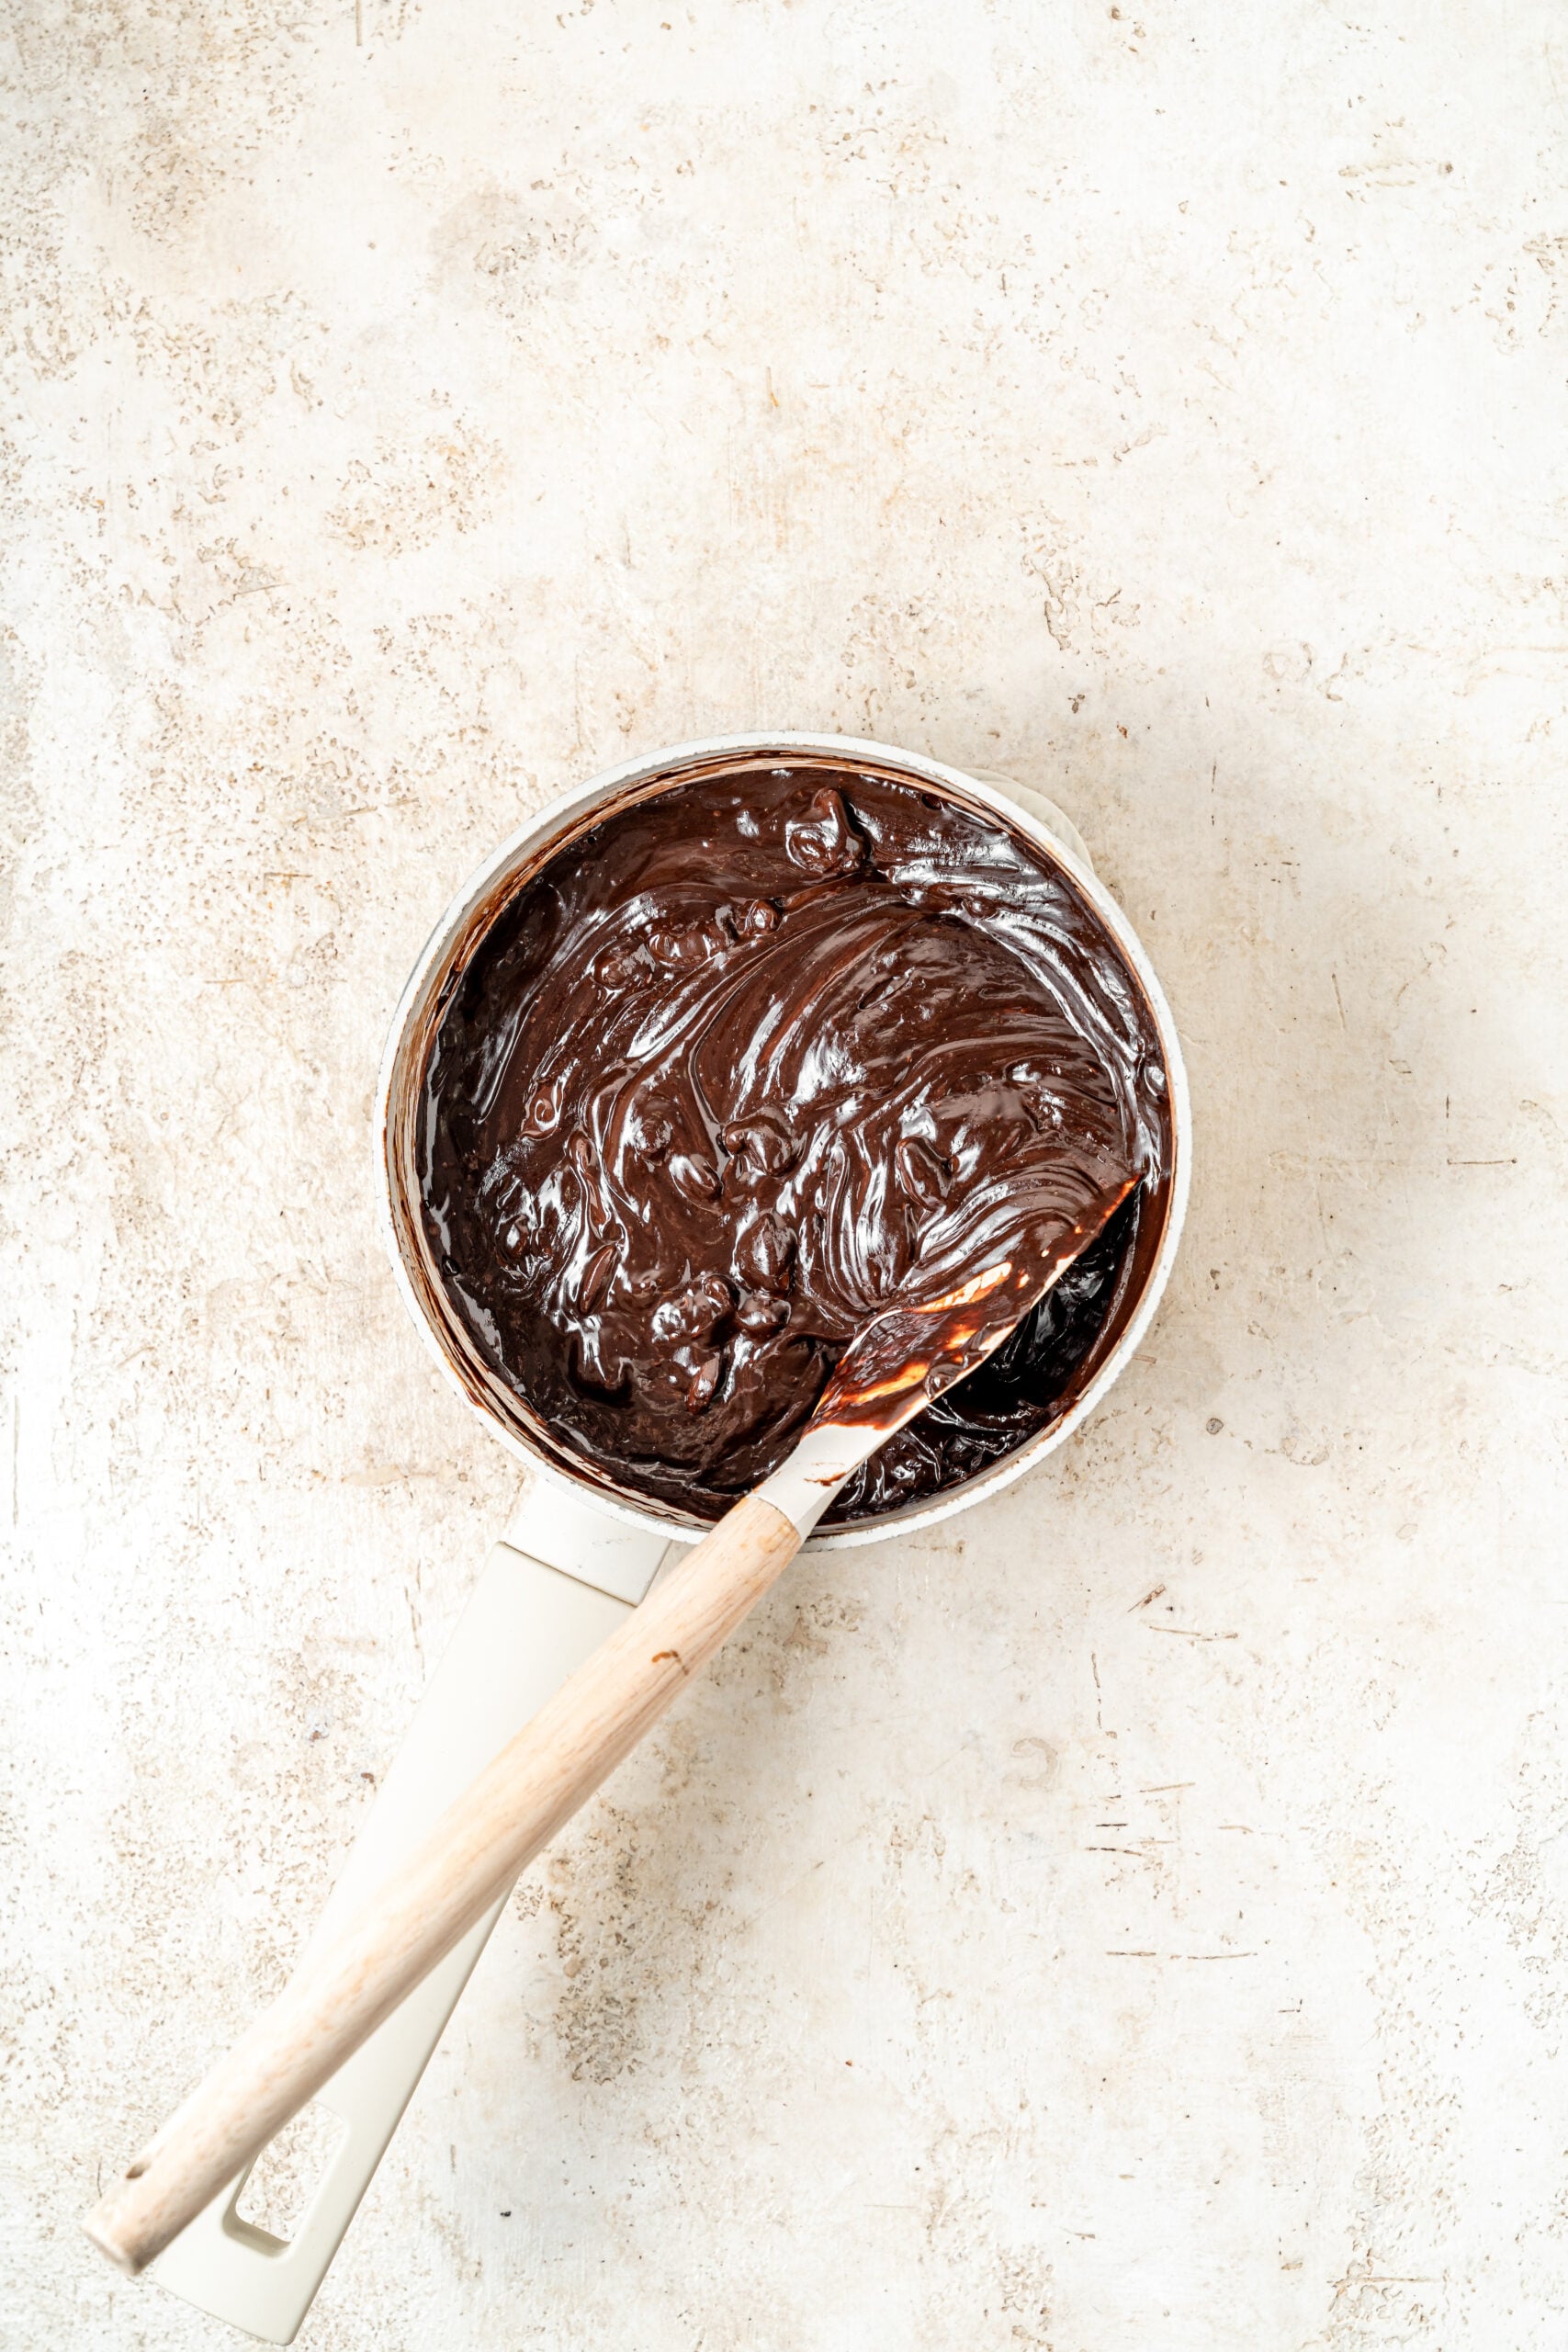
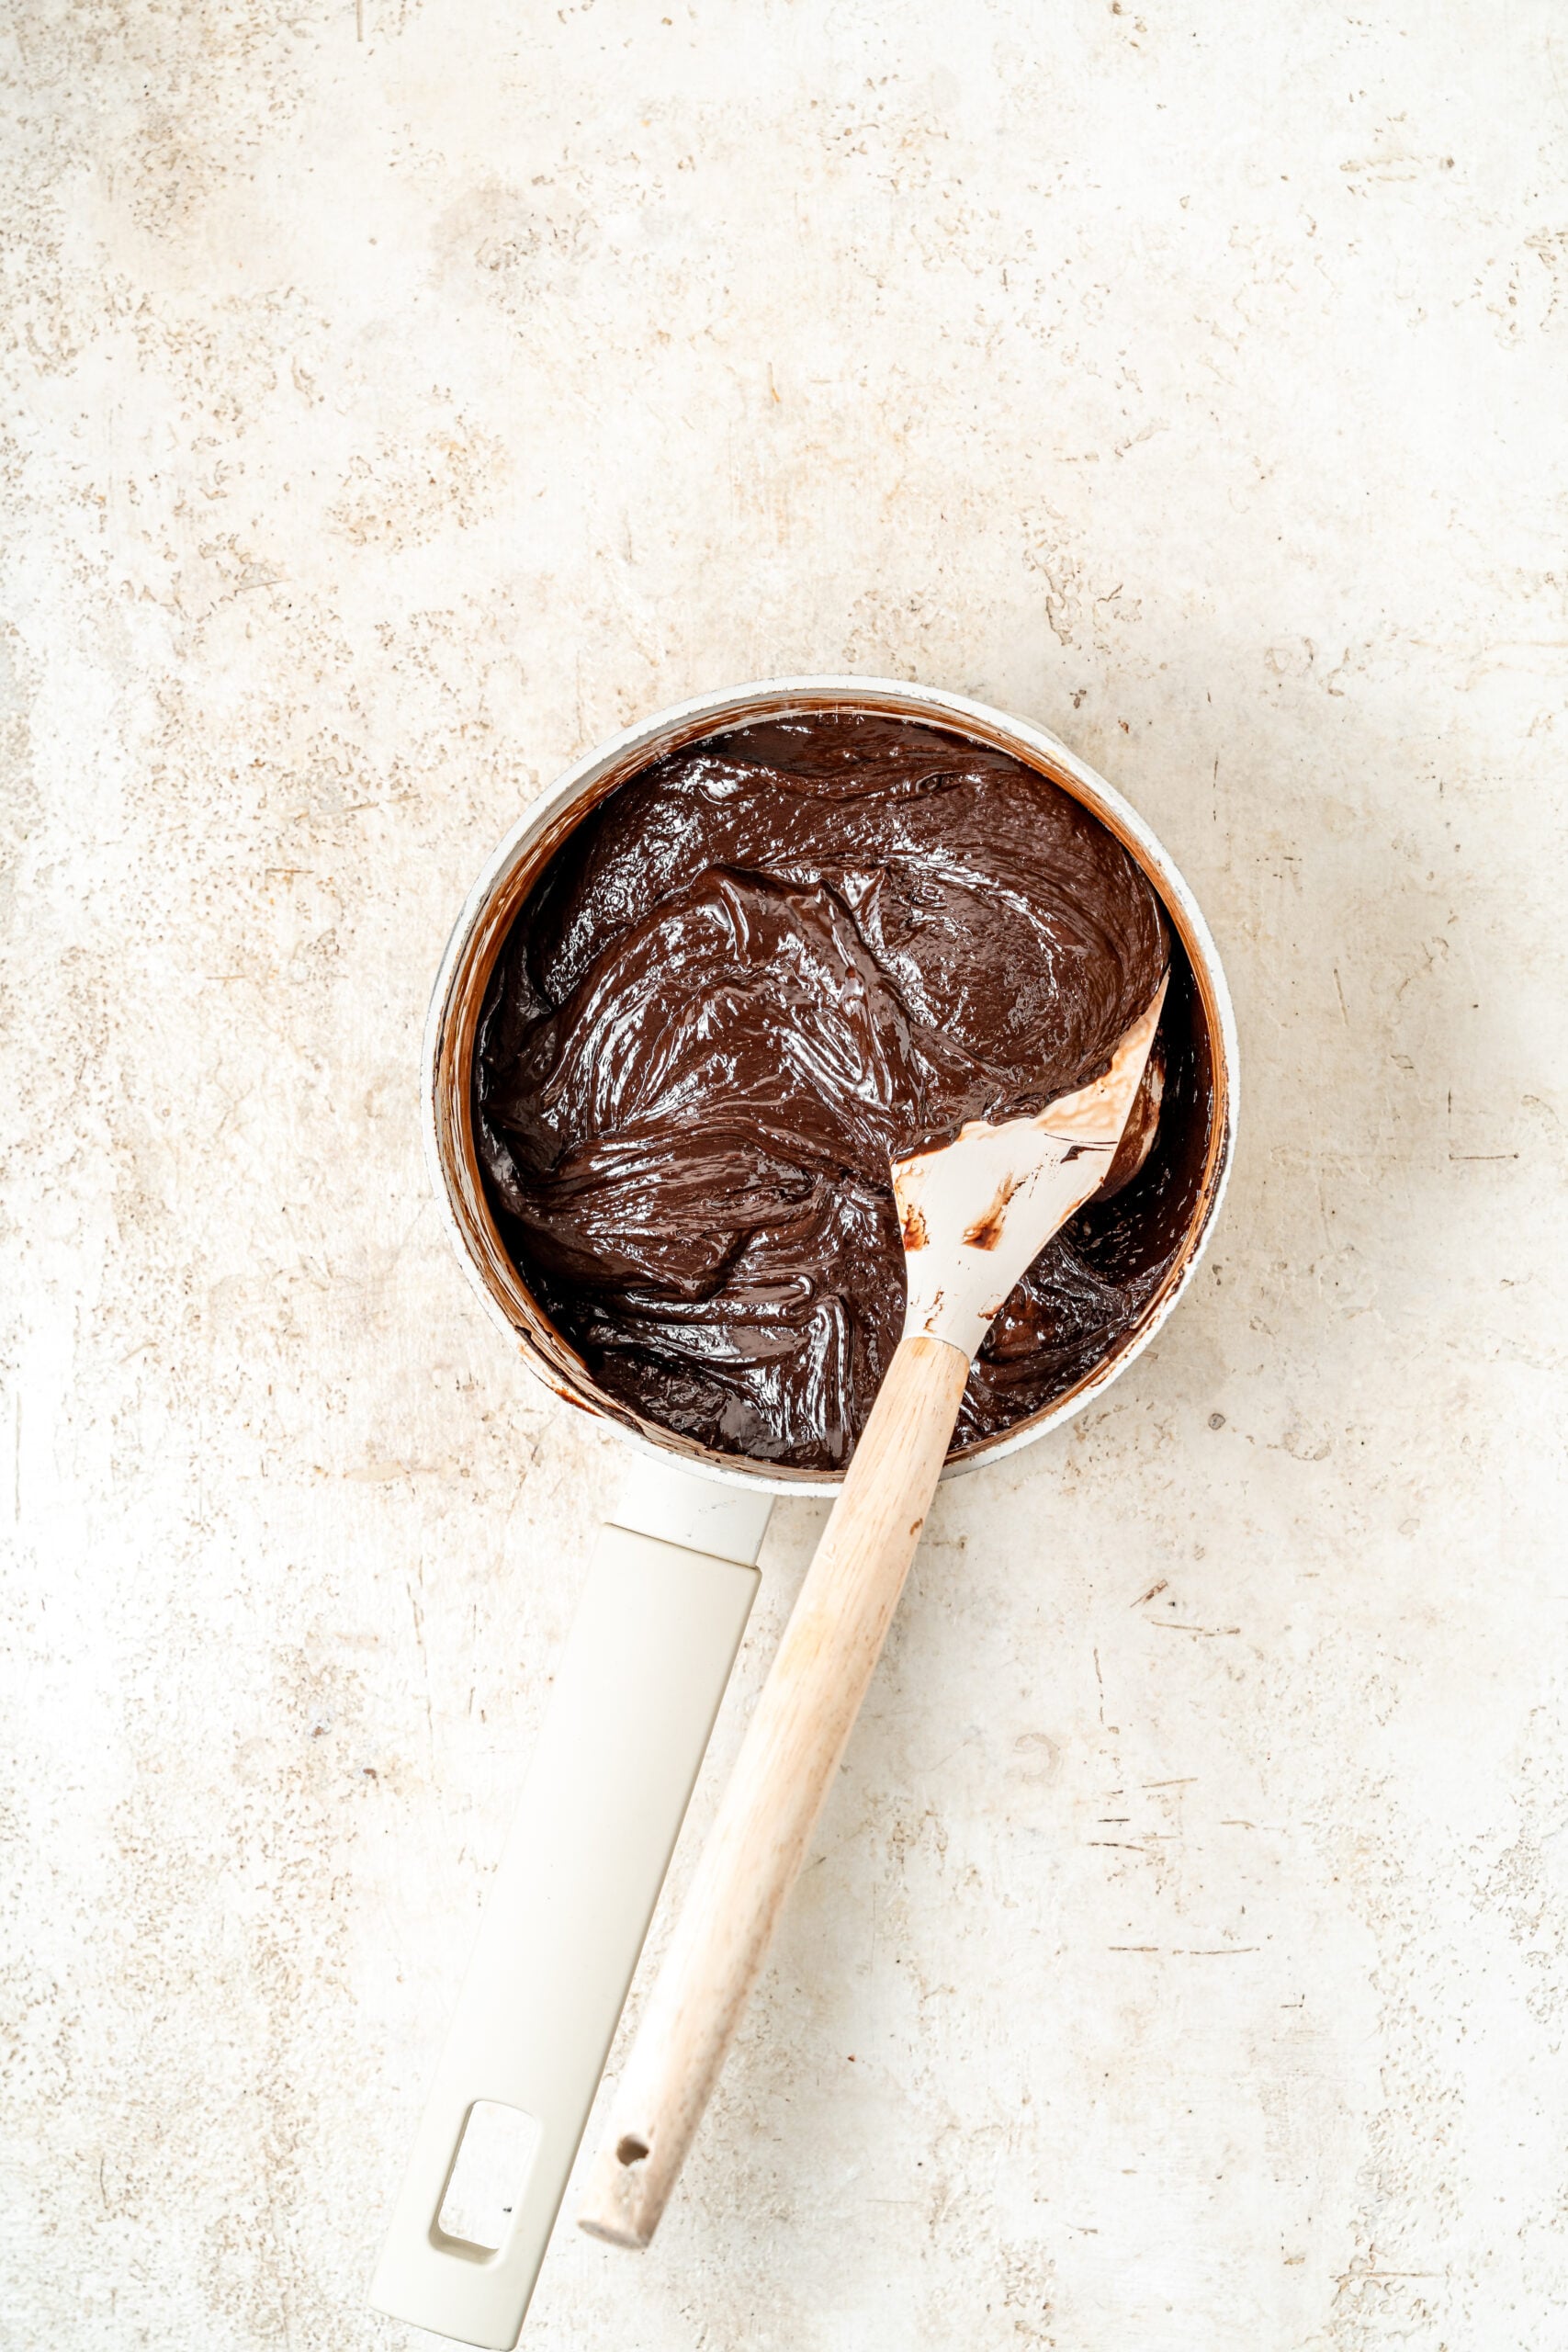
- Take the pan off the heat while a few small lumps of chocolate are still visible and keep stirring. They will melt in from the warmth of the pan. If it is perfectly smooth while still on the heat, it has already had too much.
- Stir in the vanilla, then the nuts if you are using them. The mixture should be thick, glossy and reluctant to fall off the spatula.
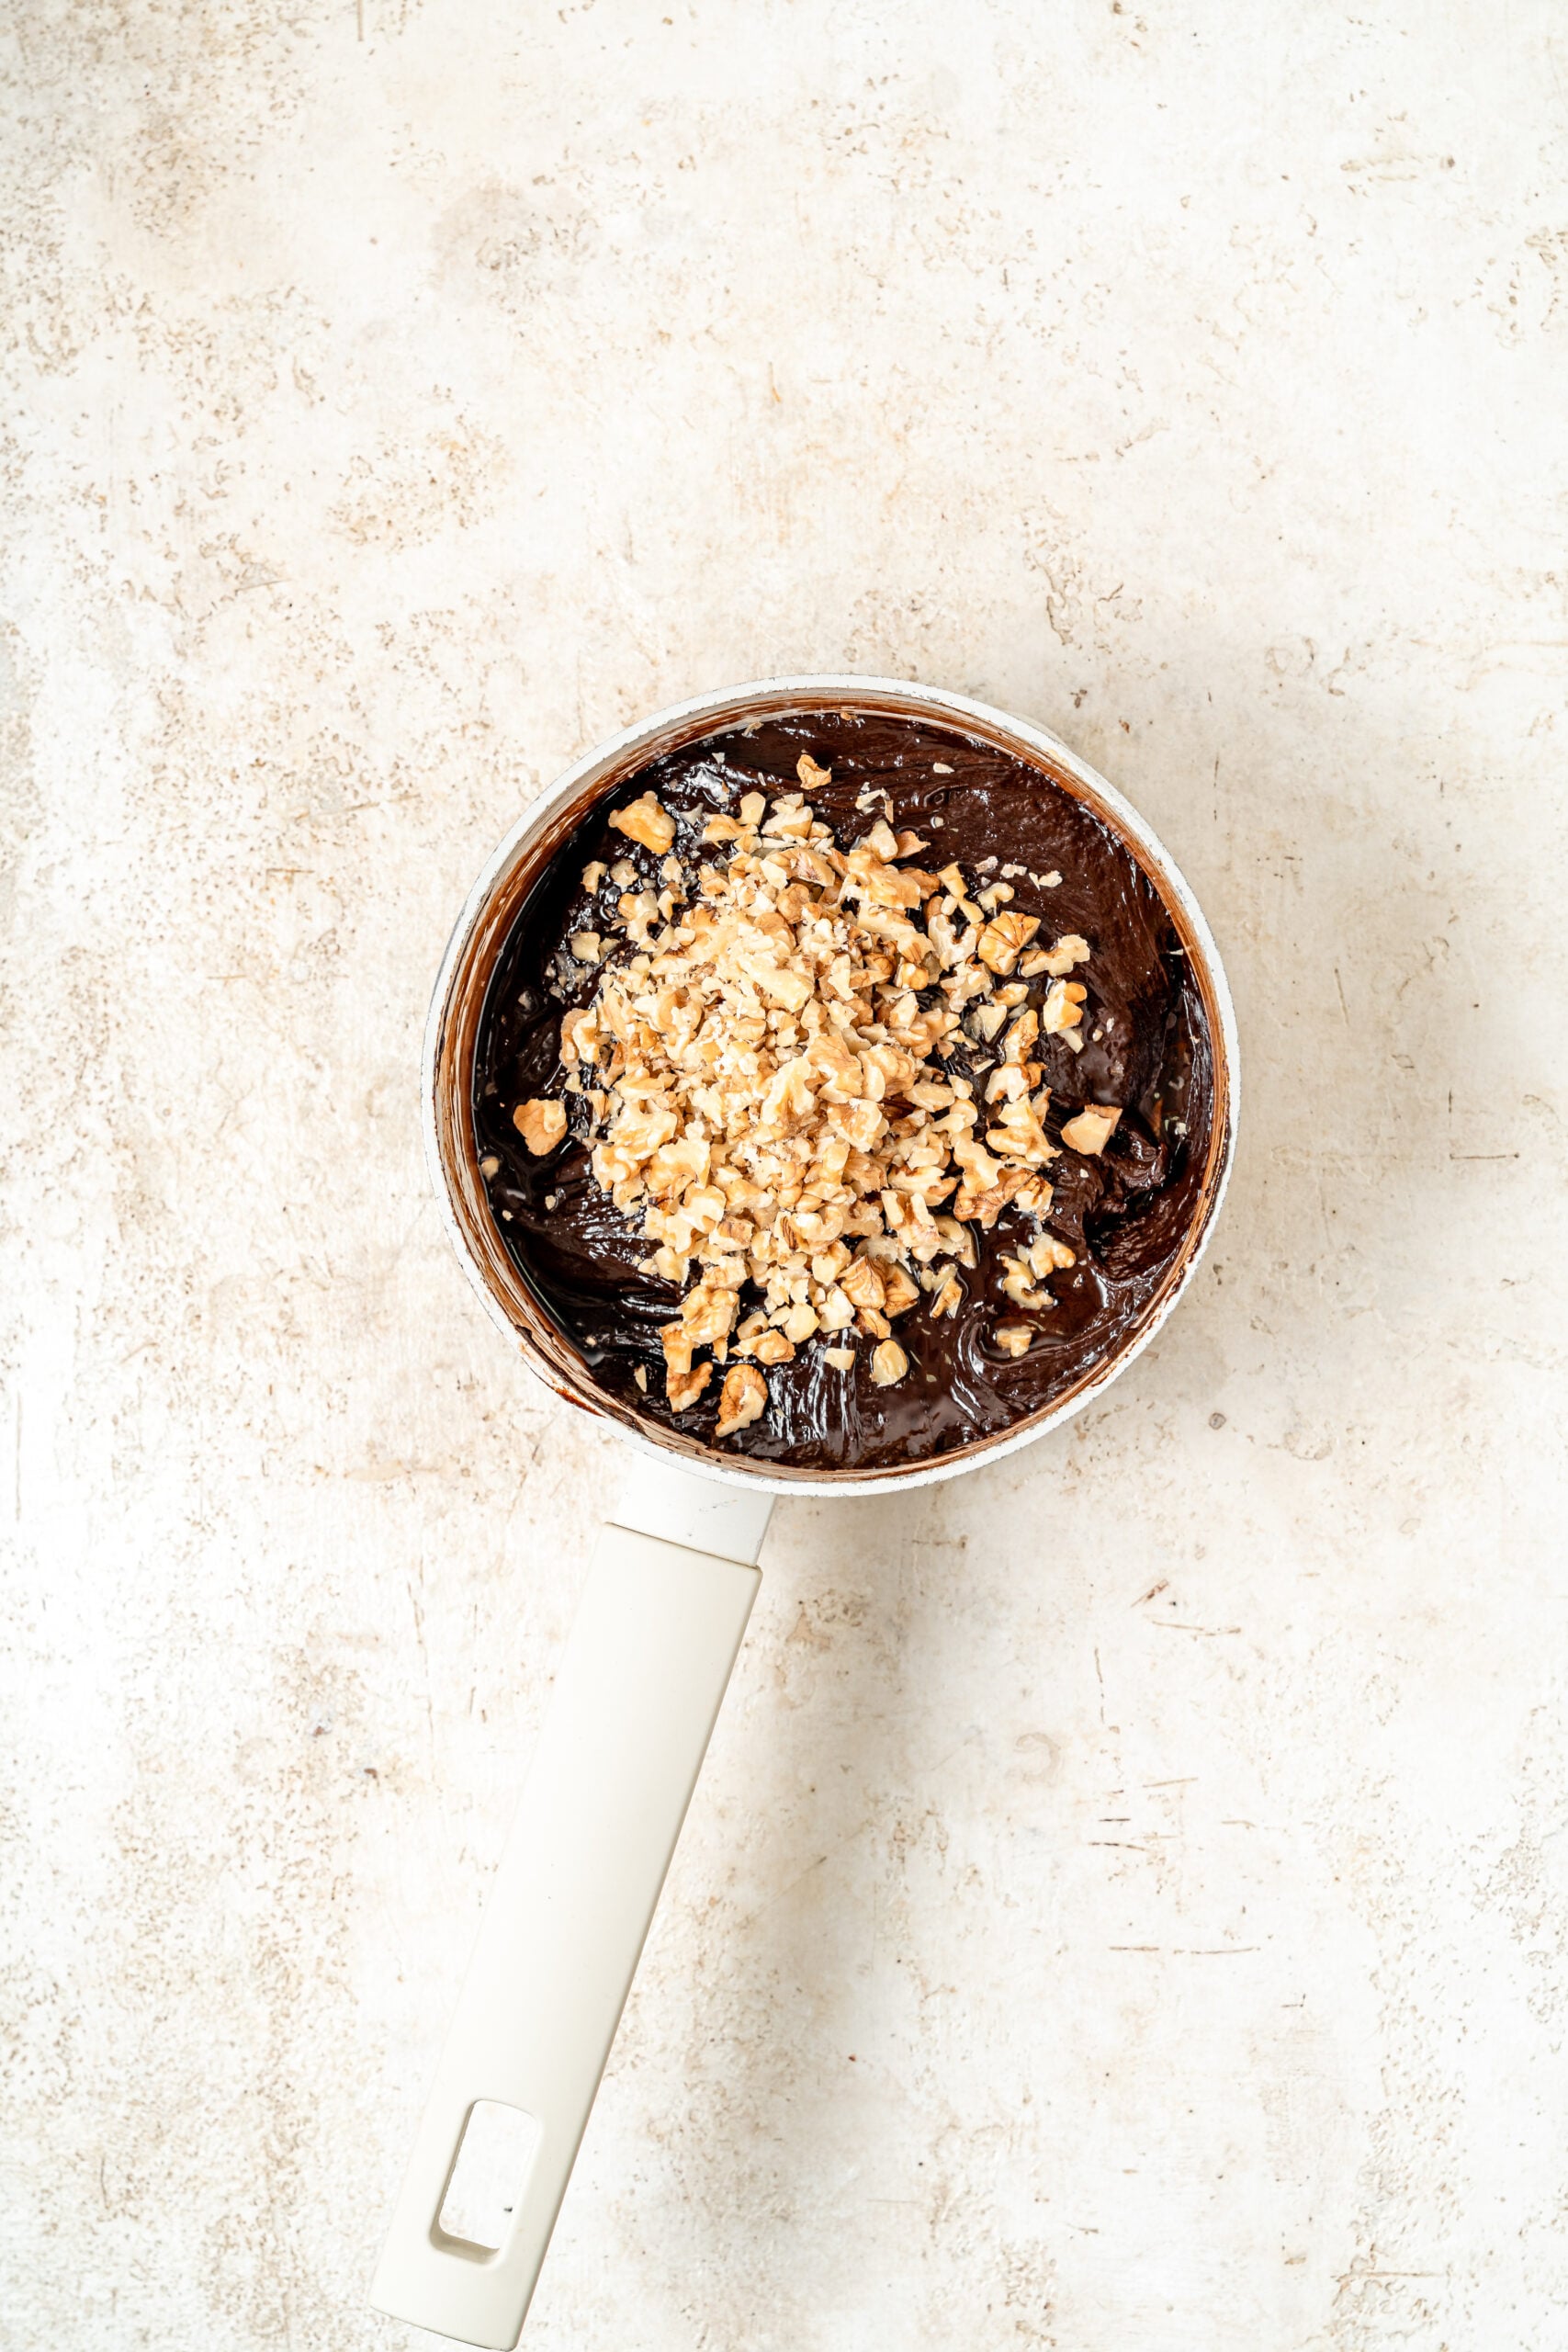
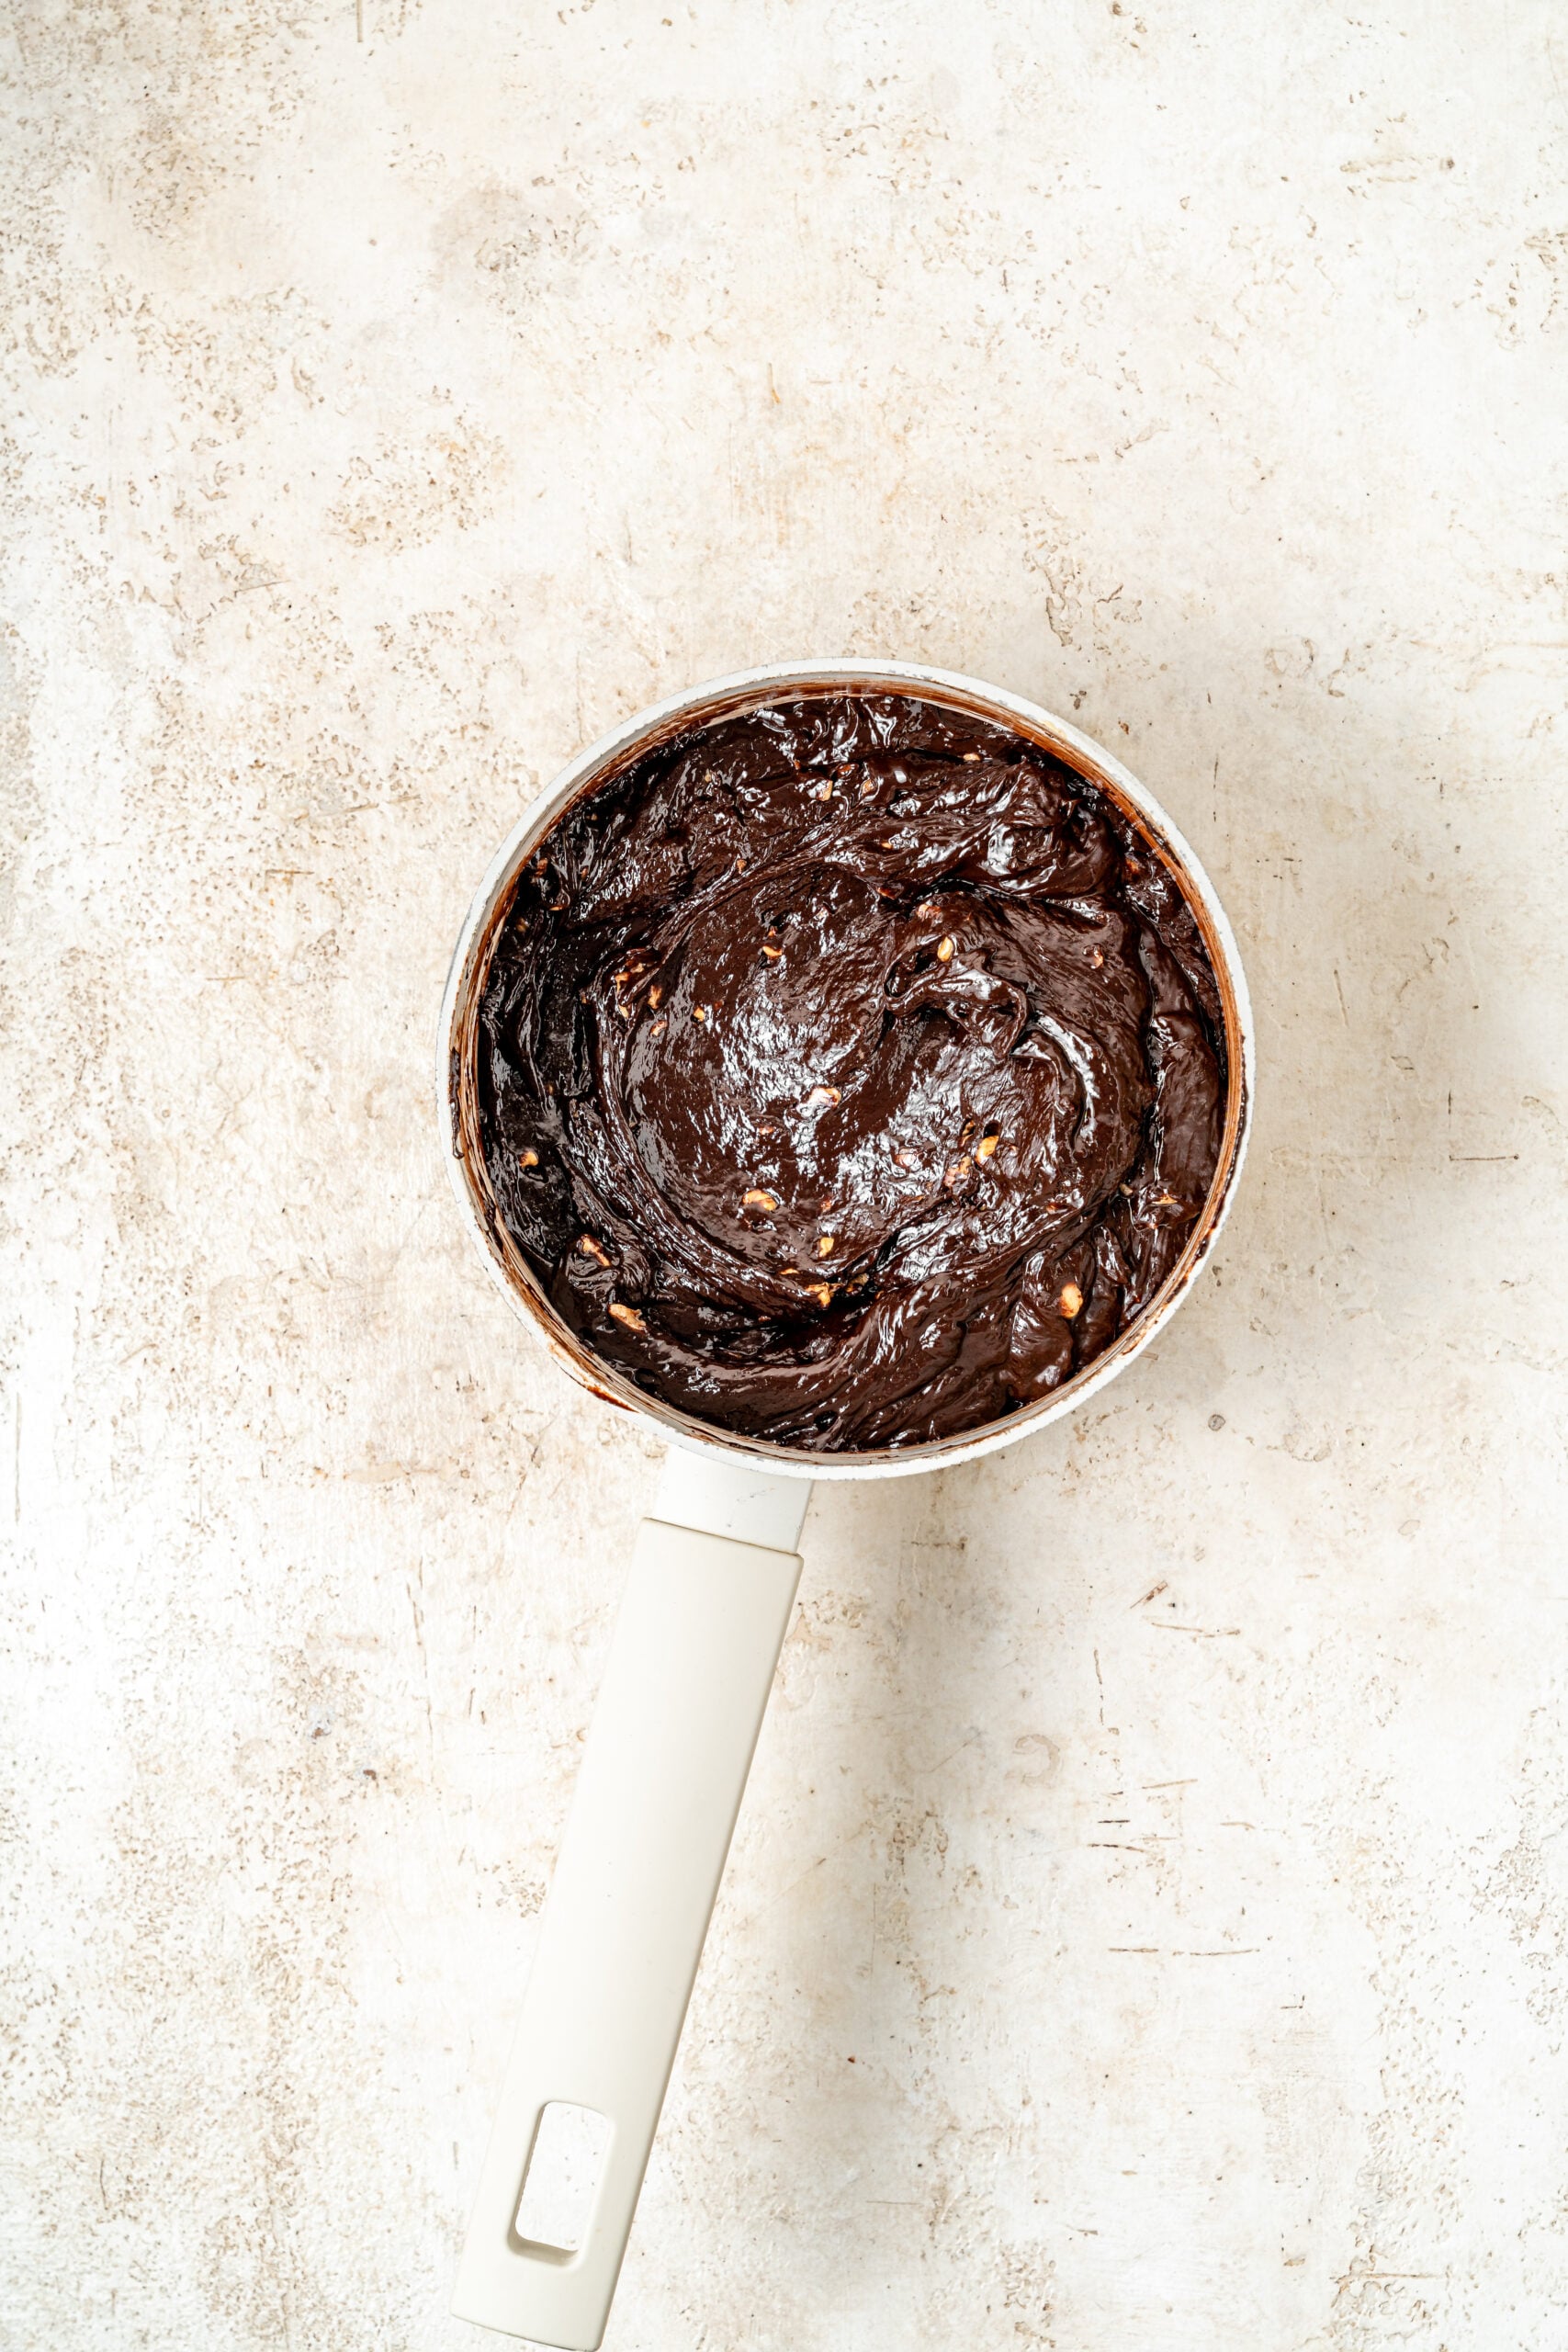
- Scrape it into the lined tin straight away and spread it level with an offset spatula. It starts to set as it cools, so work briskly. For a smoother top, press a sheet of baking paper onto the surface, smooth it with your palm, then peel it off.
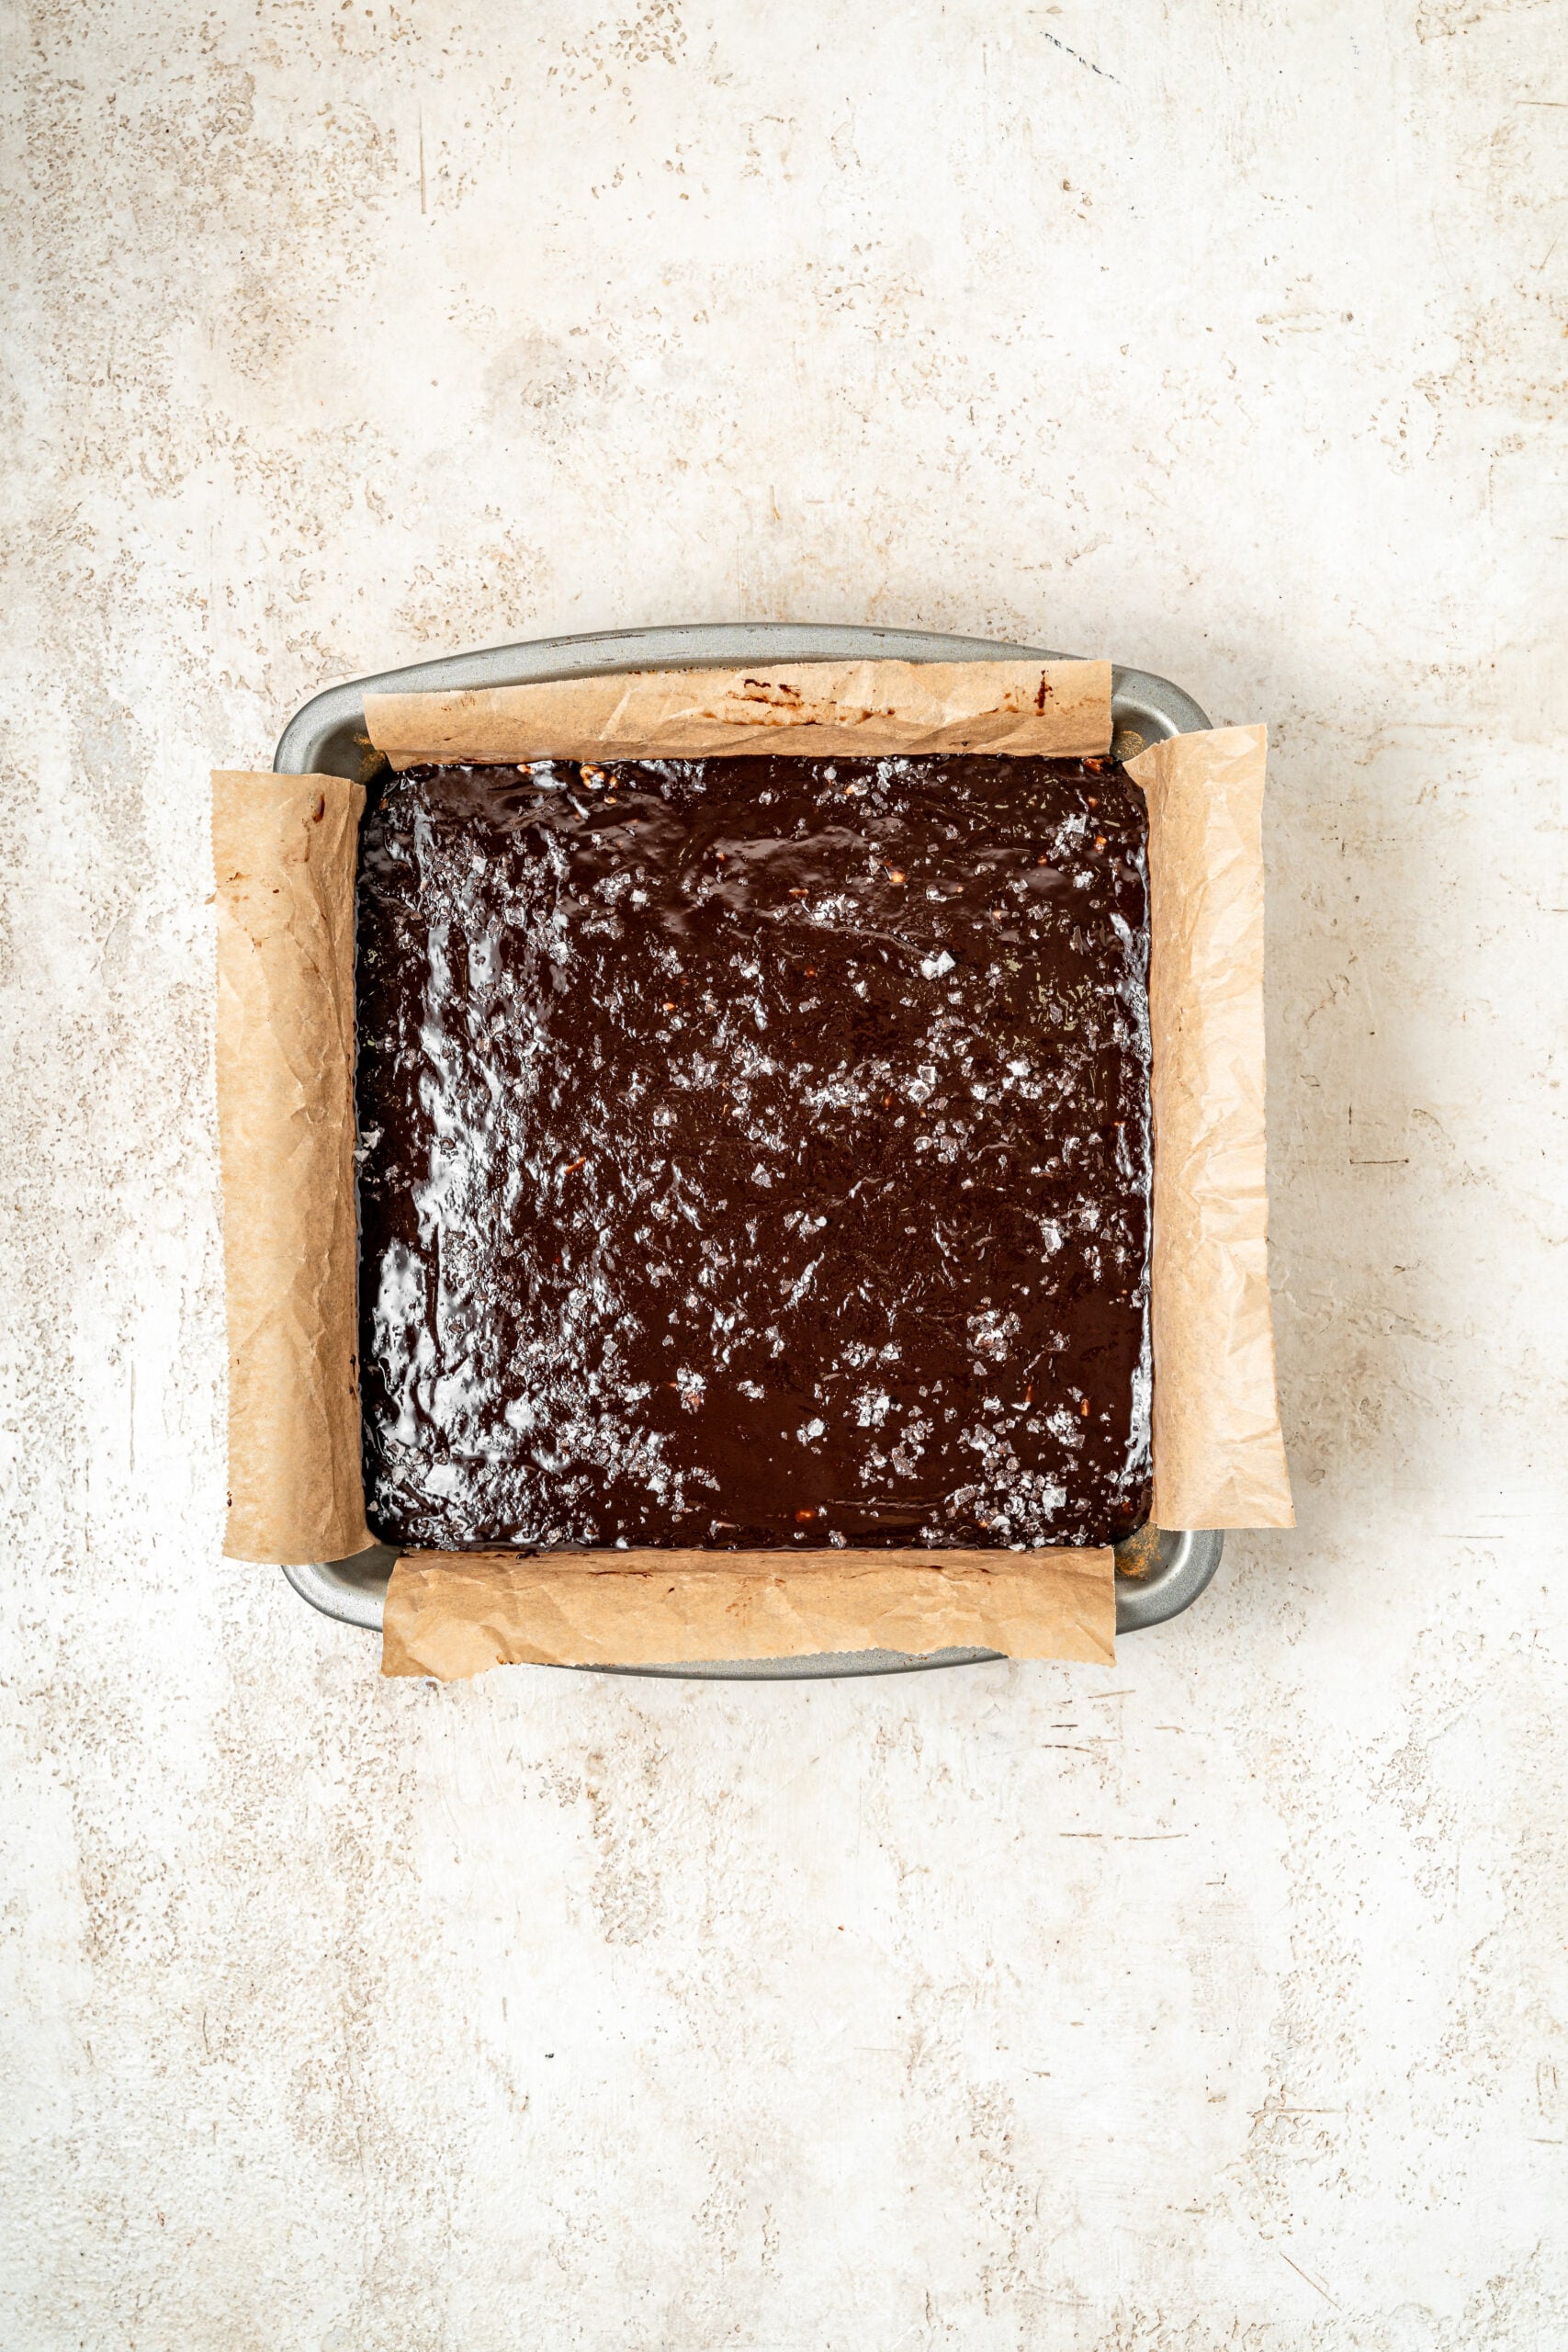
- Scatter flaky salt over the top while the surface is still tacky, if using.
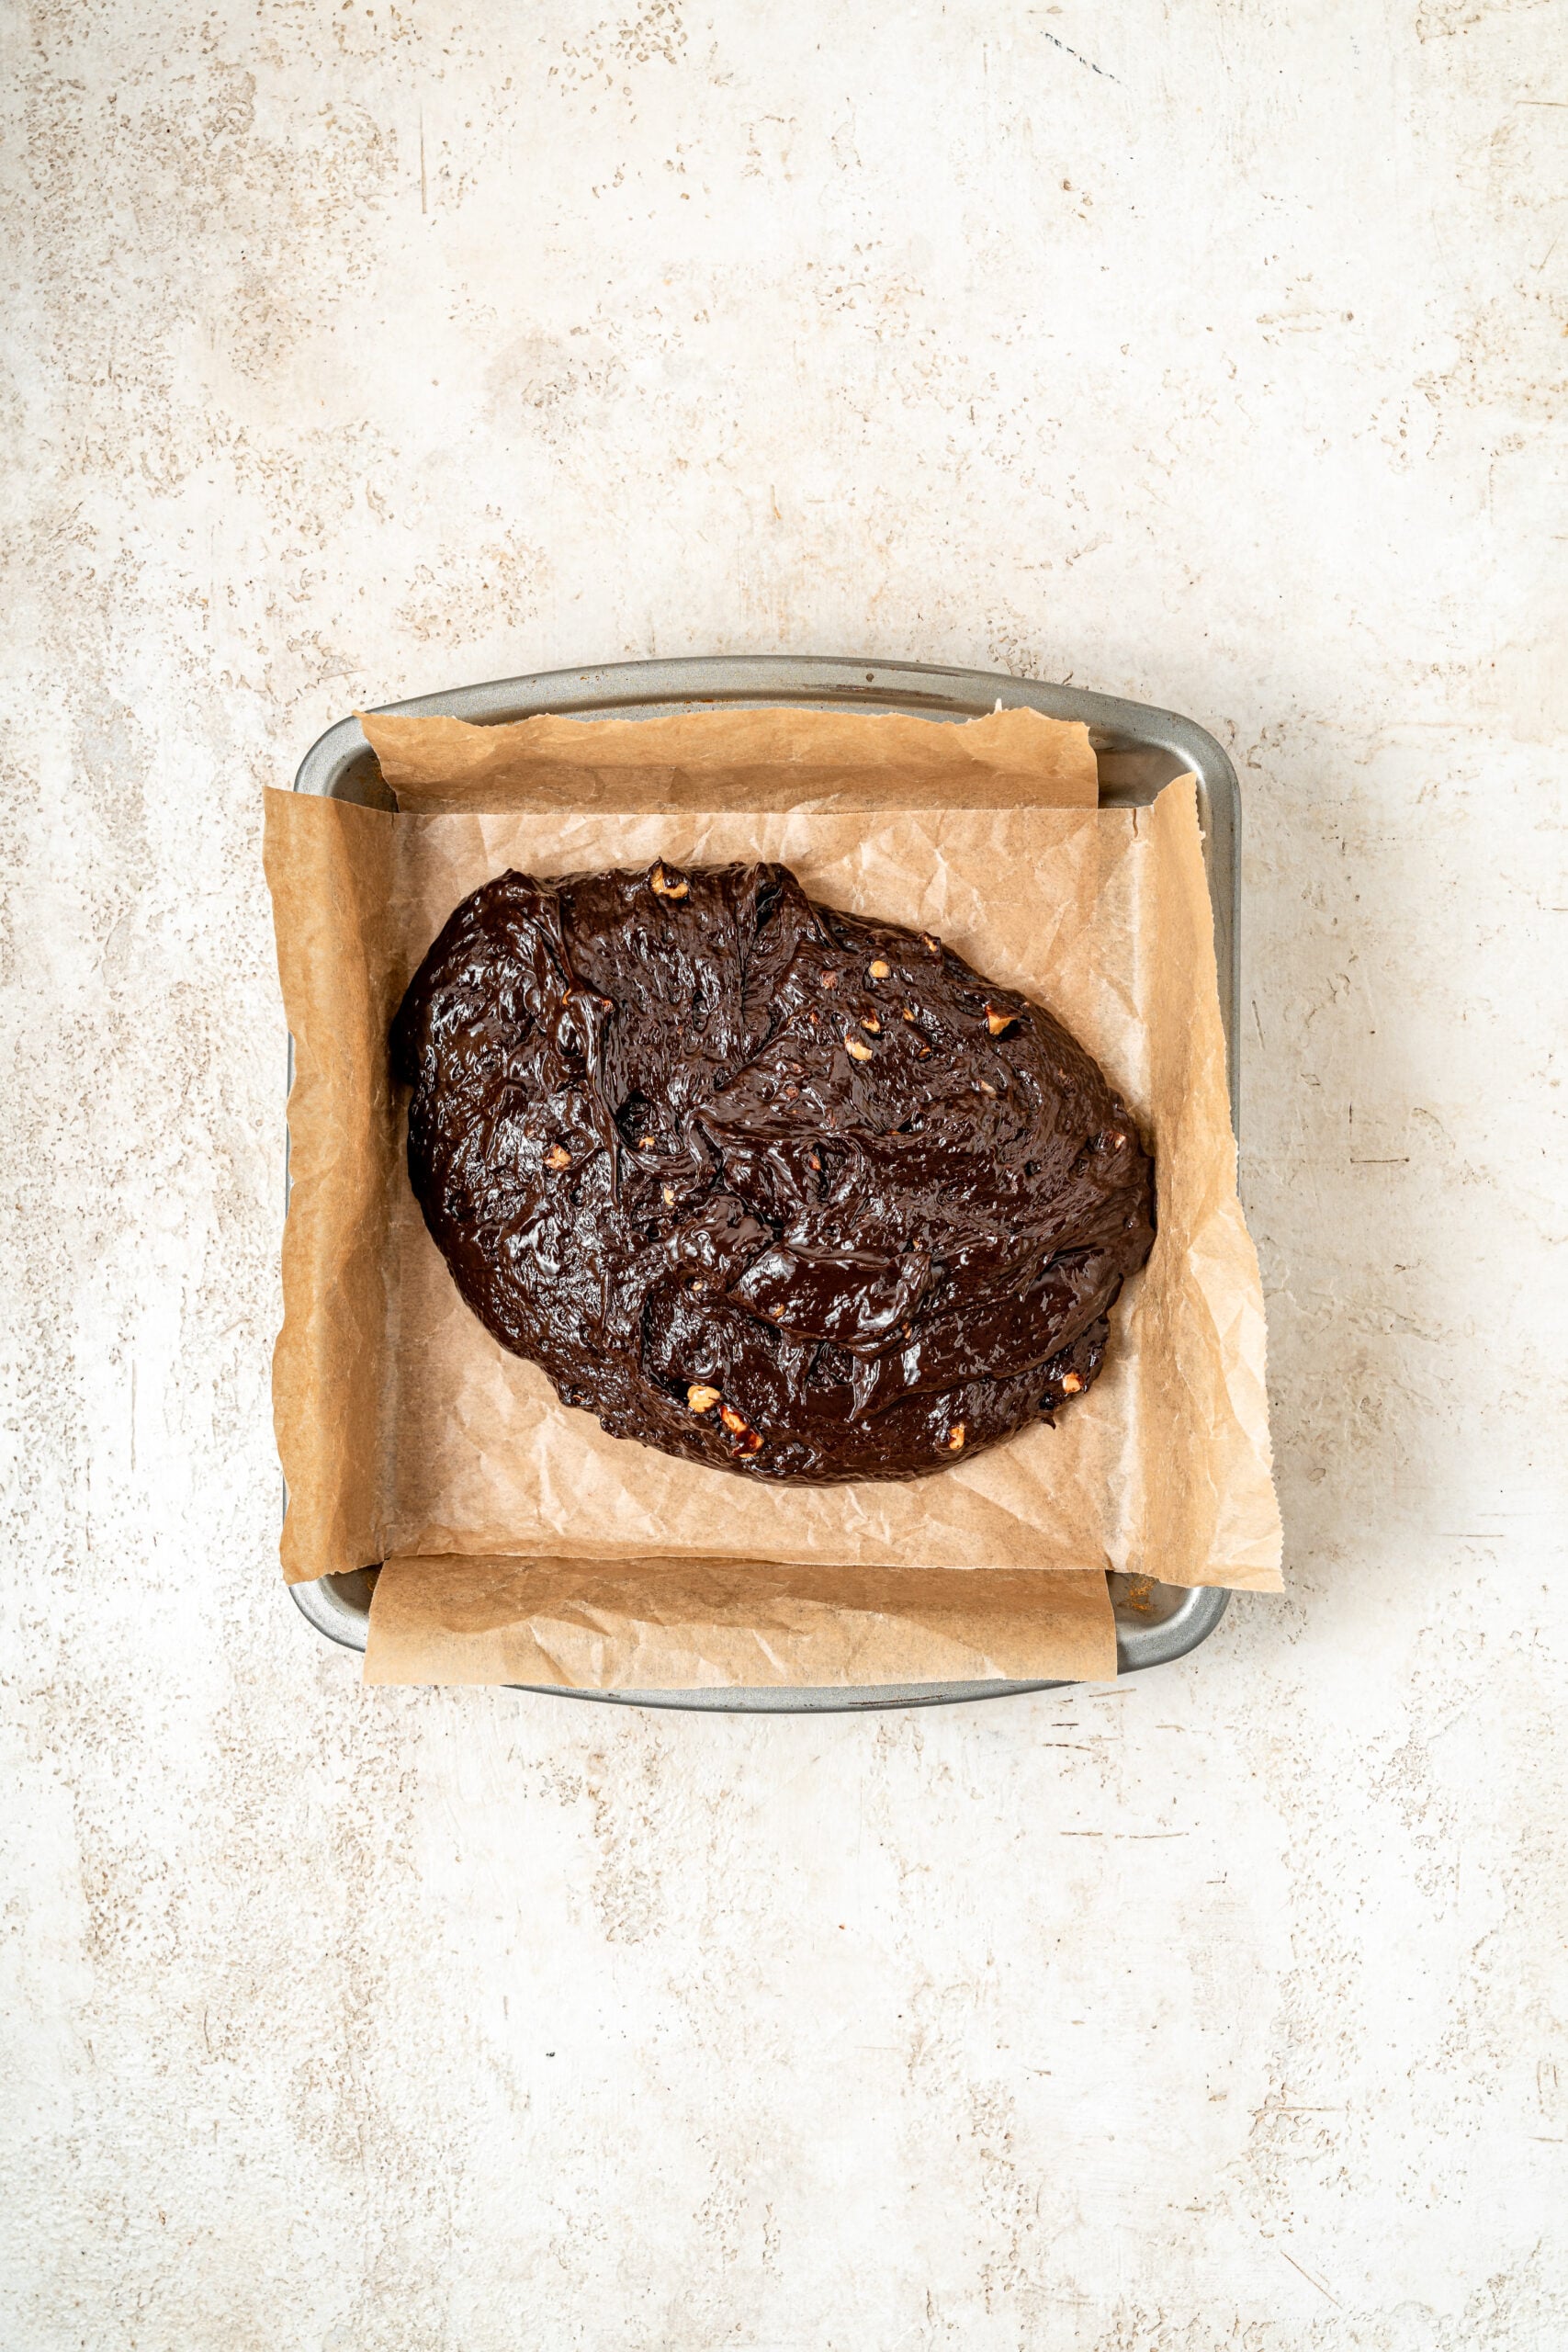
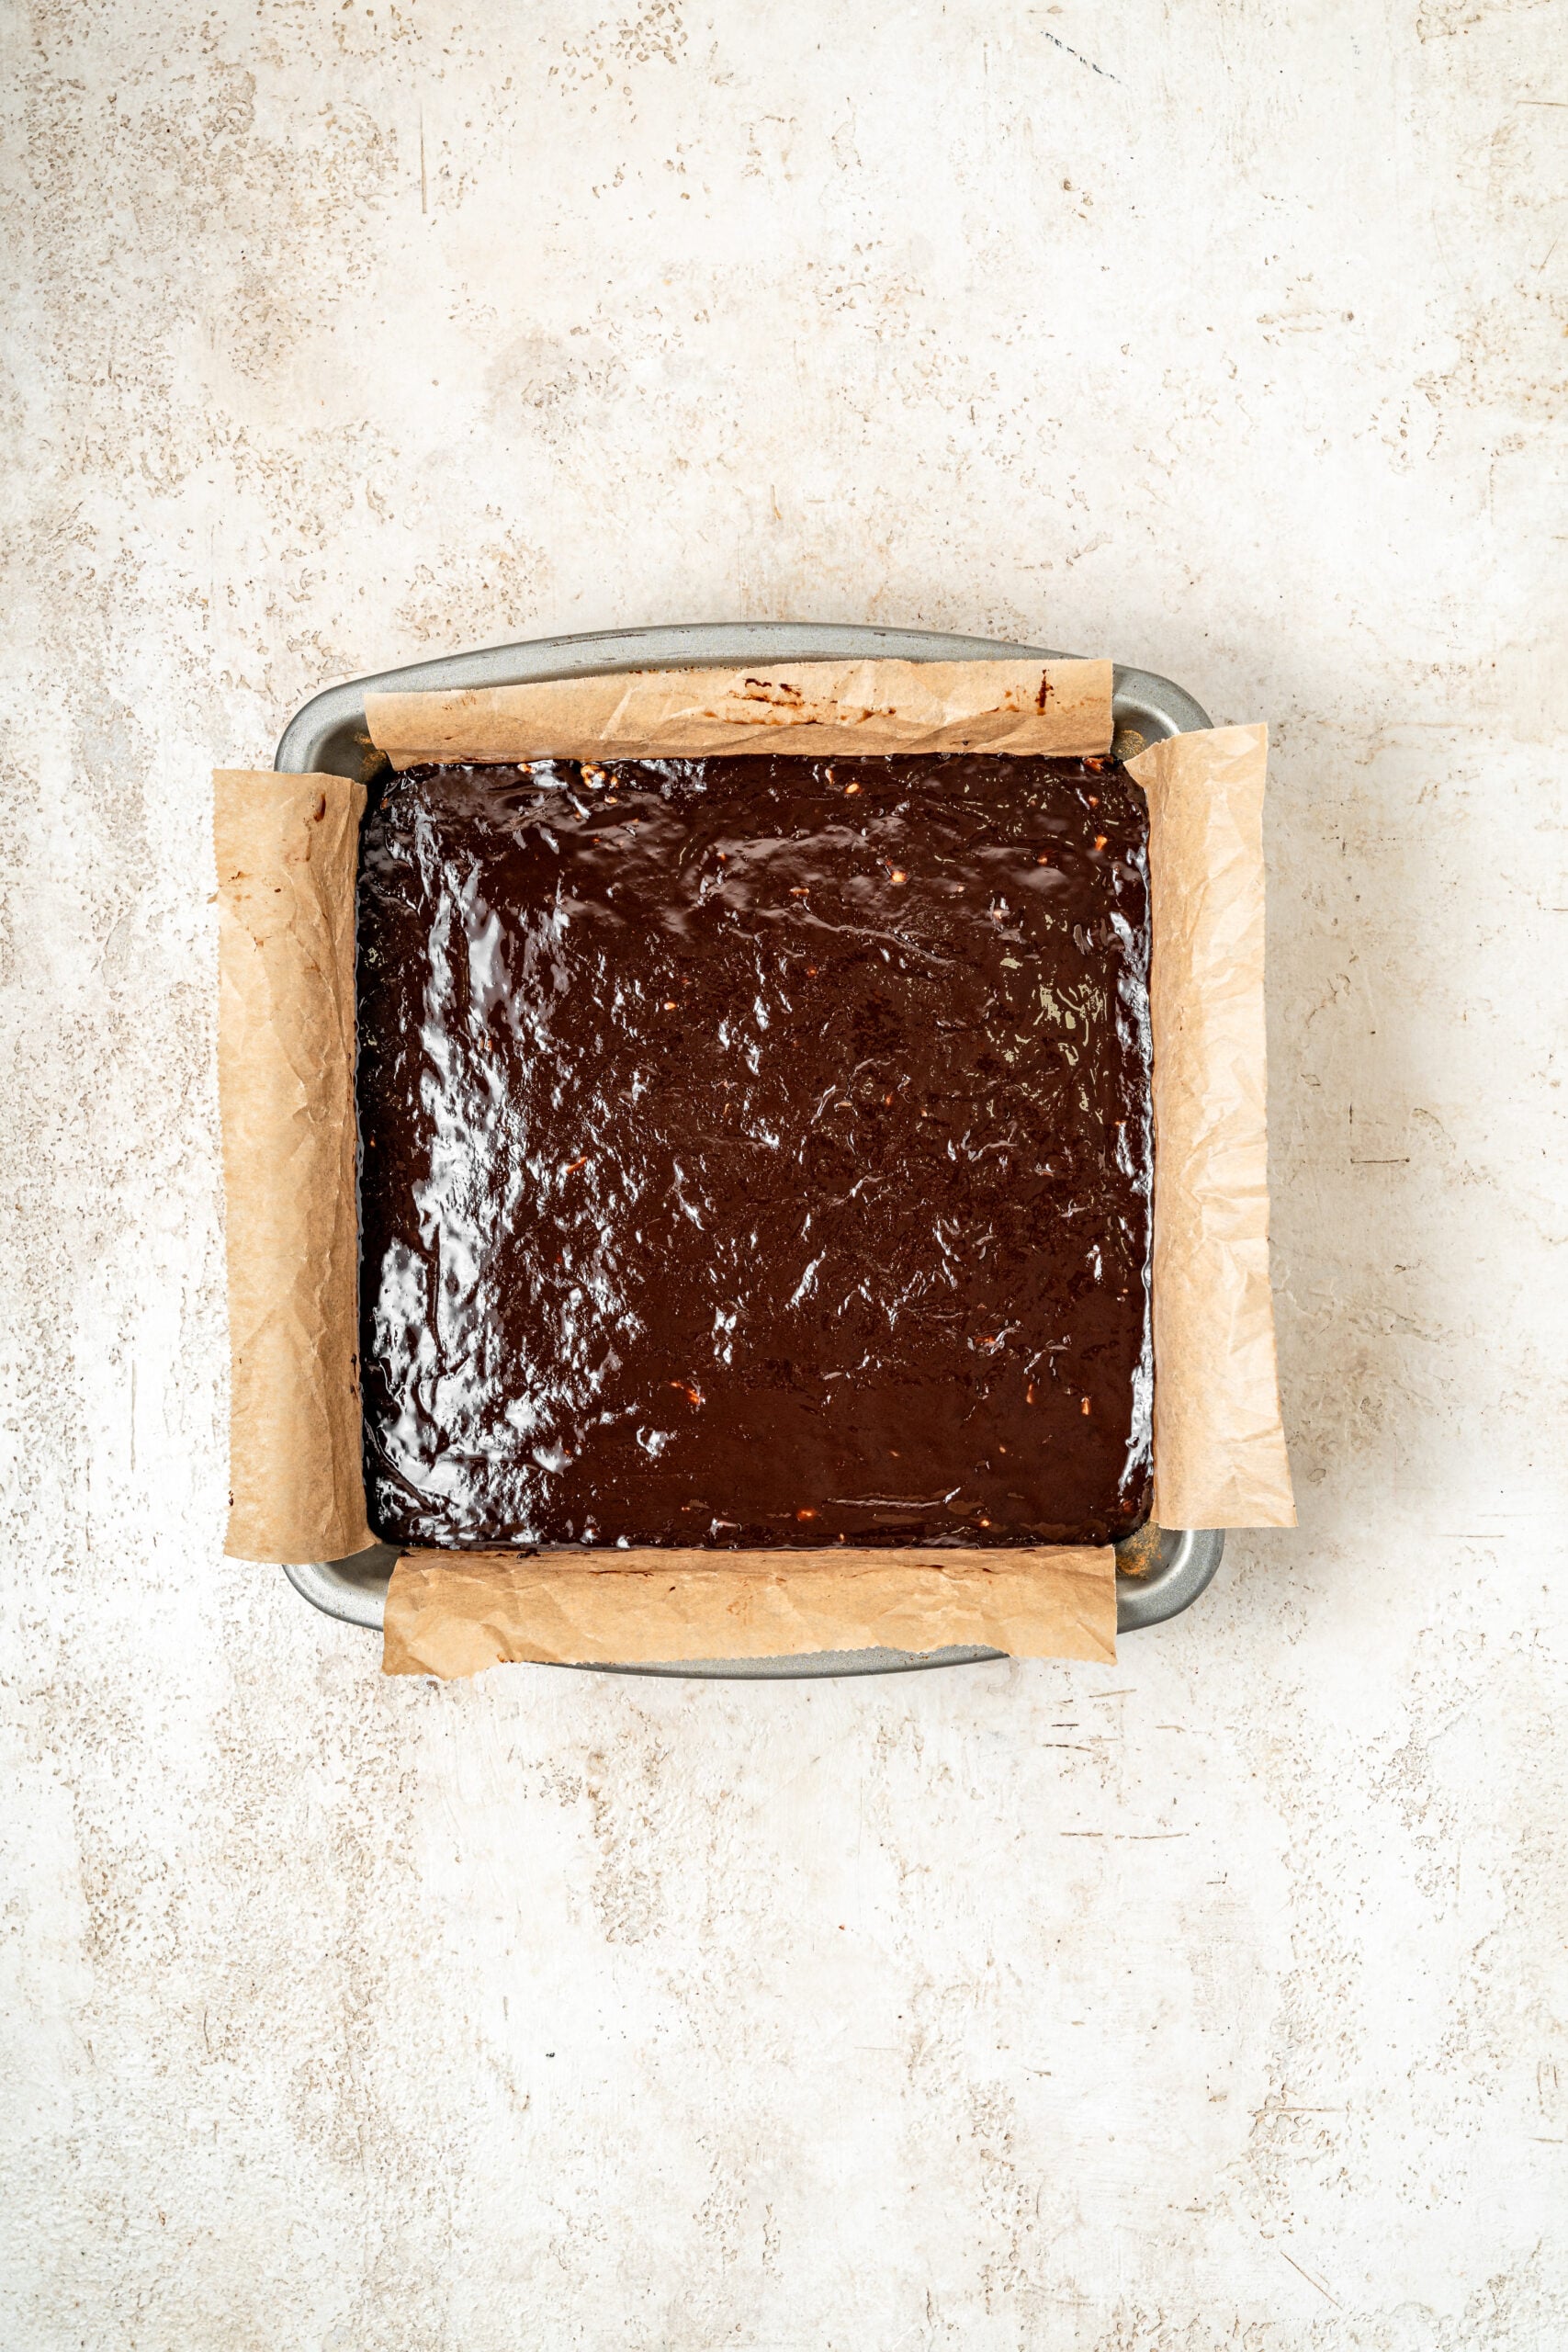
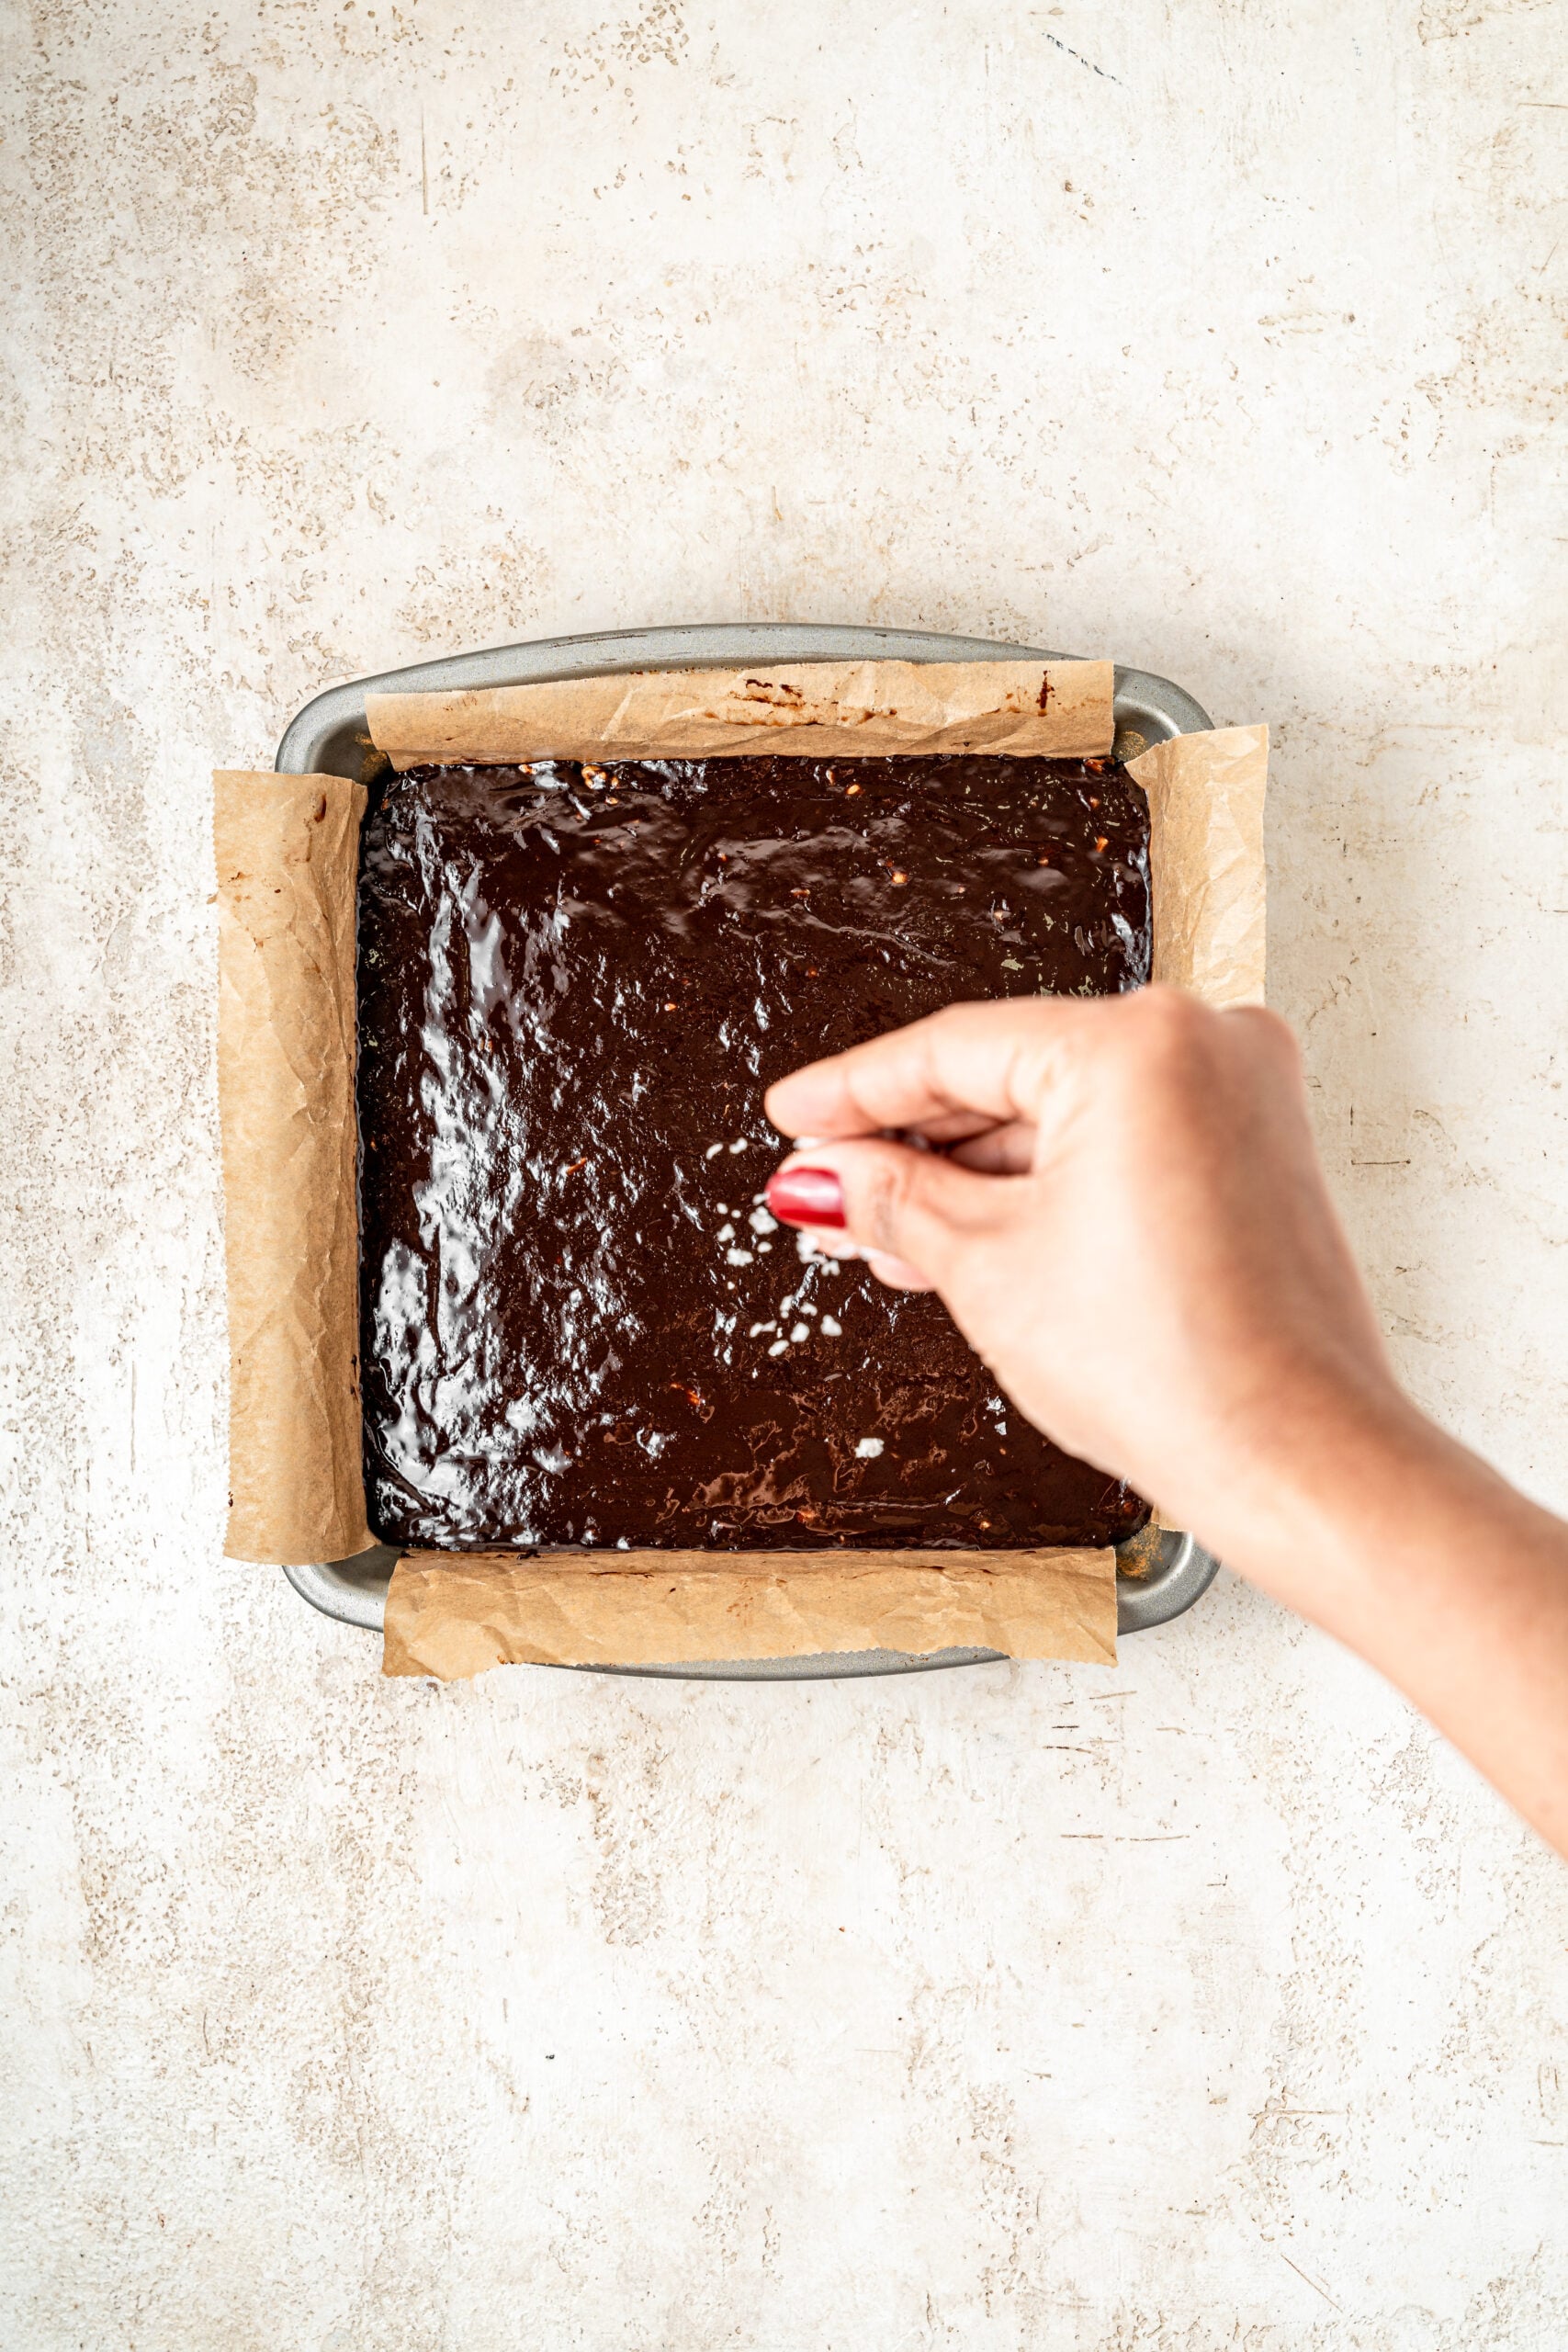
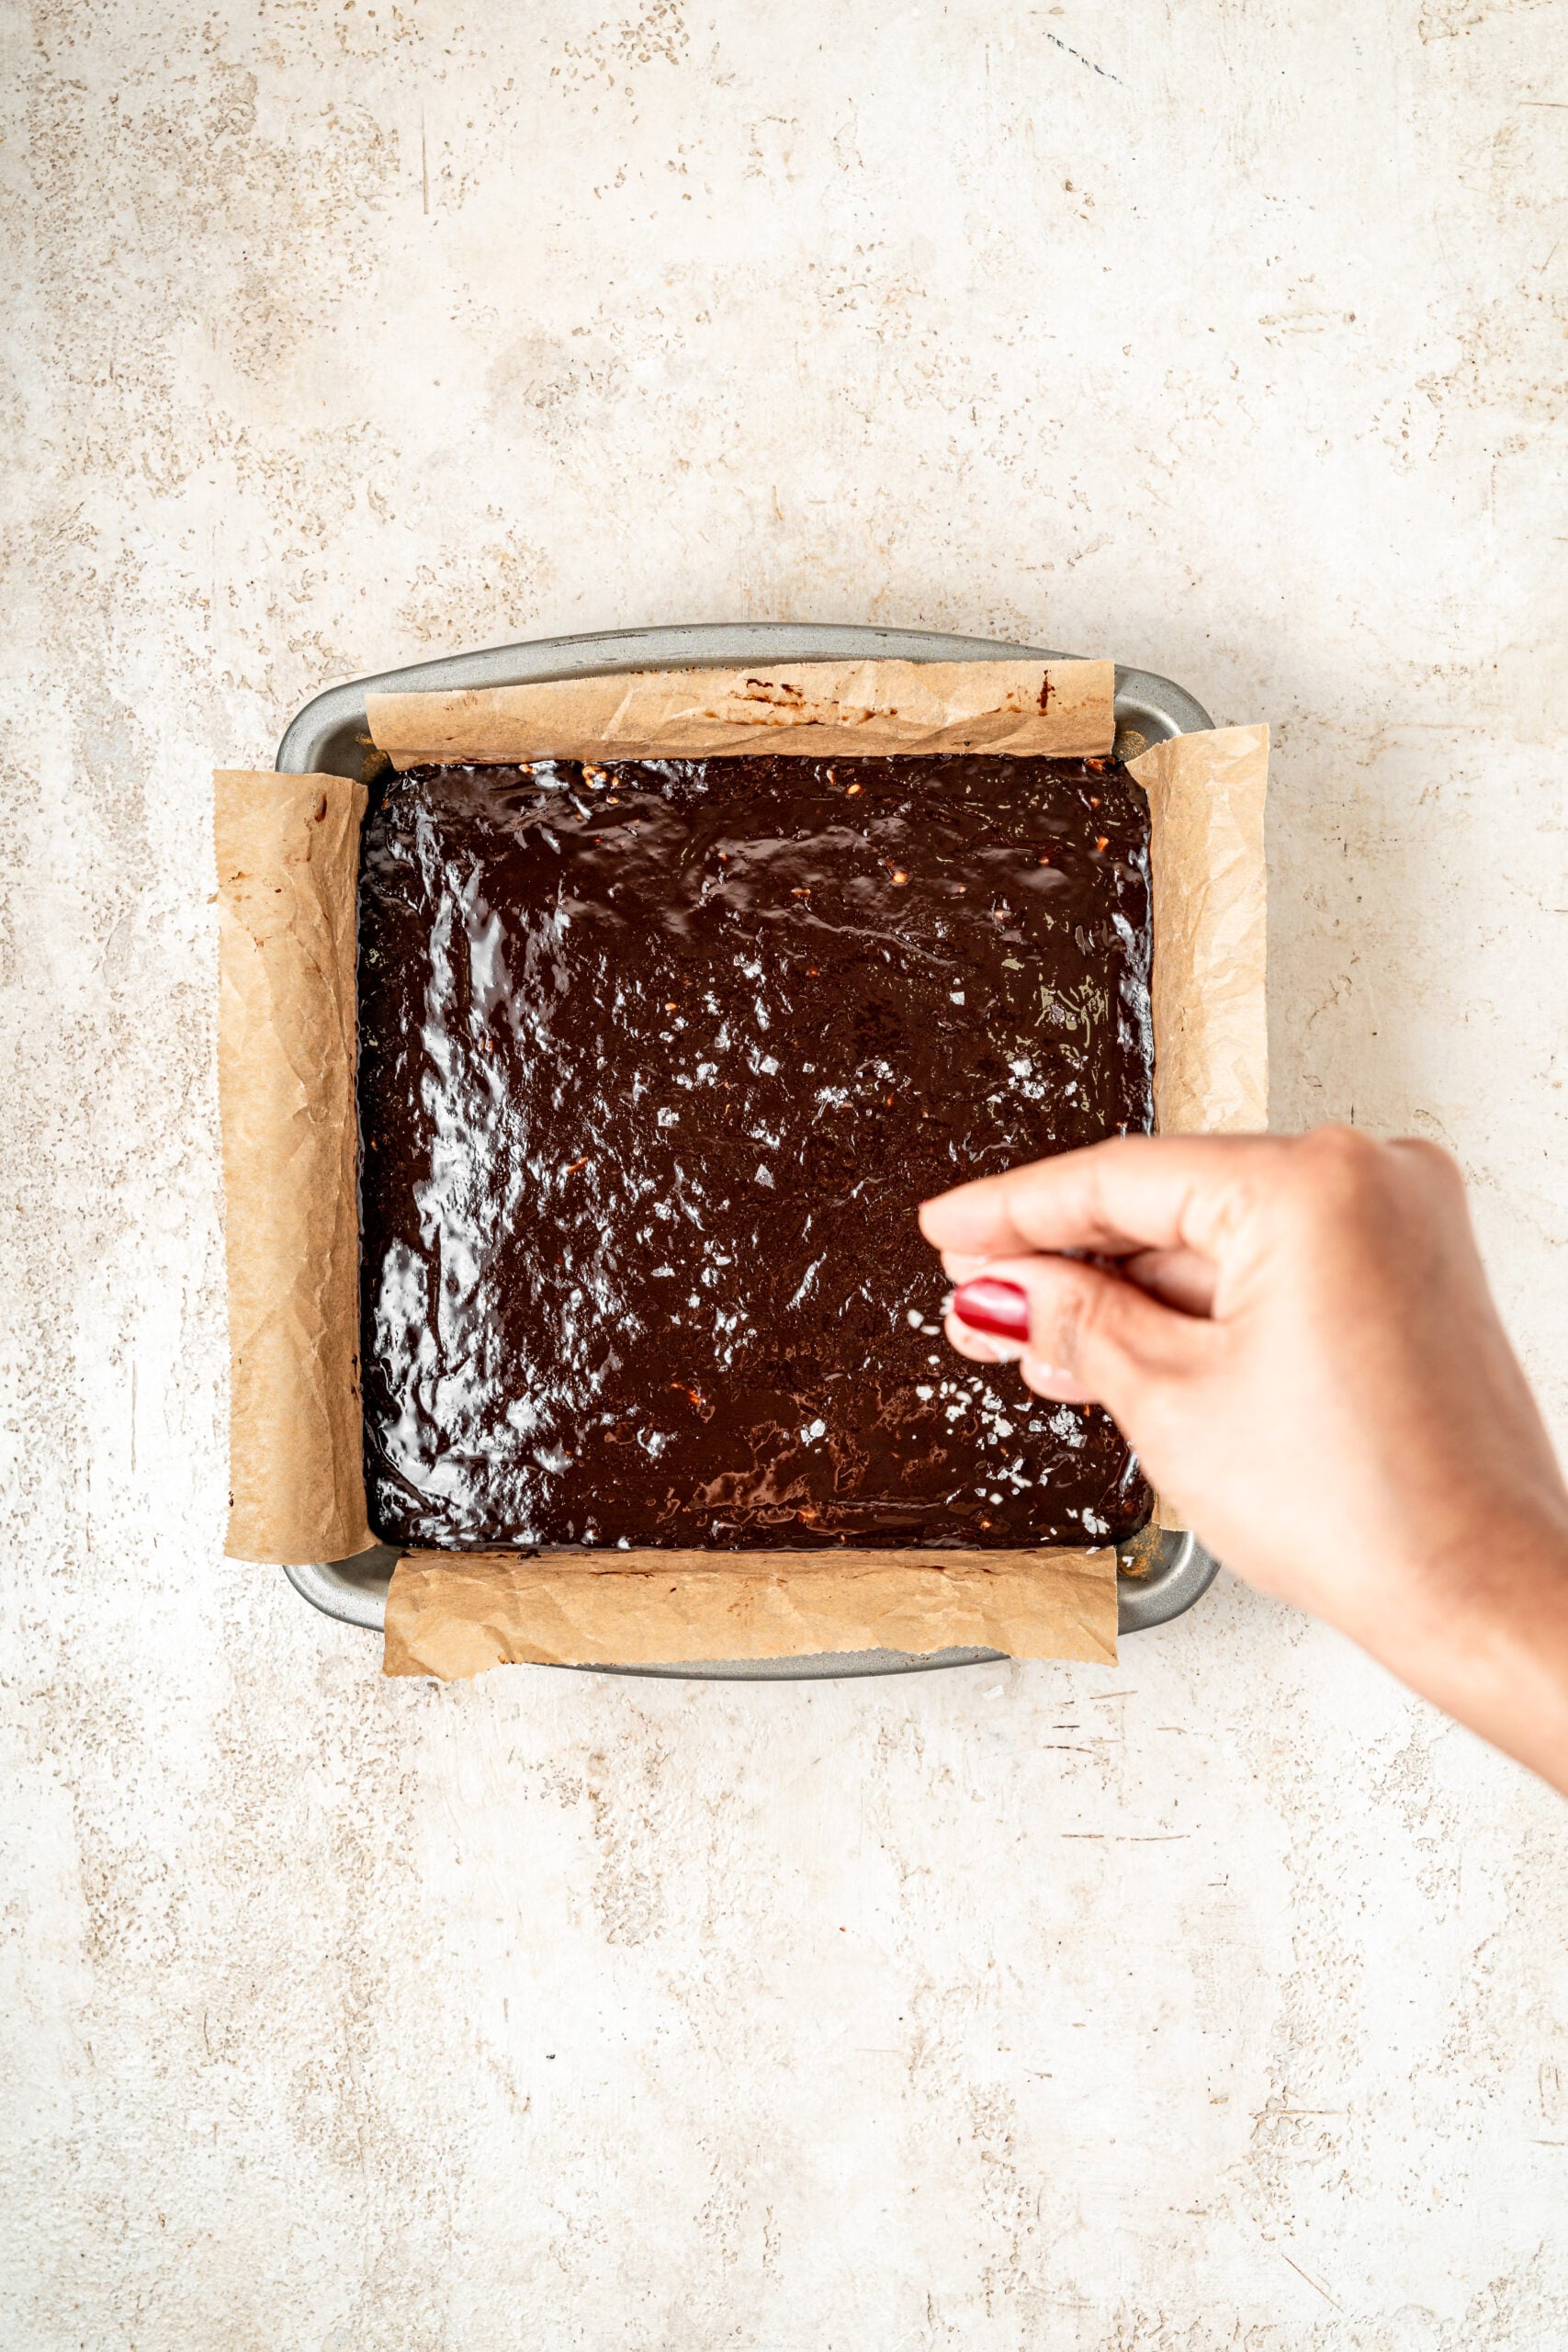
- Leave to set at cool room temperature for 2 to 3 hours, or in the fridge for 1 hour if you are in a hurry. Room temperature gives the better texture; the fridge gives a firmer, denser set.
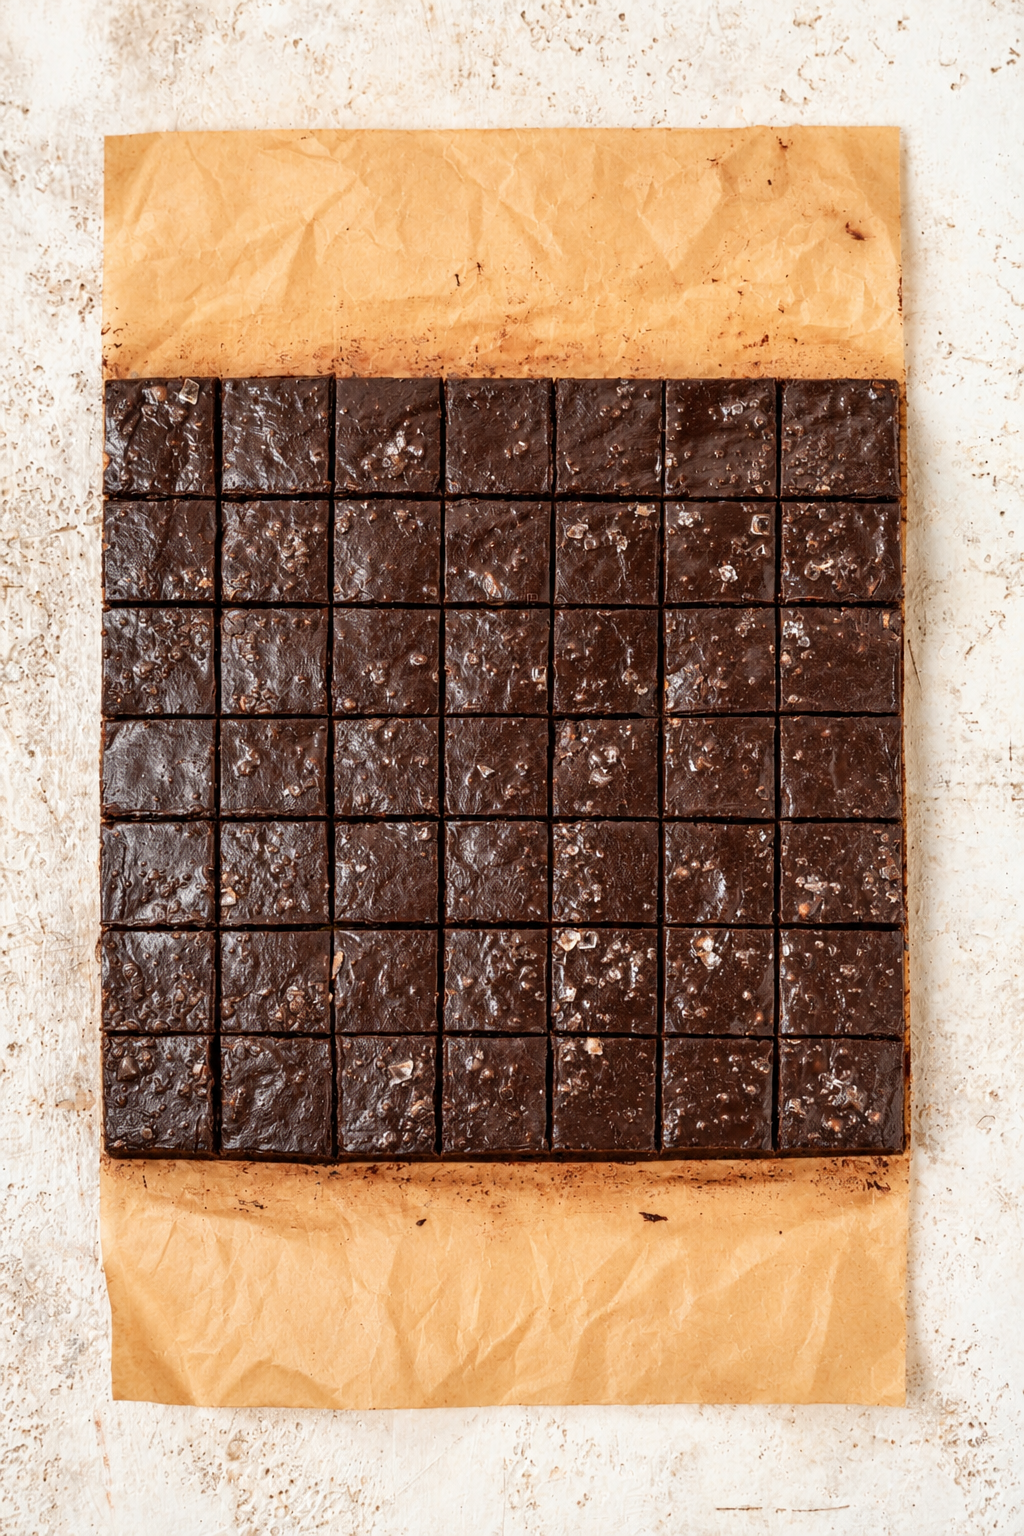
- Lift the slab out by the paper flaps onto a board. Trim the edges square, then cut into 6 rows by 6 with a long, thin knife warmed under hot water and wiped completely dry between cuts. Press straight down rather than dragging the blade.
Grainy fudge, soft fudge and the other things that go wrong
Grainy or sandy fudge
The mixture boiled, or the heat was too high. Once that happens, the sugar starts to recrystallise into coarse grains, and there is no way to smooth it out after it has set. Keep the burner on its lowest setting, stir the whole time, and take the pan off while there are still small lumps of chocolate showing.
Fudge that will not set
Either the chocolate was under 50 per cent cocoa solids, or milk chocolate went in at the full weight. Neither has enough cocoa butter to set the condensed milk firm. Scrape the slab back into the pan, melt it gently with an extra 100g of chopped dark chocolate, and set it again.
An oily film on top
The butter separated out from overheating. While the mixture is still warm, stir it hard off the heat and it will usually come back together. If it has already set with a greasy surface, blot it with kitchen paper; it still tastes fine.
Too hard to cut cleanly
It has been chilled too long. Leave the slab at room temperature for 20 minutes and use a hot, dry knife. Ragged squares usually mean the knife was cold or wet, not that the fudge is wrong.
Fudge for gifting
This is the reason most people make fudge in December, and it is one of the best Christmas sweets to give. It is dense, it has nothing that can split or go soggy, and it does not need refrigerating, so it travels in a tin or a bag far better than most homemade treats.
Cut it the day it goes out
Keep the slab whole until the day you are giving it, then cut and pack. Cut edges dry out and dull over a few days, while an uncut slab stays glossy. Layer the squares between sheets of baking paper in a tin and keep them out of a warm car.
Build a gift box around it
Fudge sits well next to other sturdy sweets. Our Christmas crack is the obvious partner, a salty toffee crunch against the soft fudge, and a few chocolate peppermint cookies round it out. For more ideas, the Christmas desserts collection has a whole section of sweets for gifting.
Easy flavour twists for the holidays
For peppermint fudge, stir in half a teaspoon of peppermint extract with the vanilla and press crushed candy canes onto the top. For orange, add the finely grated zest of one orange. For a marbled look, ripple 100g of melted white chocolate through the top before it sets. Salted pecan, swapping the walnuts for pecans, is the crowd pleaser.
Leave the slab whole until the morning it is given, then cut it with a hot, dry knife. That is the difference between gift box squares and a tin of crumbs.
The traditional method, for anyone who wants a thermometer
Old fashioned fudge has a finer, more crumbly texture that some people grew up with and prefer. Bring 400g granulated sugar, 150ml evaporated milk, 55g butter and 1/4 teaspoon salt to the boil, stirring, then cook without stirring to 114°C (238°F), the soft ball stage. Take it off the heat, add 200g chopped chocolate and 1 teaspoon vanilla without stirring, and leave it for 5 minutes.
Then beat it hard with a wooden spoon until it thickens and loses its shine, pour it into the lined tin and set as above. It is much less forgiving than the condensed milk version, which is why it is here as an option rather than the main recipe.
How to store chocolate fudge
Fudge keeps for 2 weeks in an airtight container at cool room temperature, with baking paper between the layers. To freeze, wrap the uncut slab tightly and freeze for up to 3 months, then thaw it still wrapped in the fridge and cut it once it is cold. Do not freeze loose squares; they pick up condensation as they thaw and the surfaces go dull.
If you like this kind of dense, cut into squares chocolate, our nama chocolate is the Japanese, cream based cousin, and the ultimate fudgy brownies are the baked version for when you want something warm.
Frequently Asked Questions
Why is my fudge grainy?
Grainy fudge almost always means the mixture boiled or the heat was too high, which pushes the sugar to recrystallise. Keep the pan on low, stir constantly and take it off the heat while a few lumps of chocolate are still visible. Once it has set grainy there is no fix, so the prevention is everything.
Why won't my fudge set?
The chocolate did not have enough cocoa butter. Chocolate under 50 per cent, or milk chocolate at the full weight, will leave it soft. Melt the slab back down gently with an extra 100g of chopped dark chocolate and let it set again.
Do I need a candy thermometer to make fudge?
Not for this fudge recipe. Sweetened condensed milk is already a cooked sugar syrup, so all you are doing is melting chocolate into it over low heat. Only the traditional boiled sugar method needs a thermometer, to reach 114°C (238°F).
Can I use chocolate chips for fudge?
A chopped bar is much better. Chocolate chips contain stabilisers that help them keep their shape when baked, so they melt less smoothly and give fudge a dull, slightly waxy finish.
How long does homemade fudge last?
About 2 weeks in an airtight container at cool room temperature, with baking paper between the layers. Wrapped whole and uncut, it freezes for up to 3 months.
Does fudge need to be refrigerated?
No. It keeps best at cool room temperature, which is part of why it is such a good gift. The fridge makes it firmer and denser, and if it has been chilled, let it stand for 20 minutes before cutting.
Let’s Get Cooking
If you liked this recipe make sure to leave me a comment and rating down below. I’d love to know how it went! Also, don’t forget to tag me on Instagram @catherine.desserts.
Follow me on Facebook, Pinterest, YouTube, and TikTok for more of my baking creations and updates!
Easy Chocolate Fudge
An easy fudge recipe made with sweetened condensed milk and bar chocolate, with no candy thermometer. One saucepan, five ingredients, and a dense, glossy chocolate fudge that cuts into 36 squares for gifting.
- Prep Time: 15 minutes
- Set Time: 2 to 3 hours
- Cook Time: 6 minutes
- Total Time: 3 hours 15 minutes
- Yield: 36 pieces 1x
- Category: Candy
- Method: Stovetop
- Cuisine: American
Ingredients
Units
Scale
For the fudge:
- 450g (1 lb) semisweet or dark chocolate, 50 to 60 per cent, finely chopped
- 1 tin (395 to 400g, 14 oz) sweetened condensed milk
- 55g (4 tbsp) unsalted butter, cubed
- 1 tsp vanilla extract
- 1/2 tsp fine salt
Optional:
- 120g (1 cup) walnuts or pecans, toasted and roughly chopped
- Flaky sea salt, for the top
Instructions
- Line an 8 inch (20 cm) square tin with baking paper, leaving an overhang on two opposite sides.
- Chop the chocolate finely and evenly.
- Put the chocolate, condensed milk, butter and salt in a heavy based saucepan over low heat.
- Stir constantly for 4 to 6 minutes, scraping the base and corners. Do not let it boil or simmer.
- Take the pan off the heat while a few small lumps of chocolate remain and keep stirring until smooth.
- Stir in the vanilla, then the nuts if using.
- Scrape into the tin and spread level. Press baking paper on top and smooth for a flat surface, then peel it off.
- Scatter flaky salt over the top while still tacky, if using.
- Set at cool room temperature for 2 to 3 hours, or in the fridge for 1 hour.
- Lift out by the paper, trim the edges and cut into 6 by 6 squares with a hot, dry knife, wiping it between cuts.
Notes
- Chocolate: use a chopped bar of 50 to 60 per cent, not chips.
- Grainy fudge: it boiled. Keep the heat low and pull it off early.
- Will not set: remelt with an extra 100g chopped dark chocolate and set again.
- Storage: 2 weeks airtight at cool room temperature, layered with baking paper. Freeze the uncut slab up to 3 months and thaw wrapped in the fridge.
- Gifting: cut on the day it is given. No refrigeration needed.
Nutrition
- Serving Size: 1 piece