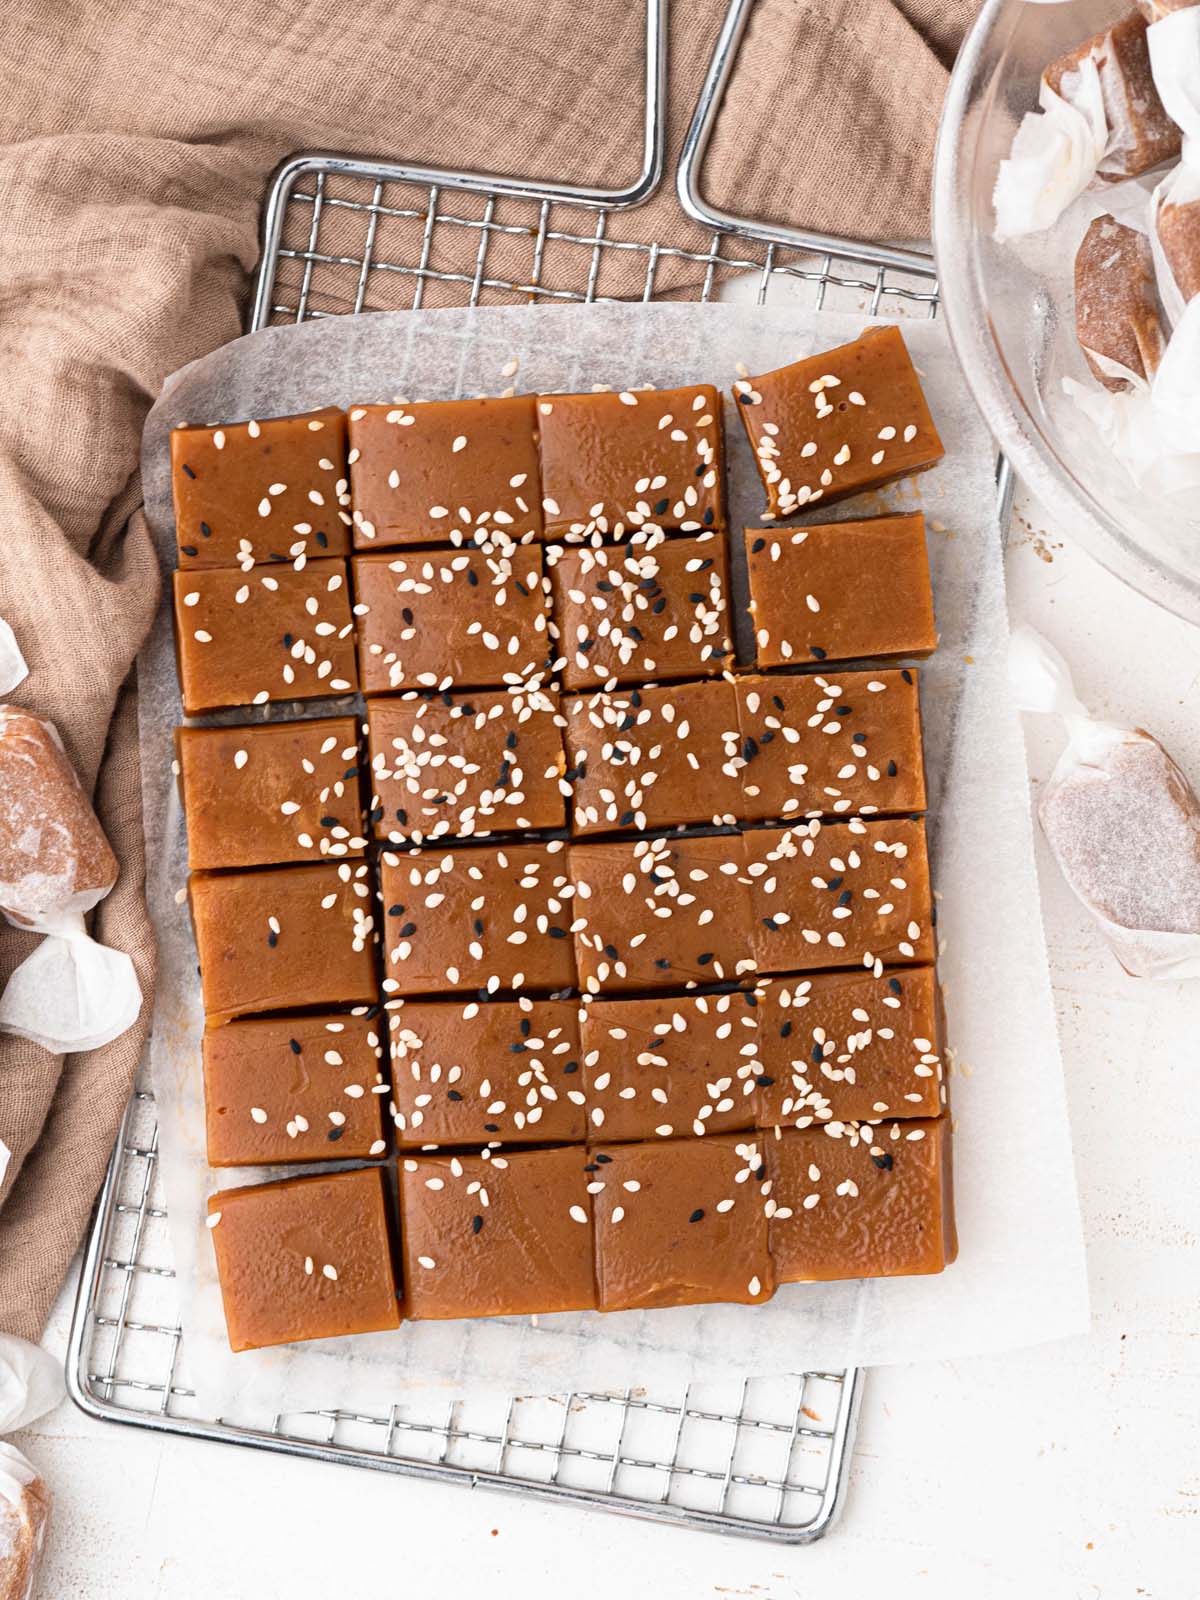
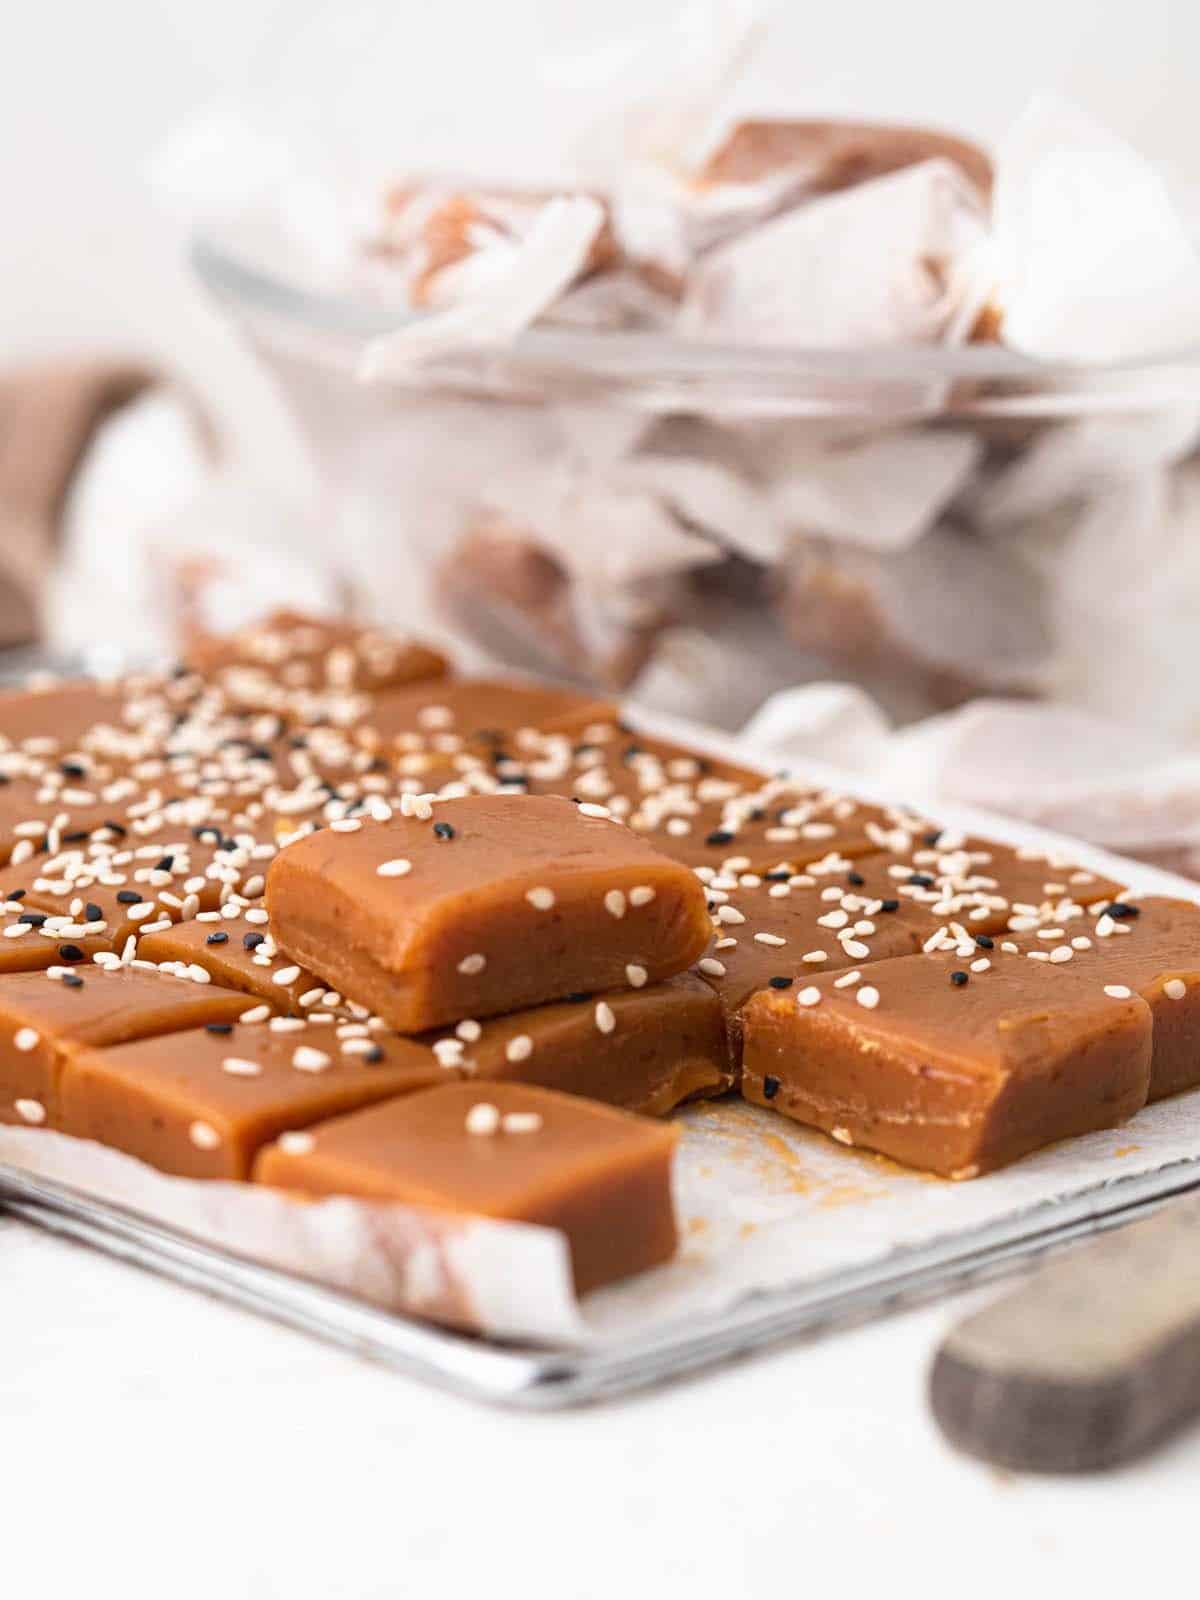
Soft and buttery caramels with a hint of miso to balance out the sweetness for the perfect balance of sweet, salty and umami.
Jump to:
Why make these miso caramels?
Who can resist a good soft and buttery caramel? There is something so satisfying about that sweet and creamy treat. But what if we can make it even better with a salted caramel twist?!
Instead of regular salt, we are adding miso into these caramels for a salty and umami twist. Miso has been such a popular ingredient in baking over the past couple of years and trust me you'll love the addition of it in this!
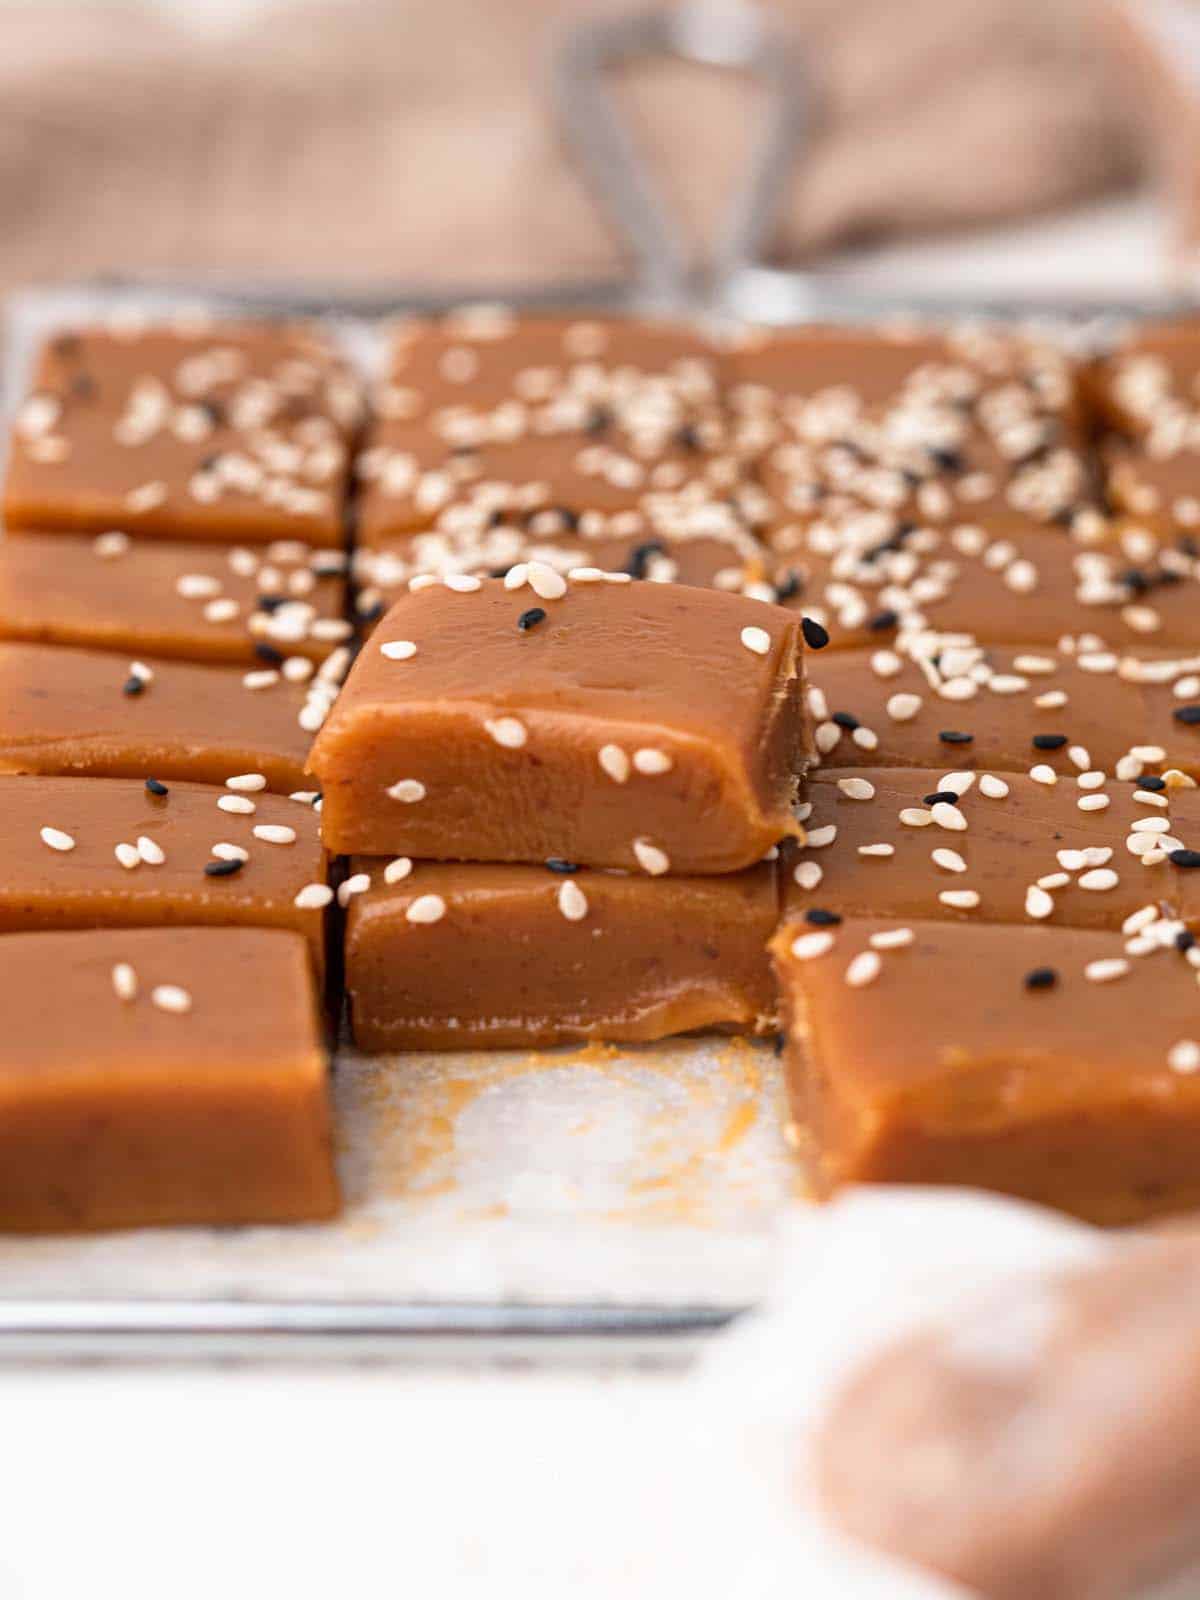
These aren't the kind of caramels that stick to your teeth, if you follow of the tips and tricks you'll be left with sweet 'n' salty caramels that are at the perfect texture.
Ingredients
These caramels don't need many ingredients, and none of them are too hard to find!
- Granulated sugar: Sugar is the base of any kind of caramel recipe. Regular sugar is perfect!
- Unsalted butter: Make sure you use unsalted butter otherwise the caramels will turn out way too salty with the addition of miso.
- Glucose or corn syrup: Both glucose and corn syrup will work in this recipe. Corn syrup is readily available in the US but it can be difficult to find in other countries, that's why glucose is also a great option!
- Evaporated milk: I like to use evaporated milk in my caramels as it brings a rich and creamy flavor without it spoiling as fast as cream would. This means that your caramels can last longer without going off.
- White miso: White miso is the best to use in baking as it has the mildest flavor. Other miso pastes like red miso have a strong funk to them and can throw off the flavor balance of the candies.
Making this without a thermometer
When making caramel one of the most important things is temperature. The temperature of the sugar determines whether the caramel will set, be soft or be chewy. That's why it is super helpful to have a thermometer when making caramel.
But if you don't have one all hope isn't lost, there are still ways to make caramel without it! Follow the steps below to make these miso caramels without a thermometer:
- Add the evaporated milk slowly: Give the caramel enough time in between each addition of evaporated milk. This helps the sugar cook more evenly.
- Time the cooking of the caramel: It should be ready at approximately 15-20 minutes after all the evaporated milk has been added.
- Keep an eye on the colour of the caramel: It should be a medium golden colour. If it starts getting too dark the caramel has been overcooked and will be chewy.
- Test the caramel in a glass of ice water: Place a drop of caramel in a glass of ice cold water. Check on it after a couple of minutes, it should have firmed up to a solid, but still soft consistency. At this point the caramel is ready and should be taken off the heat.
Frequently Asked Questions
How long do these last?
These will last up to a week at room temperature, or a month in the fridge. Keep them sealed in an airtight container and out of any heat to help them last longer.
How should I store caramels?
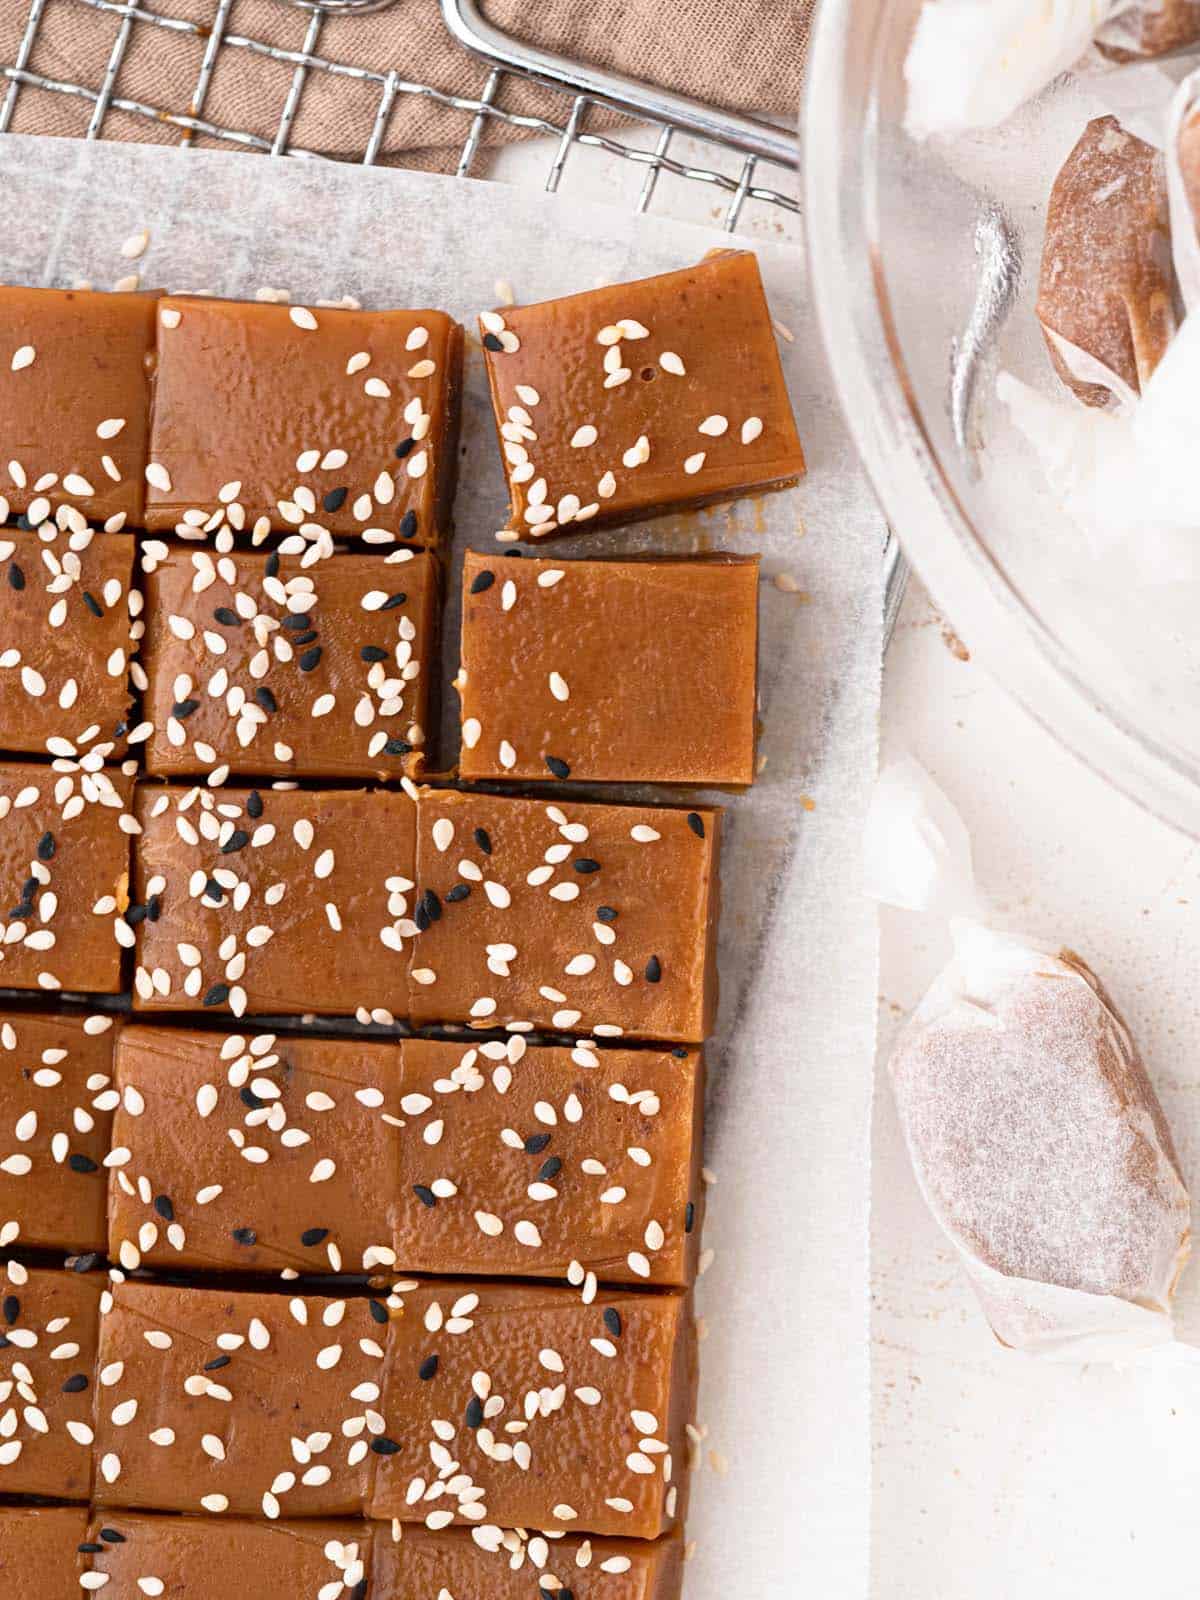
I like to wrap each caramel individually in a sheet of baking paper. Then place them in an airtight container or ziplock bag. These are sensitive to heat and will have a very different texture at room temperature vs refrigerated.
If you prefer a softer caramel I recommend eating these at room temperature. If you like a firmer, chewier caramel eat them straight out of the fridge.
Can you freeze these?
Yes, you can! These are perfect for freezing and will last ages, up to a couple of months. Make sure you keep them in a sealed container or ziplock bag.
Once you are ready to eat them let them sit out at room temperature until softened.
Why didn't my caramels set?
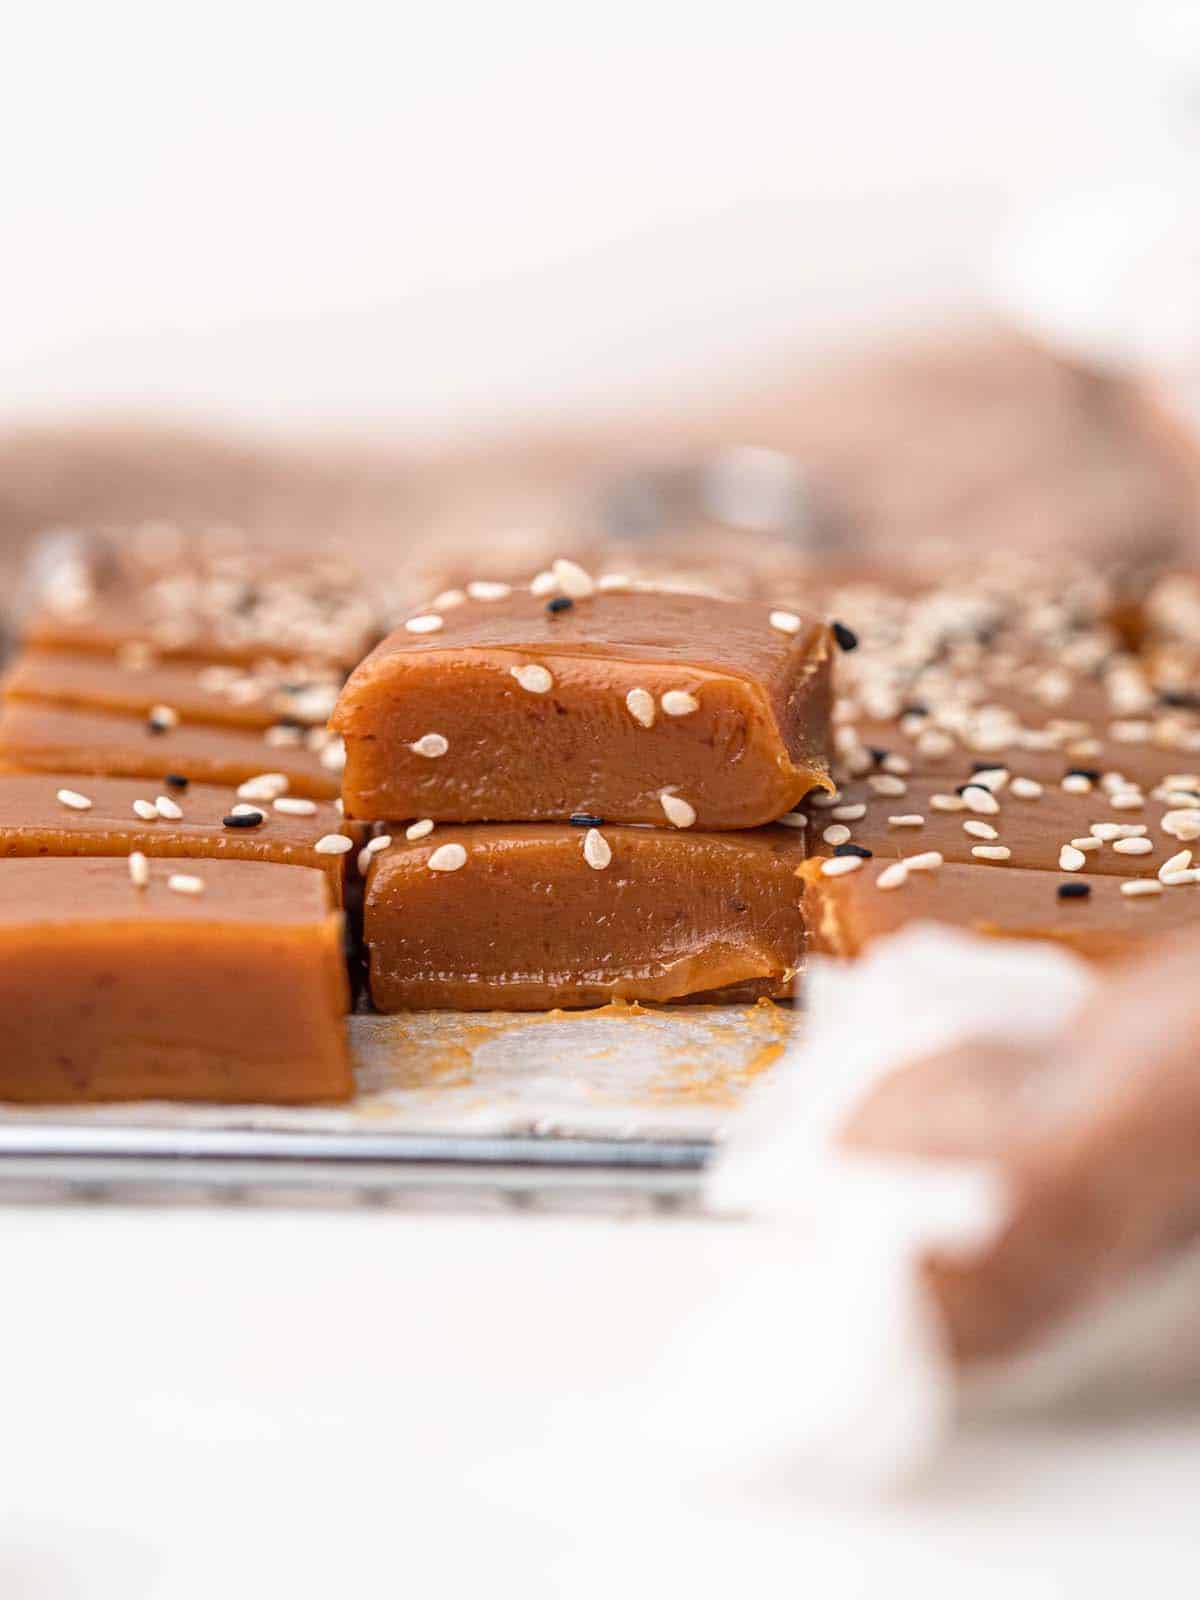
The main reason why the caramels aren't setting is because the sugar hadn't been cooked for long enough.
The longer the sugar cooks the firmer and chewier it will set up. This is why it's important to check the temperature as you are cooking. If you don't have a candy thermometer follow the tips in "Making this without a thermometer".
Why are my caramels so chewy?
If you cook the sugar for too long you get chewy caramel. This is because the sugar passes the soft ball stage and goes towards hard ball or soft crack which all make the caramel a chewier firmer texture. This is why it's important to keep the sugar at the right temperature when cooking!
Let's Get Cooking!
If you liked this recipe make sure to leave me a comment and rating down below, I would love to know how you went.
Also, don't forget to tag me on Instagram @catherine.desserts and hashtag #cattycakes so I can see and share your desserts. Follow me on Facebook, Pinterest, Youtube, and TikTok for more of my baking creations and updates! Until next time... happy caking!
PrintMiso Caramel Recipe
Soft and buttery caramels with a hint of miso to balance out the sweetness for the perfect balance of sweet, salty and umami
- Prep Time: 15 minutes
- Cook Time: 45 minutes
- Total Time: 1 hour
- Yield: 36 Caramels 1x
- Category: Candy
- Method: Easy
- Cuisine: Asian Fusion
Ingredients
- 400g Granulated sugar (2 cups)
- 120g Unsalted butter (½ cup)
- 60ml Glucose or corn syrup (¼ cup)
- 1 12oz can Evaporated milk
- 2 tbsp White Miso
Instructions
- Line a 8 x 8 inch / 20cm x 20cm square cake tin with parchment paper
- Combine the sugar, butter, and glucose or corn syrup in a medium saucepan over medium heat and heat until melted, stirring occasionally
- Once the. the mixture is completely melted and at a boil add a splash of evaporated milk (be careful as it will splatter)
- Continue to add the evaporated milk in splashes, mixing constantly in between until it's completely incorporated
- Once all the milk is incorporated add the miso to a fine-meshed sieve and place it in the caramel, stirring the miso to incorporate it slowly and evenly into the caramel (this process prevents the miso from forming large clumps in the caramel)
- Bring the caramel to a simmer and continue to cook until it reaches 230F-240F / 110C-115F, this can take up to 15 minutes, keep stirring the caramel to prevent it from burning
- Once it reaches the right temperature remove it from the heat and pour it into your lined tin
- Place in the fridge to chill for 4 hours, or in the freezer for 2 hours, or until firm and set
- Cut the caramel into small squares with a sharp knife on a cutting board and wrap them in parchment paper, enjoy!



Comments
No Comments