With all the tips and tricks for a perfect crack-free cheesecake this recipe for a rich and creamy classic New York cheesecake will become your go to!
Jump to:
I'm finally sharing my favourite cheesecake recipe and all the tips and tricks to creating the perfect rich and creamy cheesecake. This cake base has made an appearance in a couple of my desserts before, but now I'm charing the original recipe. There is something about a classic cheesecake that just hits the spot!
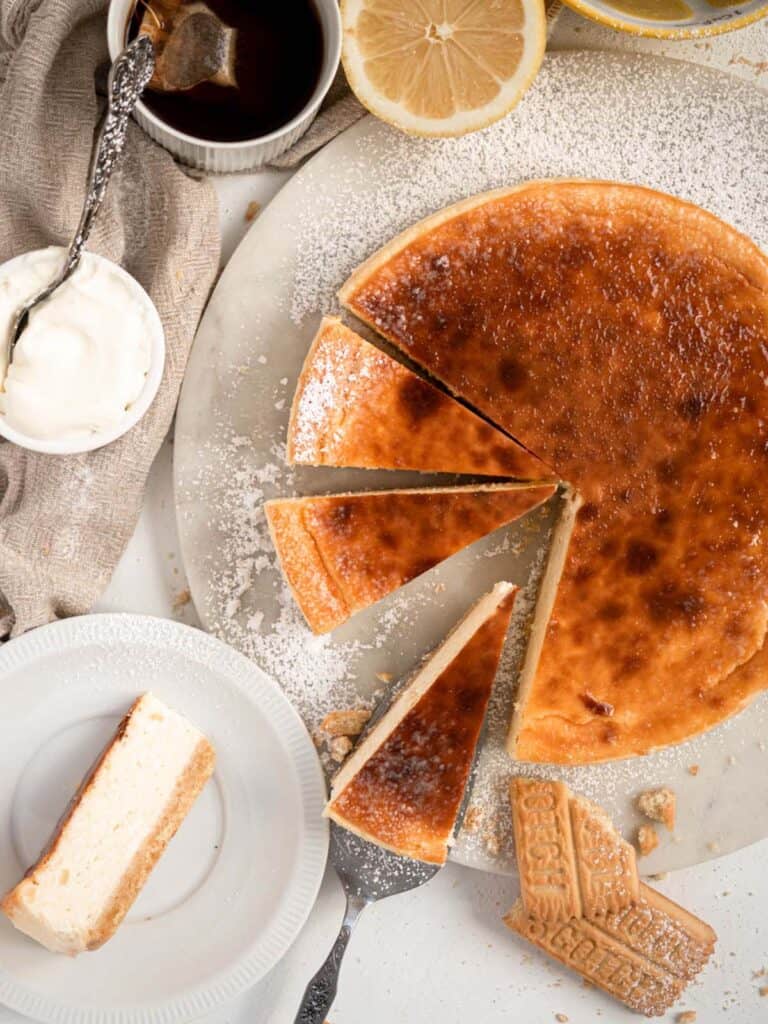
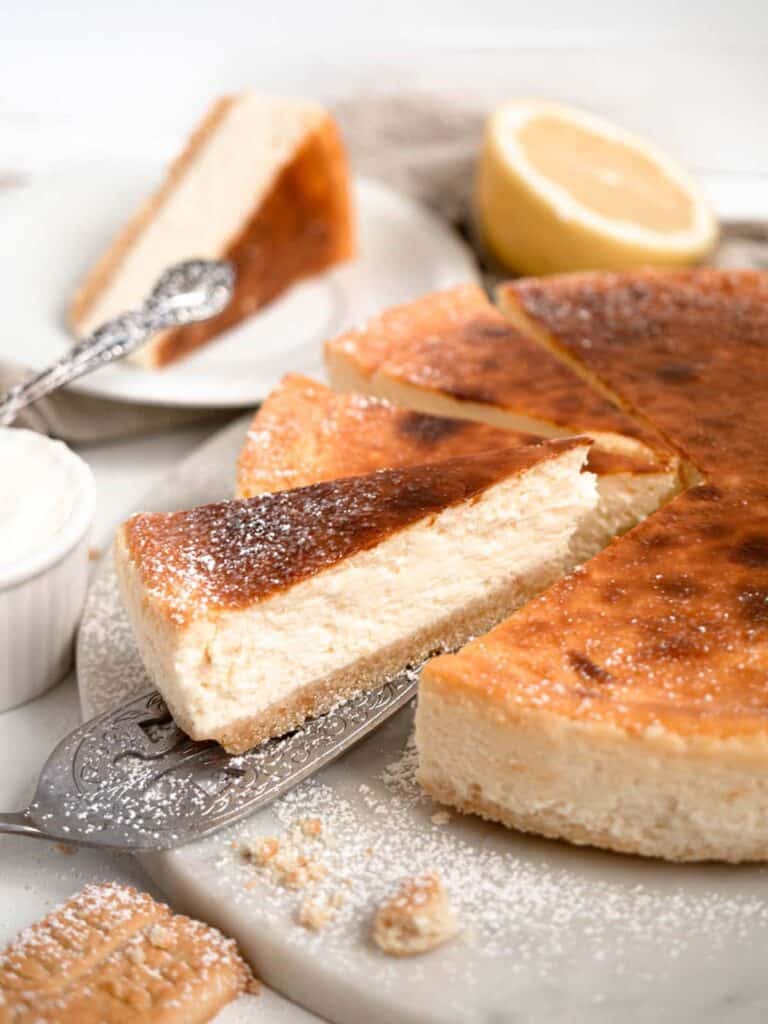
What's the difference between a New York cheesecake and a regular cheesecake
There are a lot of different kinds of cheesecakes from no-bake, basque, Japanese and the list goes on... But there are several distinctive features that characterise a New York cheesecake.
New York cheesecakes are very dense, rich and creamy in comparison to other cheesecakes. This is due to the amount of cream cheese used. They typically use a higher percentage of cream cheese to create a richer taste, this is then combined with other ingredients like heavy cream and sour cream or yoghurt to create an even richer experience.
You'll notice that most New York cheesecakes also have a slight tang to them. This is due to the use of sour cream/yoghurt and lemon juice and zest. This tanginess helps to offset the richness of the cake and gives this classic its flavour.
New York cheesecakes are always baked as baking the cake creates that creamy texture you can't achieve by using gelatine or other setting agents. Eggs and sometimes additional egg yolks are whisked into the batter to help bind all the cheese and cream together when baked so the cake sets up firm and delicious!
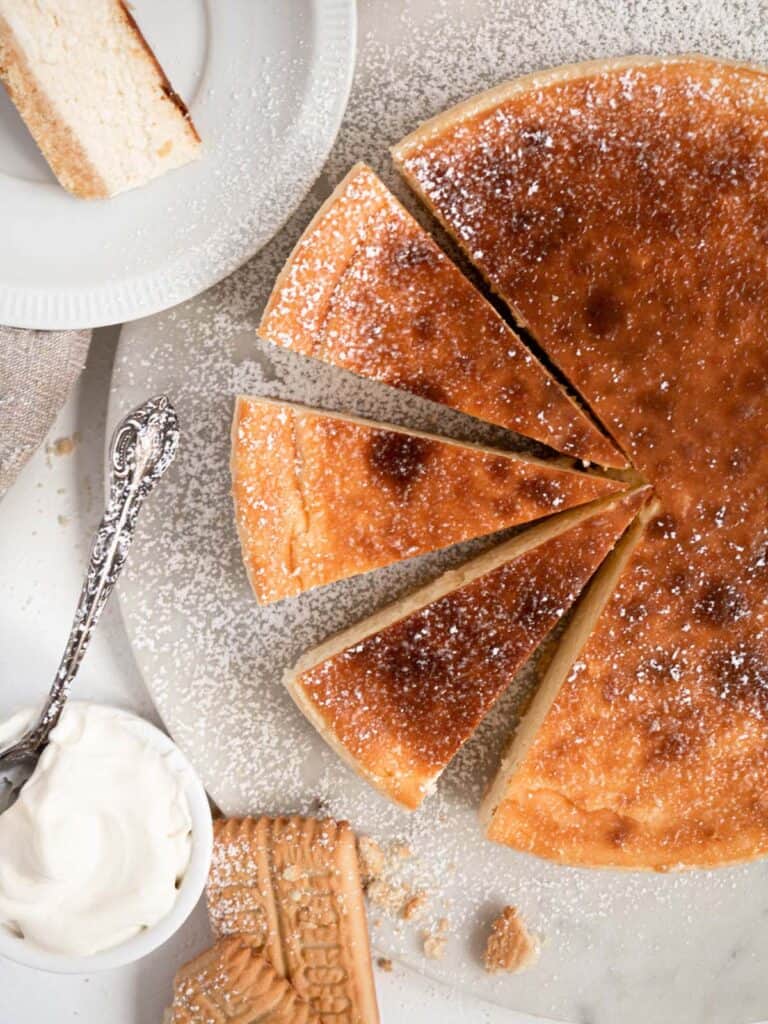
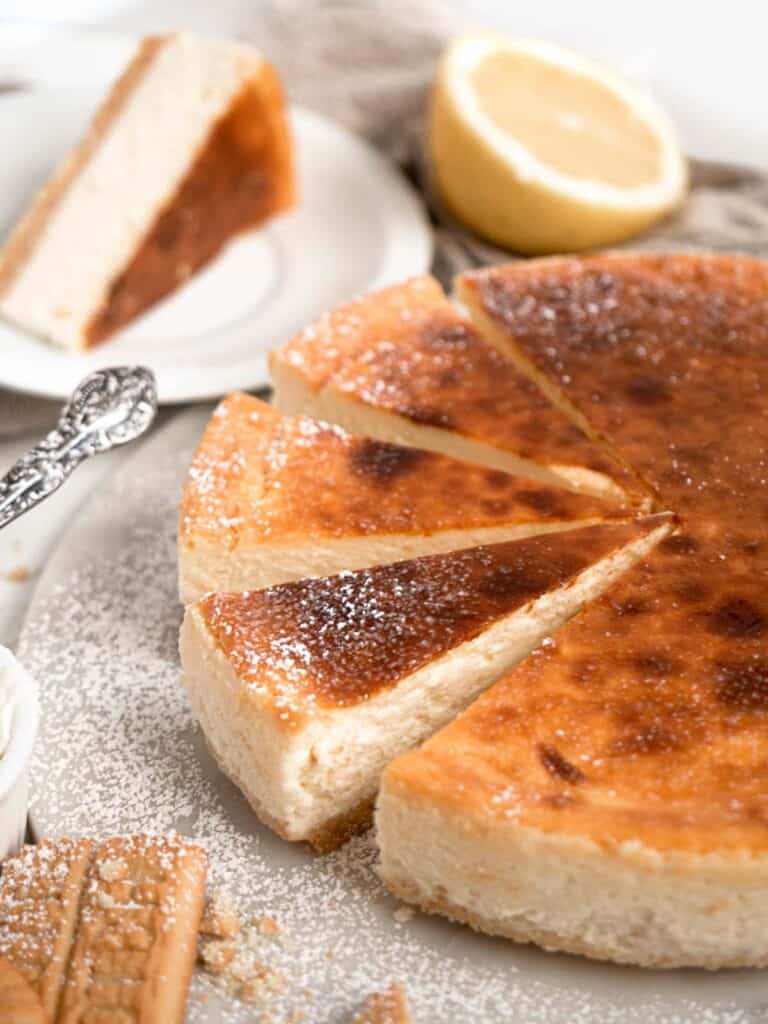
Frequently asked questions
Why did my cheesecake crack?
There are several reasons as to why your cheesecake may have cracked:
- Too much air was incorporated into the cheesecake while mixing
Excessive mixing while making the batter can cause a build up of air pockets. When baked these air pockets will rise to the surface of the cake and cause cracks. In order to prevent this make sure you beat your cheesecake batter slowly and use room temperature ingredients so that everything can be incorporated easily.
- There wasn't enough moisture in the oven
The hot water bath the cheesecake sits in helps to add extra moisture to the oven and the surface of the cheesecake. It also evens out the oven temperature, reducing the possibility of cracks
- The oven temperature was too high
When the oven temperature is too high or has sudden changes it can cause cracks on the surface of the cake. Increases in oven temperature case the cake to rise, and sudden rises will cause cracks. The hot water bath will help to even out the oven temperature, however make sure your oven is set at the right setting.
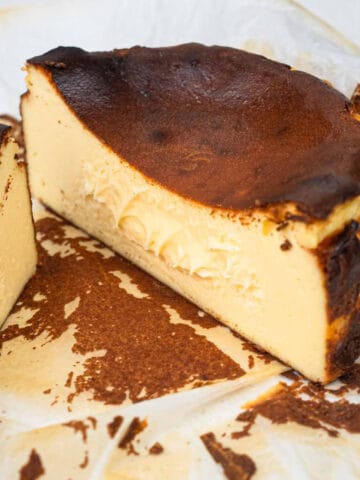
This cake starts at a lower oven temperature to set the cake before an increase at the end to create the golden brown surface. This is important as if baked at the higher temperature throughout the cheesecake will turn out cracked. The increase at the end is optional, however I love the look of a golden cheesecake. It makes the plain old cake a little interesting!
Does the cheesecake have to be cooked in a water bath?
The cheesecake doesn't have to be cooked in a water bath, but keep in mind that if you don't use one your cheesecake will have a cracked surface. The hot water bath helps to even out the oven temperature and bring an even bake to the cake.
How do I fix a cracked cheesecake?
Unfortunately you can't un-crack a cheesecake, but there are so many ways to cover it up! You can spread over a berry jam, pipe on swirls of whipped cream, dust it in a thick layer of icing sugar and so on. The options are endless so pick your favourite cheesecake toppings and get decorating.
Honestly cheesecakes are one of those things that flavour-wise will never go wrong, so the cheesecake will be equally as delcious!
Can I make this gluten-free?
Yes definitely! This cheesecake uses cornstarch in the batter rather than flour so the filling is already gluten free. Simply choose your favourite gluten free cookie to crush instead of your standard cookie!
Do I need to use a spring-form pan?
Yes! If you make the cheesecake in a regular cake tin you'll have a lot of difficulty getting it out of the pan. While it isn't impossible I definitely wouldn't recommend it. Using a springform pan means that the sides can seperate from the base, making un-moulding so much easier. If you have a cake ring it could also work! Just wrap the base of the ring with aluminium foil and use as you would with a spring form pan.
How do I create a water-bath?
Most recipes will wrap the base of the tin with aluminium foil. If you don't have a slightly larger cake tin or pan you can use this method as well. I would recommend wrapping the bottom of your tin twice to prevent water from entering.
While most people use the foil technique I find this still leads to a cheesecake with a soggy bottom. The extra moisture in the oven and around the foil still manages to seep in and and condensate into the foil. By placing the cake in another pan before placing it in the hot water bath you can avoid having the pan directly in the water, completely removing the possibility of water seeping into your base. There will still be some condensation in the pan, but that is something unavoidable. If you want to be extra careful you can wrap the bottom of your pan with foil as well for extra protection!
When making the hot water batch be sure to use boiling water and not cold water. While you are putting it in the oven cold water will bring down the temperature of the oven if used, increasing the bake time your cheesecake will need.
Step by step instructions
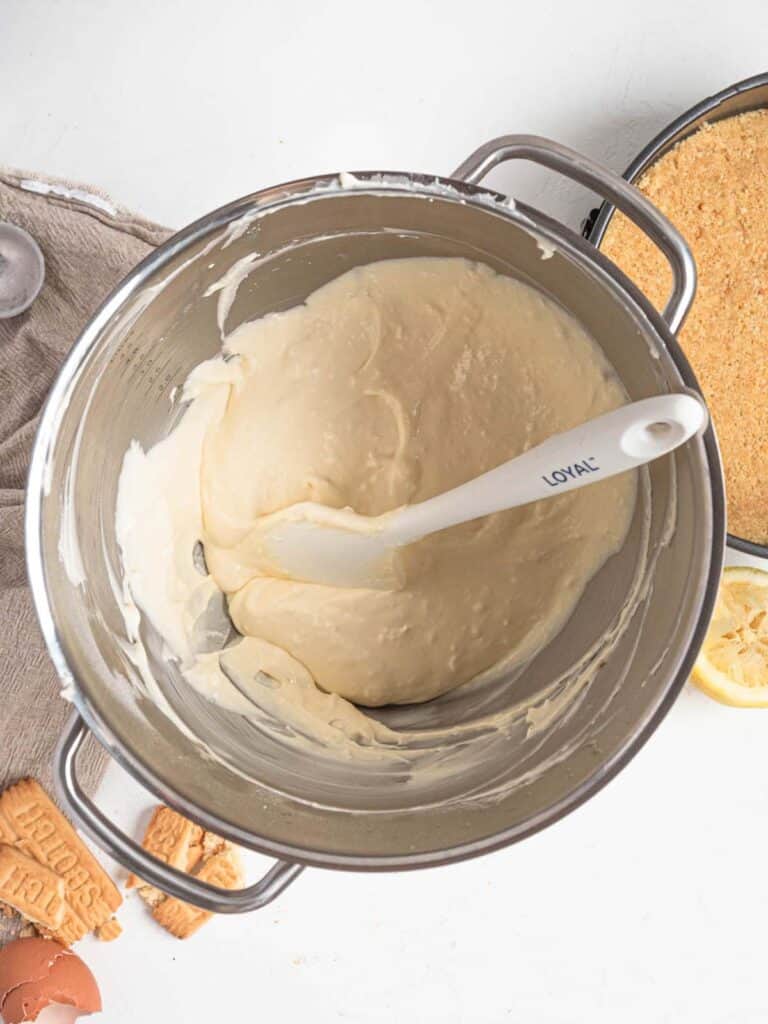
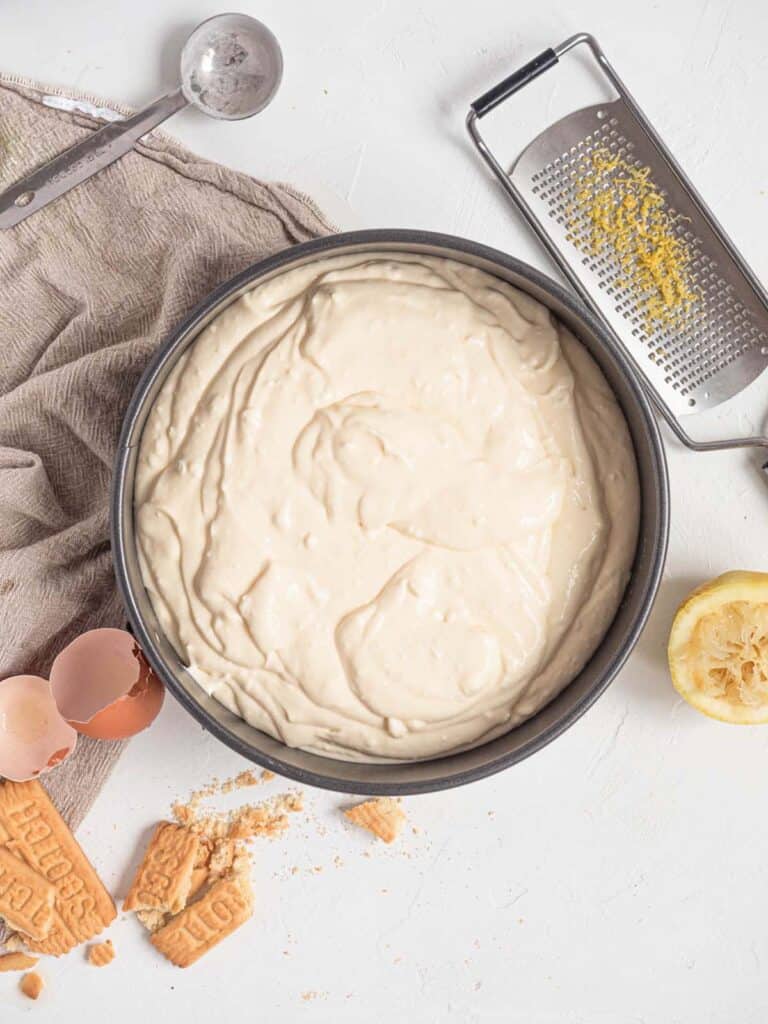
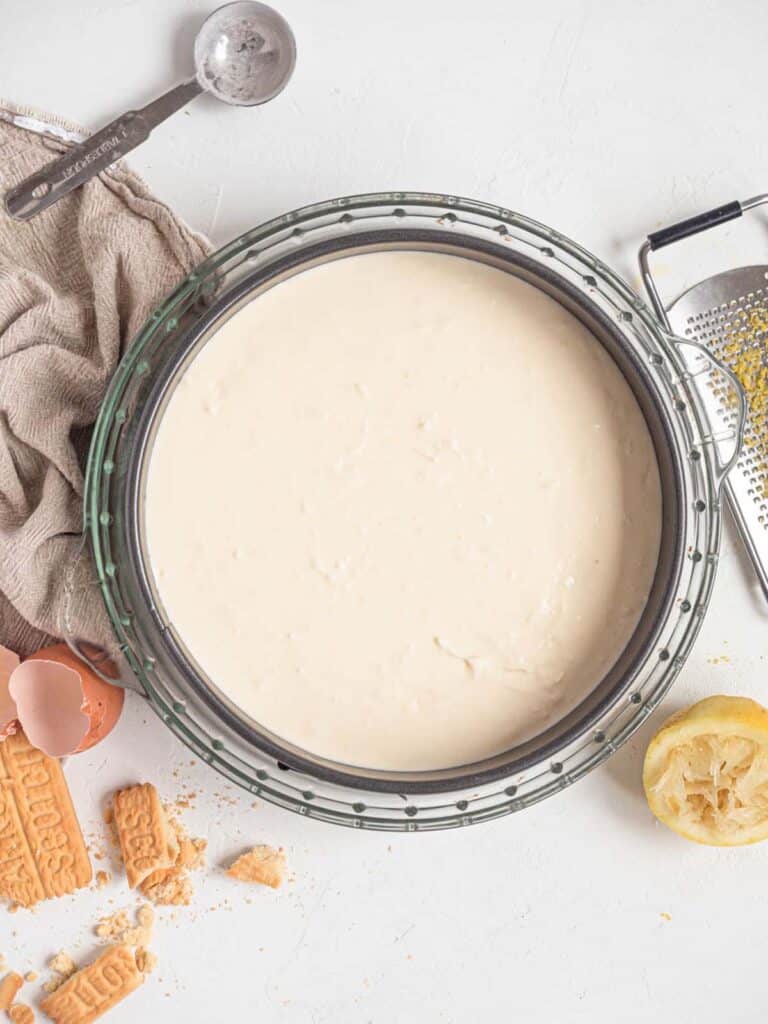
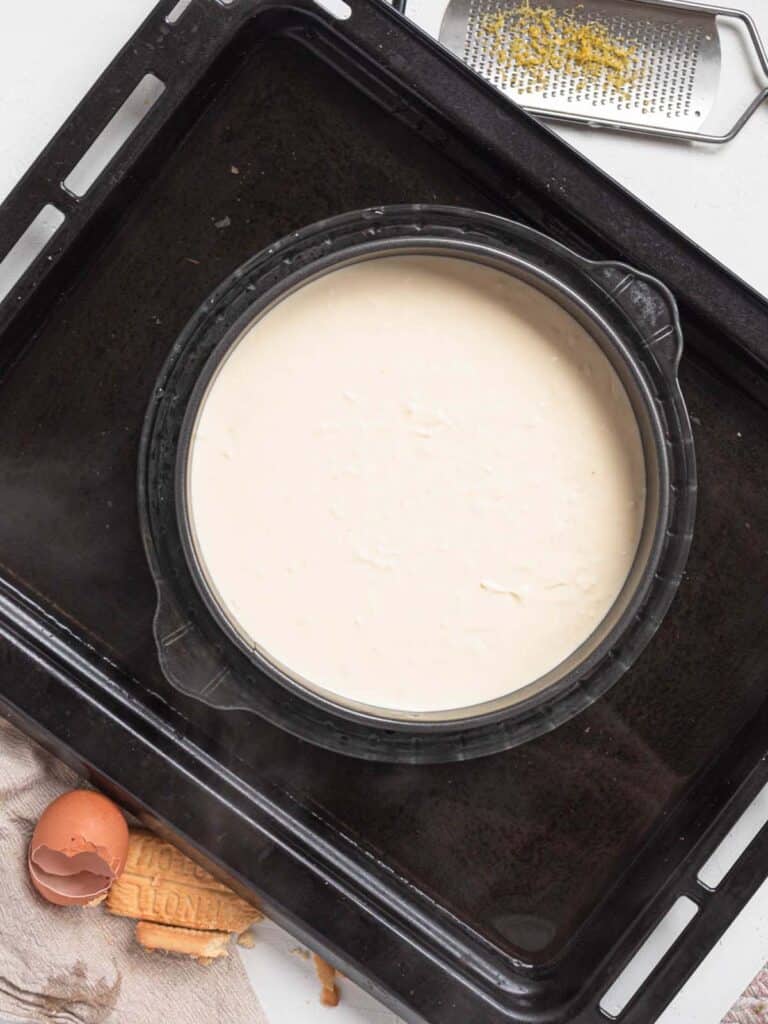
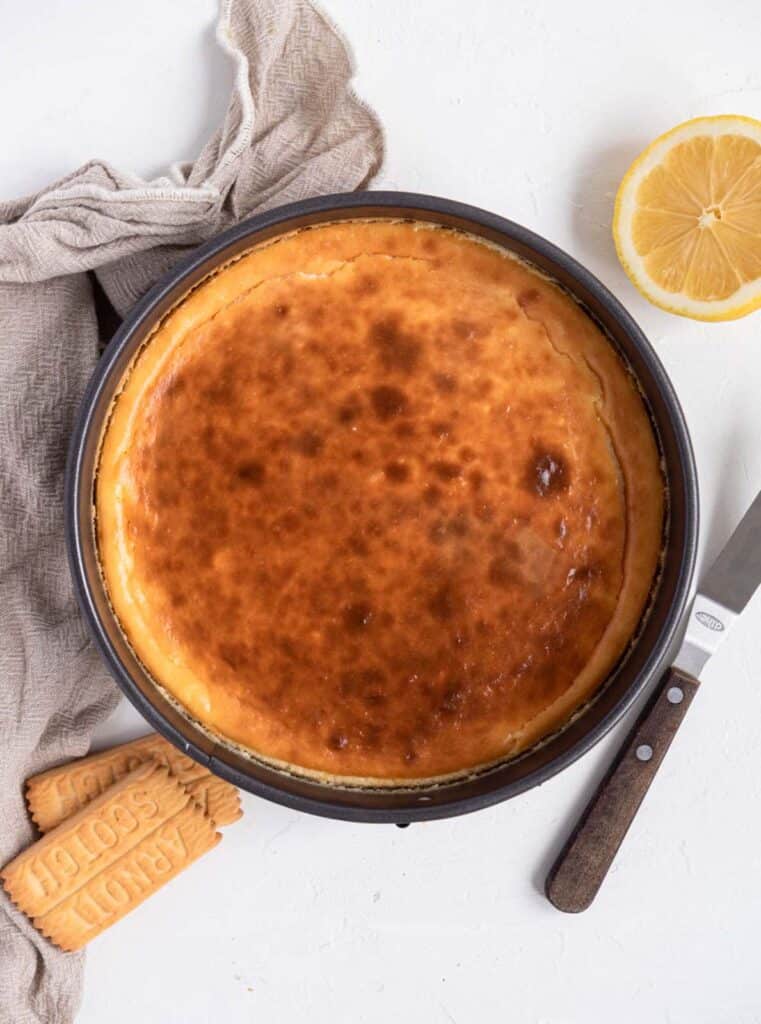
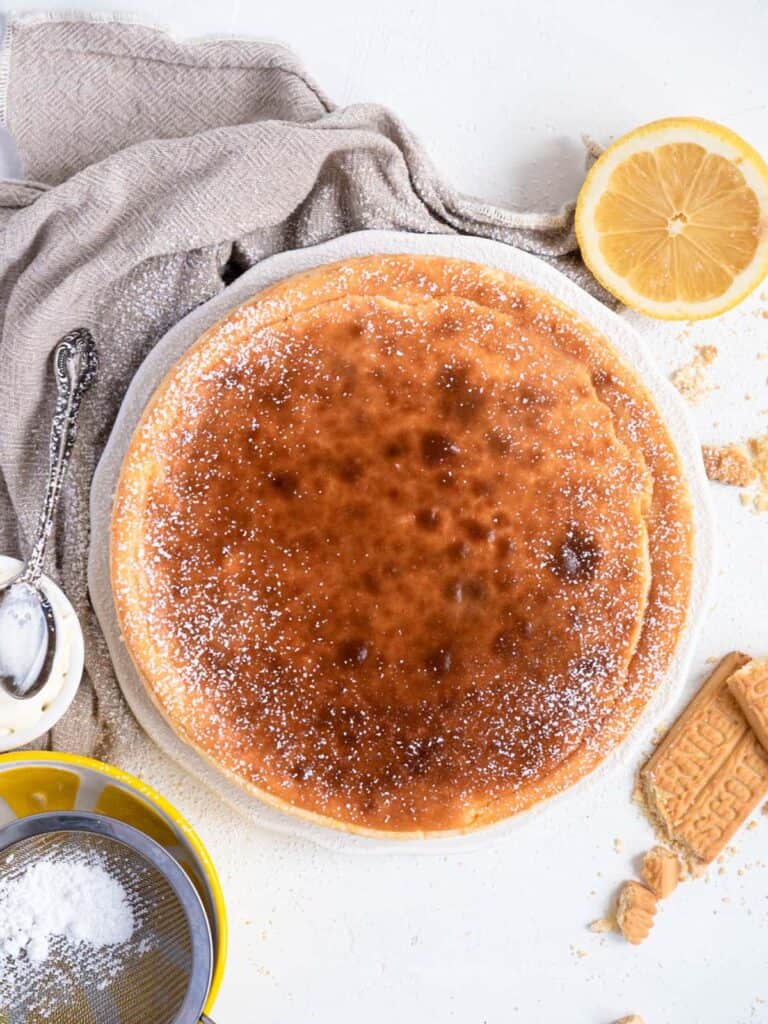
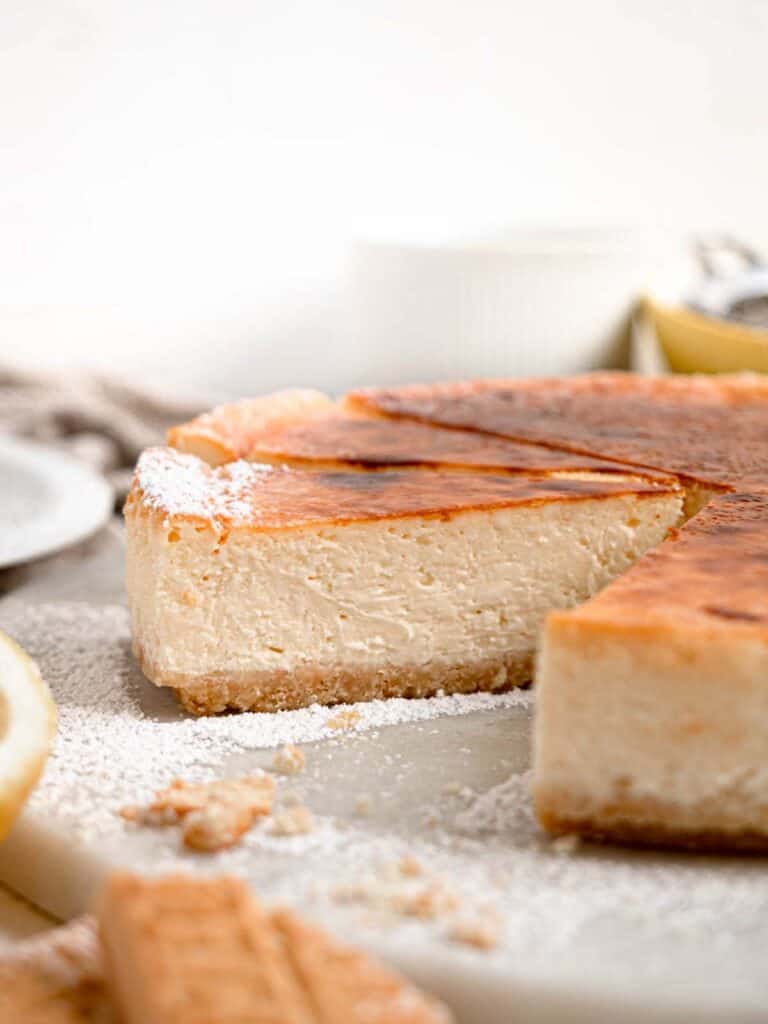
Let's Get Baking
So happy to finally be sharing my favourite recipe! This cheesecake recipe has come with me through a long journey. There have been multiple edits and tweaks throughout the years until I've finally arrived at this recipe. This is the cake I've been asked to make over and over and one of the cake my family requests despite having cake alllllll the time. I hope you all love this recipe as much as I do!
If you liked this recipe make sure to leave me a comment and rating down below, I would love to know how you went.
Also, don't forget to tag me on Instagram @catherine.desserts and hashtag #cattycakes so I can see and share your desserts. Follow me on Facebook, Pinterest, Youtube, and TikTok for more of my baking creations and updates! Until next time... happy caking!
PrintNew York Cheesecake
With all the tips and tricks for a perfect crack-free cheesecake this recipe for a rich and creamy classic New York cheesecake will become your go to!
- Prep Time: 30
- Cook Time: 45
- Total Time: 1 hour 15 minutes
- Yield: 1 x 8-inch cake 1x
- Category: Cake
- Method: Intermediate
- Cuisine: American
Ingredients
Base
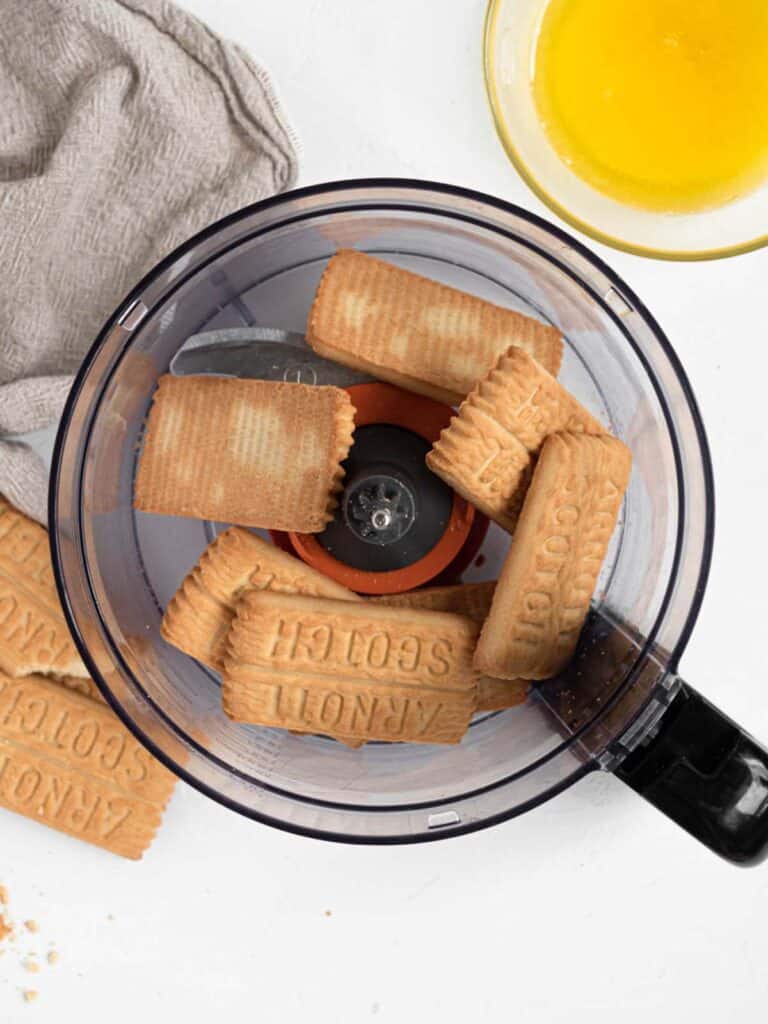
- 140 g Digestive/shortbread biscuits (5oz)
- 50 g Unsalted butter (⅓ cup)
Cheesecake
- 500 g Cream cheese (17.6oz), room temperature
- 130 g Sugar (⅔ cup)
- 150 g Plain greek yogurt or sour cream (½ cup 1 tsp), room temperature
- 175 g Thickened/Heavy cream (¾ cup)
- 2 Eggs, room temperature
- 1 tbsp Cornstarch
- 1 tsp Vanilla extract
- 1 tbsp lemon juice
- Zest of 1 lemon
Instructions
- Preheat the oven to 170C/340F
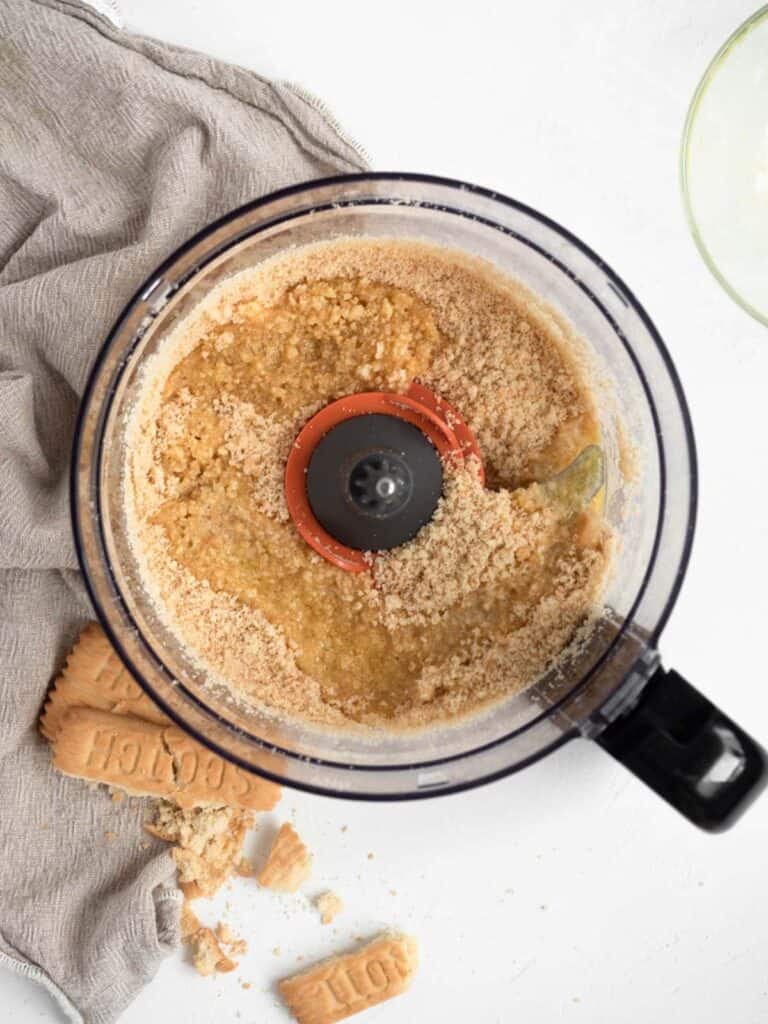
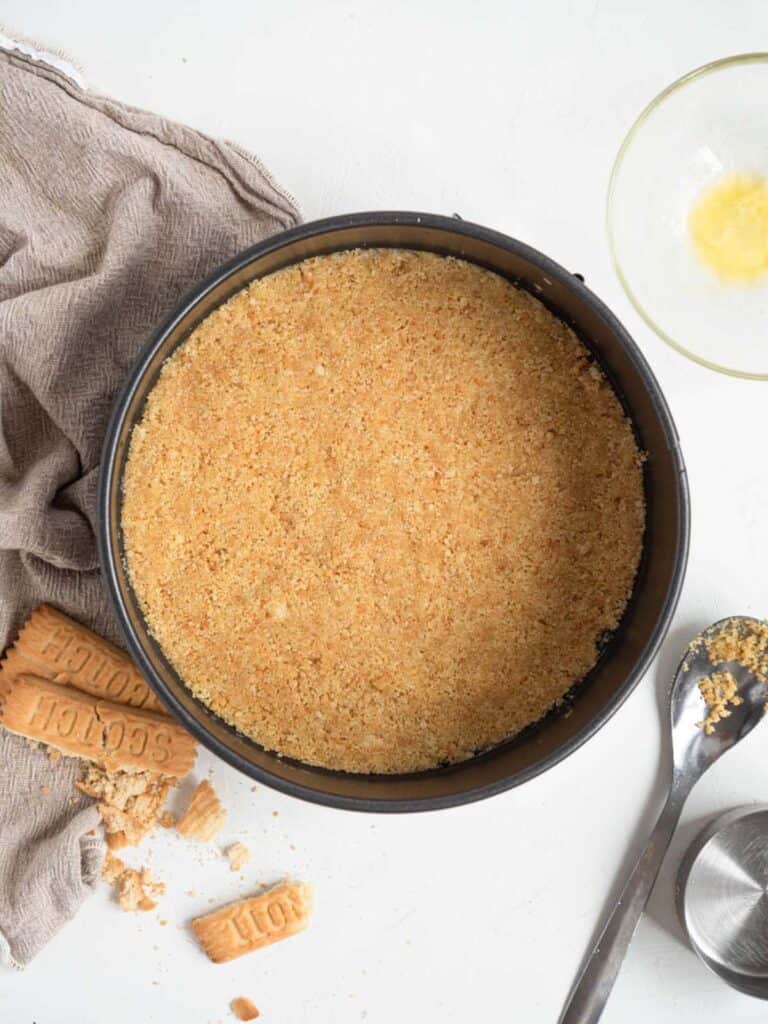
- Place the cookies in the bowl of a food processor, blitz until a fine crumb
- Add melted butter and process until combined
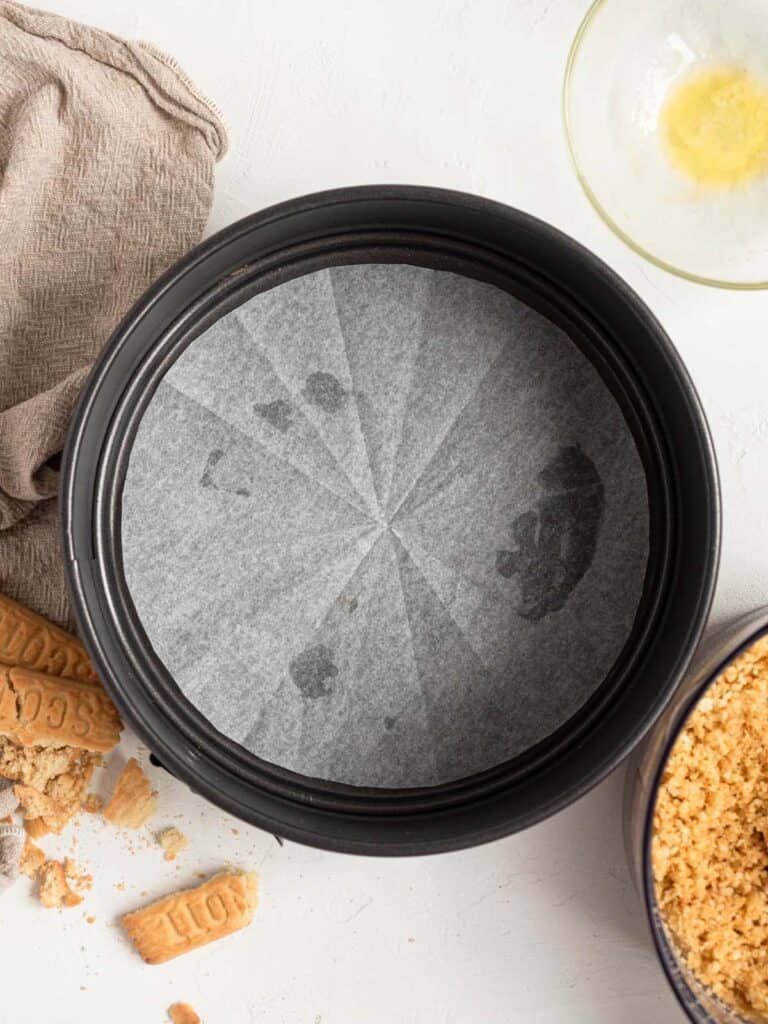
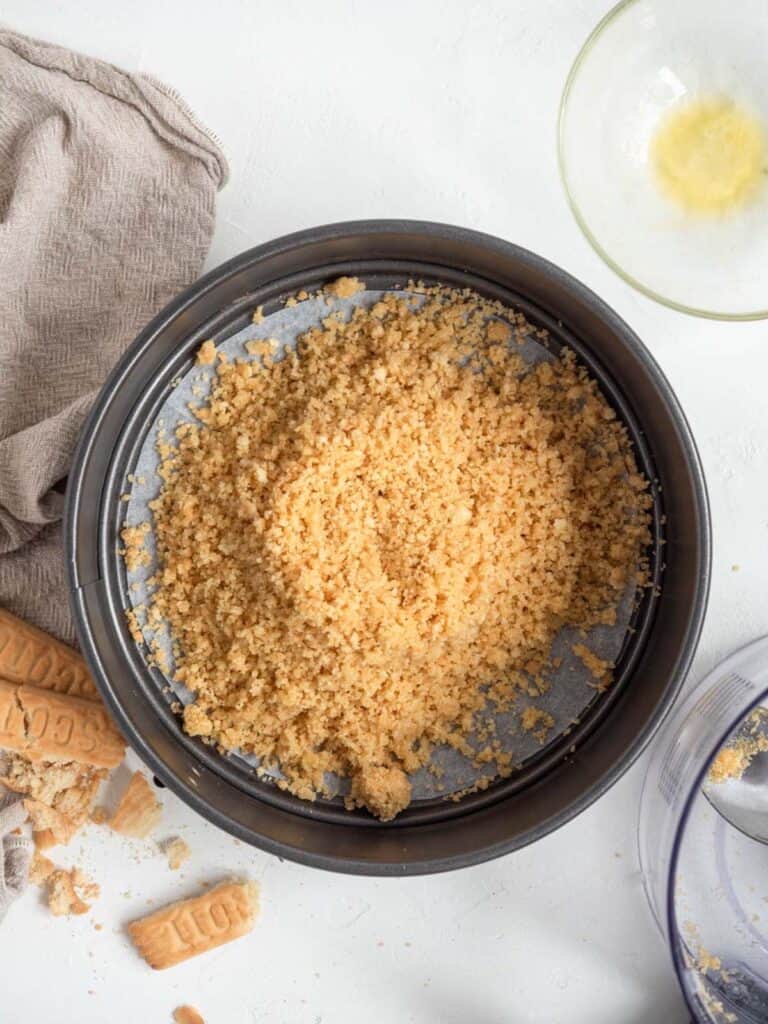
- Transfer to a 8-inch springform tin and press the crumbs into the base with a smooth bottomed object (I use my measuring cups)
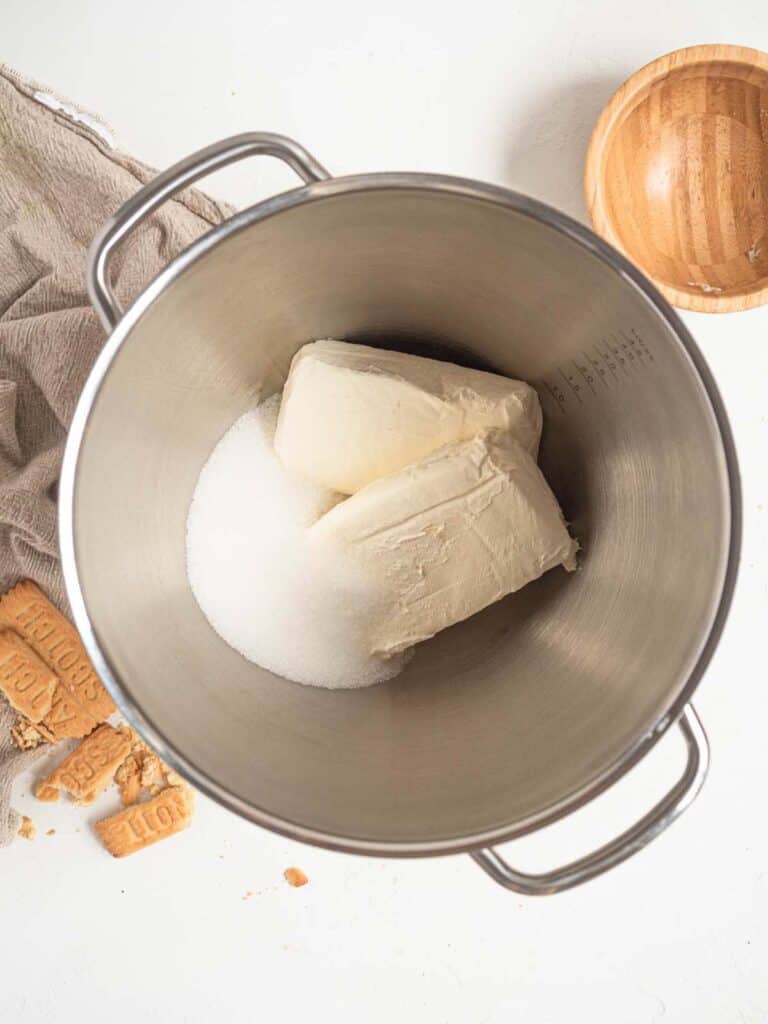
- In a bowl beat the cream cheese and sugar together until smooth
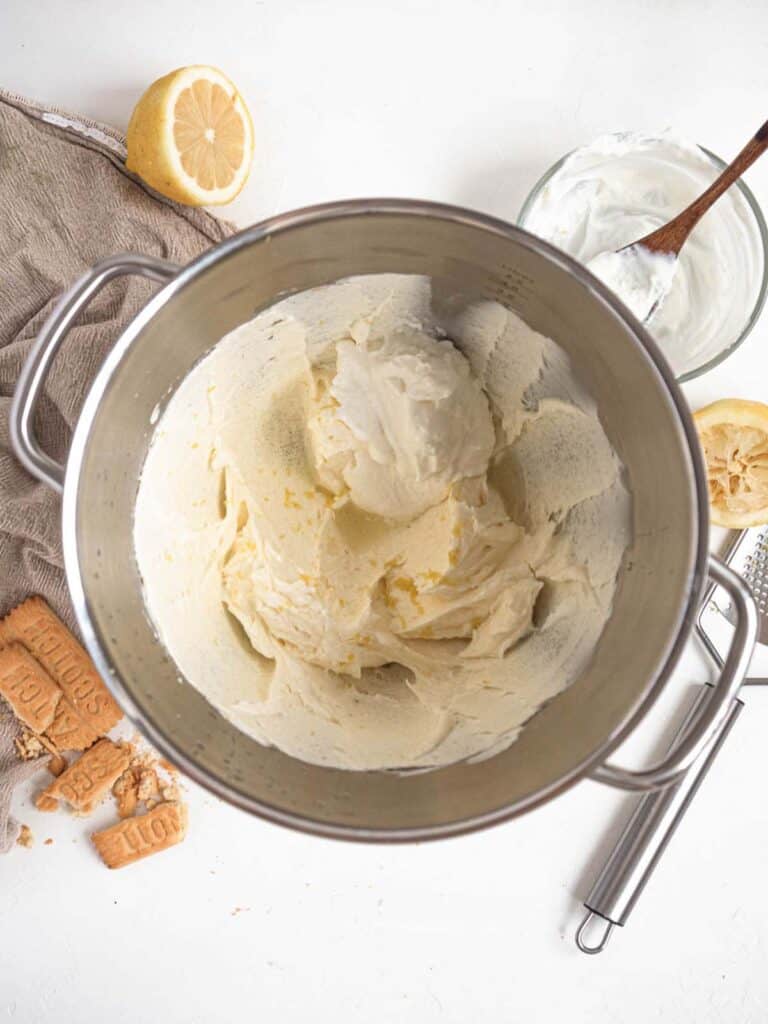
- Add the greek yogurt, thickened cream and cornstarch, beat until smooth
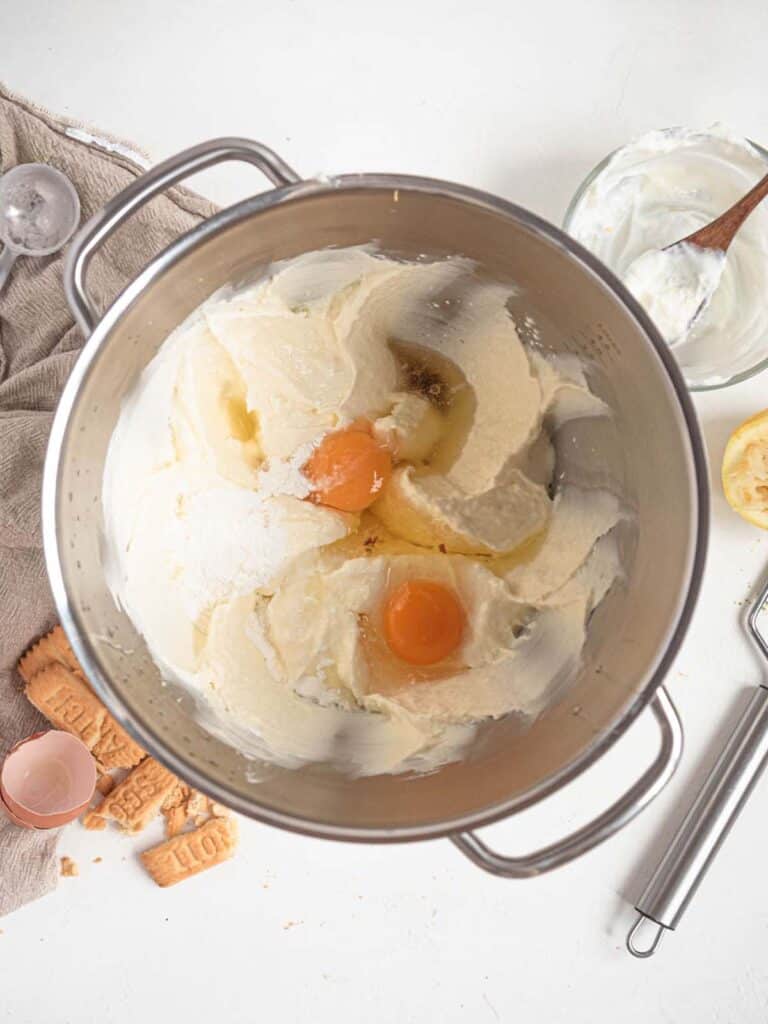
- Add the eggs, vanilla extract, lemon juice and zest, beat until no lumps remain
- Pour the batter over the base
- Smoothen out the top and place the springform tin inside a larger tin/baking dish
- Place the double tinned cake in a baking tray filled with 2cm of boiling water
- Place it all in the oven and bake for 30 minutes
- Increase the heat to 190C /375F and bake for a further 15 minutes to create a golden top (optional)
- Turn the heat off and leave the cake in the oven for 30 minutes
- Cool and refrigerate overnight, or minimum 4 hours
- Serve with whipped cream!



Helen
Love the step by step pictures! Thank you for this fabulous recipe 🙂
Catherine Zhang
Thanks Helen! Thought I would try something new with the pictures, hope they helped!
Tamila
Hello!
Cab i use Philadelphia cream cheese?☺️
Catherine Zhang
Hi Tamila, Yes you can!
Doro Meier
I‘ve made this twice now. Both times it was a total crowd winner. All the women wanted to have the recipe. And we are not infamous here in Germany for our quark based “Käsekuchen” ourselves...What a great recipe! Bakers out there, stop researching: you will never need to try another cheesecake recipe.
Catherine Zhang
Hi Doro! Thanks so much for leaving such a kind comment 🙂 So happy you liked the recipe!
Kat L.
Hey Girl!
This recipe looks awesome and I’m looking forward to trying it. I just had a quick question- what method did you use to beat the batter? I’m afraid an electric mixer might be too aggressive and incorporate to much air but am also afraid that I may not break up all the lumps well enough just using a silicon whisk. (Metal whisks and acidic mixtures usually don’t get along....)
Thanks for the help!
Catherine Zhang
Hi Kat, yes good point! If you make sure your ingredients are at room temperature before starting it'll make the mixing process a lot easier, and there pretty much won't be any troubles with lumps. I use a stand mixer on low to incorporate all the ingredients, the paddle attachment is great if you have one. Otherwise a whisk and some elbow grease will do it too 🙂
Jasmin
Dear Catherine,
My cheesecake turned out great! Thank you for the detailed steps. I found adding a bit more lemon juice making the cake even more zesty. Also the lemon zest left little thorns in the cake which made it look quite cool 🙂 it was the first time I used a water bath. I was a bit nervous at first but it really paid off.
I look forward making one of your other recipes soon ☺️☺️
Thanks again!
Catherine Zhang
Hi Jasmin, Glad it turned out great! A little extra lemon juice sounds delicious. A water bath makes all the difference with cheesecakes, so I'm glad it paid off. See you again soon!😆
Alice
First time making cheescake and it turned out amazing!! Also I used slightly less sugar (1/2 cup) and it worked fine 😀
Catherine Zhang
Yay! So glad it all worked out 🙂
YT
Hi Catherine
Thank you for sharing the recipe.
Have a question! Can I use tartar cream powder instead of yogurt?
I would like to try a low-carb version!
Catherine Zhang
Hi YT, I haven't tried that before, but you can use a high protein greek yogurt!
Drin
Hi Catherine, would like to know if you tried this recipe with a small pan or a 4 inches springform? Thank you in advance.
Catherine Zhang
You can halve the recipe and bake it in two 4 inch pans!
katie
hi, wanted to try this recipe out but saw you use lemon juice and zest may i know how much lemon juice and zest to use? as its not stated in the recipe. and where does 140g Dulce de Leche (½ cup) used? saw this stated in the recipe, but your step by step don't include this ingredient. Thank you.
Catherine Zhang
Hi Katie, sorry for the confusion my recipes got mixed up! All the ingredients and measurements for lemon juice are now in the recipe 🥰
Heather
Hello Catherine. I can’t wait to try this recipe. Can you guide me with using a 6 inch pan please? It’s all I have available atm. Would 2/3 rds if the recipe work? Thanks for your attention.
Catherine Zhang
Hi Heather, Yes, 2/3rds will be perfect!
Olan
Hi Catherine,
How much lemon are we supposed to use? It's not on the recipe list.
Catherine Zhang
Hi Olan! All fixed now, just 1 tbsp lemon juice and the zet of one lemon 😊
Olan
Thanks Catherine! I just finished making it, and it was phenomenal.
Kristine Johnson
Love this recipe! The instructions were clear and easy to follow. The pictures were also a nice addition, although I didn't use them.
The cheesecake came out a little less browned at the top. Maybe because I used a 9'pan, or the oven was just slightly colder.
The taste of this cheesecake is divine. It's light, creamy and moist! The cheese flavour is complimented by the yogurt and lemon!
Thank you for this simple, yet delicious recipe!