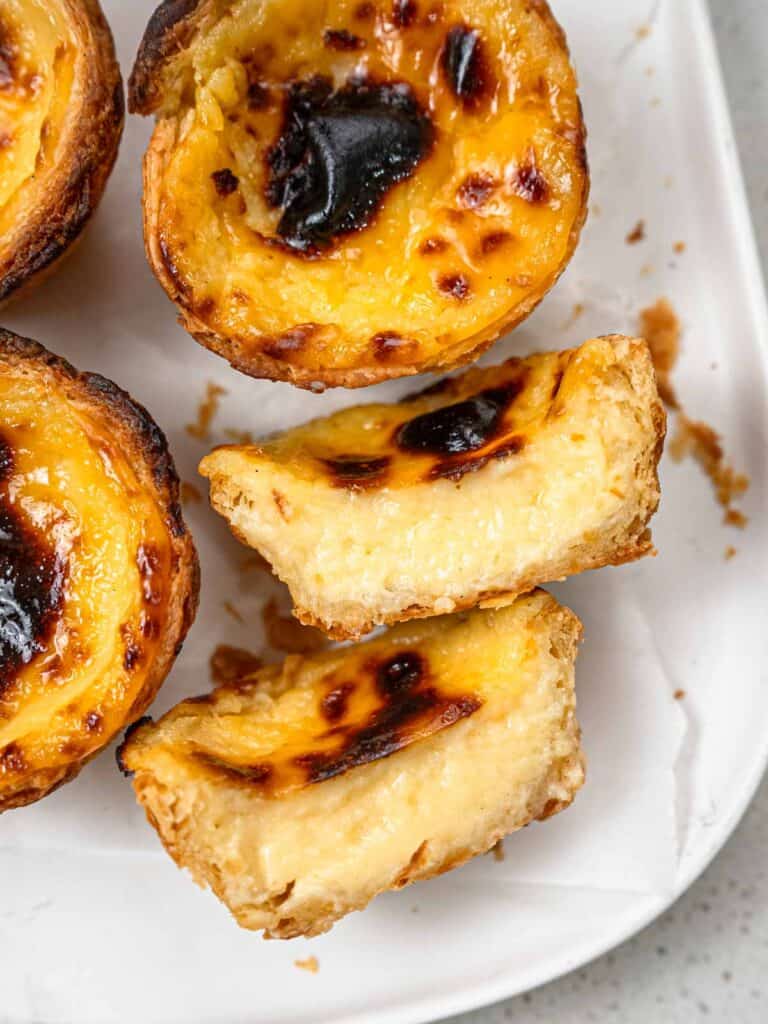
Crisp, buttery, and flaky puff pastry filled with a sweet and creamy burnished egg custard. These Pastel de Nata aka Portuguese Egg Custard tarts are a bite of sweet, buttery heaven!
Jump to:
What is a pastel de nata?
Pastel de nata or otherwise known as Portuguese egg custard tarts are a classic dessert popular in Portugal and other parts of Europe, Asia, and other former Portuguese colonies.
In the past convents and monasteries of Portugal used egg whites to starch their clothing, resulting in an excess of egg yolks. To use up these egg yolks, a number of egg yolk enriched cakes and pastries were born, pastel de nata being a stand out! I mean who can resist that flaky pastry and creamy custard centre?
While these are famous in Portugal they have also been adapted in numerous Asian countries including Japan and Macau.
Japan was heavily influenced by Portuguese traders in the 16th century and the egg tart was one of the many sweet treats that were popularised in Japan, along with other notable cakes like castella.
On the other hand Macau, a former Portuguese colony was heavily influenced by their food and culture, and adapted the pastel de nata to suit their tastebuds, developing a less sweet, creamier egg custard while retaining the crispy, flaky crust.

How to fold the pastry
The best thing about this tart is the crust, but it is also the hardest thing to make. The layers of buttery pastry are formed by rolling the dough out and layering it with butter. While the process isn't as precise as making croissants or regular puff pastry, it is still quite complicated and time-consuming.
The concept that you need to understand when attempting the folding process is the 'single fold'.
This is when you roll the dough out into a rectangle and visually divide the rectangle into thirds, then fold the two outer thirds into the centre. Once you have nailed this concept the rest of the process is easy!
The steps
To make the Portuguese egg tart pastry, roll the dough into a large thin rectangle. There isn't a specific size that you need to achieve as long as it is thin and rectangular.
Spread a third of your prepared butter over the dough in a thin layer, then perform a single fold by folding the two outer thirds into the centre to form a thinner rectangle. See the illustration below for clearer instructions.
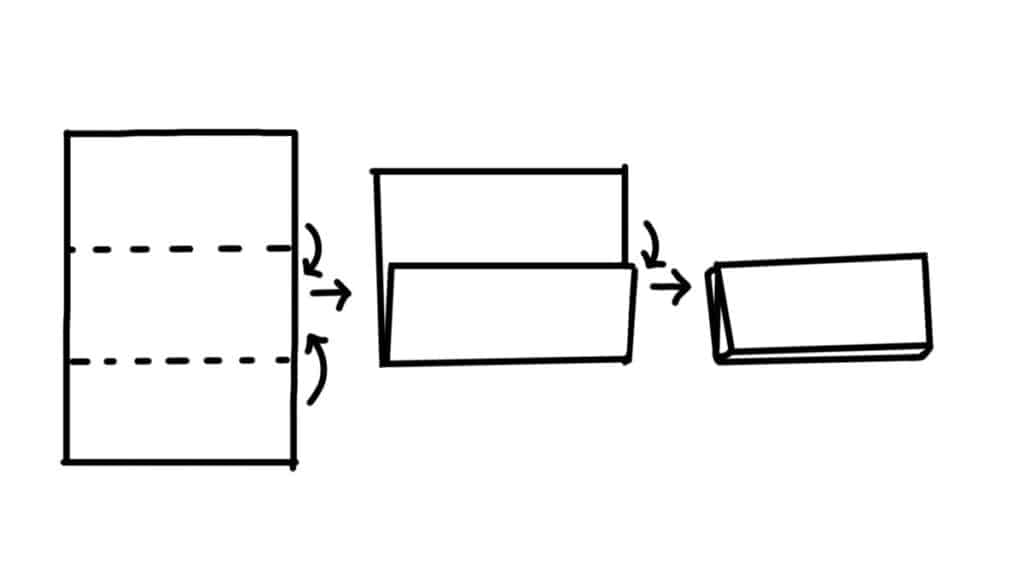
Then perform a single fold on the thinner rectangle that you have just formed with the same process. After this stage, you should have a small square of folded dough. Cover this and place it in the fridge to rest for 30 minutes

After it has rested, remove it from the fridge and roll it out into a thin large rectangle like the very first step, and spread another third of the butter over the dough. Then perform another single fold. At this stage, you'll have a long rectangle. Wrap the dough up in cling wrap and let it rest for another 30 minutes.
After this step unwrap the dough and roll it out into a large rectangle. Starting from one short end to the other roll the dough tightly into a log. Wrap it tightly in cling wrap and place it in the fridge to chill completely. Once chilled your dough is ready to be sliced and pressed into your moulds!
Tips to perfect the custard
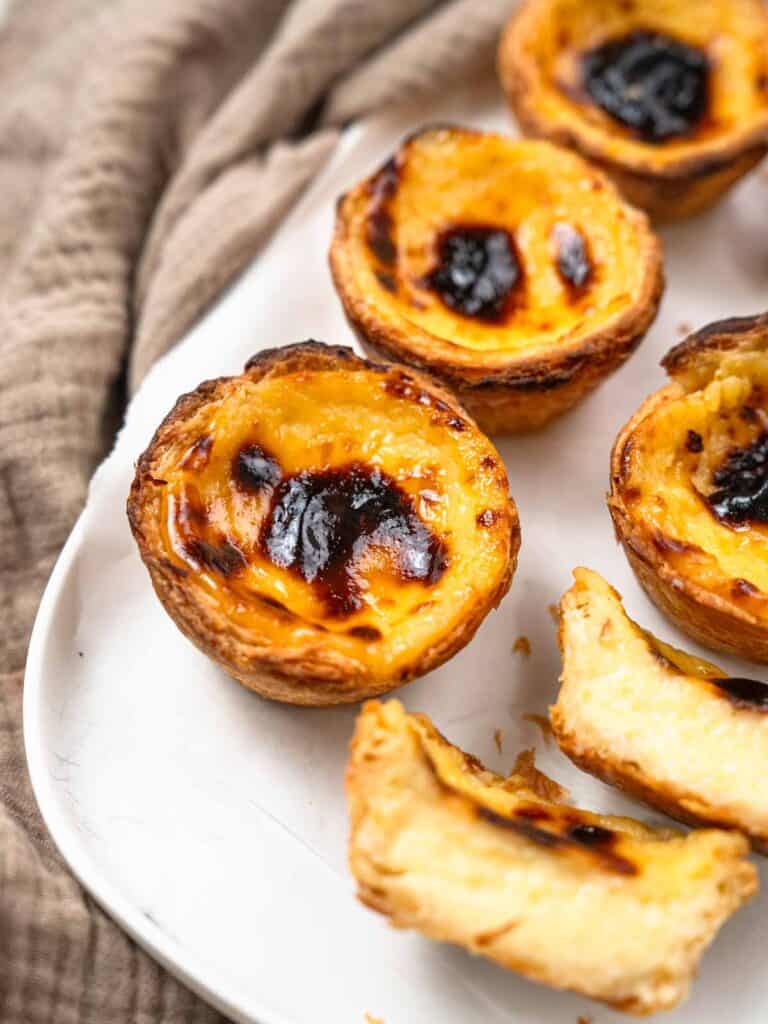
Unlike a Hong Kong style egg tart, Portuguese egg tarts are much sweeter and with a thicker and gooier texture. This is achieved through two steps, creating a sugar syrup and thickening the mixture with cornstarch. Follow these tips to perfect the Portuguese-style egg tart custard.
How to get a lump free custard
Traditionally Portuguese egg tarts are thickened with flour, however, I find the cornstarch produces a much smoother and silkier custard with the same thickening effect. To achieve a silky smooth custard make sure you beat the cornstarch and egg yolks together until completely smooth before pouring in your heated milk and cream.
Once you return the mixture to the heat mix it constantly over low heat to prevent the custard from clumping and curdling!
Once it has thickened pour it through a fine-meshed sieve to remove any clumps that may have formed to achieve a silky smooth custard.
When has the custard thickened enough?
Overcooking your custard will lead to a thick and stodgy custard, but undercooking will leave you with a watery filling. Making sure you thicken the custard to the perfect consistency is key to it baking it up to a optimal texture.
Once you return the custard to the heat mix continuously until you notice the custard become slightly shinier and thicker. At this point lift up your spoon you are mixing the custard with and draw a line across the surface.
You should be able to draw a clear line through the custard on the back of the spoon. At this stage remove it from the heat and pour it through your sieve!

Assembly
Once you've got the pastry ready and the custard chilled, it's time to assemble it! There are a couple of things to keep in mind when assembling these to ensure you get the most of all your flaky layers and custard.
Lining the tart tins
I used a muffin pan or cupcake tray to make these as this is the most accessible mould for all of you, but if you have access to them definitely use egg tart moulds! These have a wider lip for more custard filling and a higher ratio of flaky tart crust. Either one will work great so use what you have on hand.
When lining the tins cut the log of pastry into 12 equal rounds, then flatten each between your palms. Place the flattened circle in the centre of the cupcake cavity/egg tart mould and starting from the centre work the dough out to the edges using your thumbs.
You want the base of the tart to be as thin as possible and the edges to be a little thicker. If the base is too thick it won't cook all the way through and you'll end up with a stodgy, dense base.
Once you've lined all the tart tins place them in the freezer while you preheat your oven to set them in place!
Frequently Asked Questions
The butter is oozing out of my pastry as I roll it, what should I do?
It's okay if a little bit of the butter oozes out of the dough, but there are a couple of things you can do to help prevent too much butter from oozing out.
- Seal the edges of the dough: Once you've spread the butter over the dough and performed the fold use your fingers to press the edges of the dough together to seal the butter in. That way when you roll it out again there is a lower possibility of it escaping
- Chill and rest the dough: If you find that there is too much butter coming out of the layers while rolling, wrap the dough up in cling wrap and let it rest in the fridge for 15 to 30 minutes. Once the butter has firmed up a little and the dough has relaxed it is a lot easier to roll the dough out without any butter oozing out.
Why am I not getting the charred tops?
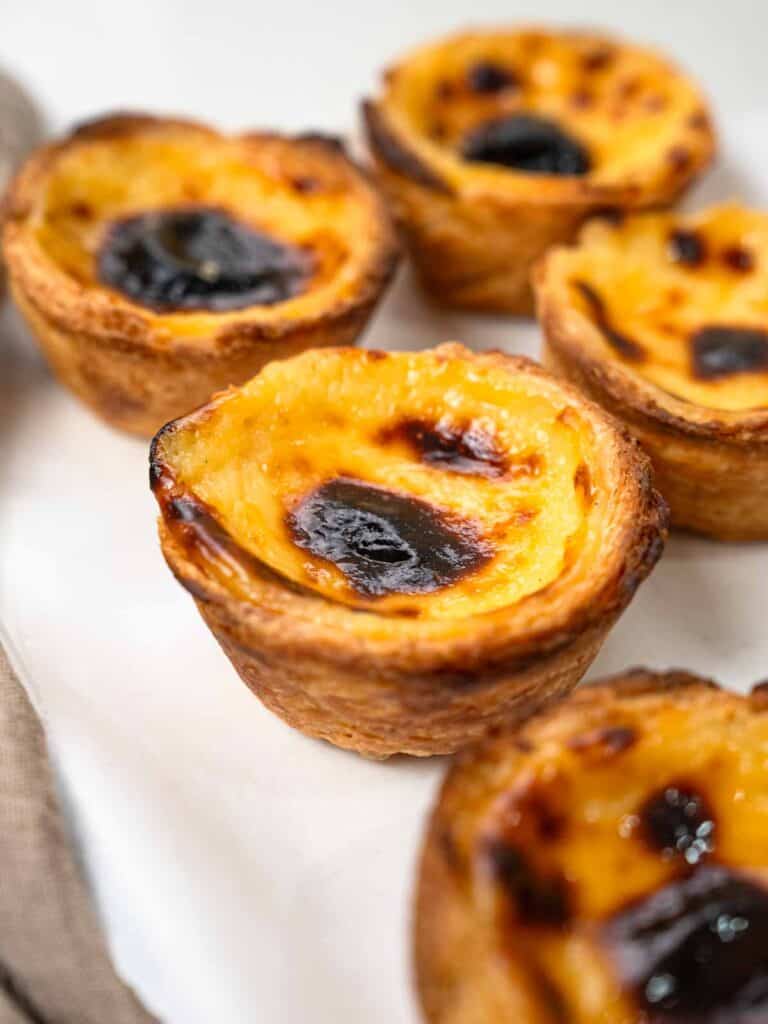
Your oven might not be hot enough! I like to use the convection setting rather than the fan-forced oven setting when baking these tarts as this helps get a better burnished top.
If you find that the tarts aren't getting much colour in the last couple of minutes change your oven to the grill setting and grill the tarts on the top shelf of your oven until you get your desired amount of char.
Can I add different aromatics to the custard?
Traditionally the custard in Portuguese egg tarts uses aromatics like a cinnamon stick, orange peel, lemon peel, or vanilla bean. You can add these to the sugar syrup to infuse. Then add the infused sugar syrup into the egg yolk mixture to make the custard.
You can mix and match what flavorings you want in your egg tart.
Why is my custard so lumpy?
The custard can turn out lumpy if you:
- Haven't whisked the cornstarch into the egg yolks well enough
- Didn't stir the custard constantly while heating it
- The heat was too high when thickening the custard
- Didn't strain the custard through a fine-meshed sieve
How long do these egg tarts last?
These egg tarts last up to 3 days when stored in an airtight container in the fridge. I highly recommend reheating these before eating as the pastry tends to get soggy as it sits.
How should I reheat these egg tarts?
The best way to reheat these is in the oven or toaster oven, turn it up to about 200C/390F and bake them for about 5 minutes. The custard will be nice and warm and the pastry should be crisp and flaky again!

Let's Get Baking!
These might seem a little intimidating because of all the steps, but the end result is well worth it! Trust me, there's nothing better than homemade fresh Portuguese custard tarts.
If you liked this recipe make sure to leave me a comment and rating down below, I would love to know how you went.
Also, don't forget to tag me on Instagram @catherine.desserts and hashtag #cattycakes so I can see and share your desserts. Follow me on Facebook, Pinterest, Youtube, and TikTok for more of my baking creations and updates! Until next time... happy caking!
PrintPastel de Nata (Portuguese Egg Custard Tarts)
Crisp, buttery and flaky puff pastry filled with a sweet and creamy burnished egg custard.
- Prep Time: 60 minutes
- Cook Time: 20 minutes
- Total Time: 1 hour 20 minutes
- Yield: 12 tarts 1x
- Category: Tart
- Method: Advanced
- Cuisine: Portuguese
Ingredients
Custard
- 100g White sugar (½ cup)
- 30g Water (2 tbsp)
- 1 tsp Vanilla bean paste, or a teaspoon vanilla extract
- 240g Whole milk (1 cup)
- 160g Thickened/heavy cream (⅔ cup)
- 15g Cornstarch (2 tbsp)
- 3 Egg yolks
Pastry
- 135g All-purpose flour (1 cup 1 tbsp)
- 80g Water (⅓ cup)
- Pinch of salt
- 80g Unsalted butter (⅓ cup)
Instructions
Custard
- Combine the sugar, water and vanilla in a small saucepan and heat over medium-low heat, stirring until it comes to a boil and the sugar has completely dissolved
- Remove from the heat and pour into a small bowl
- Add the milk and cream to the saucepan and heat until steaming
- Add the egg yolks and cornstarch to a large heatproof bowl and whisk to combine
- Slowly pour the warm milk and cream into the egg yolk mixture, whisking continuously until well combined
- Add the sugar syrup into the milk mixture, whisking until combined
- Return the custard to the saucepan and heat for 2-3 mins, whisking continuously until slightly thickened (the mixture should coat the bac of a spoon)
- Remove from the heat and cool completely
Pastry
- Combine the flour, water and salt and knead until smooth
- Cover and rest for 30 minutes
- Dust your work surface with flour
- On your lightly floured surface roll the dough out into a large thin rectangle with a rolling pin
- Spread over ⅓rd of the butter
- Perform a single fold by visually dividing the rectangle into thirds, then fold the two outer thirds over the center third, pinch the edges to seal
- Then perform another single fold by dividing the long rectangle into thirds and folding the two outer thirds over the center
- Cover with cling wrap and place in the fridge to rest for 30 minutes
- Uncover and roll into a large thin rectangle
- Spread over another ⅓ of butter and perform another single fold, cover and rest for 30 minutes
- Roll the dough into a large thin rectangle and spread over the remaining butter
- With the shorter end of the rectangle facing you, roll the dough away from your to form a tight log
- Wrap in cling wrap and place in the fridge to chill for 1-2 hours, or until firm
- Cut the log into 12 rounds
- Press the rounds into a tart mold or muffin tin, working the dough out from the middle to the edges of the cupcake tin
- Reserve in the freezer until ready to bake
Assembly
- Preheat the oven to 250C/480F
- Fill the tart shells 90% of the way and bake for 12 mins or until blistered
- Cool for 5 minutes, unmould, and place on a wire rack
- Cool for another 5-10 minutes before enjoying!



Steph
Would I be able to leave the pastry in the freezer and custard in the fridge overnight to bake the next morning? I want to take them to work but don’t want them to get soggy overnight! Thank you!
Catherine Zhang
Yes defintely! Fill them just before baking and they won't be soggy at all 🙂
Clarissa Lee
Hi Catherine! My oven’s max temperature is 230C. How long should I bake it for?