Buttery shortbread crust and a creamy no-bake cheesecake centre topped with a tangy strawberry and raspberry mousse. This berry cheesecake is so easy as there is no baking needed, and the creamy texture of the cheesecake is not compromised!
Hi! I’ve finally gotten my oven back, but during the time I didn’t have one I was busy developing this no-bake recipe! I’ve had a lot of requests for a recipe that didn’t need an oven, so here it is! This is a super creamy cheesecake and sweet crust paired with a tart and tangy berry layer. For me, berries work best with cheesecakes as it balances the richness of the cream cheese. I also find that when berries are cooked they tend to lose a little of their freshness, so I haven’t cooked them down and just blended them fresh. This creates an even tangier cheesecake, perfect for spring! (or Autumn if you are in the southern hemisphere :’) )
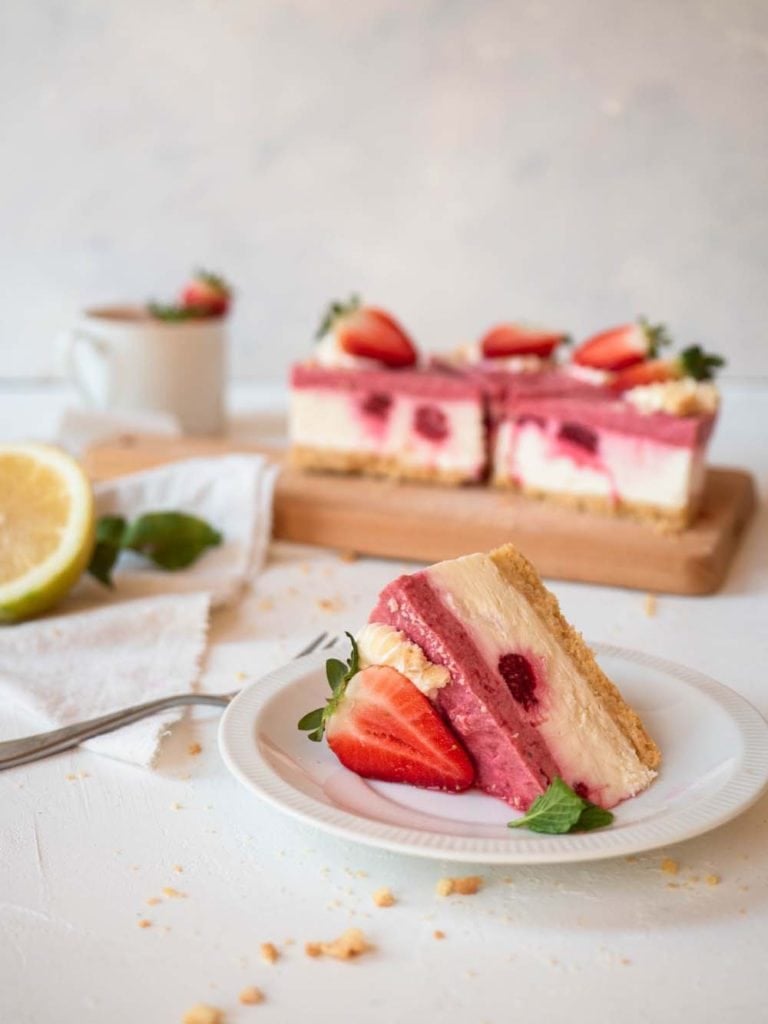
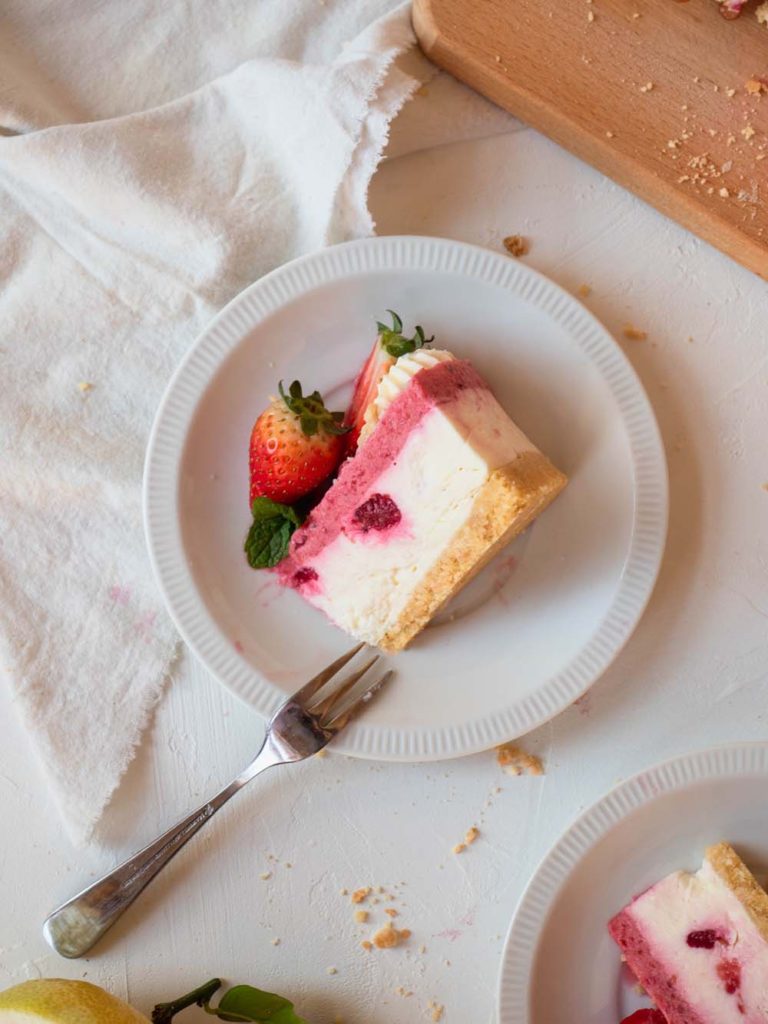
I don’t know if you have ever tried a no-bake cheesecake, but I haven’t had the best experiences with them. There is something about the slightly jiggly texture that reminds me of some sort of cream cheese jelly… That’s why when I was developing this recipe I tried to ensure that the cake could retain a smooth and creamy texture that is reminiscent of a baked cheesecake. Trust me, this is so much better than those cheese jelly cakes and could replace a baked cheesecake easily without the time and oven it takes to bake.
One of the most important things when making this cheesecake, or cheesecakes in general is the crust. It is such an important component when it comes to flavour and texture, so make sure you choose a cookie you love the taste of and isn’t some random cookie from the back of your cupboard (yes I have done this before…). I’ve chosen a shortbread cookie, but you can replace it with what ever you like. I LOVE cheesecake crusts made from lotus cookies or golden oreos… use whatever you can find and love!
On another note, I’ve made a video to go alongside this recipe! Hopefully seeing the instructions visually will help you along when you create this. I’ve taken advice from so many of you and added a voiceover for the recipe instead of subtitles. A lot of you also mentioned you would love to see me in the videos as well, but my kitchen isn’t in the best state to be filmed just yet… another two weeks until my kitchen renovation is finished and I’ll try something out then. For now enjoy this video and recipe!
If you liked this recipe make sure to leave me a comment and rating down below, I would love to know how you went.
Also, don't forget to tag me on Instagram @catherine.desserts and hashtag #cattycakes so I can see and share your desserts. Follow me on Facebook, Pinterest, Youtube, and TikTok for more of my baking creations and updates! Until next time... happy caking!
PrintNo-Bake Berry Cheesecake
Buttery shortbread crust and a creamy no-bake cheesecake centre topped with a tangy strawberry and raspberry mousse. This berry cheesecake is so easy as there is no baking needed, and the creamy texture of the cheesecake is not compromised!
- Prep Time: 45 minutes
- Total Time: 45 minutes
Ingredients
Base
- 100 g Shortbread biscuits, crushed
- 50 g Unsalted butter, melted
Cheesecake Filling
- 250 g Cream cheese, softened
- 50 g Sugar
- 40 g Plain yogurt, greek
- 100 g Thickened/Heavy cream
- Zest of a lemon
- 1 tbsp Gelatine powder
- 3 tbsp Cold water
- 50 g Raspberries, fresh or frozen
Raspberry and Strawberry Layer
- 50 g Raspberries
- 50 g Strawberries
- 30 g Sugar
- 50 g Thickened/Heavy cream
- 2 tsp Gelatin powder
- 2 tbsp Cold water
Decorations
- 50 g Thickened/Heavy cream, whipped
- 4 Strawberries, halved
- Crushed shortbread cookies
Instructions
Base
- Combine the crushed cookies and melted butter together in a bowl
- Pour into a 6-inch cake ring lined with acetate
- Firmly press the cookie crumbs into the bottom of the ring
- Reserve in the fridge while you make the cheesecake filling
(If you don't have a cake ring or acetate you can use a 6-inch springform cake tin lined with baking paper!)
Cheesecake Fillling
- Bloom the gelatine powder in the cold water
- Cream the cream cheese and sugar together until smooth
- Add the lemon juice and zest
- Add the yogurt and cream, mix until smooth
- Microwave the gelatine mixture for 10 seconds
- Add a few spoons of the cream cheese mixture to the gelatine and stir until smooth
- Add the gelatine mixture to the cream cheese mixture and mix until completely combined and smooth
- Pour the filling ontop of the base and place in the freezer while you work on the raspberry and strawberry layer
Raspberry and Strawberry Layer
- Bloom the gelatine in the cold water
- Blend the raspberries, strawberries and sugar together until smooth
- Add the thickened cream and mix until combined
- Microwave the gelatine for 10 seconds
- Add a few spoons of the berry mixture into the gelatine and mix until smooth
- Pour the gelatine mixture into the berry mixture and stir until combined
- Pour on top of the cheesecake mixture
- Chill in the fridge overnight or in the freezer for at least 2 hours
- Once thoroughly chilled remove from the cake ring, and peel off the acetate
- Decorate with whipped cream, strawberries and crushed shortbread cookies
- Thaw completely and serve chilled!




Jeff Fox
Incredible! Thank you. The video was very helpful!
Catherine Zhang
You're welcome! Glad it helped 🙂
Valentina G
Hi Catherine!! Could you tell me if I can use butter instead of acetate? Please!
Catherine Zhang
Hi Valentina, I would recommend lining your pan with baking paper instead, it will make it a lot easier to remove! Hope that helps 🙂
KStep
Great job Catherine!!!
Your video is so professional and this cheesecake looks phenomenal (can’t wait to try it) and it’s good to hear your voice! Keep up the hard work and keep the posts coming! We can all use a little more sweetness in our lives right now.
Thank you for putting so much of your time, energy and passion into what you do and then sharing it with the world for free! Developing and sharing all of this isn’t quick or easy. We hope that your momentum will keep going and your dreams will start to come to fruition. We all love you and wish you great success!!!
As always...
Kindest regards,
KStep
PS - you’re brownies where incredible (#1 favorite)!!! Highly recommended everyone to try them!!!!
Catherine Zhang
Hi KStep,
Thank you so much. Your comment is the reason why I work so hard to push out these recipes! It really put a smile on my face 🙂
Glad you liked the brownie recipe, that's one of my favourites!! Thanks again and I can't wait to share more desserts with you.
KStep
Hey Catherine,
Glad my comments can help in some way (and grateful for all the tasty recipes)! Also happy for all you have achieved! If there is ever anything I can do, let me know 🙂 we want you to keep smiling and gaining more success! You’re awesome!
Warm regards,
-KStep
Silas Pereira
Made it. Loved it. You rock!
Catherine Zhang
Yay! Thank you!
Nicole
Hi Catherine! Recipe looks wonderful!! Can’t wait to try it!! Can this be doubled and made in a 12 in ring? If so what adjustments to the recipe do you suggest?
Catherine Zhang
Hi Nicole,
Yep you should be able to double the measurements of the recipe with no problem Just make sure to let it set for a little longer!
Maritza Morales
Hola Catherine, soy tu fan numero 1, tu receta es genial, y el vídeo me ayudo mucho para concluir con éxito este delicioso postre, ojala que pudieses hacer vídeo de todas tus recetas seria maravilloso,
Gracias por compartir tu talento.
Saludos
Maritza