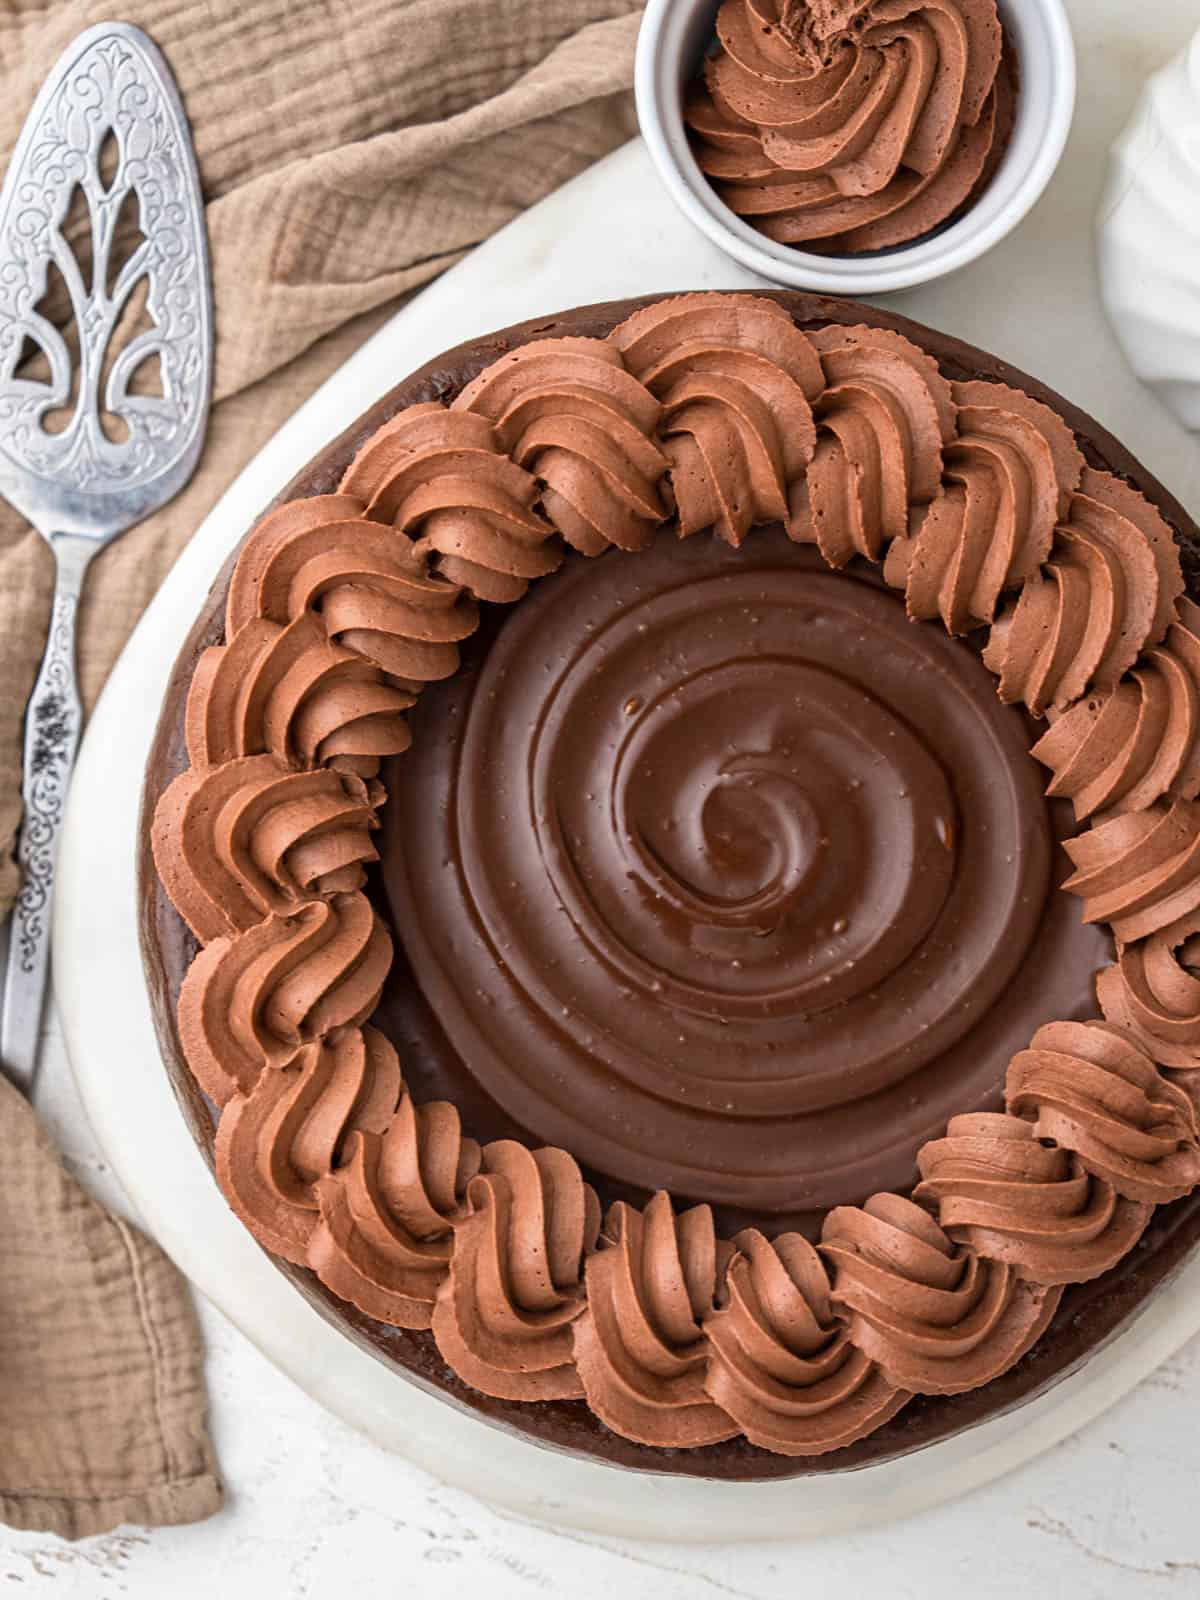
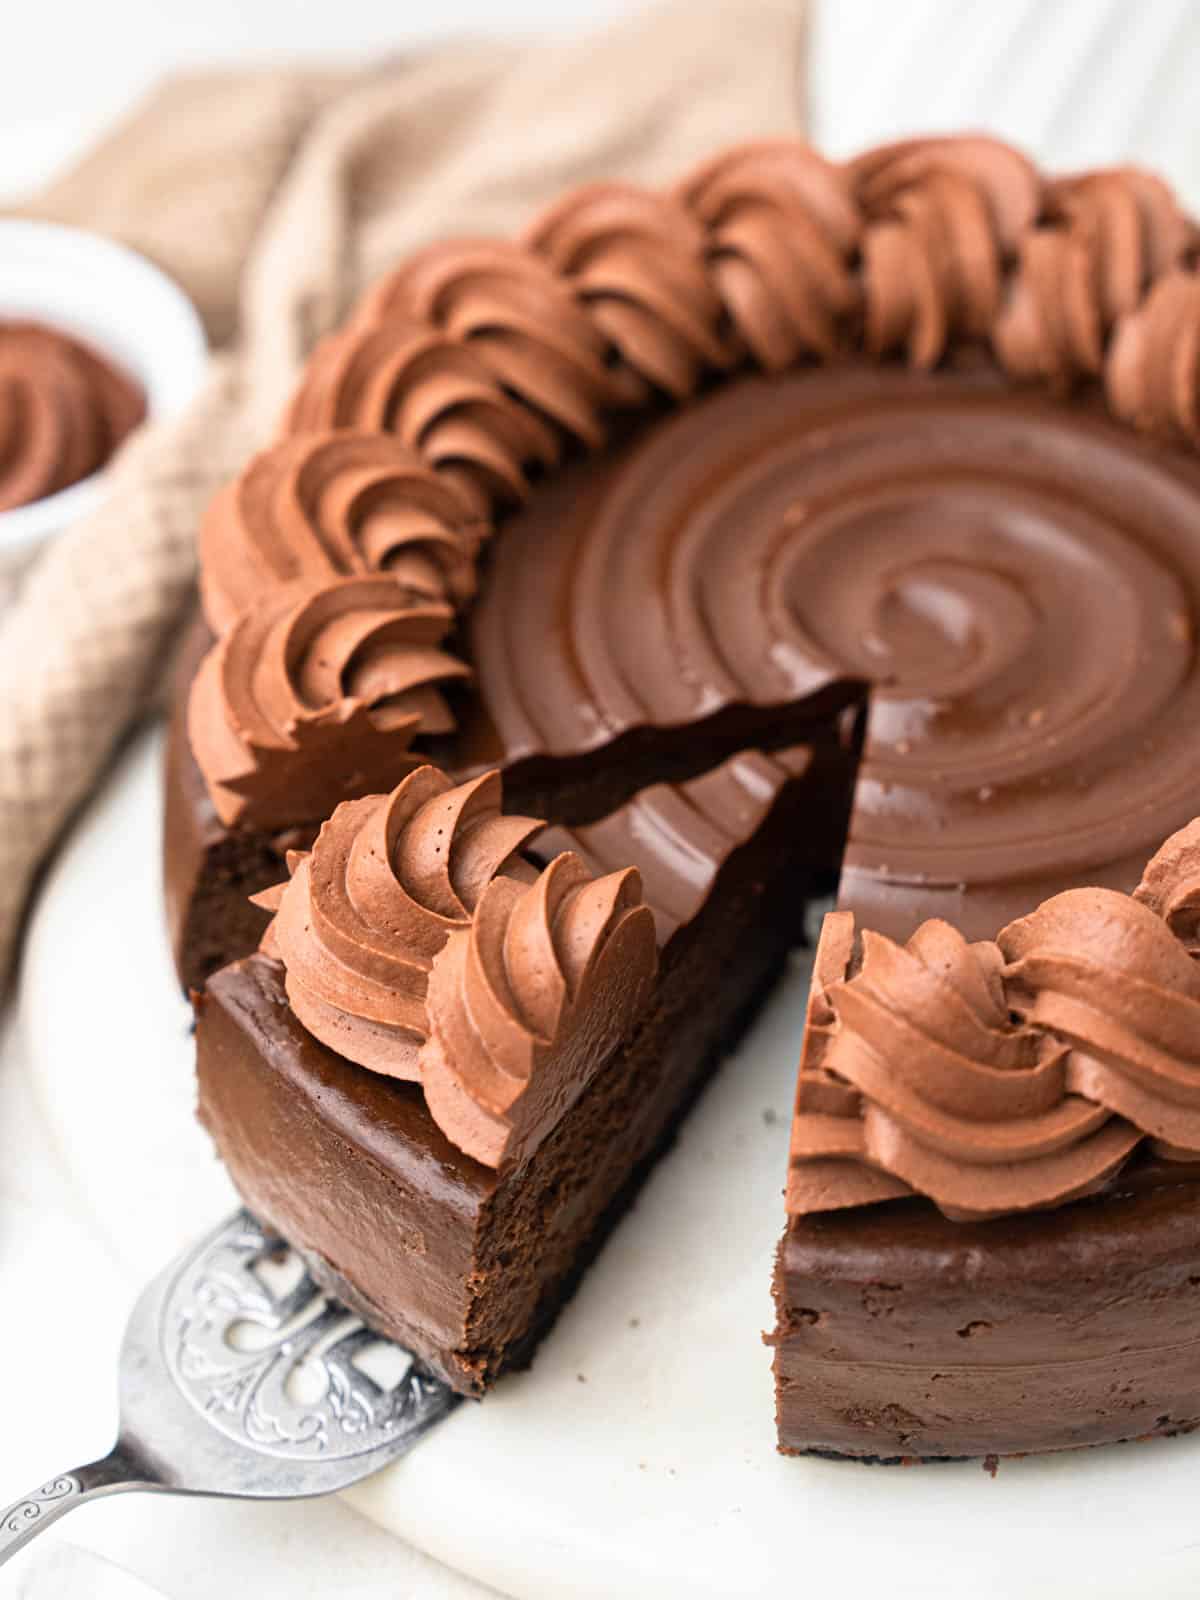
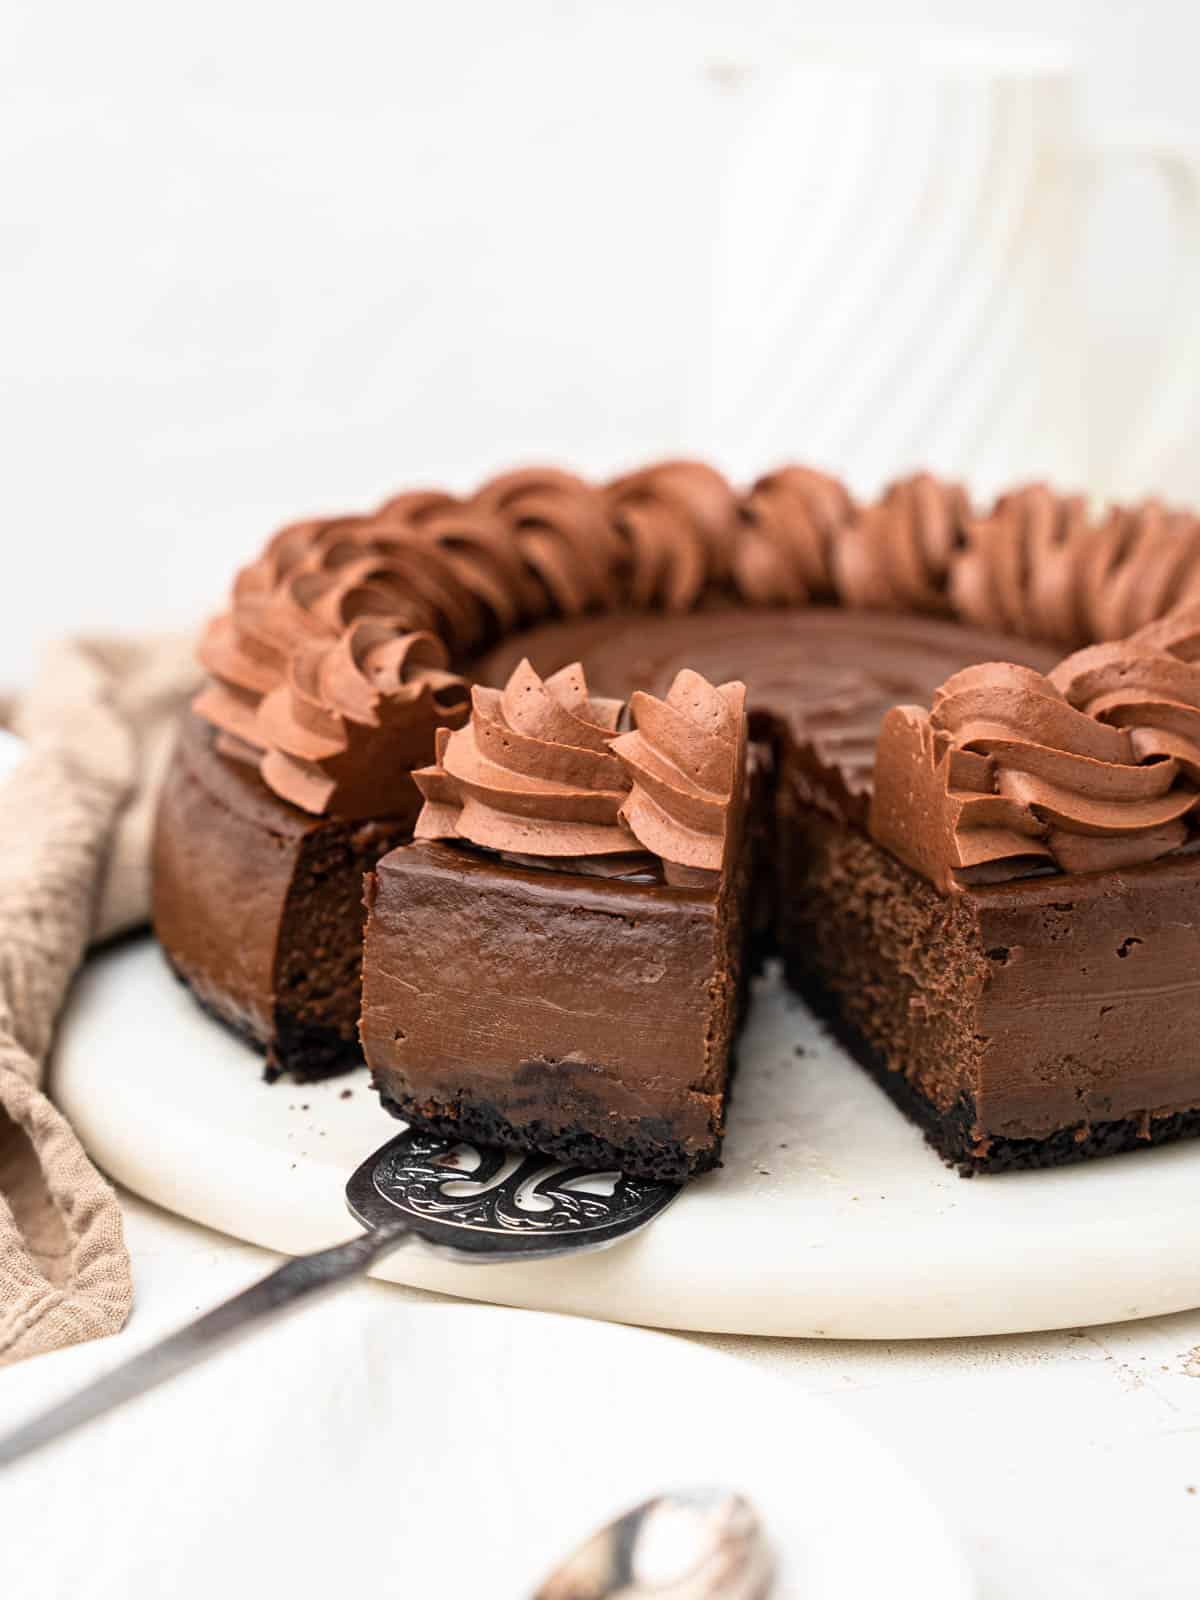
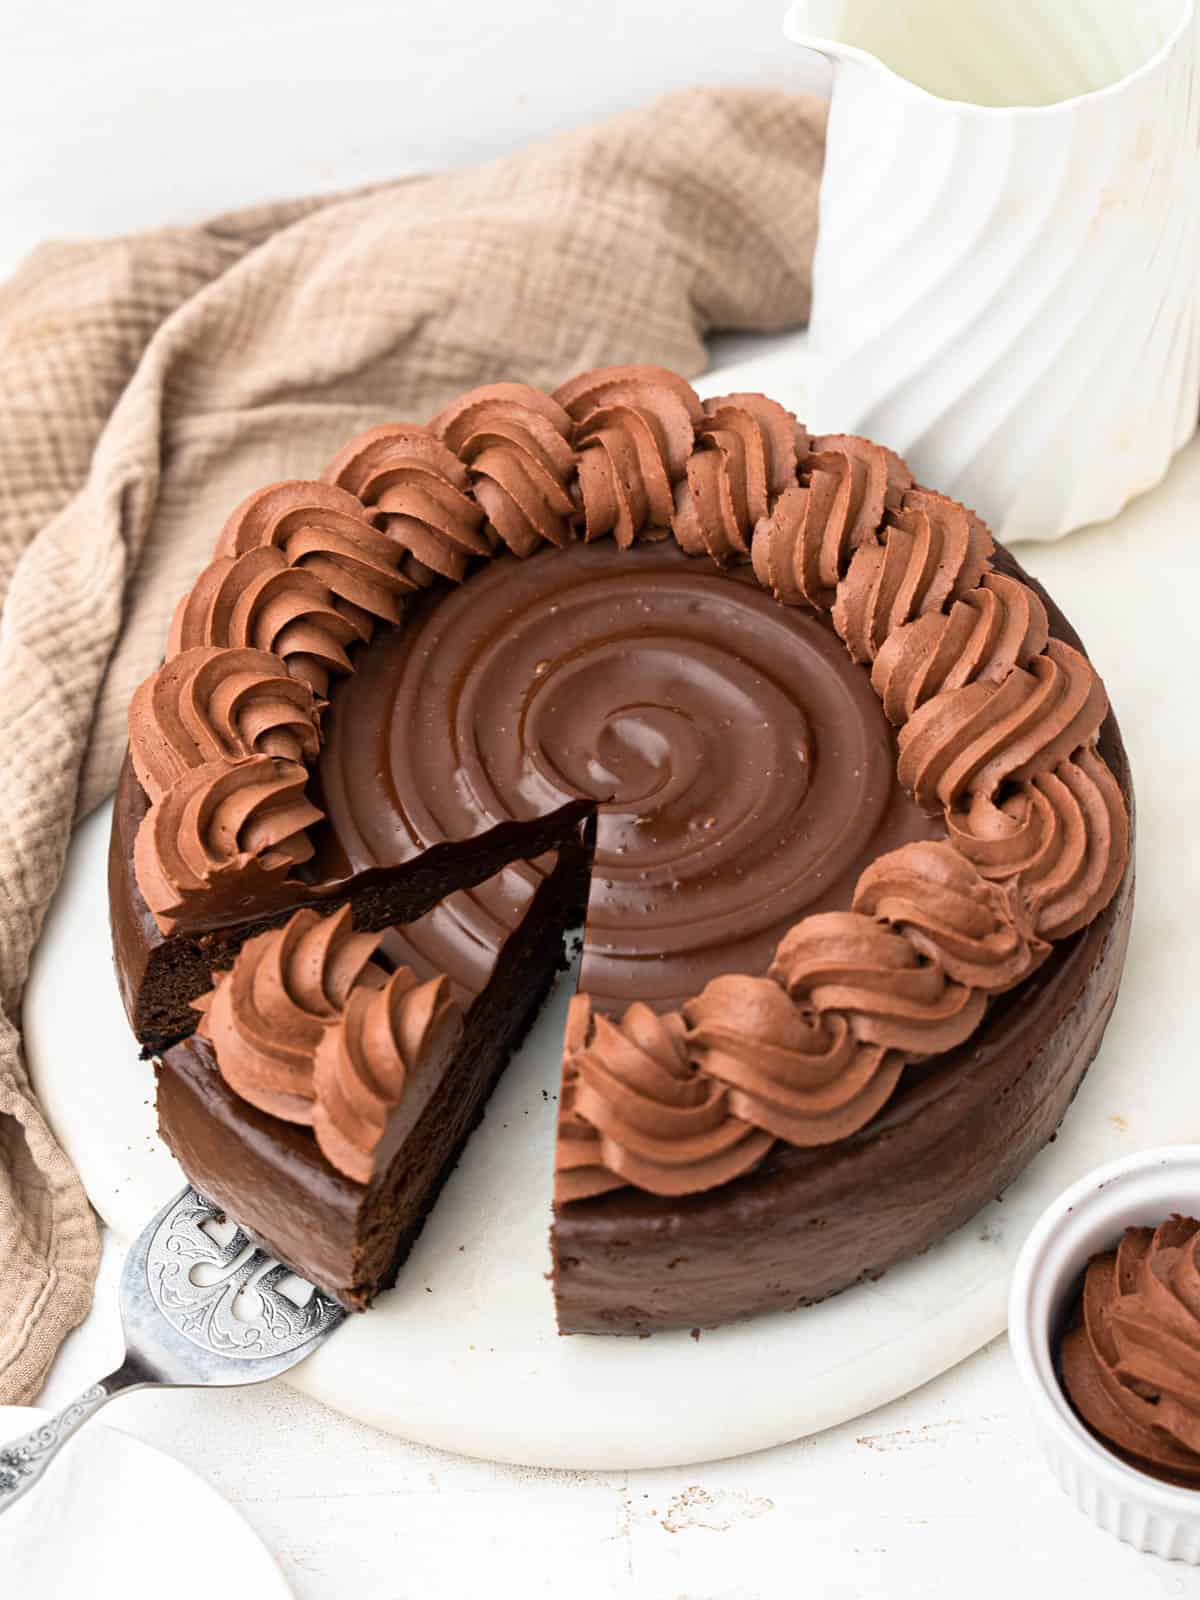
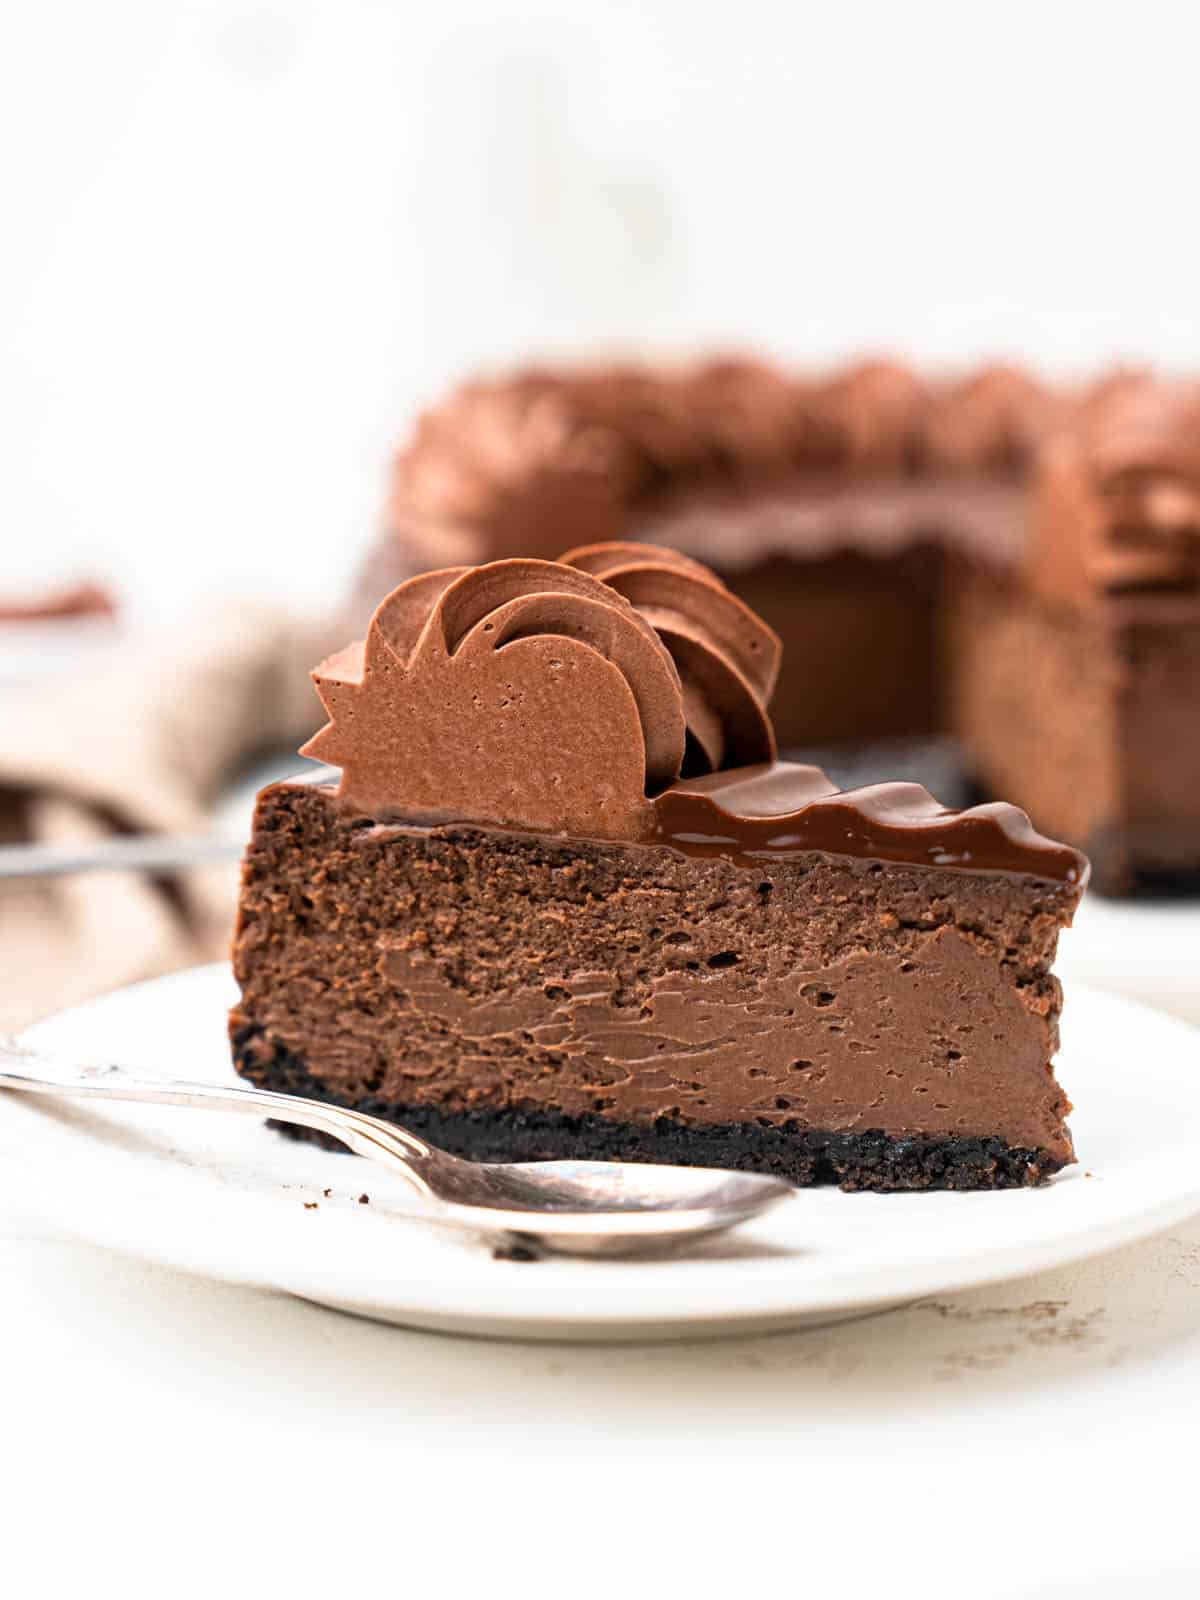
Rich and creamy baked chocolate cheesecake topped with silky chocolate ganache and light whipped cream
Why make this chocolate cheesecake?
If you are a chocolate lover or a cheesecake lover this is going to be paradise for you. This chocolate cheesecake is smooth and creamy with a rich chocolate flavor that isn't too sweet or bitter.
This cheesecake has a couple of different components, but when they come all together it will create the perfect balance of chocolate flavor. It might be a little more effort but I promise that it'll be completely worth it!
Ingredients
Crust
- Cookies: You can use any kind of chocolate cookie, but personally I like to use Oreos! They are easy to find and work great with the rest of the flavors.
- Unsalted butter: Butter is needed to bind the cheesecake base together. Make sure you use unsalted butter otherwise your cheesecake base might be too salty.
Chocolate Cheesecake
- Semisweet chocolate: Make sure you use semi-sweet chocolate otherwise it'll be too sweet. If you want an even richer chocolate flavor you can use darker chocolate.
- Instant coffee: Instant coffee helps to enhance the chocolate flavor as well as give the cake a more complex flavor.
- Heavy cream: Aka thickened cream gives the cheesecake a creamy texture without it being too cream cheese heavy.
- Cocoa powder: You can use regular cocoa powder or dutch processed cocoa powder for this. I like to use dutch processed as it gives the cake a richer chocolate flavor.
- Cream cheese: Make sure you use block-style cream cheese when making the cheesecake otherwise the texture will be too runny. It's also important that the cream cheese is at room temperature as this will help the ingredients incorporate easier.
- Salt: A pinch of salt will help to balance out the flavors of the cheesecake.
- Granulated sugar: As we are using semi-sweet chocolate we do need to add a little more sugar to sweeten the batter.
- Vanilla extract: Vanilla extract adds another level of flavor to the cheesecake, while also canceling out any egginess that might come from the eggs.
- Sour cream: Sour cream adds a delicious creamy tanginess to the cheesecake.
Chocolate Ganache
- Semi-sweet chocolate: As the cheesecake itself is quite sweet I like to use semi-sweet chocolate for the ganache. This way it balances out the overall flavor of the cheesecake.
- Heavy cream: Cream helps to thin out the chocolate to a pourable consistency
Chocolate Whipped Cream
- Heavy cream: Aka thickened cream, is the best kind of cream to use for whipped cream as it already has some stabilizers in it to help it thicken. You can also use regular cream or whipping cream.
- Granulated sugar: You can increase or decrease the amount of sugar according to your preferences. I prefer the whipped cream to be not as sweet to balance out the cheesecake beneath it.
- Cocoa powder: Cocoa powder adds chocolate flavor to the cream. You can also adjust this to your taste preferences.
Frequently Asked Questions
How long does this last?
This cake will last up to 4 days when stored in an airtight container in the fridge. Make sure you keep it chilled and take it out right before serving. As this cake is made with ingredients like cream, cheese, and sour cream you need to keep it refrigerated to prevent it from spoiling.
Why did my cheesecake crack?
There are a couple of reasons why your cheesecake cracked:
- The batter was overbeaten: Make sure you don't overbeat the batter once you add the eggs as this causes excess air to build up in the batter
- A water bath wasn't used
- The oven temperature was too hot
- The cheesecake was overbaked
Why is my ganache so runny?
The ganache will be slightly runny when just made. Make sure you let the ganache cool for at least 15 minutes before you start to spread it over your cheesecake. If you don't let it cool enough it will be too runny and flow off your cake.
Keep in mind that the ganache will also thicken up a little more once you spread it over the top of the cold cake.
How come my cheesecake is grainy?
The cheesecake is grainy it could be for a couple of reasons:
- The ingredients weren't at room temperature before mixing them together
- The cheesecake wasn't mixed well enough
- The cheesecake was overbaked
Let's Get Baking!
Cheesecake lovers rejoice because you've found the chocolate cheesecake of your dreams!
I collaborated with the amazing Bake with Zoha to make this recipe, check out her blog post here!
https://bakewithzoha.com/chocolate-cheesecake/: Chocolate CheesecakeIf you liked this recipe make sure to leave me a comment and rating down below, I would love to know how you went.
Also, don't forget to tag me on Instagram @catherine.desserts and hashtag #cattycakes so I can see and share your desserts. Follow me on Facebook, Pinterest, Youtube, and TikTok for more of my baking creations and updates! Until next time... happy caking!
PrintChocolate Cheesecake
Rich and creamy baked chocolate cheesecake topped with silky chocolate ganache and light whipped cream
Ingredients
Oreo Cookie Crust
- 235g Cookies (20 Oreos)
- 70g Unsalted butter, melted (¼ cup 2 tsp)
Chocolate Cheesecake Filling
- 340g Semi-sweet chocolate (12oz/2 cups chocolate chips)
- 1 tsp Instant coffee
- 120ml Heavy cream (½ cup), room temperature
- 15g Cocoa powder (2 tbsp)
- 680g Cream cheese (24 oz), room temperature
- ½ tsp Salt
- 200g Granulated sugar (1 cup)
- 1 tsp Vanilla extract
- 4 Large eggs, room temperature
- 70g Sour cream (¼ cup), room temperature
Chocolate Ganache
- 100g Semi-sweet chocolate (3.5oz)
- 120ml Heavy cream (½ cup)
Chocolate Whipped Cream
- 240ml Heavy cream (1 cup)
- 50g Granulated sugar (¼ cup)
- 25g Cocoa powder (3 tbsp)
Instructions
Oreo Cookie Crust
- Preheat the oven to 350F/180C
- Wrap the base of a 9-inch springform pan with two layers of aluminum foil (this prevents water from seeping into the crust)
- Line the bottom of the cake tin with baking paper
- Blitz the cookies in a food processor until a fine crumb
- Add the melted butter and pulse until combined
- Add the cookie crumbs into the base of the cake tin and pack the crumbs into the base using a flat-bottomed object i.e. a measuring cup
- Bake the base for 8-10 min, then reduce the oven temperature to 325F/160C
- Remove and allow to cool as you prepare the cheesecake batter
Chocolate Cheesecake Filling
- Heat the chocolate, heavy cream, and instant coffee over a double boiler or in the microwave until just melted, stir until smooth and set aside to cool as you work on the rest of the batter
- Put the cream cheese in the bowl of a stand mixer fitted with a paddle attachment or in a large bowl with a hand mixer and beat on medium for 3-5 minutes until creamy, scraping down the sides of the bowl to ensure everything combines evenly
- Add the cocoa powder, sugar, salt, and vanilla extract and beat for 3-5 minutes until well combined
- Beat your eggs lightly in a separate bowl and slowly add them to the cream cheese mixture at slow speed until just combined
- Add the sour cream and melted chocolate mixture to the cream cheese batter and whisk until just combined
- Pour it over the baked crust
- Place a tray in the oven and fill it with 1-2 inches of boiling water
- Put the cheesecake in the water and bake for 60-70 mins, ensuring not to open the oven while baking
- The cheesecake is done when it has firm edges and a jiggly inside
- Cool at room temperature for 2-3 hours and then overnight or a minimum of 6 hours in the fridge.
Chocolate Ganache
- Finely chop the chocolate
- Heat the cream in a small saucepan or in the microwave until steaming
- Pour the cream over the chocolate, cover it with a plate, and let it sit for 5 mins
- Uncover and stir until smooth
- Allow it to cool for 15 minutes, or until slightly thickened as you prepare the whipped cream
Chocolate Whipped Cream
- Combine the whipped cream and sugar in the bowl of a stand mixer fitted with a whisk attachment or in a large bowl
- Sift in the cocoa powder and whisk until stiff peaks are reached
- Fit a piping bag with a large star piping tip and fill the piping bag with the cream
Assembly
- Once the cheesecake has cooled overnight remove it from the spring form cake tin and place it on your serving platter
- Pour the chocolate ganache into the center and use a spoon or offset spatula to swirl the ganache
- Pipe a border of chocolate whipped cream along the border of the cake
- Slice and enjoy!



Erica Pm
I tried big mama bear’s 🐻 a few years back and it was so fun. Super excited for this recipe too
Catherine Zhang
I'm sure you'll love it!