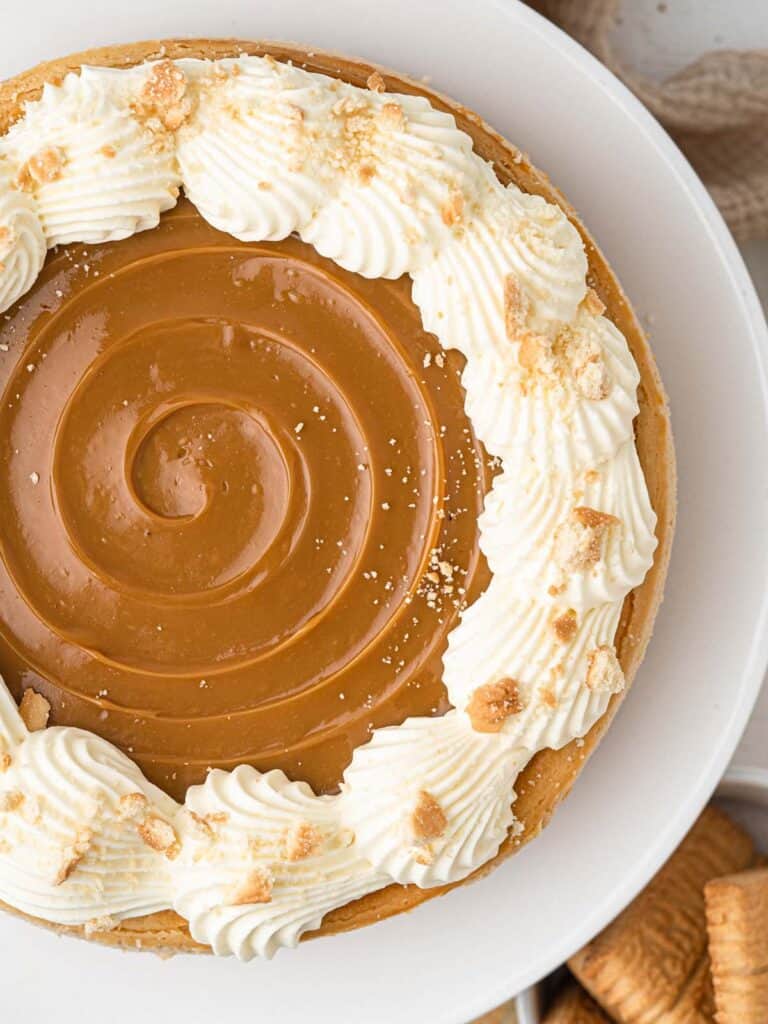
Creamy baked cheesecake with a buttery biscuit base topped with creamy dulce de leche and vanilla whipped cream
Jump to:
What is dulce de leche?
Dulce de leche is a caramel-like sauce or spread that is made from milk. Also known as milk jam or caramelized milk, the name literally translated to milk candy!
Originating in Latin America, it is typically used as a filling in sweets like cakes and cookies, or as a topping on fruits like bananas or ice cream.
Dulce de leche is sweet and creamy with a smooth and spreadable consistency. Flavor-wise it is very similar to caramel with a milkier flavor.
Traditionally it is made by simmering milk and sugar over low heat for hours until it turns golden brown in color and thickens in texture. However, this method is typically used to make large batches and is hard to recreate at home.
Nowadays dulce de leche is made at home by boiling an unopened can of condensed milk for several hours. The result is sweeter than traditional dulce de leche but equally as delicious!
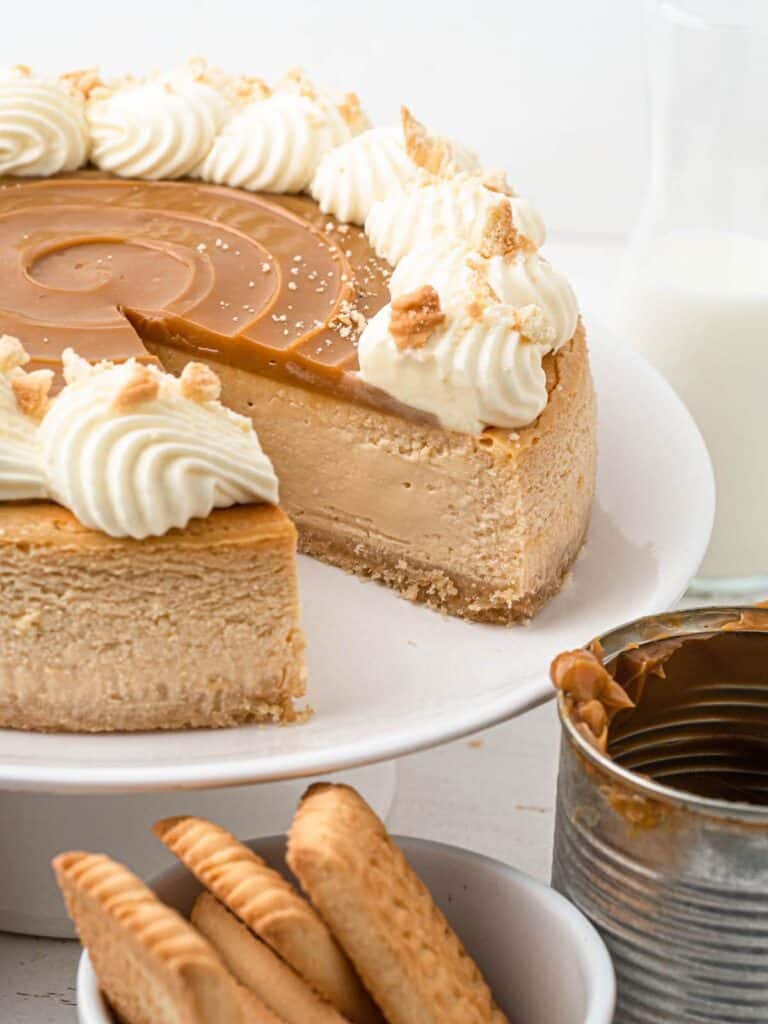
How to make dulce de leche
Making dulce de leche at home is so easy, here are a couple of ways you can make it!
Stove top
Submerge a can of condensed milk in a large pot of water, ensuring that the whole can is submerged. Bring the pot of water to a slow simmer and cook for 2 to 3 hours.
The longer you cook it the darker and thicker it will become. Make sure you top up the water as you go and keep it submerged. If the can isn't completely submerged it runs the risk of exploding!
Once the 2 to 3 hours are up let the can cool in the pot until room temperature, don't try to open the can when it is still hot. As the can is cooking pressure builds up in the can. If you open it while it is still hot it can also explode.
Pressure cooker
This is personally my favourite method of making dulce de leche as it is quicker and easier.
Place the can in the pressure cooker and fully submerge it in water. Close the lid and bring it to a boil and let it cook on high pressure for 20 minutes. Then let the pressure release naturally and cool the can to room temperature in the pressure cooker.
Once cooled completely, remove it from the pressure cooker and use it as needed! I like to let it cool overnight.
Make sure you fully submerge the dulce de leche otherwise it runs the risk of exploding as it cooks. Also, make sure you let the pressure release naturally as dramatic changes in pressure can also cause the can to explode.
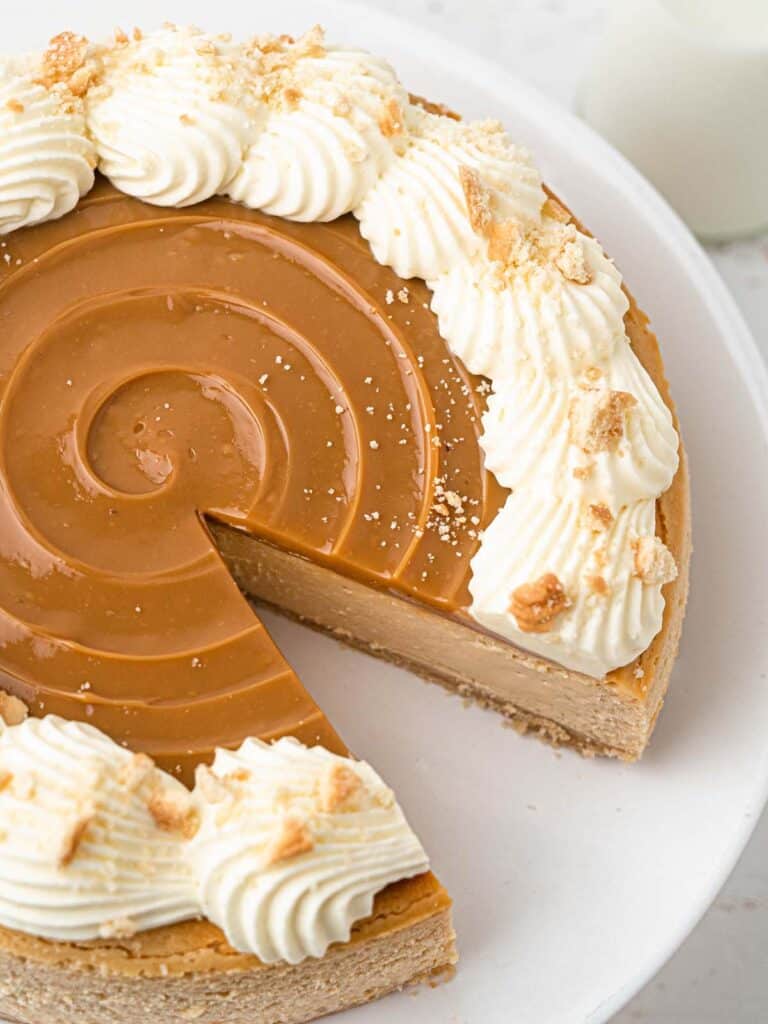
How to bake the perfect cheesecake
Mix as little as possible
When making the batter for the cheesecake do not overmix. Only mix until the ingredients have been incorporated.
Over mixing the batter can cause the formation of air bubbles. Air bubbles will rise to the surface of the cake in the oven, and when they reach the top they can cause cracks.
If you think you have mixed the batter a lot there is a few tips!
- Pour the batter into the pan in a slow steady stream, from a slightly higher height. This will pop some air bubbles that have formed.
- Give the tin a few firm taps on the counter before baking. Then pop any visible bubbles on the surface of the cake.
The best way to avoid overmixing is to mix the cake batter by hand with a whisk, or with the paddle attachment of your stand mixer.
Water Bath aka Bain-Marie
A water bath is essential when baking a cheesecake. It increases the moisture in the oven and evens out the baking temperature. This is the perfect environment for a cheesecake to bake crack free!
Most recipes will tell you to cover the bottom of your springform pan with aluminium foil before placing it in a water bath. I found that this isn't leak proof and can cause soggy crusts.
The best way to double pan your cake. Simply place the prepared pan in a large baking pan before placing that in a water bath!
Baking temperature and time
Baking the cheesecake at a slightly lower temperature will prevent a rapid rise. The rapid rise is often the reason a cheesecake cracks. To counterbalance the lower temperature a longer bake time is needed.
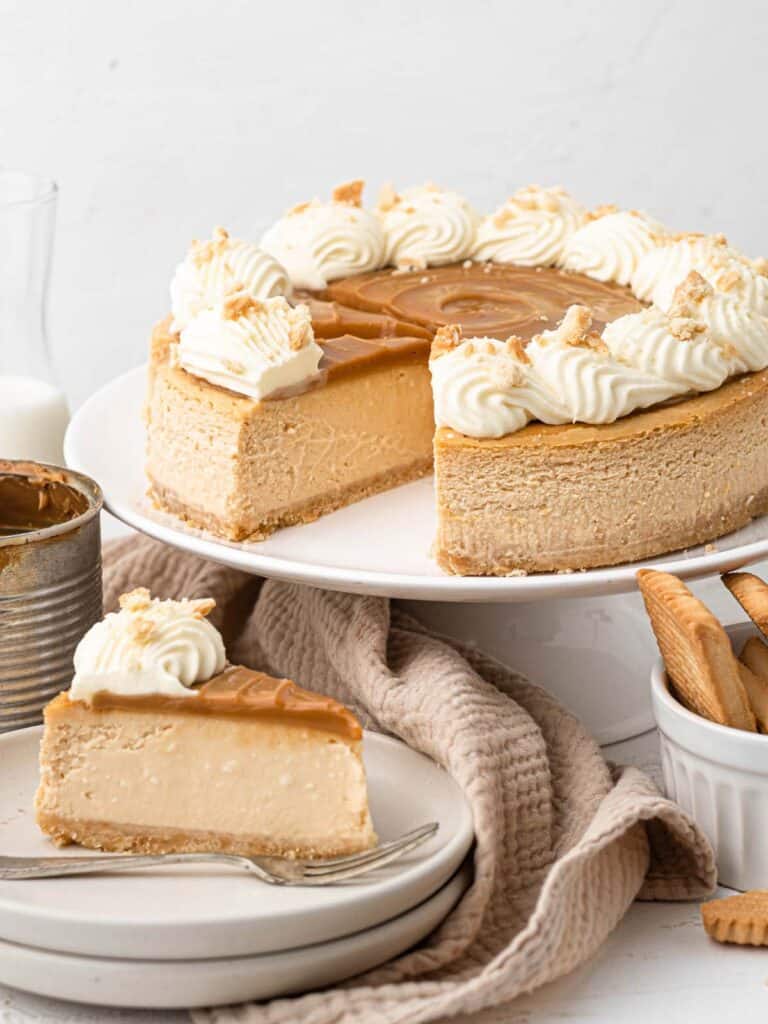
Frequently Asked Questions
How long does this last?
This cake will last up to 3 days when stored in an airtight container in the refrigerator. Cheesecakes are best enjoyed chilled so remove the cake from the fridge right before serving.
Why did my cheesecake crack?
There are several reasons as to why your cheesecake may have cracked:
Too much air was incorporated into the cheesecake mixture
Excessive mixing while making the batter can cause a build up of air pockets. When baked these air pockets will rise to the surface of the cake and cause cracks. In order to prevent this make sure you beat your cheesecake filling slowly and use room temperature ingredients so that everything can be incorporated easily.
There wasn't enough moisture in the oven
The hot water bath the cheesecake sits in helps to add extra moisture to the oven and the surface of the cheesecake. It also evens out the oven temperature, reducing the possibility of cracks
The oven temperature was too high
When the oven temperature is too high or has sudden changes it can cause cracks on the surface of the cake. Increases in oven temperature cause the cake to rise, and sudden rises will cause cracks. The hot water bath will help to even out the oven temperature, however, make sure your oven is set at the right setting.
Do I have to use a water bath?
While you don't have to use a water bath I highly recommend it!
If you don't use a water bath your cheesecake will turn out much crumblier and drier. It almost guarantees that the surface of your cheesecake will crack.
How can I prevent my cheesecake crust from becoming wet?
Most recipes will wrap aluminum foil around the base of the cake, and then place it directly in a hot water bath. But this method is very prone to leakage while the cake is baking. This usually leads to soggy cheesecake crusts.
I like to double-pan my cheesecakes. All you need place your prepared cake tin in a slightly larger pan, before placing it in your hot water bath for a leak-proof bake!
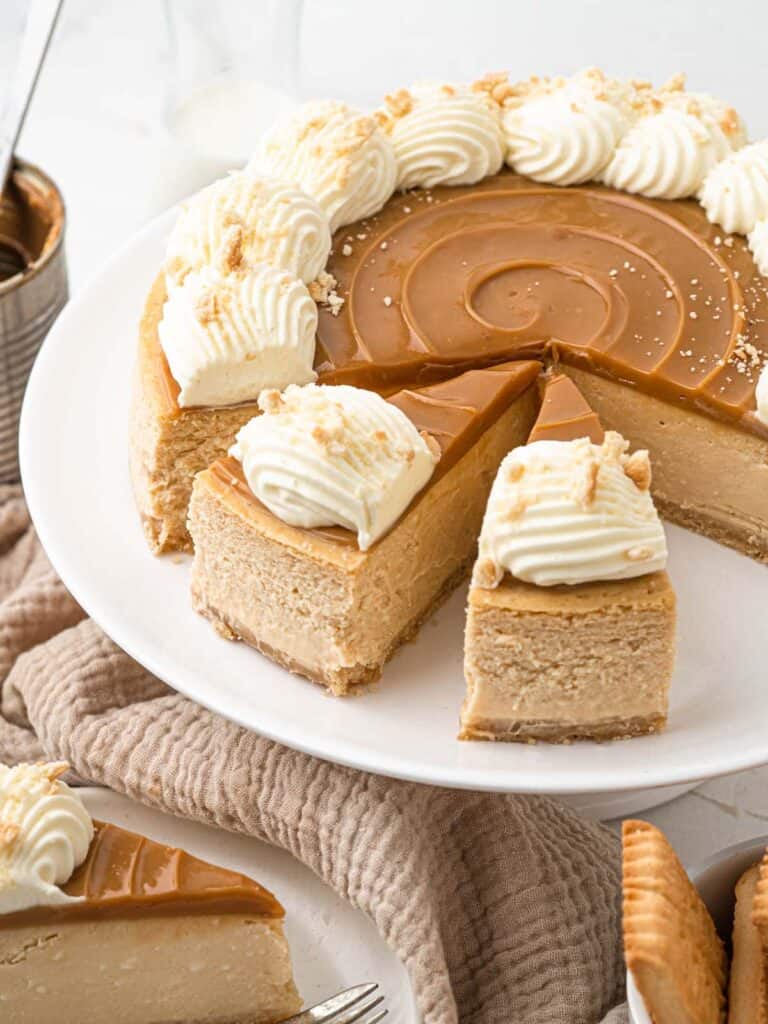
Can I use store-bought dulce de leche?
Of course! While making your own dulce de leche is fairly easy, it is very time-consuming as you have to wait for it to cook and cool before using it. Store-bought dulce de leche is perfect!
What kind of cookies can I use as the base?
When it comes to making cheesecake bases you can use whatever cookie you like! Personally, I like to use digestive biscuits because they add a nice flavor and are light but not too dense in texture.
Most other recipes like to use graham crackers, however, those aren't readily available in Australia. Use whatever is convenient. Any kind of tea biscuit/cookie works well!
Can you freeze this cake?
Yes! This cake is perfect for freezing, as are most cheesecakes. If you are placing this in the freezer I would recommend freezing it without the whipped cream.
Whipped cream doesn't hold very well after being defrosted. Instead, whip up some fresh cream just before serving the defrosted cake.
How can I cut the perfect slice?
Cutting cheesecakes can be tricky as the cheesecake filling sticks to the knife as you slice. I like to run a sharp knife under hot water, then wipe it dry before slicing. A hot knife will go through the cheesecake in clean cuts.
Make sure you wipe the knife in between each slice, as this will ensure perfect slices each time.
Let's Get Baking
This is the perfect dessert to make when you want to impress your friends and family, or when you need something sweet and creamy... Really the perfect cheesecake in any situation. It's so good I'd eat the cheesecake batter straight out of the bowl!
If you liked this recipe make sure to leave me a comment and rating down below, I would love to know how you went.
Also, don't forget to tag me on Instagram @catherine.desserts and hashtag #cattycakes so I can see and share your desserts. Follow me on Facebook, Pinterest, Youtube, and TikTok for more of my baking creations and updates! Until next time... happy caking!
PrintDulce de Leche Cheesecake Recipe
Creamy baked cheesecake with a buttery biscuit base topped with creamy dulce de leche and vanilla whipped cream
- Prep Time: 30 minutes
- Cook Time: 60 minutes
- Total Time: 1 hour 30 minutes
- Yield: 1 x 8-inch cake 1x
- Category: Cake
- Method: Intermediate
- Cuisine: American
Ingredients
Base
- 140 g Digestive/shortbread biscuits (5oz)
- 50 g Unsalted butter (⅓ cup)
Cheesecake
- 500 g Cream cheese (17.6oz), room temperature
- 130 g Sugar (⅔ cup)
- 150 g Plain greek yogurt or sour cream (½ cup 1 tsp), room temperature
- 140g Dulce de Leche (½ cup)
- 175 g Thickened/Heavy cream (¾ cup)
- 2 Eggs, room temperature
- 1 tbsp Cornstarch
- 1 tsp Vanilla extract
Assembly
- 120ml Thickened/Heavy cream (½ cup)
- 140g Dulce de Leche (½ cup)
Instructions
- Preheat the oven to 170C/340F
- Place the cookies in the bowl of a food processor, blitz until a fine crumb
- Add melted butter and process until combined
- Transfer to an 8-inch springform tin and press the crumbs into the base with a smooth bottomed object (I use my measuring cups)
- In a bowl beat the cream cheese and sugar together until smooth
- Add the yogurt and dulce de leche, beat until well combined
- Add the thickened cream and cornstarch, beat until smooth
- Add the eggs and vanilla extract, whisk until just combined
- Pour the batter over the base
- Smoothen out the top and place the springform tin inside a larger tin/baking dish
- Place the double tinned cake in a baking tray filled with 2cm of boiling water
- Place it all in the oven and bake for 60 minutes, then turn the heat off and leave in the oven for 30 minutes
- Cool and refrigerate overnight, or a minimum of 4 hours
Assembly
- Whip the cream to stiff peaks and transfer it to a piping bag fitted with a star tip
- Unmould the cake and decorate with dulce de leche and whipped cream
- Enjoy!




Ia
Hi Catherine! What piping tip did you use here?