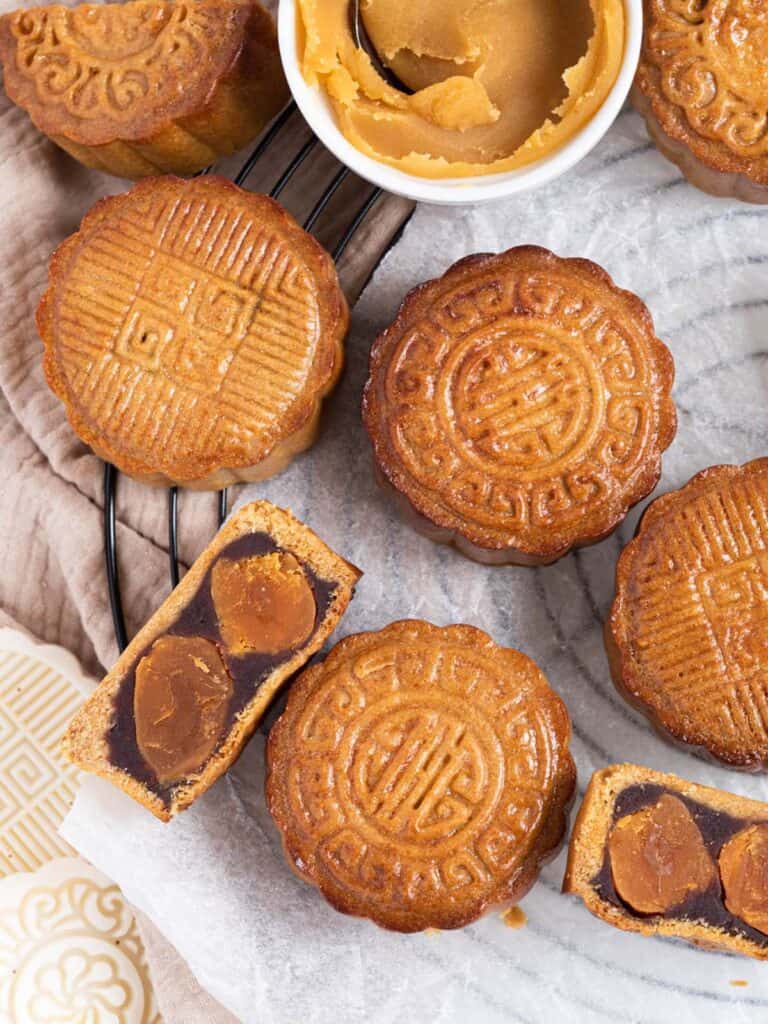
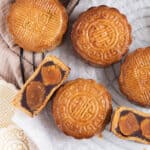
Traditional Cantonese-style baked mooncakes with a fragrant thin skin, sweet filling, and salted duck egg yolks. A Chinese treat prepared for the mid-autumn festival!
Jump to:
What is the Mid-Autumn festival?
The Mid-Autumn festival occurs on the 15th day of the 8th Lunar month, this year falling on the 21st of September. At this time the moon is the roundest and brightest. This festival was originally a time to celebrate the autumn full moon harvest, in a time of successful harvest families come together to celebrate and appreciate the moon, light lanterns, and eat mooncakes!
This is an important day for not only Chinese but many other South-East Asian cultures, each using the day to celebrate differently!
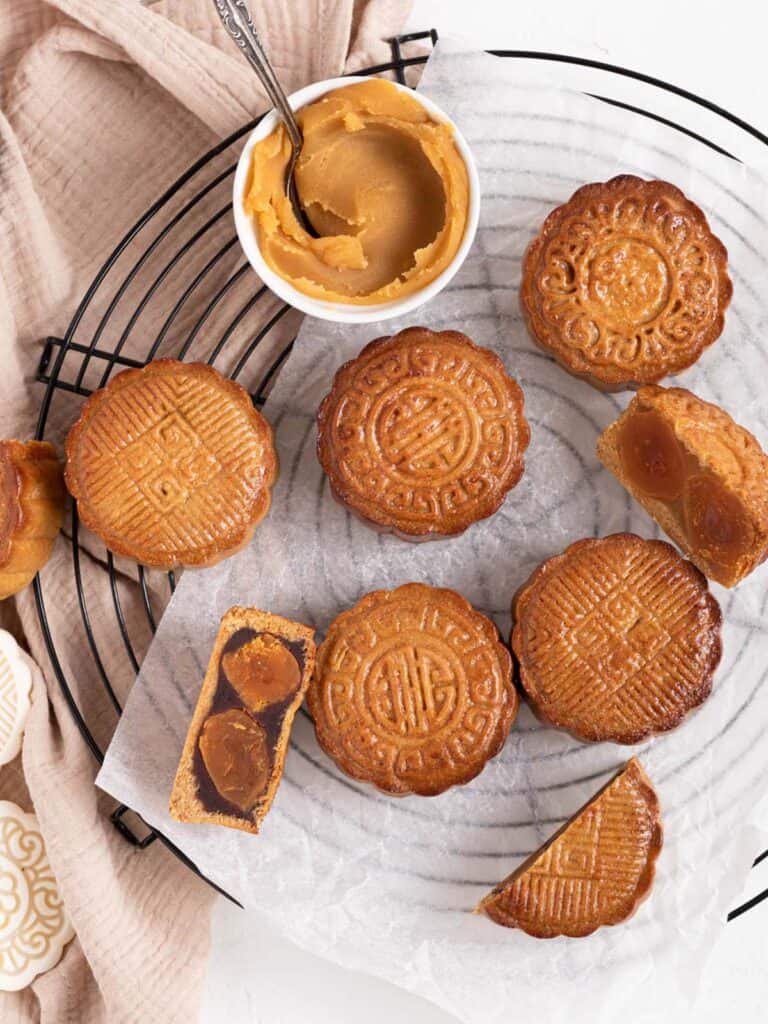
What are mooncakes?
Mooncakes are a traditional Chinese treat eaten during the Mid-Autumn festival. There are so many different styles of mooncakes, each coming from different areas of China. The fillings range from lotus paste, beans, custards, nuts, and meats. Yes, there are both sweet and savory kinds!
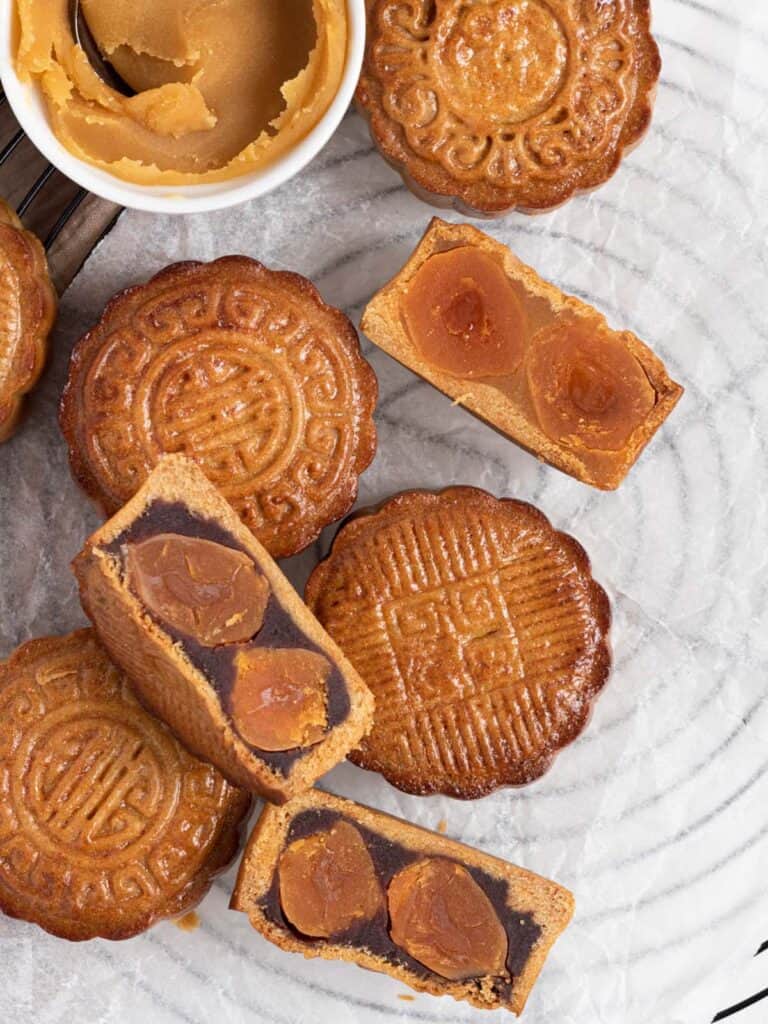
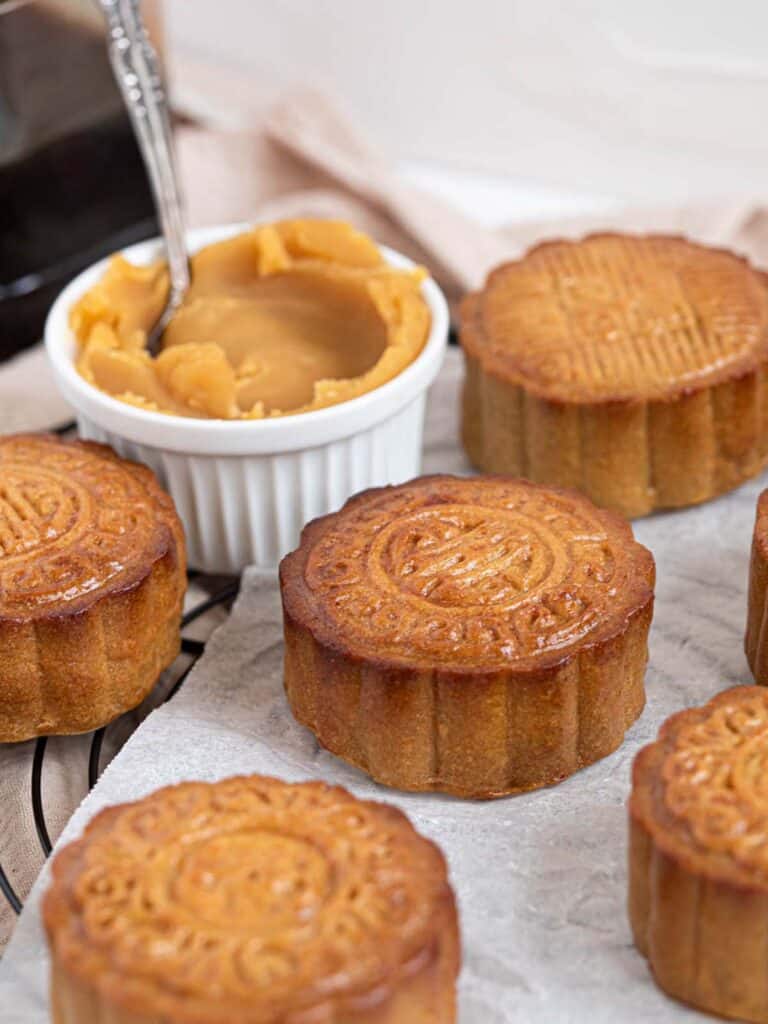
The most commonly known mooncake is the traditional Cantonese mooncake, characterized by its golden and glossy, thin, and soft crust with a delicate pattern. The most common filling for these is lotus paste, a sweet paste made from lotus seeds, and salted duck egg yolks. This combination is sweet, fragrant, slightly salty, and delicious.
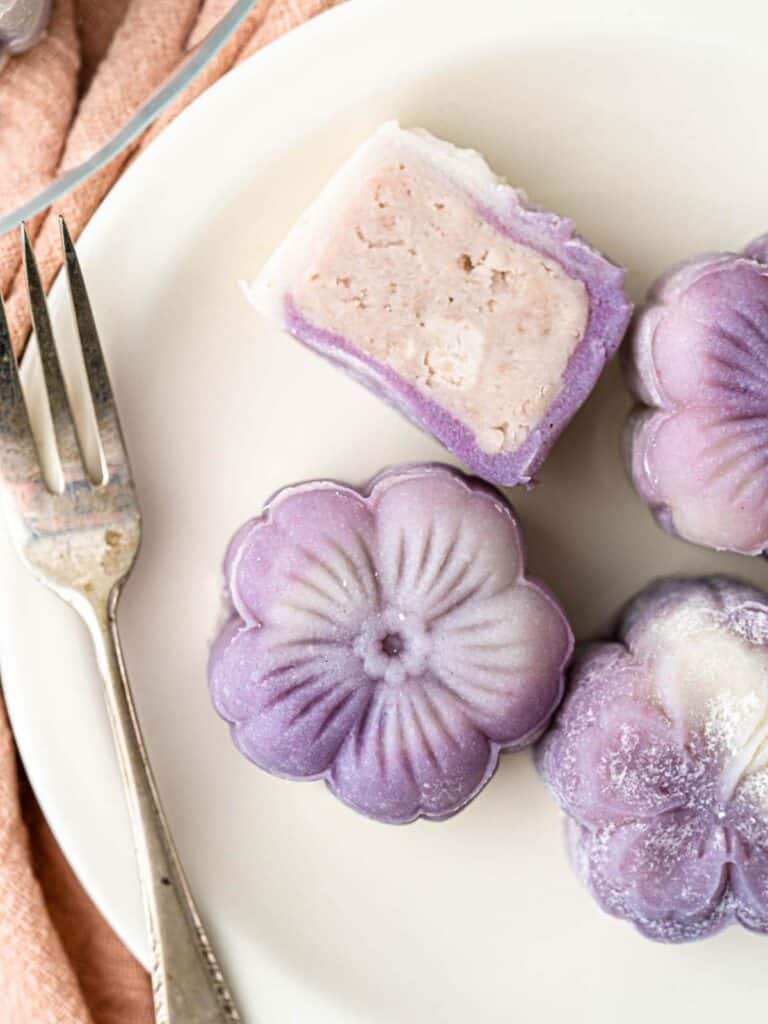
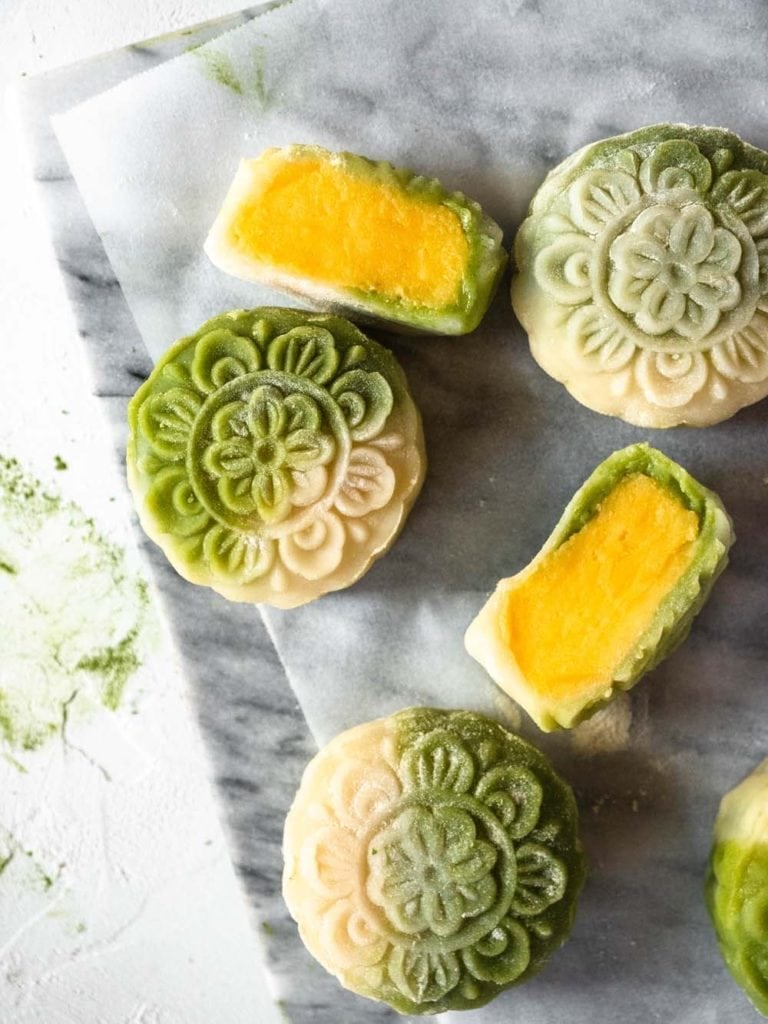
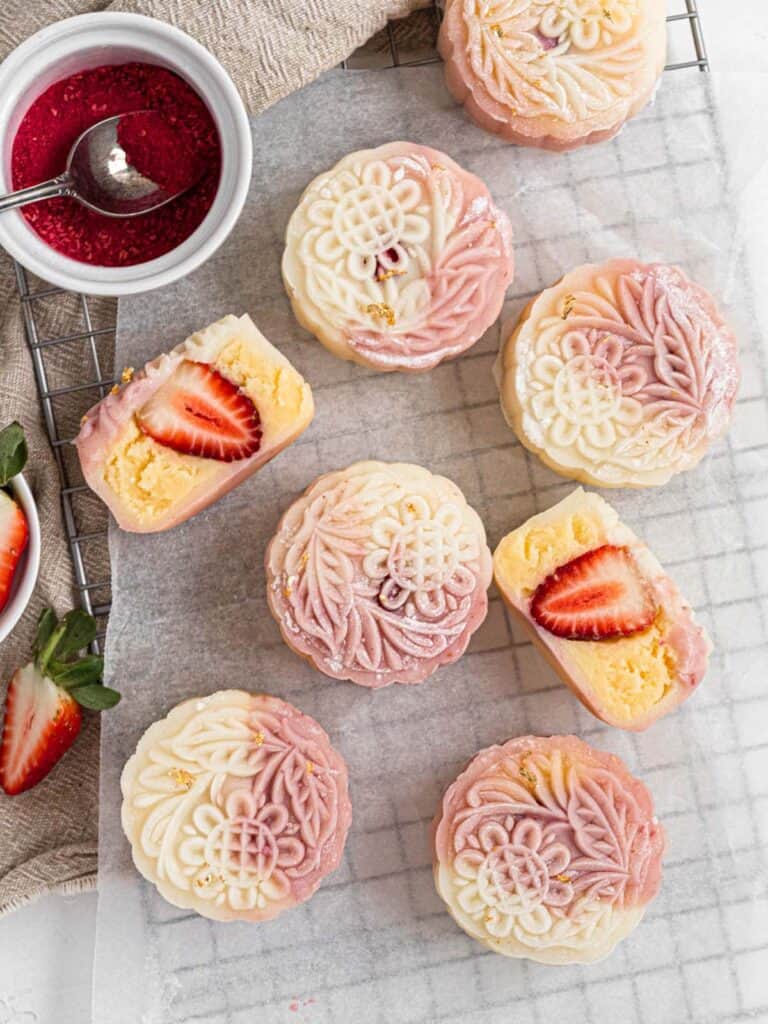
Another popular kind of mooncake is snow-skin mooncakes. These aren't baked and the skin is made from glutinous rice flour. These are often bright and colorful and filled with a variety of fillings from the classic lotus seed paste to custards and even ice cream.
Check out these snow skin mooncake recipes I have!
These mooncakes aren't as labor intensive and have a much soft and slightly chewy texture similar to mochi!
Growing up snow-skin mooncakes were always one of my favorites... but my true favorite is the Shanghainese-style savory pork mooncakes. These have a super flaky crust and are filled with a juicy, pork filling. Growing up these were always a treat my parents would buy me during the mid-autumn festival- but now I make them for everyone to eat!
The mooncake recipe I'm sharing with you all today are traditional Cantonese-style mooncakes. While the method can be a little intimidating at first, if you use store-bought pastes for the filling it's not too difficult and can be a fun project for this year's moon festival!
Mooncake molds
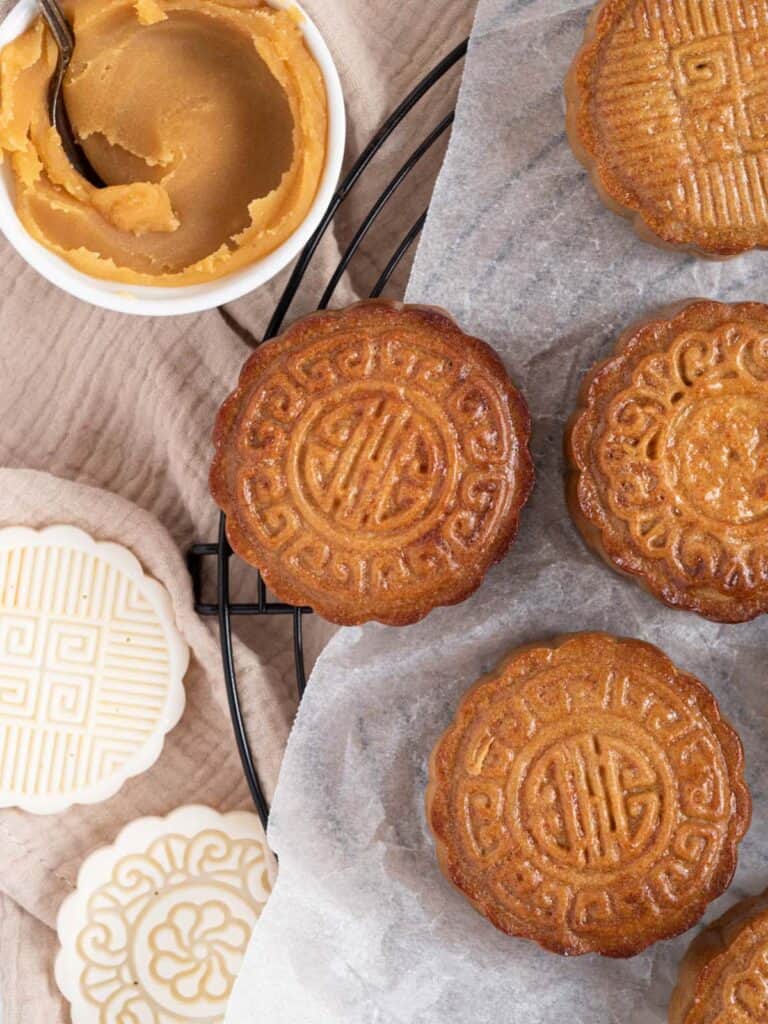
You'll notice that the mooncakes have an intricate pattern on the surface, these are created using a mooncake mold! There are a lot of molds easily available online, however, they come in a variety of styles and sizes.
Traditionally the molds are carved out of wood, but now they have a plastic variety with interchangeable patterns. Not only do they make it fun because you can change up the design, but it also has an easy release system so you can unmould the mooncakes without much struggle.
When it comes to sizes it depends on what size mooncake you would like to make. I use a 100g mooncake mold which is perfect for two egg yolks and a good amount of filling. However, feel free to use a small mooncake mold and create more small mooncakes with a single salted egg yolk.
Link to the one I used is here!
Making mooncakes without lye water
A lot of mooncakes will use lye water to create the skin. Lye water's alkaline properties help the mooncakes take on a deep golden brown color. However, it can be difficult to find lye water, especially in Australia since it's been banned.
Lye water is very strong and too much is poisonous! This recipe uses baking soda instead and the results don't pale in comparison.
Many people bake their baking soda to increase its alkalinity, but honestly, there is no need.
Simply mix ½ teaspoon baking soda with the same amount of water and add it to the dough.
You'll find that this does make the dough more crumbly, however, it will still form mooncakes easily!
Tips on creating perfect mooncakes
Here are a couple of tips to help you create the perfect mooncake and wow all your family and friends!
Weigh your filling and dough out
It's important that you carefully portion the dough and skin for the mooncakes as this ensures that it fits into your mold perfectly. It also guarantees a perfect balance between filling and skin.
If you use less it can make it difficult to wrap the filling without it cracking. If there is too much skin the mooncake will have a super thick pastry.
Lightly oil your molds
It is important to oil your molds as the pastry can get stuck in the mold while you are forming the pattern. Use a pastry brush dipped in a little vegetable oil and lightly coat the inside of the mold for easy mooncake release!
Use baking soda
I use baking soda as a replacement for the traditional lye water, and it works a dream to create beautifully golden brown mooncakes
Spray your mooncakes with water
Giving your mooncakes a light spritz of water after its first bake adds some moisture back into the skin, preventing it from cracking and helps brown the pastry evenly
Use a fine brush to glaze your mooncakes
When brushing on the egg wash use a fine brush. This helps to get in between the details and remove any excess egg wash stuck between the details. If the glaze is baked in-between the delicate patterns it can cause them to blur and lose detail.
Glaze and bake your mooncakes several times
You can repeat the glaze and bake process as many times as needed to create the perfect golden color. Keep in mind that after your mooncakes sit for a couple of days the color will deepen
Allow your mooncakes to mature
After baking keep your mooncakes in an airtight container at room temperature. This allows the skin to absorb oils from the filling. This increases flavor, color, and glossiness to create the perfect mooncake.
Frequently Asked Questions
How long do mooncakes last?
Mooncakes can last a relatively long time because of their ingredients makeup. The baking process draws water out of the mooncakes helping them last longer.
Freshly made mooncakes can last up to a week when stored in an airtight container at room temperature.
If you store them in the fridge they can last even longer! I would take them out of the fridge and bring them to room temperature before consuming them.
If you are storing them in the fridge let them sit at room temperature for 2 days before transferring them to the fridge as this brings out the oils in the skin.
How should I store mooncakes?
Make sure you store mooncakes in an airtight container at room temperature. When they are stored like this allows the skin to soften up as it absorbs the oils from the filling.
This gives the mooncakes that characteristic glossy golden brown color.
What other fillings can I use in these mooncakes?
There are so many different flavours you can substitute for the filling ranging from white lotus seed paste, taro paste, chestnut paste, black sesame paste, mixed tree nuts, and more!
As long as they are at a consistency where you can roll the filling up into a ball it's perfect to be used!
Can I make these without a mooncake mold?
Yes! Even if you don't have a mooncake mold you can definitely make these. Instead of pressing the formed mooncakes into a mold, you can use a tart mold or even a cupcake tray.
They won't have that unique pattern but they will be equally as delicious.
Let's get baking!
If you've never had traditional mooncakes before this is the time to try them out! If you are a fan of traditional mooncakes you'll absolutely love this recipe. Make sure to choose a filling that you love. The fillings are easily accessible at your local Asian grocery, so take your pick from the traditional lotus seed to red bean or even taro!
These make a great gift for your relatives or just a special treat during the moon festival.
If you liked this recipe make sure to leave me a comment and rating down below, I would love to know how you went.
Also, don't forget to tag me on Instagram @catherine.desserts and hashtag #cattycakes so I can see and share your desserts. Follow me on Facebook, Pinterest, Youtube, and TikTok for more of my baking creations and updates! Until next time... happy caking!
PrintTraditional Mooncake Recipe
Traditional Cantonese-style baked mooncakes with a fragrant thin skin, sweet filling and salted duck egg yolks. A Chinese treat prepared for the mid-autumn festival!
- Prep Time: 60
- Cook Time: 20
- Total Time: 1 hour 20 minutes
- Yield: 8 1x
- Category: Cake
- Method: Intermediate
- Cuisine: Chinese
Ingredients
Mooncake Skin
- 230g Plain flour (1 ¾ cup + 4 tsp )
- 130g Golden syrup (⅓ cup + 1 tsp)
- 50g Vegetable oil (3 tbsp 1 tsp)
- ½ tsp Baking soda
- ½ tsp Water
Filling
- 1kg Filling of your choice (red bean paste, lotus paste, chestnut paste, sesame paste, etc.) (35oz)
- 16 Salted duck egg yolks
Egg wash
- 1 Egg yolk
- 1 tsp Egg white
- ¼ tsp Sesame oil
- ¼ tsp Golden syrup
- 1 tsp Water
Instructions
Mooncake Skin
- Mix baking soda and water together in a small bowl
- Combine flour, golden syrup, vegetable oil and baking soda mixture together in a mixing bowl
- Stir the mixture until a shaggy dough forms, then knead with your hands to form a dough
- Form the dough into a rough ball and cover with cling wrap
- Allow the dough to rest for 1 hour
Filling
- Meanwhile prepare the filling
- Using a scale portion out each mooncake's filling with two egg yolks and your choice of filling- the total weight should be approximately 75g
- Enclose the egg yolks in the filling and roll into a ball
- Continue with the remaining filling and form 8 portions of filling, set aside until use
Assembly + Egg wash
- Preheat the oven to 180C/355F
- Uncover the rested mooncake skin dough and portion into 8 x 50g portions, roll into balls
- Place one portion between two pieces of cling wrap and roll into a circle that will enclose the filling
- Remove the rolled dough from the cling wrap and carefully cover the portioned filling, bringing the edges together and shaping to close gaps
- Place the mooncake ball on a baking tray lined with baking paper, smooth side up
- Lightly oil the mooncake mould (I used a 100g mould) and use it to press the ball into a mooncake shape
- Remove the mould and repeat with the remaining filling
- Bake the mooncakes for 6 minutes
- Remove from the oven and lightly spray with water, prepare the egg wash as they cool
- Combine all egg wash ingredients in a small bowl and whisk together until combined
- Using a small food-safe brush lightly brush the mooncakes with the egg wash
- Bake for another 6 minutes
- Remove the mooncakes from the oven and brush with another layer of egg wash
- Increase the oven to 200C/390F and bake the mooncakes for 10 minutes, until golden brown
- Remove from the oven and cool completely before placing in an airtight container
- Allow the mooncakes to sit at room temperature for 2-3 days for the skin to soften and soak up oils from the filling, the colour will deepen and the skin will become glossy
- Store at room temperature for up to a week and enjoy!

Danielle
Hi Catherine, great recipe! I have been looking for one which doesn't use lye water. I have seen some other recipes use cake flour instead of plain flour, can you explain to me what the difference will be and why you chose to use plain flour? Thanks!
Catherine Zhang
Hi Danielle, So glad you like the recipe. Cake flour will give the skin a softer texture, but either will work great in this recipe! I wanted this recipe to be made from easily accessible ingredients, and plain flour still produces great results so I decided to go with it 🙂
Pris
Hi Catherine, greetings from California! I've been following your insta for a while but this is the first recipe of yours I've tried. I meant to make them for Mid Autumn Moon Festival but being the procrastinator that I am.. here we are LOL.
I'm happy to report that taste-wise, the mooncakes came out great! Like you noted, they definitely need a few days to soften. For me, after 2 days the texture was spot on. I was quite pleased with the taste and texture of these, I'd even say they were better than store-bought mooncakes! Unfortunately, my mooncakes did look a little wonky. The skin cracked a bit and the tops were slightly burnt (I might have applied too much eggwash?), not golden brown like yours! The recipe itself was straightforward, easy to understand, and I appreciated that the ingredients you chose were accessible. For future recipes, I'd ask that you please please please provide more details. i.e. approx. how big/thick the mooncake skins should be after rolling them out, tips and tricks that you can share with the reader that will make our lives easier/notes throughout the recipe, pictures of the process, etc.... people who have not made mooncakes before would probably need to watch a video to supplement this recipe since it is hard to visualize what is going on.
Overall I liked this recipe & will definitely be trying out more of your concoctions. Thank you for sharing your food with the world, and keep up the good work! 🙂
Catherine Zhang
Hi Pris! Thank you so much for your comment, I'm so glad you ended up trying this recipe! Yes, I definitely will try to add more tips in the future. I usually write a section in the blog post on tips that will help you perfect the bakes, but pictures are definitely helpful too. Didn't end up making a video for these mooncakes, but I do have one up for my strawberry snow skin mooncakes if you ever try making those 🥳 Can't wait for you to try my other recipes!
Ella Frost
This recipe is sooo easy!
My cakes turned out beautiful!
Thank you!
Catherine Zhang
So glad they turned out well 🙂
Ben
Hi Catherine,
If you do the small ones (50g moulds), how much filling would you add? 40 g?
Also, what would be the baking time?
I did this last year and looking forward to do it again.
Thanks in advance 🙂
Lily
Hi Catherine,
I’m a huge fan of your recipes, but for this one I was struggling to get the dough to the right consistency for shaping the cakes. I sort of suspect it is because my homemade golden syrup had a low level of hydration and I was wondering if you’d be able to direct me towards what type of golden syrup you used for these cakes. Thanks 🙂
Catherine Zhang
Hi Lily! I used regular golden syrup from the supermarket. These can be a little dry, so if you are struggling to keep it together I'd add another splash of vegetable oil. Hope that helps 😊
Stephanie
Do you think you can substitute golden syrup for maple syrup or honey?
Catherine Zhang
Yes you can replace it with honey