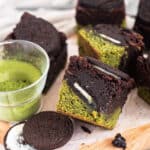
Oreos sandwiched between layers of fudgy matcha and decadent chocolate brownie. A take on the 'slutty' brownie, these layered matcha oreo brownies are the sweet treat you've been looking for.
It's been a while since I posted a brownie recipe, and honestly I don't know why I don't post more! Brownies are so simple, yet so delicious. Not only that, they are so simple it's easy to fancy up. At this point I'm sure you all now how much I love matcha, so how could I resist creating the ultimate collaboration. Matcha, chocolate and Oreos. Does it get any better than this?! I hope you all enjoy these layered matcha Oreo brownies!
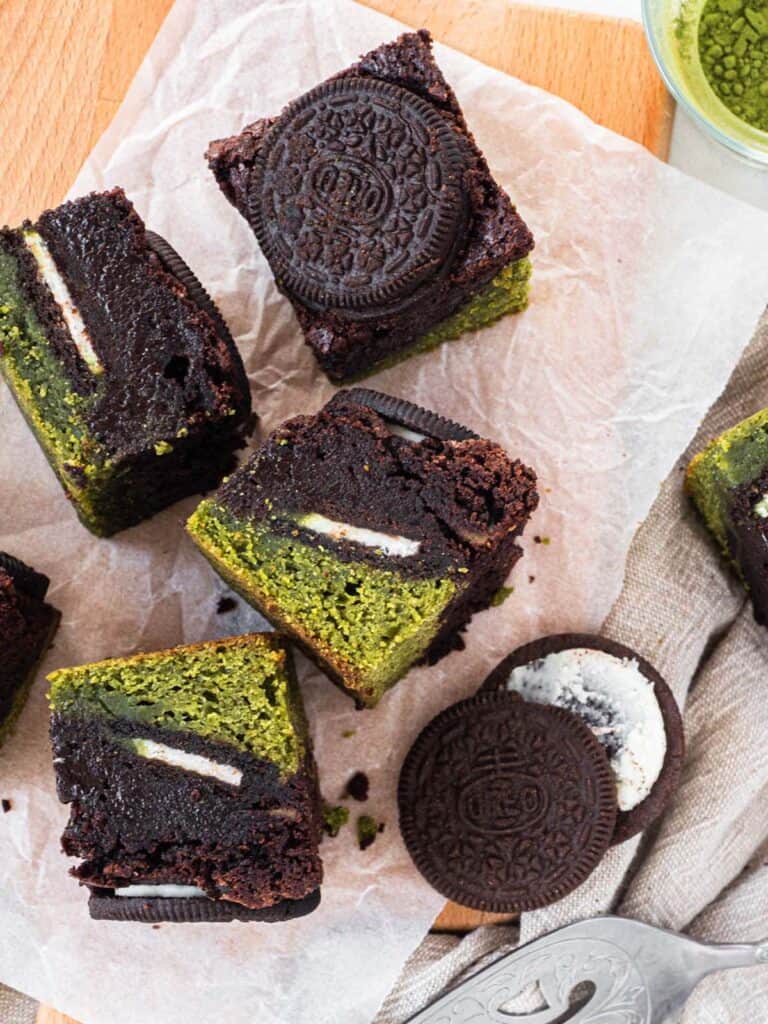
What makes a good brownie?
For me there are three things that make a good brownie. A gooey centre, crisp exterior and fudgy texture. Follow these tips to get all three and create the ultimate brownie.
Gooey centre
In my opinion gooey centres are what make brownies so good. From one pan of brownies you get crispy chewy corner pieces, slightly more cake-like edge pieces and moist fudgy centre pieces. No-one is disappointed because there is a piece for everyone!
The key to getting that gooey centre is the bake time. If you bake it too long you'll end up with a hard and dry brownie, yet if you don't bake it enough you'll have a sloppy mess. In order to achieve the perfect texture I use a toothpick. This way you can get a rough idea of what the resulting texture will be like. Follow this guide to get the texture you love!
Toothpick in the centre emerges in a thin layer of batter
At this stage you will get super gooey brownies. When I bake brownies to this stage I like to refrigerate them before serving. This will help the batter set up a little and it will have a very dense, fudge-like centre. If served at room temperature imagine an almost molten centre (while still being perfectly safe to eat). To use this as a gage the brownies have to have been in the oven for at least 25 minutes.
Toothpick emerges with a few gooey crumbs
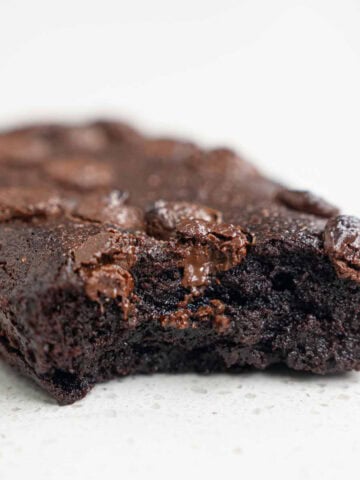
This is my definition of perfect brownie. When these brownies have cooled to room temperature they will still hold themselves together. All areas of the brownie will have a perfect amount of moistness, while the centre is a touch softer and gooier.
Toothpick emerges with a few dry crumbs
You shouldn't be baking your brownies much longer past this point. At this stage the brownie will still be slightly moist, however there won't be much gooey-ness to it. If you prefer your brownies to be fully cooked throughout this is the stage I recommend you bake them too.
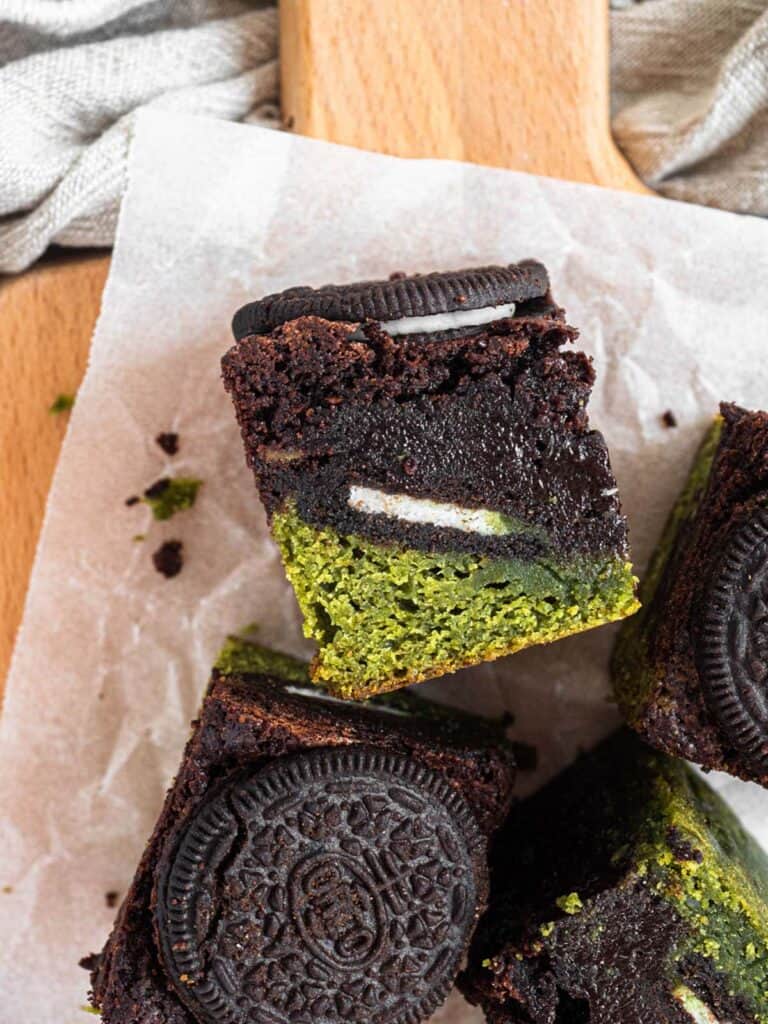
Crisp exterior
The edges and top of a perfect brownie should be slightly crispier than the rest of it. As long as you don't severely under-bake your brownies there won't be any problems getting this delicious texture from my recipe.
Fudgy texture
This is my brownie deal breaker. The last thing you want is a dry brownie. And I'm sorry cake brownie lovers, but if you want a cake brownie, it's pretty much the same as a chocolate cake...
There are a couple of factors that contribute to a fudgy brownie. The first being the bake time, in which you can reference above.
Otherwise the trick is in the ingredients. I find that using real chocolate gives the brownies an extra fudgy texture, compared to recipes that simple use cocoa powder. On top of that the chocolate gives them a richer, more chocolatey flavour.
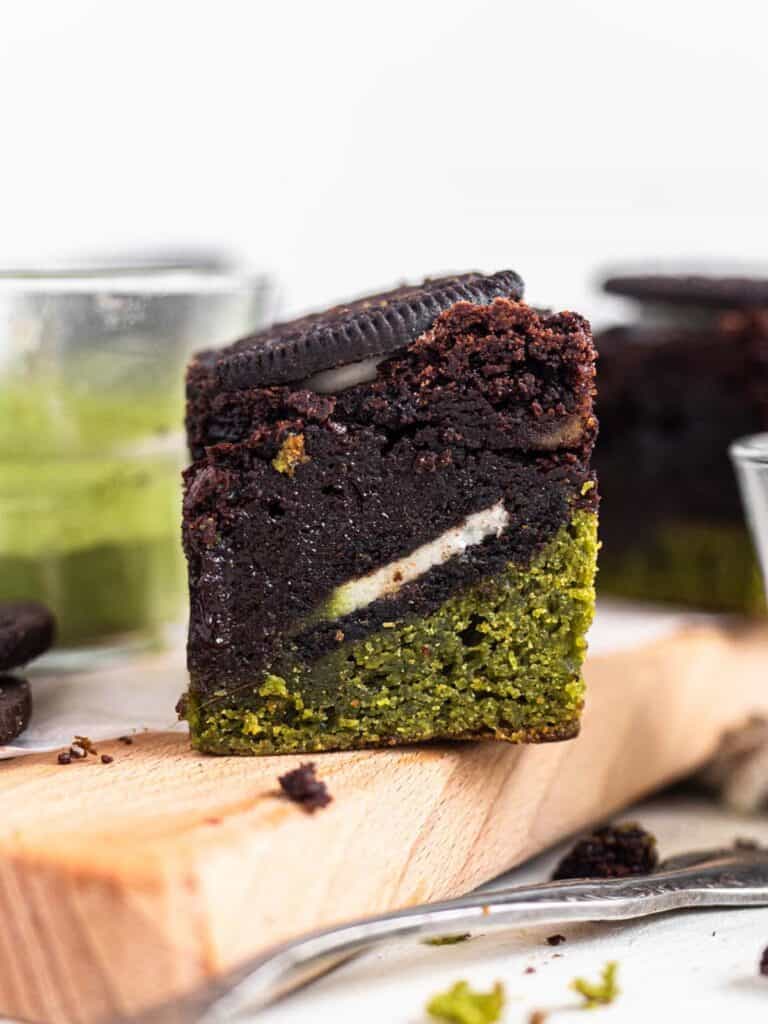

Tips to create perfect layers
Since this is a layered brownie you want those perfect layers! As the brownie batters themselves are quite thick there won't be large amount of blending, especially since there is a layer of Oreos separating the two layers. However to get those distinct layers when slicing the brownies is a different story.
Due to the soft, gooey texture of the brownies and the presence of Oreos in between and ontop of the brownie it is easy to damage the definition when slicing.
To ensure you get clean slices that show your hard work make sure you refrigerate your brownies.
This gives time for the layers to firm up and allows the cookies to set into the layers. When you slice it after it has been refrigerated the Oreos won't squish into the brownie and you can get that perfect cross section. Yay!
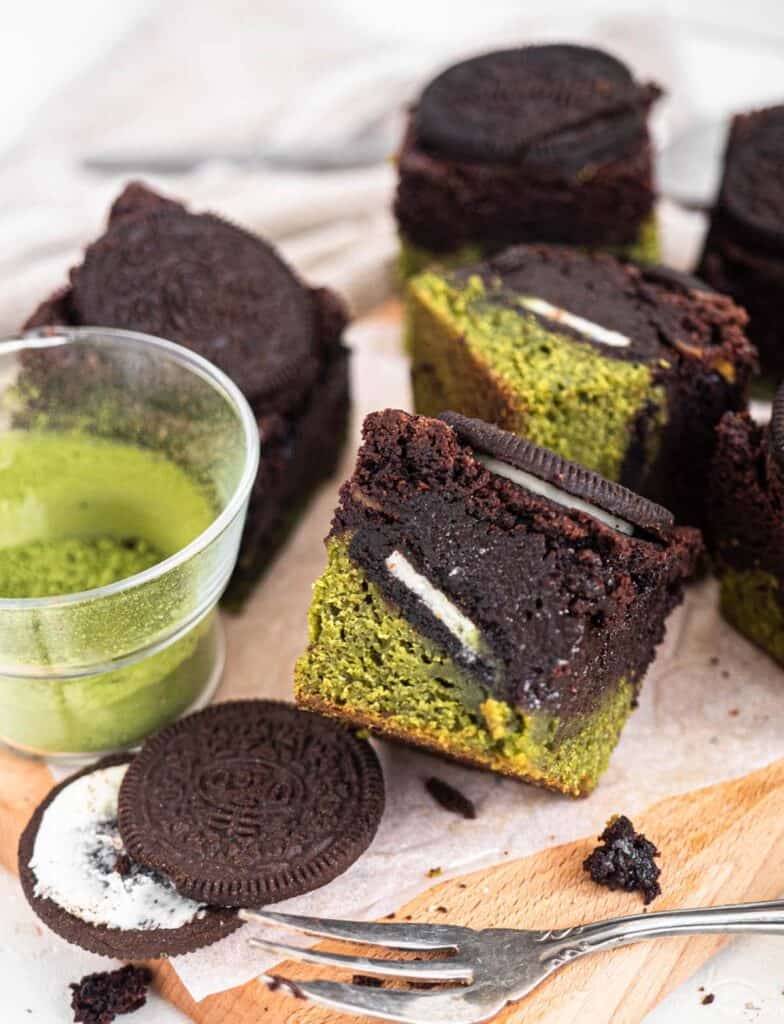
Let's Get Cooking
If you liked this recipe make sure to leave me a comment and rating down below, I would love to know how you went. Also don't forget to tag me on Instagram @catherine.desserts so I can see and share your desserts.
Follow me on facebook, pinterest, youtube and tiktok for more of my baking creations and updates! Until next time... happy caking!
Print📖 Recipe
Matcha Layered Brownies
Oreos sandwiched between layers of fudgy matcha and decadent chocolate brownie. A take on the 'slutty' brownie, these layered matcha brownies are the sweet treat you've been looking for.
- Prep Time: 30 minutes
- Cook Time: 40 minutes
- Total Time: 70 minutes
- Cuisine: Asian
Ingredients
Matcha Brownie
- 180 g White chocolate (6.3 oz)
- 100 g Unsalted butter (¼ cup 3 tbsp)
- 3 tbsp Matcha powder
- 70 g Sugar (⅓ cup)
- 2 Eggs
- 80 g Flour (½ cup 1 tbsp)
- Pinch Salt
- ½ tsp Baking powder
- 28 Oreos
Chocolate Brownie
- 125 g Unsalted butter (½ cup 1 tbsp)
- 100 g Dark chocolate (3.5 oz)
- 2 Eggs
- 180 g Sugar (¾ cup 2 tbsp)
- 35 g Plain flour (¼ cup)
- 40 g Cocoa powder (¼ cup)
- ½ tsp Baking powder
- 28 Oreos
Instructions
Matcha Brownie
- Preheat the oven to 180C
- Line a rectangular pan with baking paper (9 x 12 inches / 22 x 30 cm)
- Melt white chocolate and butter together in the microwave, or over a double boiler
- Add matcha powder and sugar, stir until well combined
- Whisk in the eggs and stir until smooth and glossy
- Fold in the flour, salt and baking powder, then pour into the base of the lined baking tray and spread evenly
- Line Oreos over the matcha batter in a single layer
Chocolate Brownie
- Melt dark chocolate and butter together in the microwave, or over a double boiler
- Add sugar and mix until well combined
- Add eggs and mix until smooth and glossy
- Fold in the flour, cocoa powder, salt and baking powder
- Pour the batter over the Oreo layer
- Line Oreos over the chocolate batter in a single layer
- Bake for 35-40 minutes, or until a toothpick emerges slightly moist.
- Cool and refrigerate for 2-3 hours before slicing (to get the most distinct layers)



Christina Tan
This is a unique dessert. I baked using 10" X 10" pan and it came out perfectly but took almost 3-hours to cool. I blessed this dessert to 4 friends and their family. They loved it. Thank you for sharing to this recipe. May I know if I'd like to bake in 8 x 8" pan, how much should I reduce for the ingredients?
Catherine Zhang
Hi Christina, So glad you liked it! It does take a while to cool because of it's thickness. You can halve the recipe and bake it in the 8 x 8 inch pan, keep in mind that it'll be a little thinner
Clarissa
So yummy!
Any suggestions on how to save it? Can I freeze?
Thanks!
Catherine Zhang
Yes you can definitely freeze these once baked, and thaw to room temperature before consuming!
Maggie
Will a 9x13 pan work?
Catherine Zhang
The brownies will turn out a little flatter but it'll still work. If you are make sure you reduce the baking time as they will be done much faster 😊
Luca
Hey Catherine!
I was wondering if there's a way to substitute the eggs in the recipe? I'm making this recipe for my friend's birthday, but one of the guests doesn't eat eggs, so I need to find a replacement; I'm not sure what works properly in brownies, since eggs are usually quite important ^^"
Catherine Zhang
You can make a flax egg, just search flax egg recipe online and use that as a substitute