
A perfectly flaky pie crust made from only butter, this easy pie crust recipe will be the only one you’ll ever need!
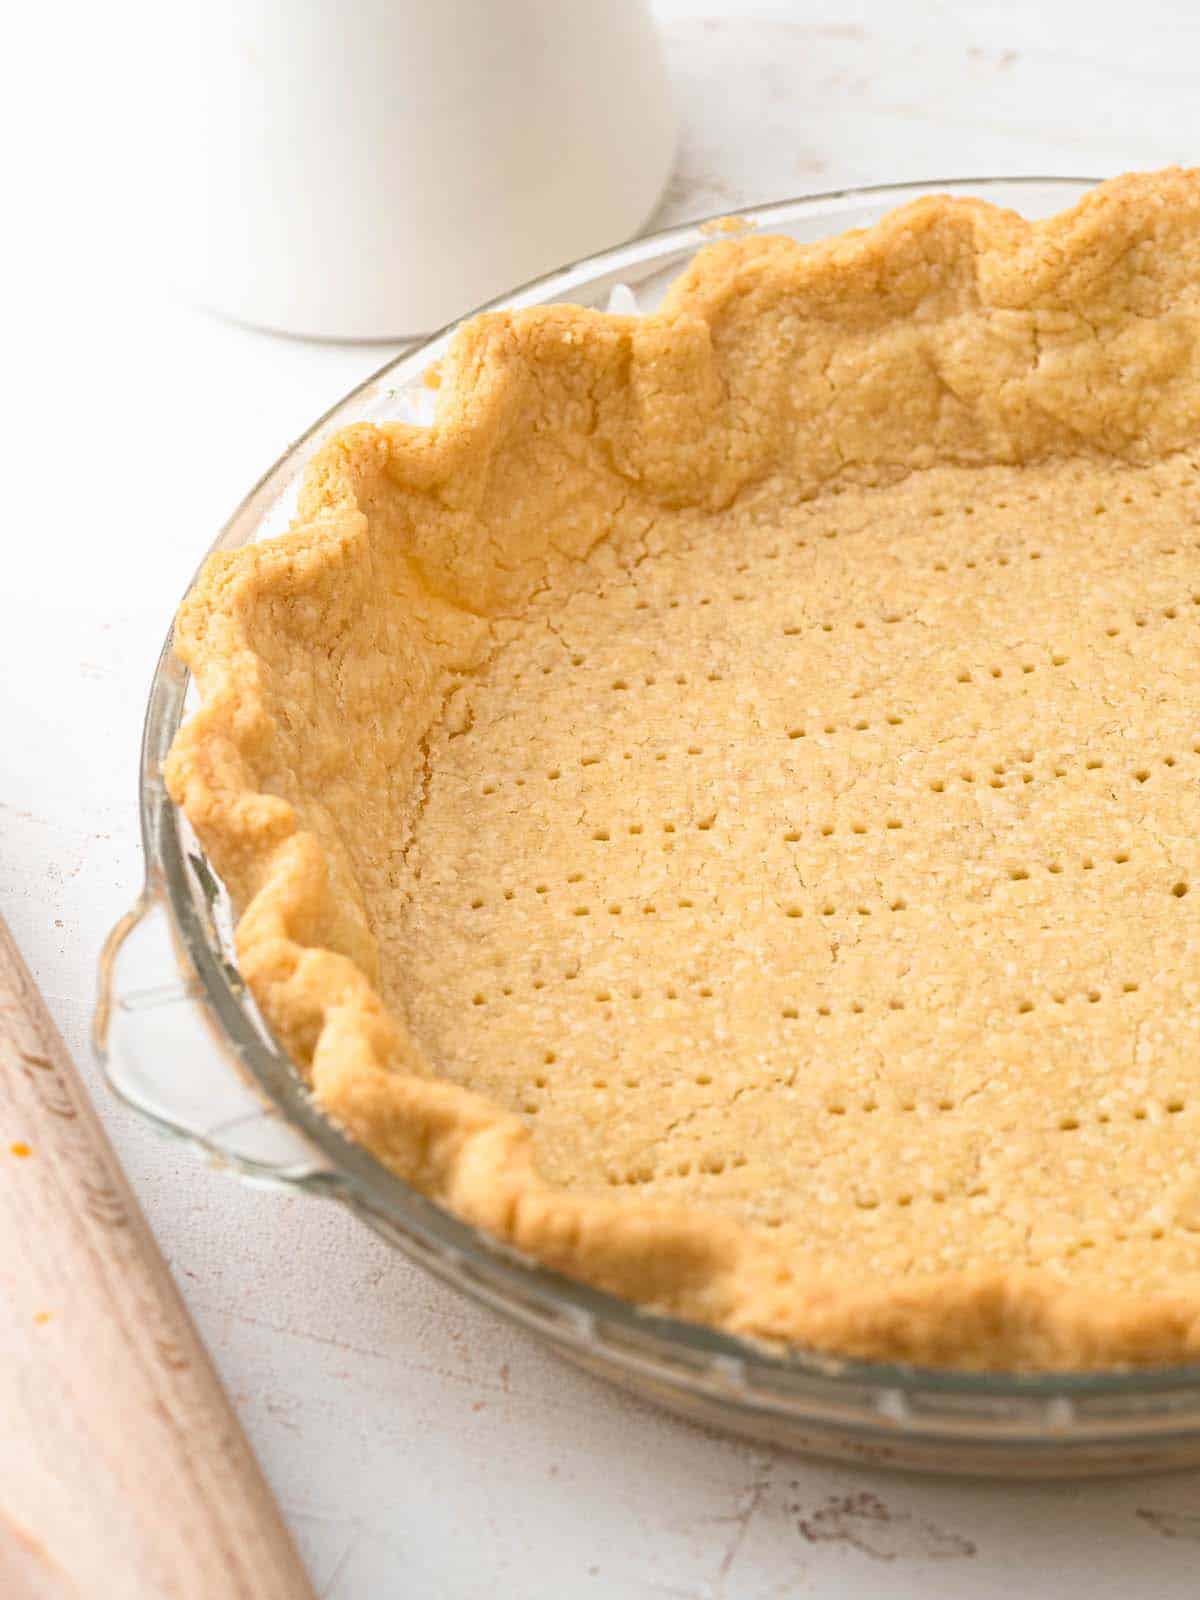
There is nothing better than a perfectly flaky pie crust. The perfect pie crust should be golden in color, short and flaky in texture, and almost fall apart when cut. You want it to melt in your mouth with a buttery flavor while keeping its structure. That means no soggy bottoms!
This is a pie crust without shortening: just flour, a little sugar, salt, cold unsalted butter and ice water. Below are the tips and tricks that make it work, and how to use it for single crust pies like pumpkin and pecan or double crust pies like apple.
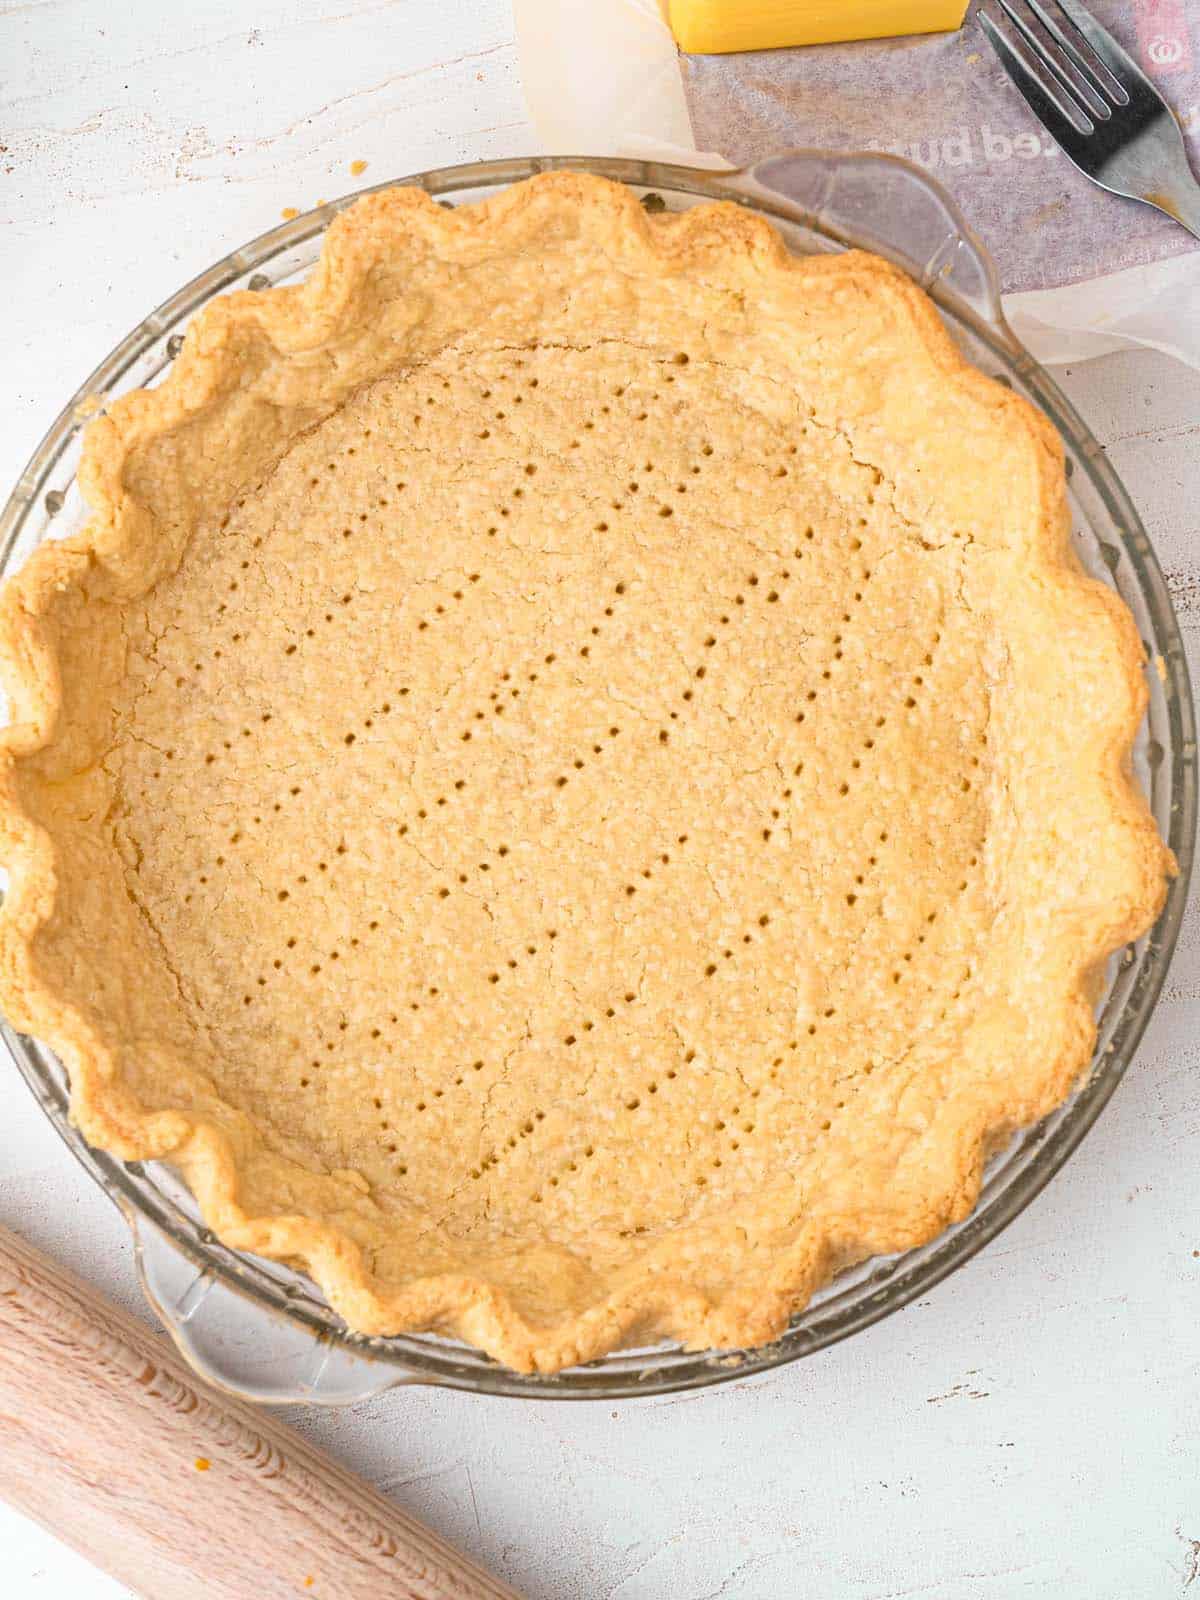
Can you make pie crust without shortening?
Yes. The most common pie crust recipe uses a mixture of vegetable shortening and butter, but you don’t need shortening at all. Here is how the two fats compare.
What shortening does
Vegetable shortening stays firmer for longer than butter, which makes the dough easier to handle, especially for patterns and lattices. That is why a lot of people recommend it for beginners: the dough won’t start melting in your hands while you assemble the pie. The result is a flaky crust with more defined layers.
Why I use all butter
My personal favorite is an all-butter pie crust. Butter is by far superior in flavor. It is harder to work with, because it has a lower melting point than shortening and melts a lot faster, but as long as you keep the dough chilled there won’t be any trouble.
An all-butter crust has a lighter texture than one made with shortening. The layers are thinner, with a light, melt-in-your-mouth feel. A lot of this comes down to personal preference, but I love the almost fall-apart texture an all-butter crust gives.
| Fat | Handling | Texture | Flavor |
|---|---|---|---|
| All butter (this recipe) | Softens fast, keep it chilled | Lighter, thinner layers, melts in the mouth | Best |
| Butter and shortening | Stays firm longer, easier for lattices | More defined layers | Milder |
The secret to a flaky pie crust is technique
Some people add shortening, vinegar, or even vodka to their pie dough. After experimenting with all of these, I’ve found that none of them make that big of a difference. The secret to the best pie crust is in the technique.
The way you handle your pie dough will make the biggest difference to your crust.
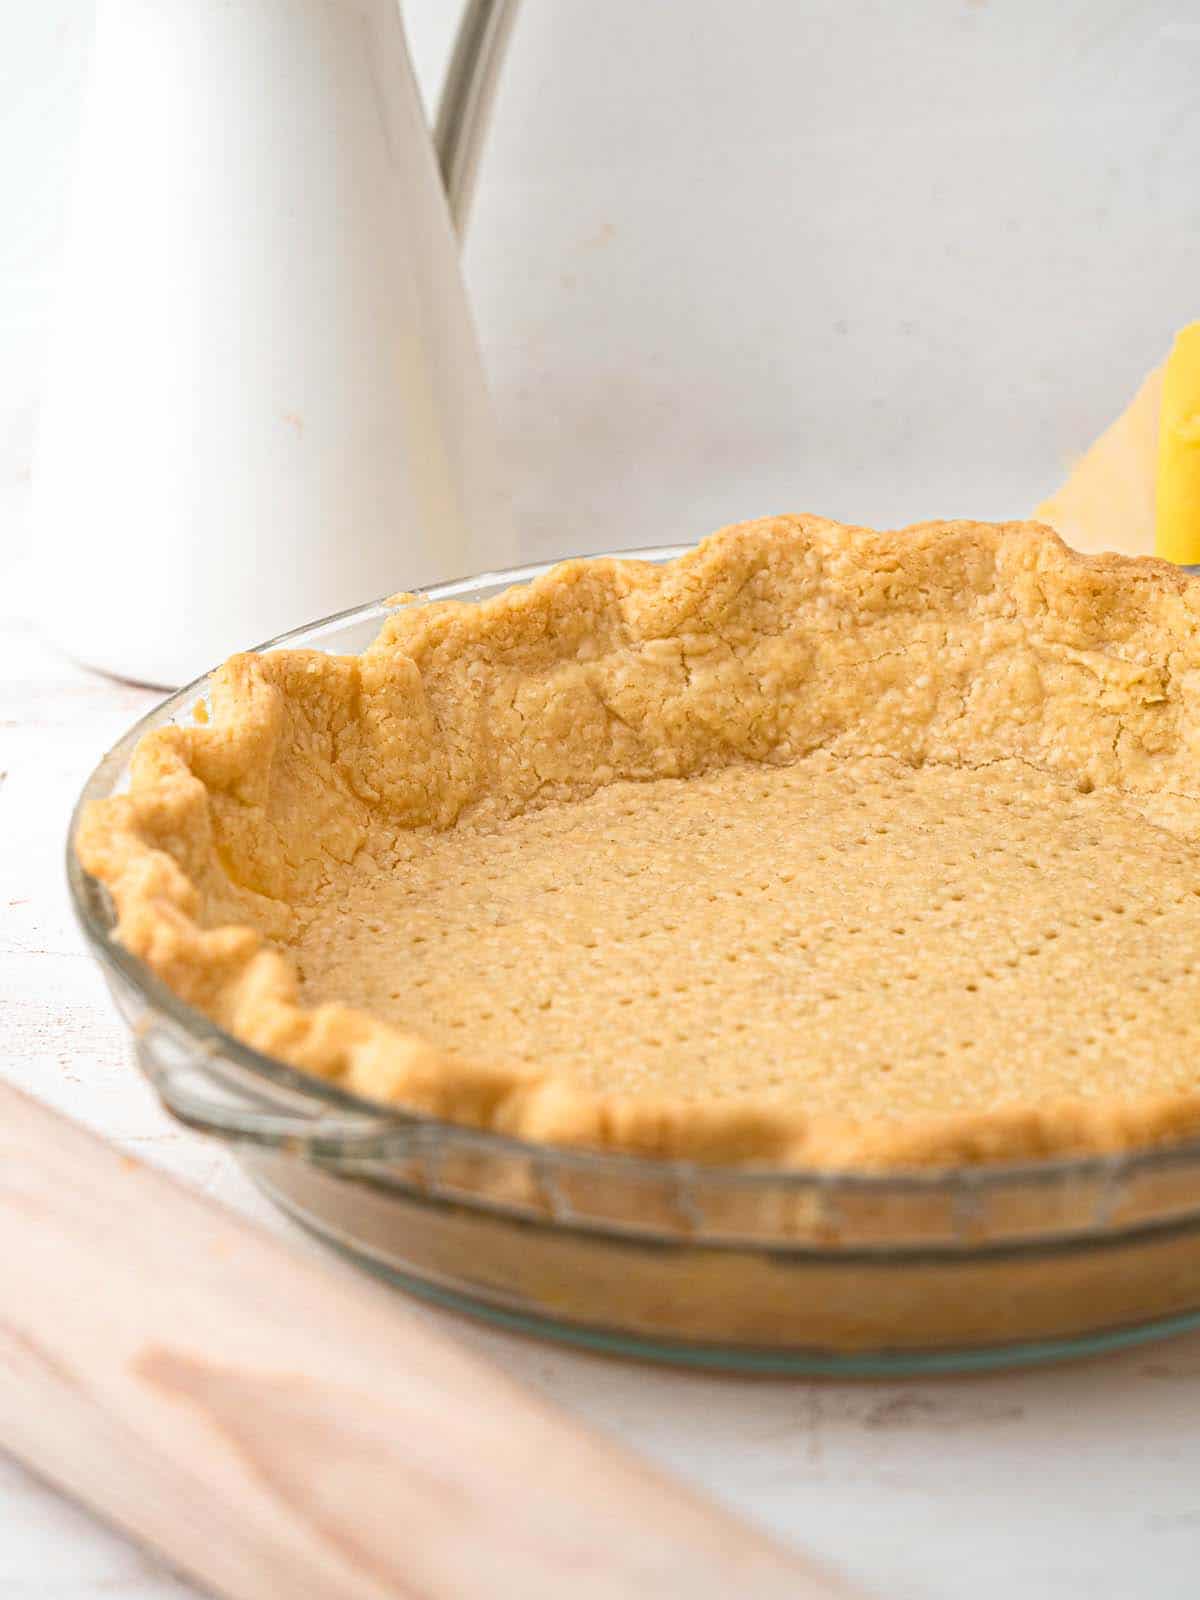
Ingredients, and keeping everything cold
All-purpose flour
Regular flour is great for pie crusts. For a super tender crust, use pastry flour or cake flour, which have less gluten. Gluten is the enemy of a tender pie crust: the more gluten, the tougher and more rubbery the crust.
Granulated sugar
A little sugar balances the flavor, but it is completely optional and won’t affect the texture. Add more for a sweeter crust, or leave it out for a savory pie like a quiche or meat pie.
Salt
Salt balances the flavor while also helping to strengthen the structure.
Cold unsalted butter
Use unsalted butter, otherwise the crust will be way too salty. Cut it into 2-inch cubes so it breaks up through the dough consistently, and make sure it is chilled, or even frozen. The colder the butter, the flakier the crust.
Ice water
Use iced or very cold water. It keeps the temperature of the dough down so the butter doesn’t melt, which is essential for a flaky crust.
Rolling and lining the pie dish without tears
Roll the dough between two sheets of parchment paper
Rolling out is where most people struggle. Even on a lightly floured surface, the dough sticks to the rolling pin and the bench. Rolling it between two sheets of baking paper makes your life SO EASY: the dough won’t stick, it rolls to a consistent thickness, and you can move it without tearing.
Once it is rolled, peel the baking paper off one side. Flip the dough and line your pie dish with the baking paper side up, which stops the dough falling apart as you move it. Once it is safely in the dish, remove the paper and line as normal.
Line the dish first, then chill
Most recipes tell you to chill the dough before lining the pie dish. You can, but chilling after you’ve lined the dish saves time and means you never have to roll out a rock-solid disk of dough.
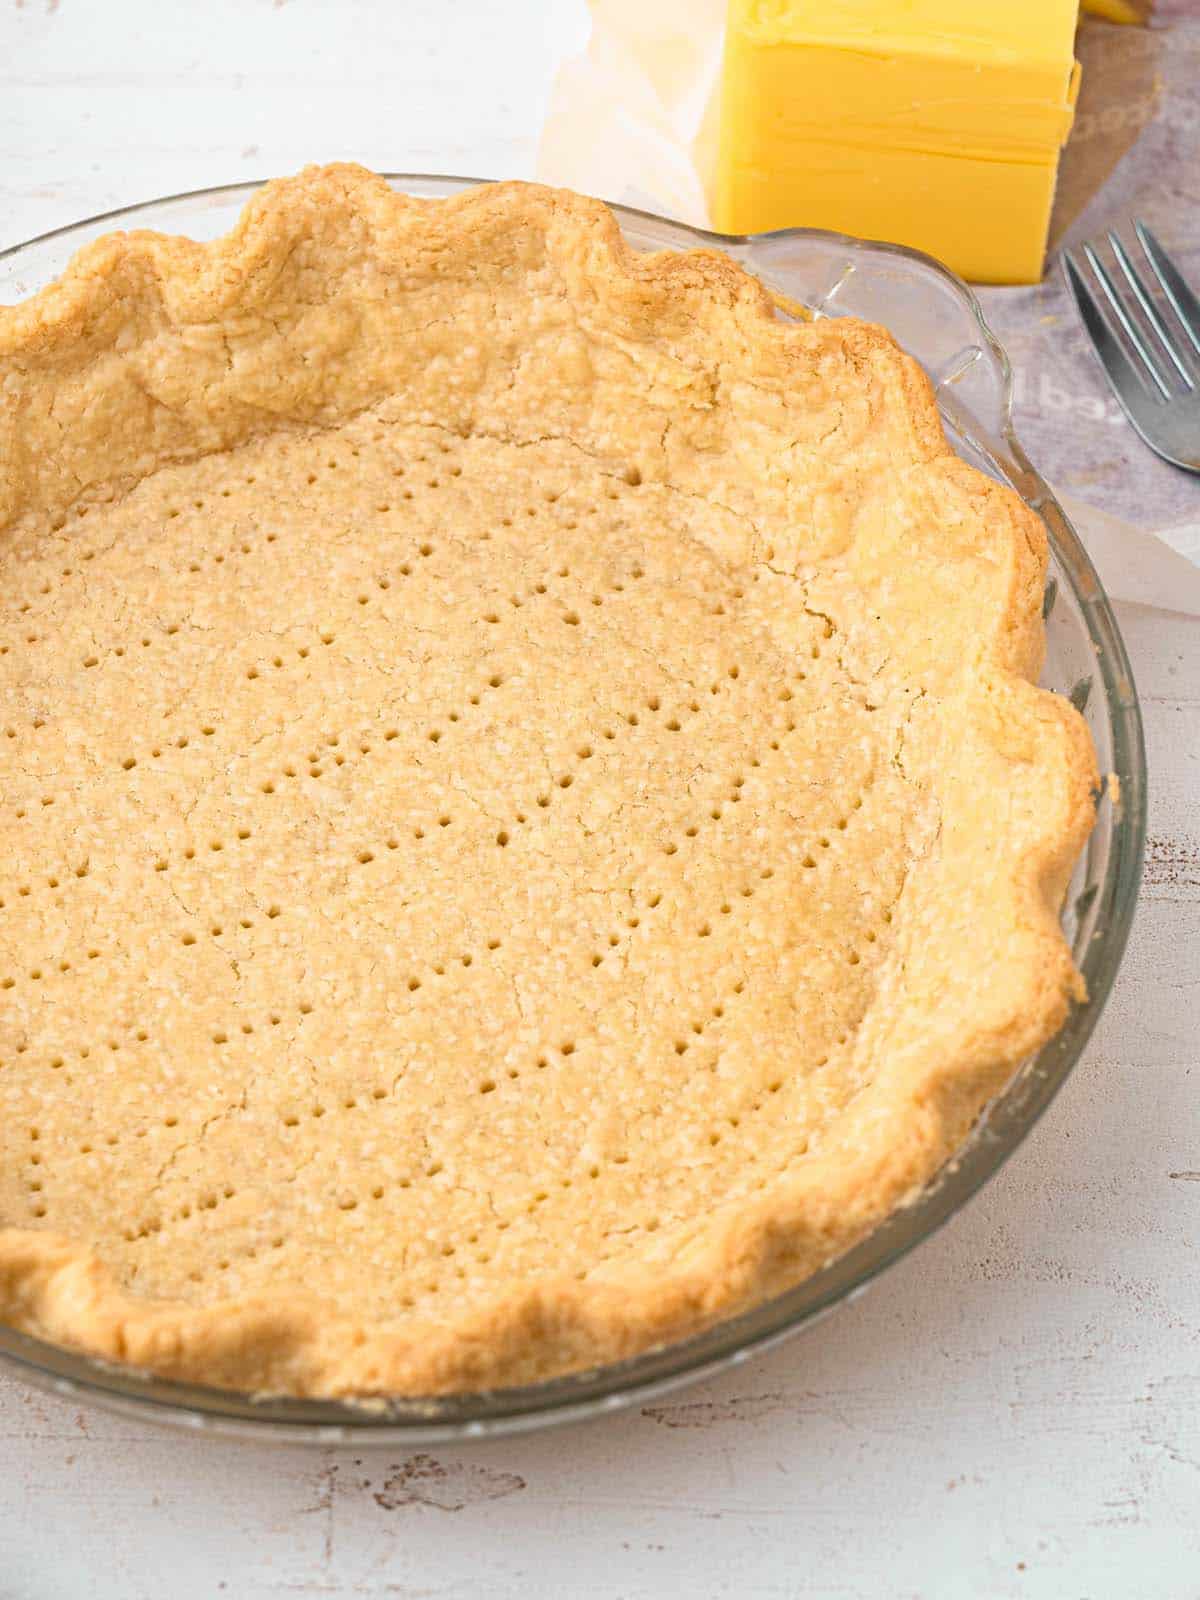
Single crust or double crust
This pie crust is extremely versatile and works for any kind of pie: pumpkin pie, pecan pie, blueberry pie or apple pie.
Single crust (pumpkin, pecan, banoffee)
For a pie like a pumpkin pie, pecan or banoffee, you only need the base. Roll out 3/4 of the dough into a round slightly larger than your pie pan and line the dish. Use your forefingers and thumbs to press the edges into a crimped pattern, or a fork for an easy crimped edge. Having a little extra dough makes lining the tin so much easier.
The leftover 1/4 can be frozen for another time, used to patch cracks, or rolled out into little cookies. Sprinkle those with a little turbinado or raw sugar for a sweet touch!
For a single crust I highly recommend blind baking for a crisp base. Dock the base, line the dough with pie weights or baking beans, and bake.
Double crust (apple, berry)
Divide the dough in half and roll one half out to line your pie dish. Roll the other half out between two sheets of baking paper and place it on a baking tray. Chill both for 1 to 2 hours, or overnight, then assemble your pie.
Cut the rolled-out dough into strips for a lattice crust or a large round to cover the top. Brush with egg wash and bake!
Frequently Asked Questions
Can I make pie crust ahead of time?
Yes, you can! You can make the pie crust days in advance and bake it when you are ready to assemble your pie.
If you are baking the pie crust before filling you can even pre-bake it the day before.
Can I freeze this pie crust?
Yes! This pie crust is perfect for freezing.
You can freeze the unrolled dough, rolled-out sheets of dough, and the unbaked or baked pie crust. So many options and all of them work. When you are ready to use it just allow it to defrost in the fridge.
How do I avoid a soggy bottom?
The best way to avoid a soggy pie crust is to blind-bake the pie crust. This allows the bottom of the pie crust to have contact with the oven before it is filled with anything.
The cooking of the crust will be a lot more consistent while preventing it from becoming too rubbery.
Why isn’t my pie crust flaky?
There are a couple of reasons why your pie crust isn’t flaky:
- The dough was too warm/the butter melted when working with the dough
- The dough was overworked
- The dough is underbaked
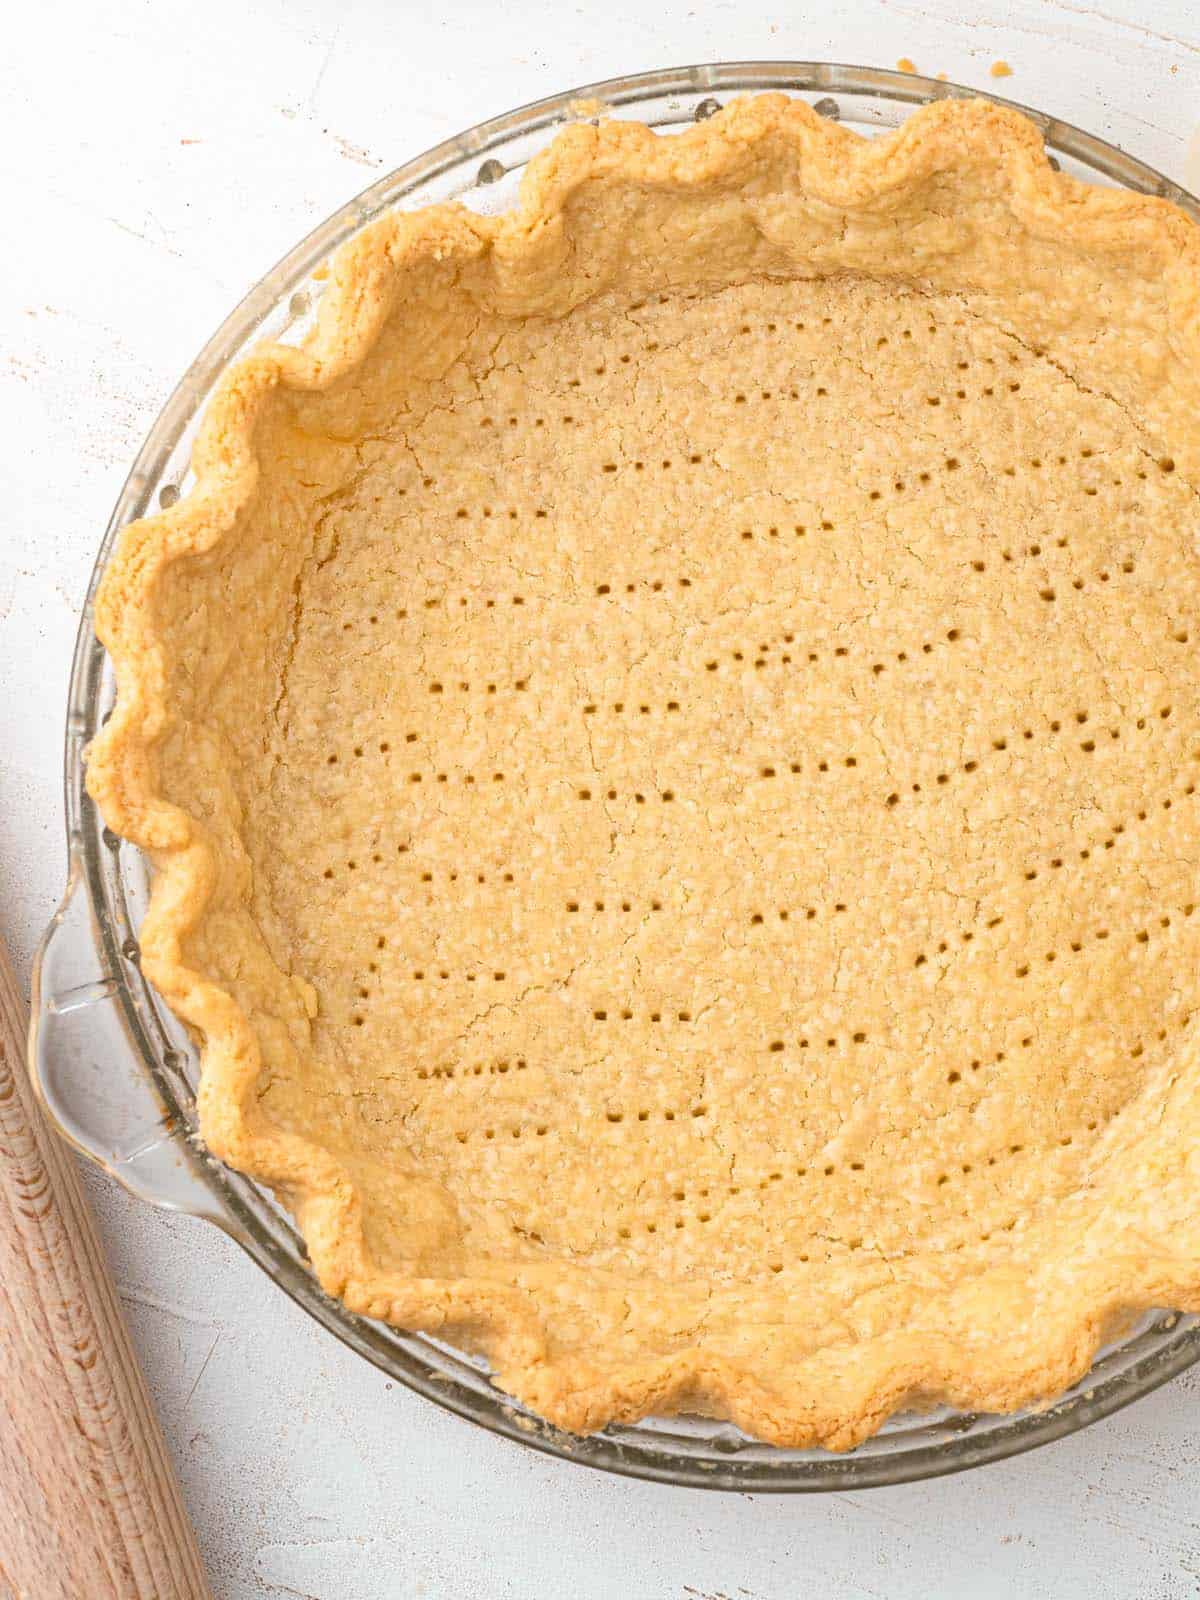
Let’s Get Cooking
If you liked this recipe make sure to leave me a comment and rating down below. I’d love to know how it went! Also, don’t forget to tag me on Instagram @catherine.desserts.
Follow me on Facebook, Pinterest, YouTube, and TikTok for more of my baking creations and updates!
Flaky Pie Crust
A perfectly flaky pie crust made from only butter, this easy pie crust recipe will be the only one you’ll ever need!
- Prep Time: 15 minutes
- Cook Time: 30 minutes
- Total Time: 45 minutes
- Yield: 1 pie shell 1x
- Category: Pie
- Method: Easy
- Cuisine: American
Ingredients
- 300g All purpose flour (2 1/2 cups)
- 1 tbsp Granulated sugar
- Pinch of salt
- 240g Unsalted butter (1 cup), chilled and cubed
- 60ml Ice water (1/4 cup), approx
Instructions
- Combine the flour, sugar, and salt in a large bowl or food processor
- Add the butter and use a pastry cutter or your fingers to work the butter into the flour. Or pulse it in the food processor, until it reaches a sand-like consistency with pea-sized chunks of butter throughout.
- Add the cold water and mix until a rough dough forms
Double-Crust Pie
- Divide the dough in half
- Roll half the dough into a large circle slightly larger than the size of your pie dish
- Line your pie dish, dock the base with a fork and trim any excess
- Place the other half of the dough between two sheets of baking paper and roll it out into a round, 2mm in thickness
- Put it on a baking tray
- Place the pie dish and baking tray in the fridge to chill for 1-2 hours, or overnight
- Remove from the fridge and assemble your pie
Single-Crust Pie
- Remove 1/4 of the dough, and roll out 3/4 of dough between two sheets of baking paper to a large circle slightly larger than your pie dish
- Remove the baking paper from either side and line your pie dish, trimming any excess
- (You can use the excess dough to fix any cracks that have formed, roll it into cookies on the side, or freeze it for next time)
- Dock the base with a fork and place it in the fridge to chill for 1-2 hours, or overnight
- Preheat the oven to 200C/390F
- Line the inside of the pie crust with a scrunched-up piece of baking paper and fill it with baking beans or rice
- Blind bake the pie crust for 15 minutes
- Remove the baking beans or rice, reduce the oven temperature to 180C/355F and bake for another 12-15 minutes, or until lightly golden in color
- Fill with your desired filling!
Planning the whole dessert table? Find every pumpkin, apple and pie recipe in my Thanksgiving desserts guide.



I made this (in the fridge now) and I had to use 3x the amount of water listed.
60ml of water produced a pile of dough clumps slightly larger than my thumbnail, which would not adhere to each other.
Another 60ml gave me larger clumps which would adhere together when rolled but would flake apart into unusability when I tried to put it in the pie pan.
Only after another 60ml of cold water did it really come together and I was able to re-roll into a cohesive dough.
I measured in metric. I am using European butter with an 82% fat content.
Do you have any tips? I understand that “more or less” water “as needed” is usual in making dough, but I’ve never needed 3x. Is the higher fat content of European butter the problem here?