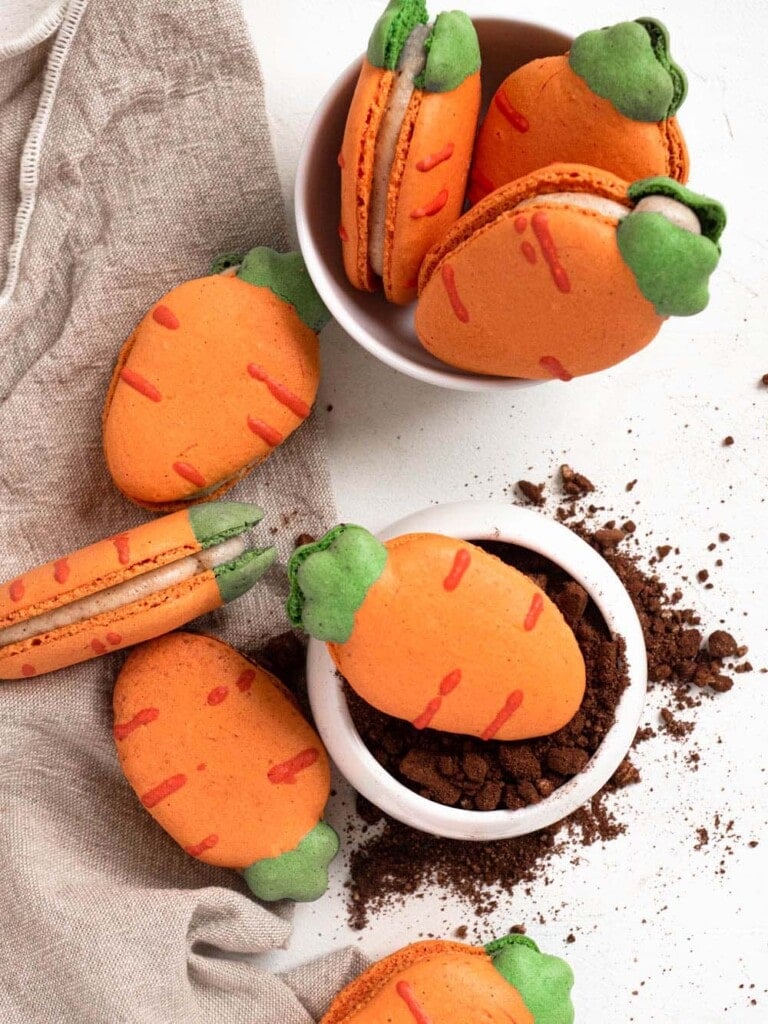
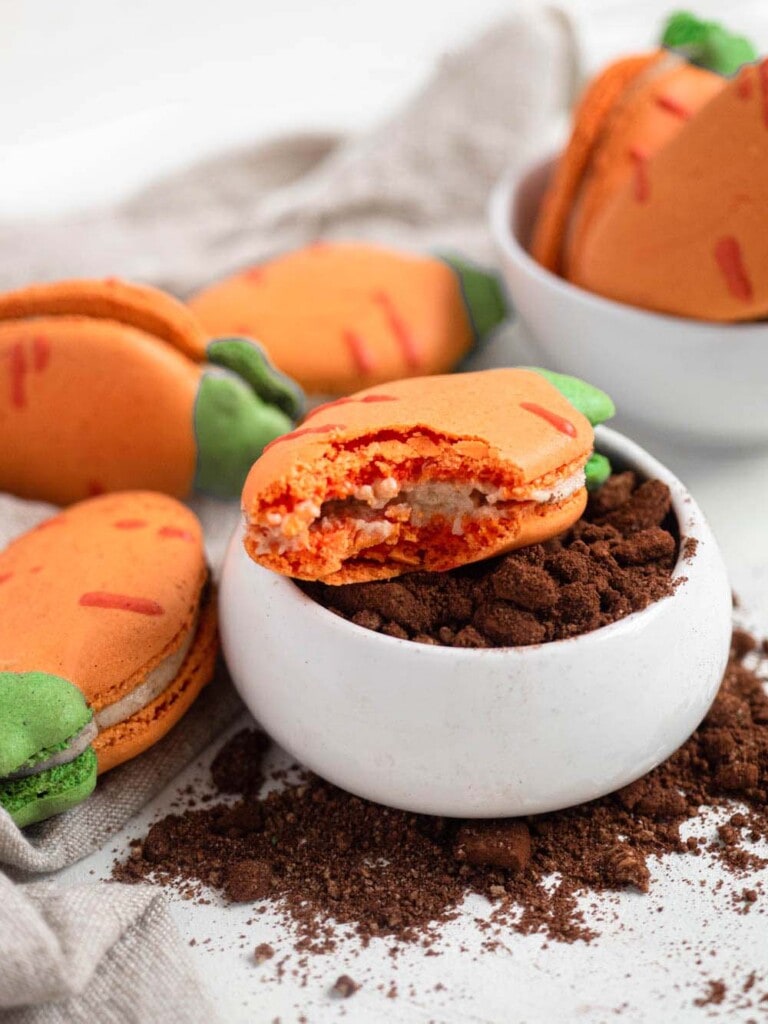
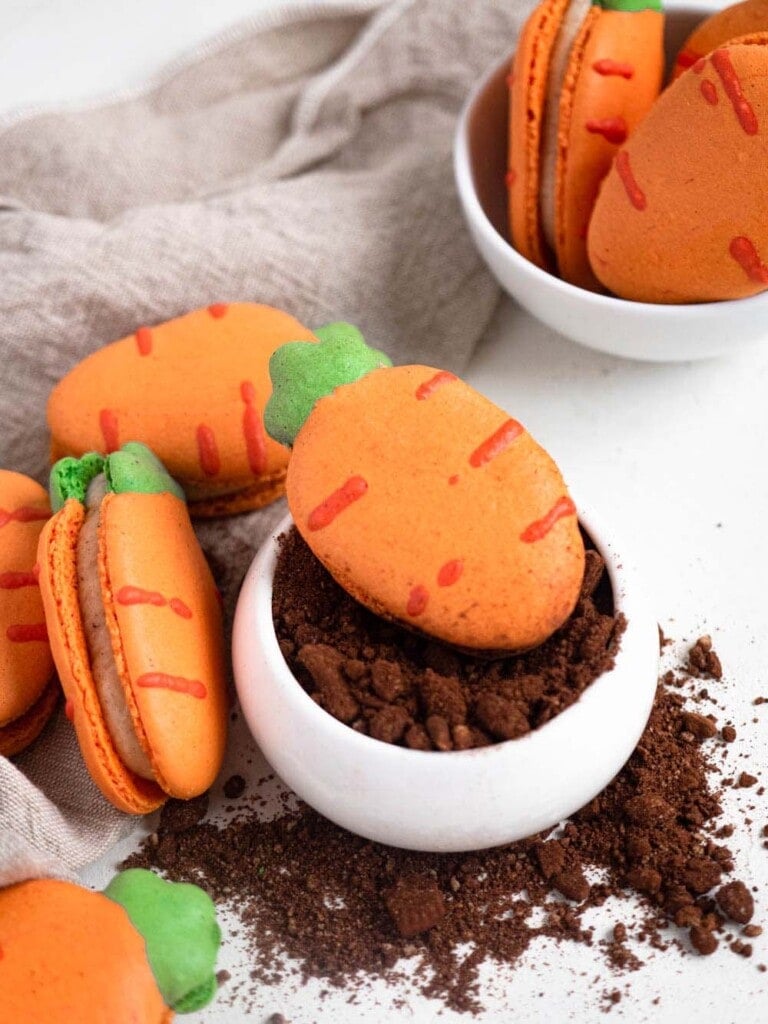
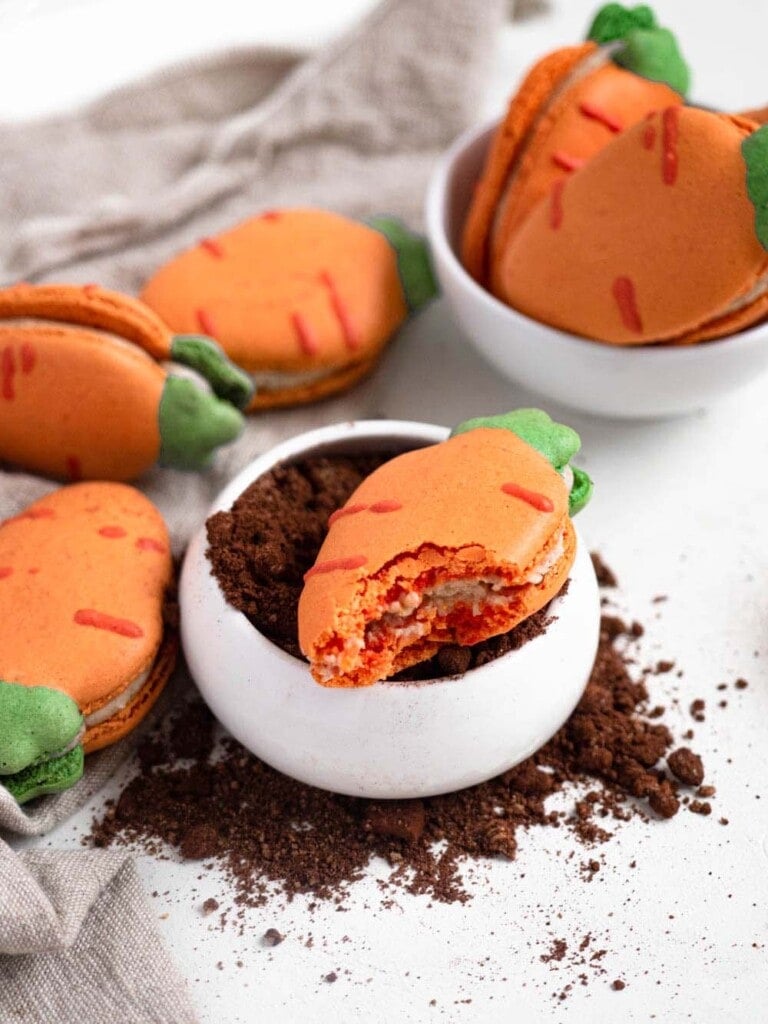
Cute carrot shaped macarons filled with a creamy carrot cake inspired cream cheese buttercream. If you are looking for an easter cookie baking project or a spring dessert this is the one!
Here in Australia it's the beginning of Autumn, and so far it's just been rain, rain and more rain... But for the other side of the world it's the beginning of Spring! And with that comes Easter!
When it comes to months March and April desserts like fresh fruity tarts and carrot cake are the first that come to mind. On top of that would be all things easter themed 😆 Whether that be cookies studded with easter eggs, egg shaped desserts, bunny shaped cookies... the list goes on. Well this year I decided to do a combination of everything I just mentioned. What do bunnies eat, that we also eat, that go in a cake... I'm bringing you carrot shaped carrot cake macarons!
These are soooo cute, perfect for the Easter season, spring season or anytime of the year!
How do you make designs for macarons?
So, this macaron recipe is a little different because it uses the macaron batter to create the design on the carrot. This can be tricky because you have to take in the usual factors when making macarons, i.e. folding and mixing the batter, while also creating different colours and shapes. As a result the batter is easily overworked, and can cause spreading and cracks. Follow these tips for a perfectly shaped macaron!
Mixing the batter: What is the best way to mix macaron batter when creating designs?
With mixing of different colours into one batter the original batter will be moved around a lot. Simply moving the batter can change the batter, causing it to lose its optimal consistency.
What I do is add the almond powder/icing sugar mixture in two additions, mixing for 5 seconds after each addition with the whisk attachment of my stand mixer.
A handheld electric mixer will do the same, give a quick movement around the bowl and in the centre.
What this does is disperse the almond meal/ icing sugar evenly throughout the batter with the least amount of handling. From here we can double check whether the almond meal/icing sugar has been dispersed evenly before portioning out the batter to be coloured.
Once we colour the batter we can then start a more careful process of folding and/or macaronage (the technique used to create macarons). This way handling is minimised while still fully incorporating the ingredients.
Folding the batter by hand from the very beginning leaves a lot more room for error, and after a lot of experimenting this is what I found works best! If you aren't confident, the safest way to ensure that all the coloured batters are at optimal consistency is to make them in batches.
Colouring the batter: What are the best food colourings to use when making macarons?
When colouring the macaron batter the kind of colouring you use is very important. A dilute/watery food colouring will change the consistency of your macaron batter as it adds extra moisture. This increases the probability of cracks and spreading.
The best way to colour your macarons is to use powdered colourings. These have zero moisture, while providing a bright pigment. If you have access to these I highly recommend them!
Of course most of you won't have powdered colourings so the second best option is gel food colourings. Make sure you use a high quality gel colouring as these will be more concentrated. This means a high colour payoff even with the tiniest amount of gel. The less you add to your batter the better, as it leaves little room for variation.
If you only have the watery food colouring in a bottle... it's probably better to go get some of the above, or just make them plain. There is nearly a 100% chance the macarons aren't going to go well...😅
Answers to your macaron questions
I've done a couple of blog posts for macarons, each with different tips for creating your perfect macaron.
If you are looking for tips on the crucial points in macaron making, i.e. making the meringue, folding the batter, etc. check out the PERFECT macarons with milk tea caramel post.
If you are looking for troubleshooting tips, i.e. why are my macarons hollow or cracked, etc. then check out my Earl Grey macaron post.
And lastly if you are looking for the definitive guide to macarons, then look no further than my ebook! My book consists of a photographic step-by-step process to creating both French and Italian macarons, as well as guides on recommended equipment and ingredients. On top of that it has 6 unique and delicious flavours you won't find anywhere else! Whether that be mango white chocolate, matcha raspberry or biscoff I've got you covered!
Let's Get Cooking
If you liked this recipe make sure to leave me a comment and rating down below, I would love to know how you went. Also don't forget to tag me on Instagram @catherine.desserts so I can see and share your desserts.
Follow me on facebook, pinterest, youtube and tiktok for more of my baking creations and updates! Until next time... happy caking!
Print📖 Recipe
Carrot Cake Macarons
Cute carrot shaped macarons filled with a creamy carrot cake inspired cream cheese buttercream. If you are looking for an easter cookie baking project or a spring dessert this is the one!
- Prep Time: 45 minutes
- Cook Time: 15 minutes
- Total Time: 60 minutes
Ingredients
Macaron Shells
- 80 g Almond meal
- 73 g Icing/Confectioners sugar
- 60 g Egg whites
- 60 g White sugar
- Green, orange and red gel/powdered colouring
Cream cheese filling
- 100 g Unsalted butter
- 75 g Cream cheese
- 50 g Icing sugar
- ½ tsp Cinnamon
- Big pinch All spice
Instructions
- In a medium sized bowl sieve the almond meal and powdered sugar together
- If there are large chunks of almond meal remaining in the sieve dispose of them
- In a large clean bowl add the egg whites, and using an electric mixer beat until foamy
- Slowly add the sugar and beat until stiff peaks
- Fold the sieved almond meal and powdered sugar into the meringue in 2 additions, scraping around the bowl and down the centre
- Once roughly folded in (ensuring that the almond meal/icing sugar has been evenly distributed), remove ⅕th of the batter and place in another bowl
- Add green food colouring and continue to fold the batter until the lines that form when the batter falls back into the bowl slowly start to disappear
- From the large portion of batter remove two tablespoons and place in a small bowl. Add orange food colouring and repeat the folding process as above
- Then add orange food colouring to the large portion of batter (ensuring it is a lighter shade than the other orange batter)
- Continue folding the light orange batter until the lines that form when the batter falls back into the bowl slowly start to disappear
- Transfer the light orange batter to a piping bag fitted with a medium sized round piping tip
- Transfer the green batter to a piping bag fitted with a small round piping tip, and the dark orange batter into a piping bag with no tip
- With the light orange batter pipe out conical shapes that are 1.5 inches in length
- On the flat side of each cone pipe three dots with the green batter, the middle being slightly longer than the two beside it
- Cut a small tip from the dark orange batter and pipe fine lines on the edges of the piped light orange batter (if unsure check pictures for reference!)
- Allow to dry for 1-2 hours
- Bake in a preheated oven at 140°C for 14-15 minutes (Bake time depends on your oven so make sure to check! If you give your macarons a wiggle they shouldn't be moving, that's when they're ready)
- Remove from oven and let cool
Cream Cheese Filling
- Combine butter and cream cheese in the bowl of a stand mixer with the paddle attachment
- Beat on high speed until smooth
- Add icing sugar, cinnamon and all spice, beat until light and fluffy
- Transfer to a piping bag
- Match similar sized macaron shells with each other
- On the flat side of one shell pipe the cream, following the shell shape
- Top with a matching shell
- Place in airtight container in the fridge for a day to mature (gives deeper flavour and chewy texture!)



Comments
No Comments