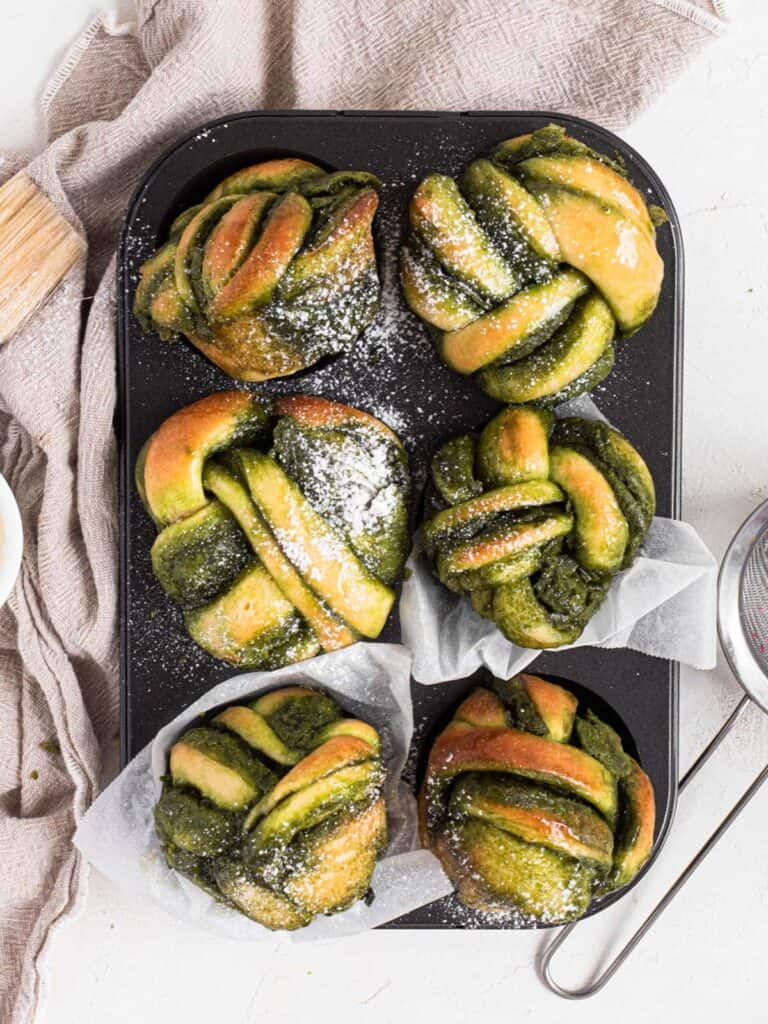
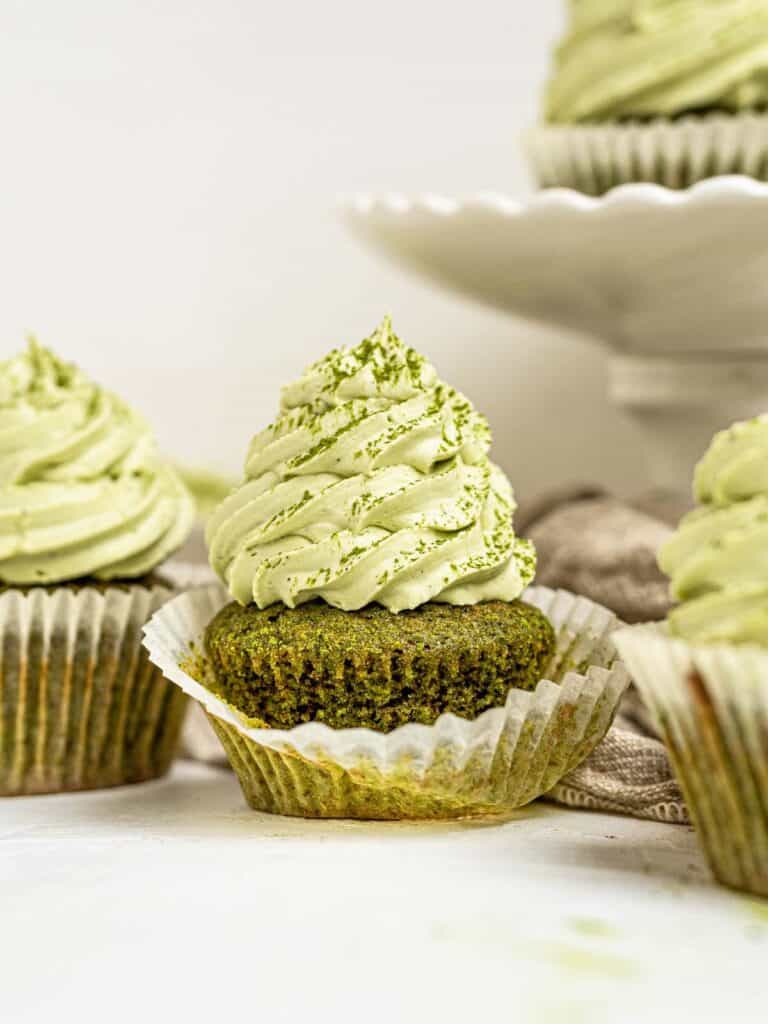
Soft and fluffy bread rolls twisted into a knot filled with a sweet matcha spread. These Matcha buns are the perfect parcel of bittersweet fluffiness!
Recently I've been on a little bit of a bread roll (pun intended 😉). There is something so satisfying about kneading, forming, proofing and then baking your own fluffy buns.
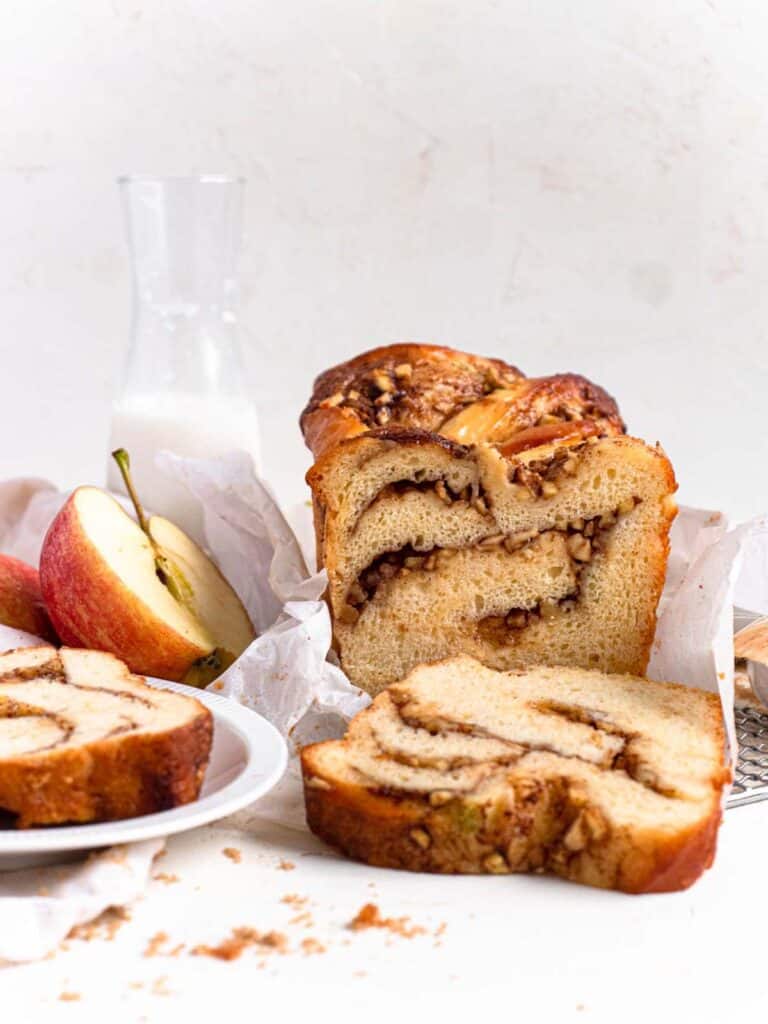
I've got a couple of bread recipes on this blog, but I'm missing one of my favourite flavours... matcha! I wanted this matcha bun recipe to be based on a rich, flavourful but fluffy bun, so I thought my apple cinnamon babka recipe would work best as a base!
The bittersweet fragrance of the matcha spread pairs perfectly with the fluffy enriched bread dough to create these perfect buns that would be amazing for breakfast or snack.
Tips on Filling
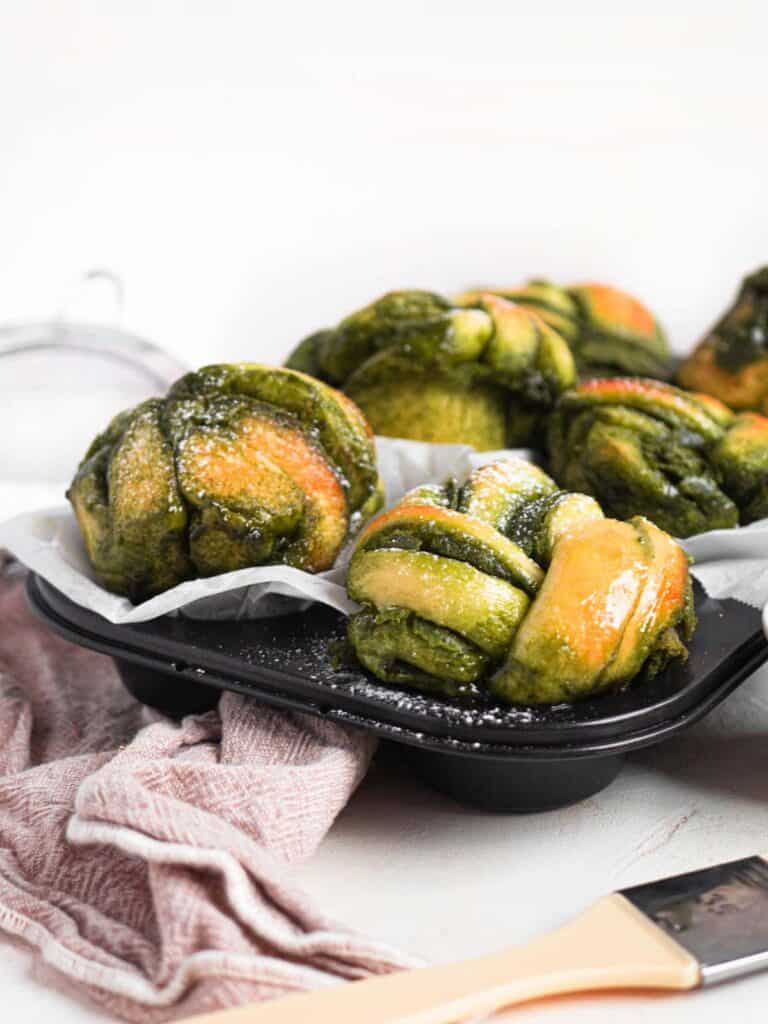
The filling in these buns is essentially a fluffy mixture of butter, sugar and matcha. But when baked together in the bun they meld together to form a gooey sort of matcha spread that is absolutely delicious.
The trick to spreading this evenly all over the dough is whipping the butter.
The butter should be whipped with the matcha powder and icing sugar so that it is light and fluffy. This makes spreading the matcha mixture over the soft bread dough much easier.
Tips on Bread Dough
The kneading of the bread dough is one of the most important steps when making these as it is the deciding factor between a soft and fluffy bun or a rock hard one.
As this recipe is based off my apple cinnamon babka, head to the tips section in that recipe for an in depth explanation on the steps required to knead this dough.
Tips on Assembly
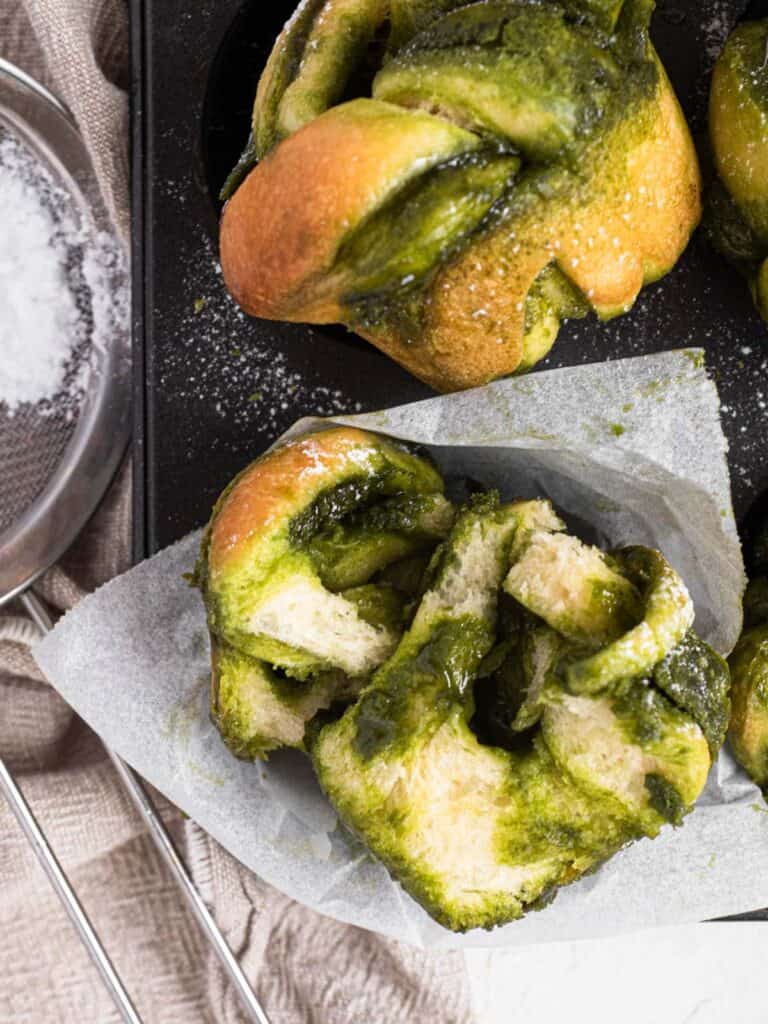
This little bun may look challenging to assemble but once you understand the basics of it you'll be making these at the speed of light.
There are a couple of things that will make your life easier when assembling these buns...
Use chilled dough
It is so important to use chilled dough when making these buns. As the bread dough has a significant amount of butter in it, at room temperature the dough will become soft and hard to handle. If working with the dough straight from the fridge it will be firm enough to roll out, fold and braid without much trouble.
Work with half the dough at a time
There are two reasons why you should work with half of your dough at a time. The first follows on from tip #1. Working with half will keep the other half of the dough chilled and easy to work with while you are forming the first lot of buns.
Second is because it's SO much easier. Rolling out the dough can be difficult when you have a lot to work with. Unless you have a large benchtop with lots of space and a super long rolling pin it'll probably be better to stick with half the dough at a time. Working with smaller quantities gives you more control on the thickness, folding and shaping of the dough!
Work quickly
As the dough will soften up at room temperature it is important to work quickly before it softens entirely. Make sure you understand the assembly process before you remove your dough from the fridge and then work as quick and efficiently as possible!
Let's Get Baking!
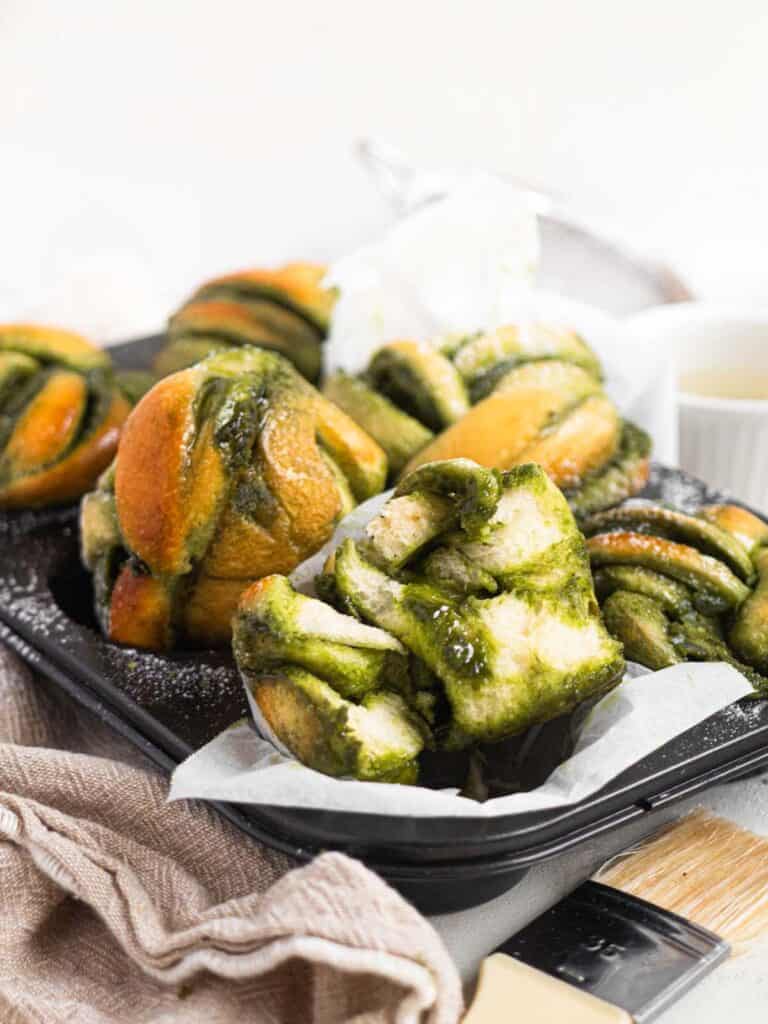
If you've made it this far down the blog post thank you for reading! I hope I've given you enough tips to create the fluffy matcha buns of your dreams.
If you liked this recipe make sure to leave me a comment and rating down below, I would love to know how you went.
Also, don't forget to tag me on Instagram @catherine.desserts and hashtag #cattycakes so I can see and share your desserts. Follow me on Facebook, Pinterest, Youtube, and TikTok for more of my baking creations and updates! Until next time... happy baking!
PrintSoft and Fluffy Matcha Buns
Soft and fluffy bread rolls filled with a sweet matcha spread, twisted into a knot.
- Prep Time: 60 minutes
- Cook Time: 25 minutes
- Total Time: 1 hour 25 minutes
- Yield: 14 1x
- Category: Bread
- Method: Intermediate
- Cuisine: Asian Fusion
Ingredients
Bread Dough
- 530 g Plain flour (3 ¾ cups)
- 100 g Granulated sugar (½ cups)
- 1 tbsp Instant yeast
- 3 Large eggs
- 120 g Water (½ cup)
- 1 tsp Salt
- 150 g Unsalted butter, cubed and room temperature (⅔ cup)
Matcha Filling
- 2 tbsp Matcha powder
- 200g Icing sugar (1 ½ cups)
- 120g Unsalted butter, softened (½ cup 1 tbsp)
Sugar Syrup
- 100g Sugar (½ cup)
- 80g Water (⅓ cup)
Assembly
- Butter to grease the tins
Instructions
Bread Dough
- Combine the flour, sugar and yeast in the bowl of a stand mixer fixed with a dough hook and combine
- Add the eggs and water and mix on medium until the dough comes together
- Continue to mix for 5 minutes until the dough is smooth
- Add salt, then the butter one cube at a time until fully incorporated and dough is smooth and elastic (see tips above for further guidance)
- Oil a medium sized bowl and place the dough in it, cover with cling wrap and let rest in the fridge overnight or for at least 8 hours
Matcha Filling
- Combine the unsalted butter, icing sugar and matcha together in the bowl of a stand mixer and beat on medium-high until light and fluffy
- Taste and add more or less sugar to your taste
Sugar Syrup
- Combine water and sugar in a small saucepan over high heat and bring to a boil
- Boil, stirring occasionally until all the sugar has dissolved
- Remove and cool
Assembly
- Grease your muffin tins with butter
- Remove dough from the fridge and divide the dough in half (leave one half in the fridge while working with the other)
- Roll the dough into a rectangle (approx. 28 x 38 cm, with the long side facing you) and spread the matcha mixture evenly across the dough
- Visually divide the dough into thirds horizontally
- Fold the bottom third into the middle, then fold the top third over the bottom one
- Trim the edges and cut into 7 pieces
- Visually divide each piece into thirds vertically, and make two incisions while leaving the top intact (you should have a small rectangle with three strands)
- Braid the three strands, then tuck the top and bottom underneath each other in the cavity of the greased muffin tray*
- Repeat with the other pieces, and the other half of the dough
- Leave in a warm place (like a turned off oven) and allow to proof for 1-1 ½ hours
- The dough should have doubled in size, and become soft and slightly jiggly
- Place in an oven preheated at 180 °C (356°C) and bake for 20-25 minutes
- Remove when golden brown and a skewer inserted comes out free from raw dough
- Immediately brush generously with sugar syrup
- Store in an airtight container for up to 2 days**
Notes
* The twisting of the babka can be a bit confusing. As I am more of a visual learner I found it a lot easier to watch a few videos before I attempted it for the first time, just type 'cinnamon knots' in google to find a whole range of videos to help you!
** To keep this for longer you can store it in the fridge for up to a week, simply reheat it in the oven or microwave before you eat it. This dough also freezes really well, so you can make them in advance and reheat then when needed!




KStep
Catherine!!!!
Sorry, It’s been a while. You have been busy as usual and it’s good to see your amazing skills and creative genius on display once again!! These look super delicious and can’t wait to give it a try!!! Also, great job on your white chocolate cookies!!!! Stay safe and thanks again for all you do and for sharing your hard work and talent with all of us!!! Can’t wait to see what’s next!!
And...
As always,
Kindest regards,
KStep
Catherine Zhang
KStep!!
Thank you for stopping by again, if you love matcha you will love these. Just wanted to say thank you again for the birthday gift! Been slowly working my way through the ice-cream... 😆
Catherine
KStep
Catherine!!!!
It’s always fun to stop by and see what you’ve been up to! Just saw your YouTube video! That must have been really cool to get back together with the crew and see Zumbo again and to do a Demo, AND the shoot with Loyal! You’ve been so busy! Anyway, seems like things are going great for you!!! Hope you capture all your dreams and live your best life! You’re awesome!
As always,
Kindest regards
KStep
Mari
Does plain flour mean all purpose flour or should we use bread flour?
Catherine Zhang
Hi Mari, Plain flour is the same as all-purpose flour! 😊
Yusra
I tried this recipe (added more matcha since mine wasn't strong enough) and it turned out great! thank you 🙂
Also, this video was helpful for braiding the dough: https://www.youtube.com/watch?v=wNiyp89pTi0
Catherine Zhang
Hi Yusra, Glad they turned out well!!
Jo
I made these buns and they were absolutely delicious! I'm hoping to make some in advance and freeze them so I can bake them fresh for Christmas. If this is possible, should I shape them into buns first before freezing them unbaked and let them rise upon thawing? Or should I freeze the dough as a ball and do the remaining steps after thawing? Or is it better to complete all the steps and freeze as baked buns? Thanks in advance!
Catherine Zhang
Hi Jo! So sorry for my late reply. I would definitely recommend freezing the baked buns. The freezing process can interact with the yeast and change the dough consistency. Hope they went well!