This baklava recipe leans hard on pistachio, bakes to a deep gold, and gets cool syrup poured over it the second it comes out of the oven. That last part is the whole trick.
Baklava is not a difficult recipe. It is a patient one. There is no dough to make, no custard to curdle and nothing that can split on you. What there is instead is a stack of very thin pastry, a great deal of butter, and two temperature rules that decide whether you get something crisp and glassy or something wet and heavy.
Almost every baklava failure traces back to one of three things: the pastry was not baked far enough, the syrup met the tray at the wrong temperature, or the pieces were cut after baking instead of before. Get those three right and the rest is assembly. This version weights the filling towards pistachio rather than the usual all walnut mix, and finishes with a honey lemon syrup carrying cinnamon and wide strips of lemon zest.
Why this baklava recipe is pistachio first
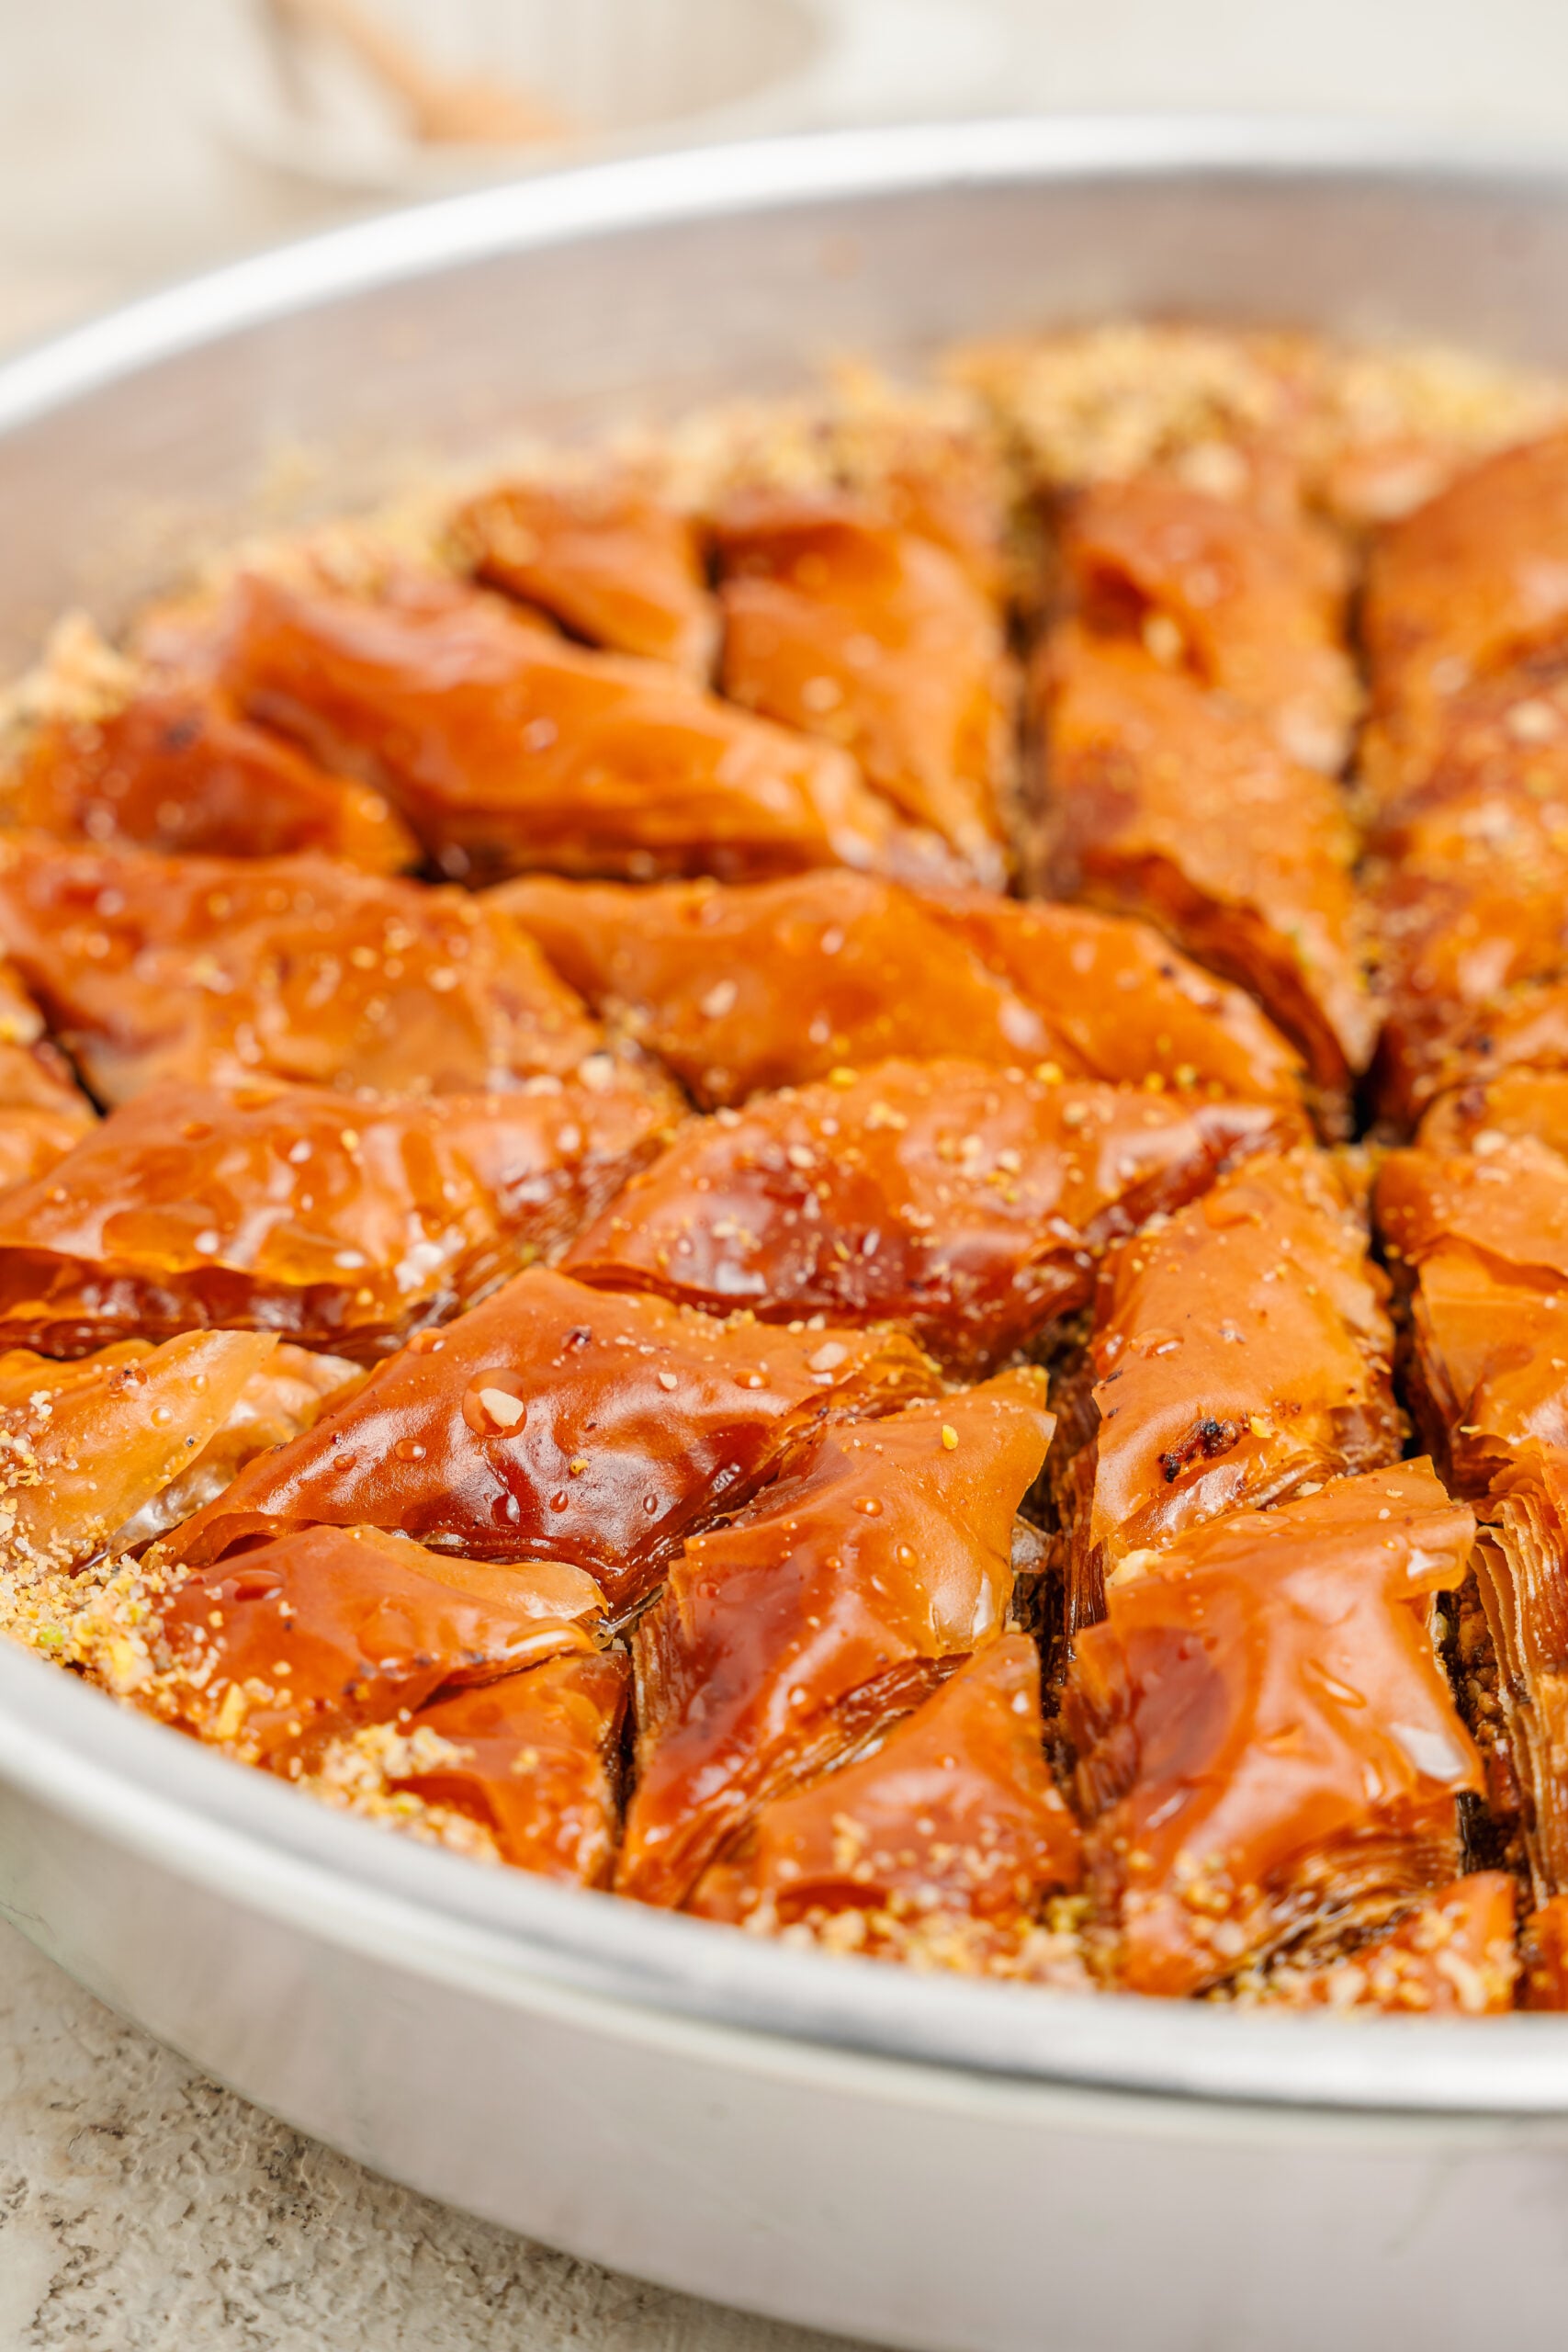
Greek baklava is traditionally all walnut. Turkish baklava is traditionally all pistachio. Both are correct, and anything in between is correct too, which is why the filling here runs roughly half and half by volume with the pistachio taking the lead. Walnut brings the tannic, slightly bitter depth that stops the syrup tasting flat. Pistachio brings sweetness, colour and a softer bite.
If you already bake from the pistachio end of this site, the flavour will be familiar territory. It is the same nut doing the work in the viral pistachio chocolate bar and the Dubai chocolate mochi, and if you grind your own you will recognise the texture from homemade pistachio butter. Here it stays coarse rather than smooth, because you want the filling to read as nuts and not as paste.
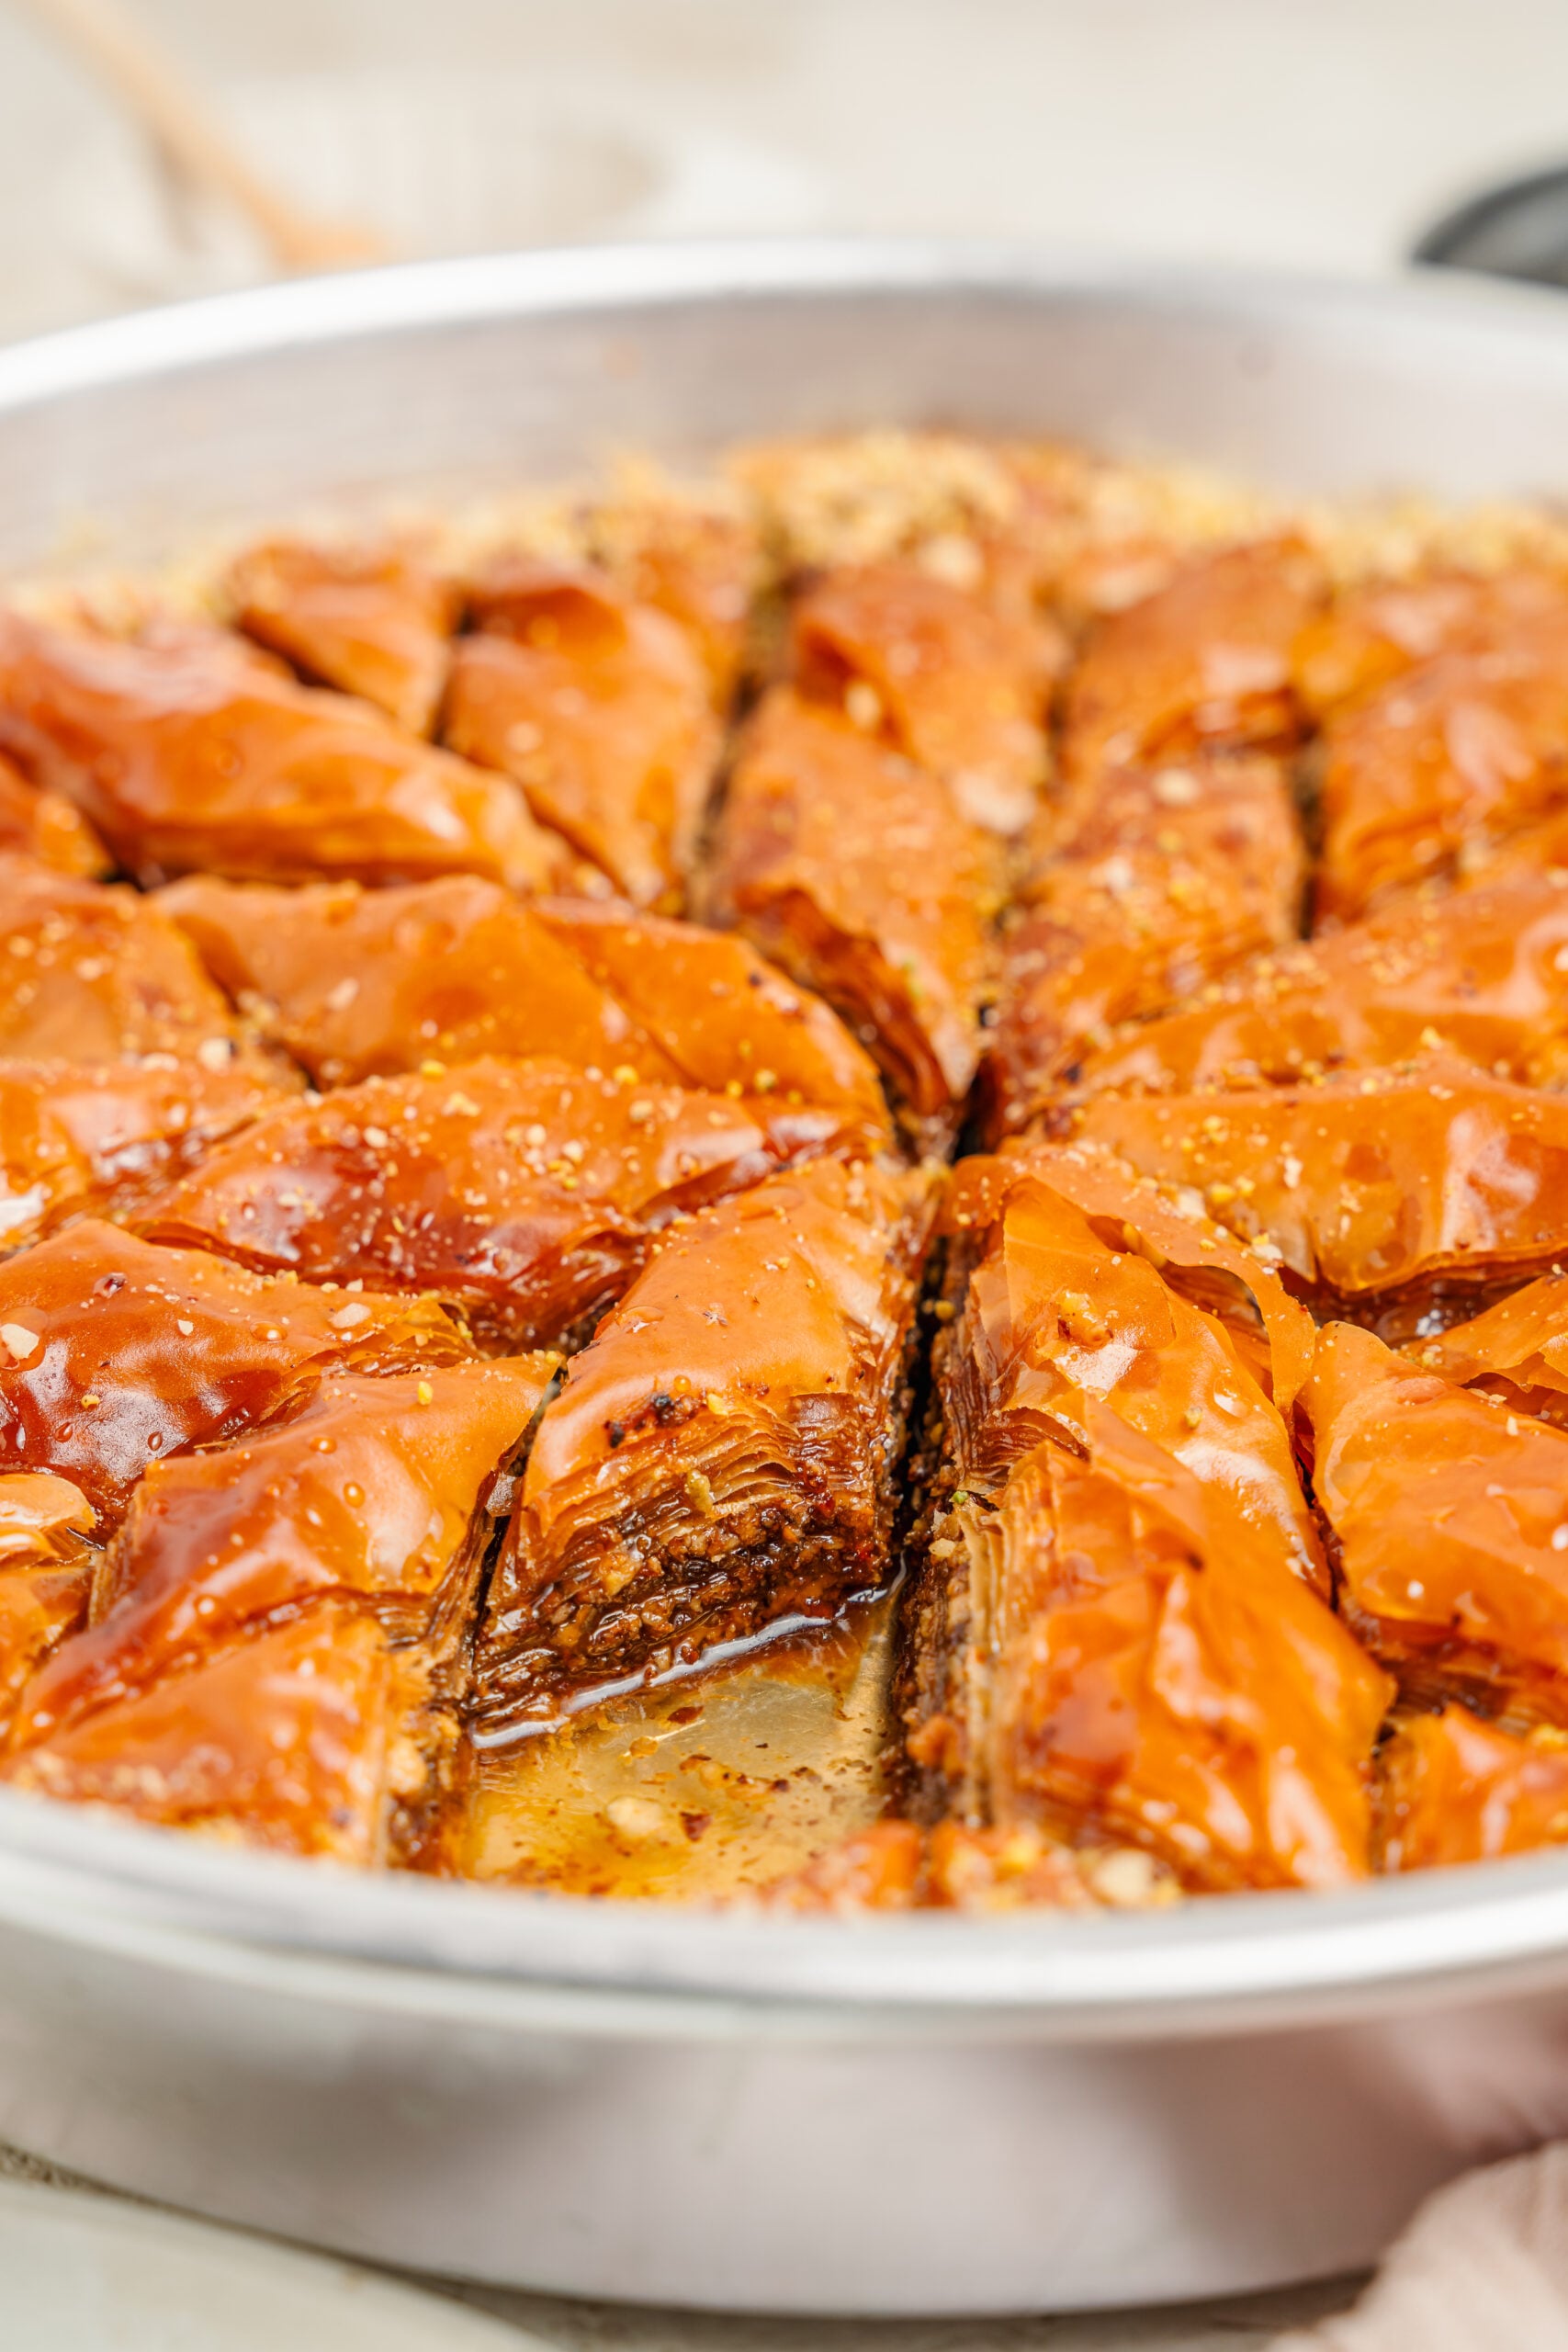
One thing worth saying before you start. The tray in these photos is round rather than the rectangle the recipe calls for. Both work. A round tin is where that sunburst of diamonds comes from, and if you use one, cut it exactly the same way: parallel lines across the tin, then diagonals cutting through them.
At a Glance
| Prep | Bake | Rest | Total | Makes |
|---|---|---|---|---|
| 45 minutes | 1 hour 15 minutes | 6 hours, overnight is better | about 8 hours 15 minutes | 24 pieces |
Ingredients and what each one is doing
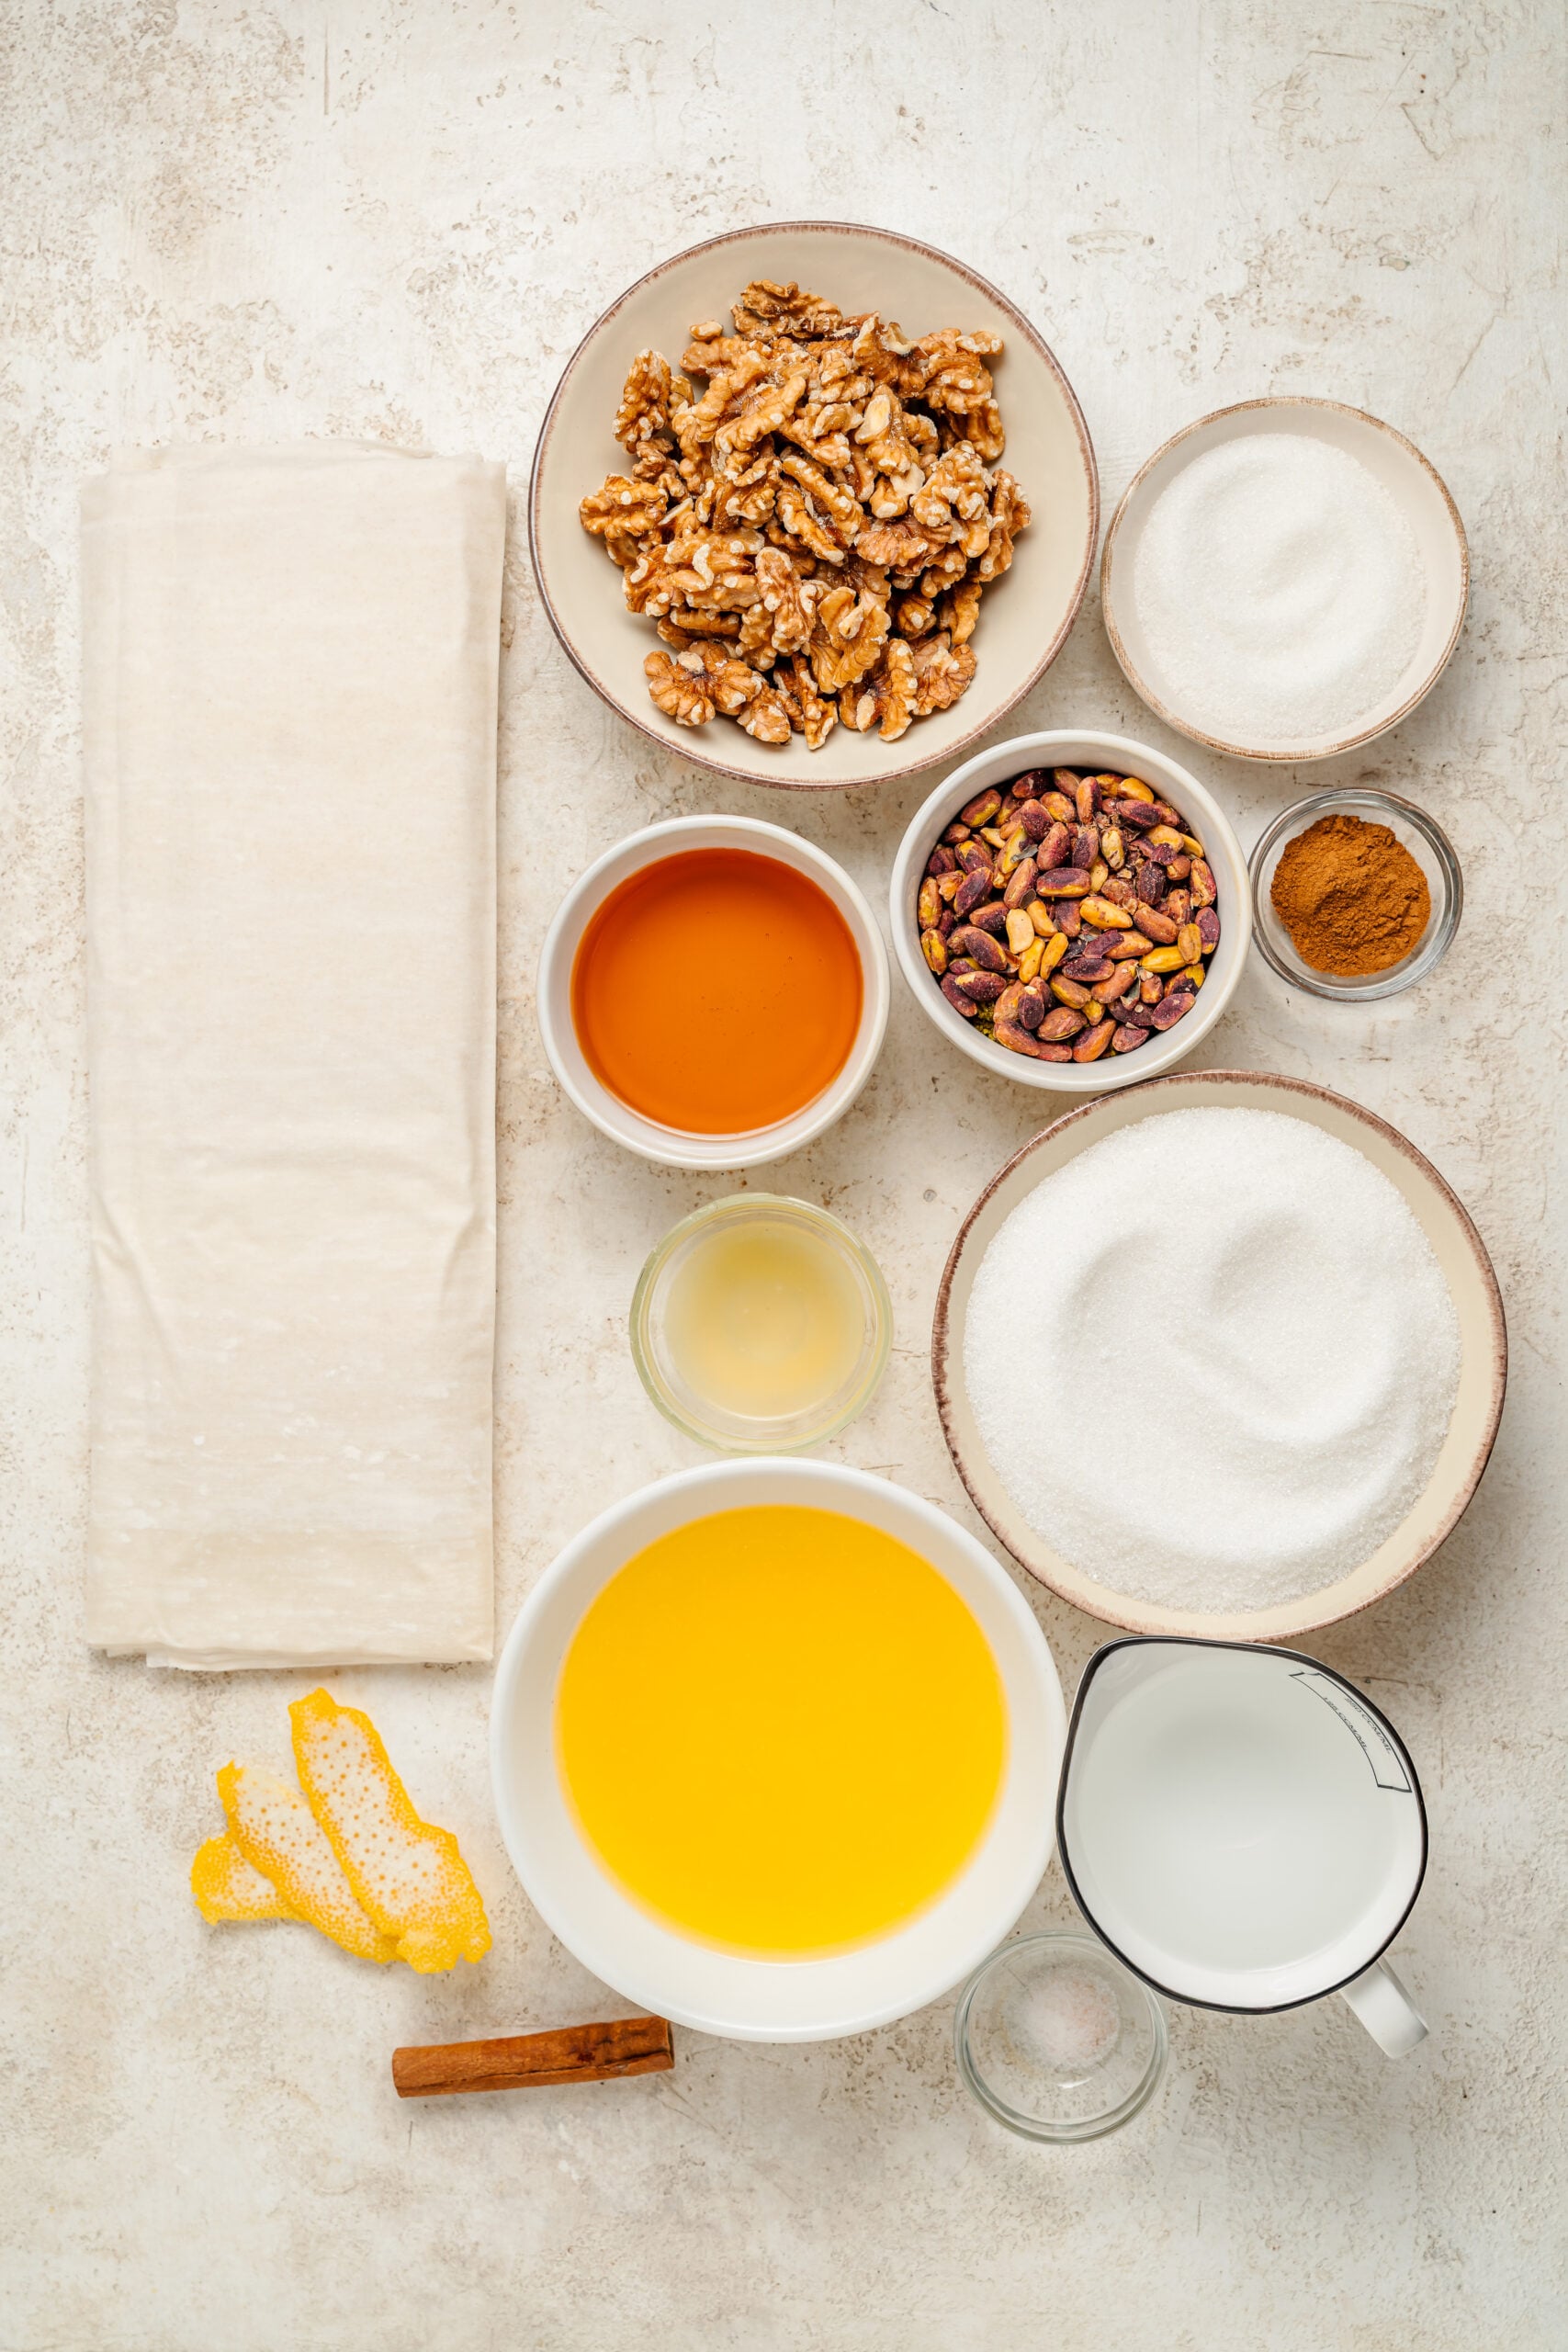
Quantities live in the recipe card at the bottom. This is the part that explains why each thing is in there, which matters more than usual in a recipe with only nine ingredients.
The honey lemon syrup
- Granulated sugar and water: the body of the syrup. Sugar alone would set too hard and honey alone would be cloying, so the two together give you something that soaks in and then sits still.
- Honey: flavour and a little viscosity. Use something you would happily eat on toast, because you will taste it. A dark honey will push the whole tray towards caramel.
- Lemon juice: acid, which does two jobs. It cuts the sweetness and it stops the sugar crystallising as the syrup cools and sits.
- Wide strips of lemon zest and a cinnamon stick: infusion rather than seasoning. Pare the zest with a peeler so you get oil and no pith, and pull both out once the syrup is cold.
The pistachio and walnut filling
- Shelled unsalted pistachios: the lead flavour and the colour. Unsalted matters, because a salted nut plus a honey syrup is a very long way past where you want to be.
- Walnut halves: depth and a slight bitterness that keeps the sweetness in check. Halves rather than pieces, because pieces are often older and taste stale.
- Sugar, ground cinnamon and fine salt: the filling needs seasoning of its own or it reads as plain nuts against a very sweet pastry. The salt is small and it is not optional.
The pastry and the butter
- Frozen phyllo pastry: thaw it overnight in the fridge, never on the bench. A fast thaw sweats, and damp phyllo tears the moment you touch it.
- Unsalted butter, clarified: the single most important ingredient after the pastry. Clarifying removes the milk solids and the water, which is what lets the layers crisp rather than steam.
- Finely chopped pistachios to finish: purely visual, scattered while the surface is still wet so they stick.
Swaps that still work
Pecans stand in for walnuts without changing anything meaningful. Almonds are firmer and less rich, so keep them to half the nut weight at most. Maple syrup can replace the honey, though it dulls the flavour and you lose the floral note. Orange zest instead of lemon is traditional somewhere, and so is a tablespoon of rose or orange blossom water stirred into the cooled syrup. If you want the same flavour in something far quicker, the Dubai chewy cookie uses it in a cookie.
How to make pistachio baklava
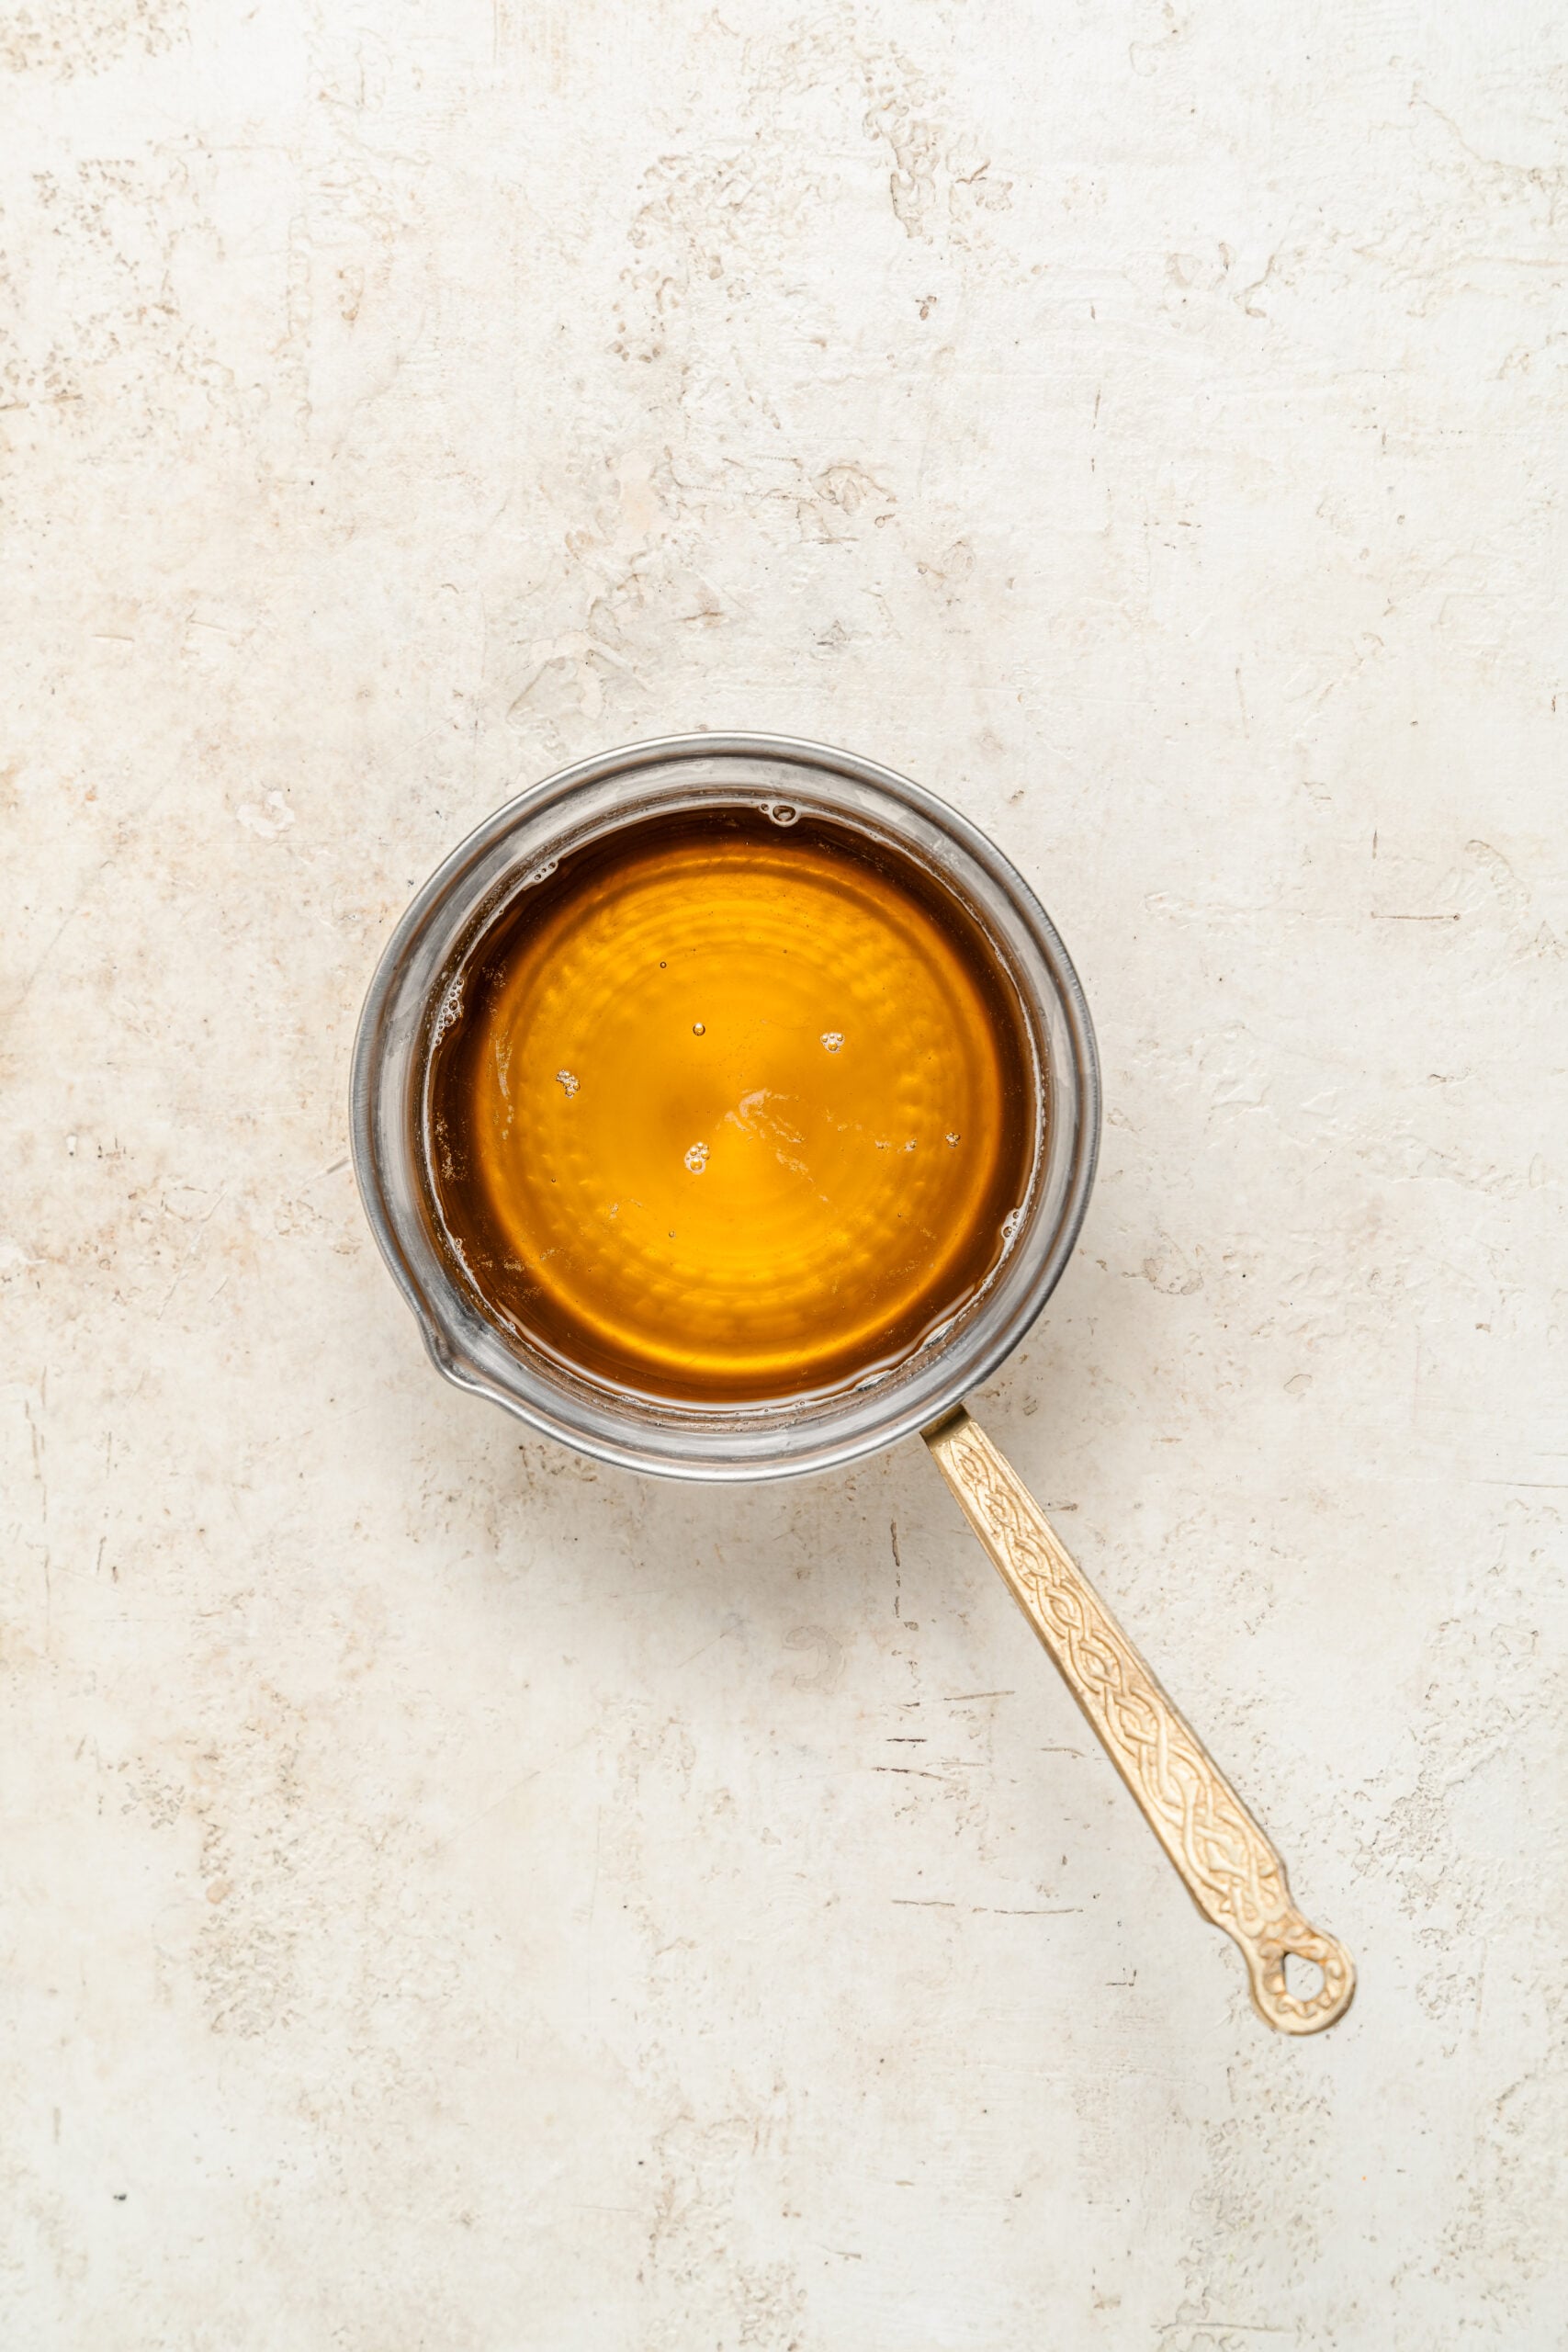
- Put the sugar, water, honey, lemon juice, lemon zest strips and cinnamon stick in a small saucepan. Stir over medium heat until the sugar has fully dissolved.
- Bring it to a simmer and cook for 10 minutes without stirring, then take it straight off the heat.
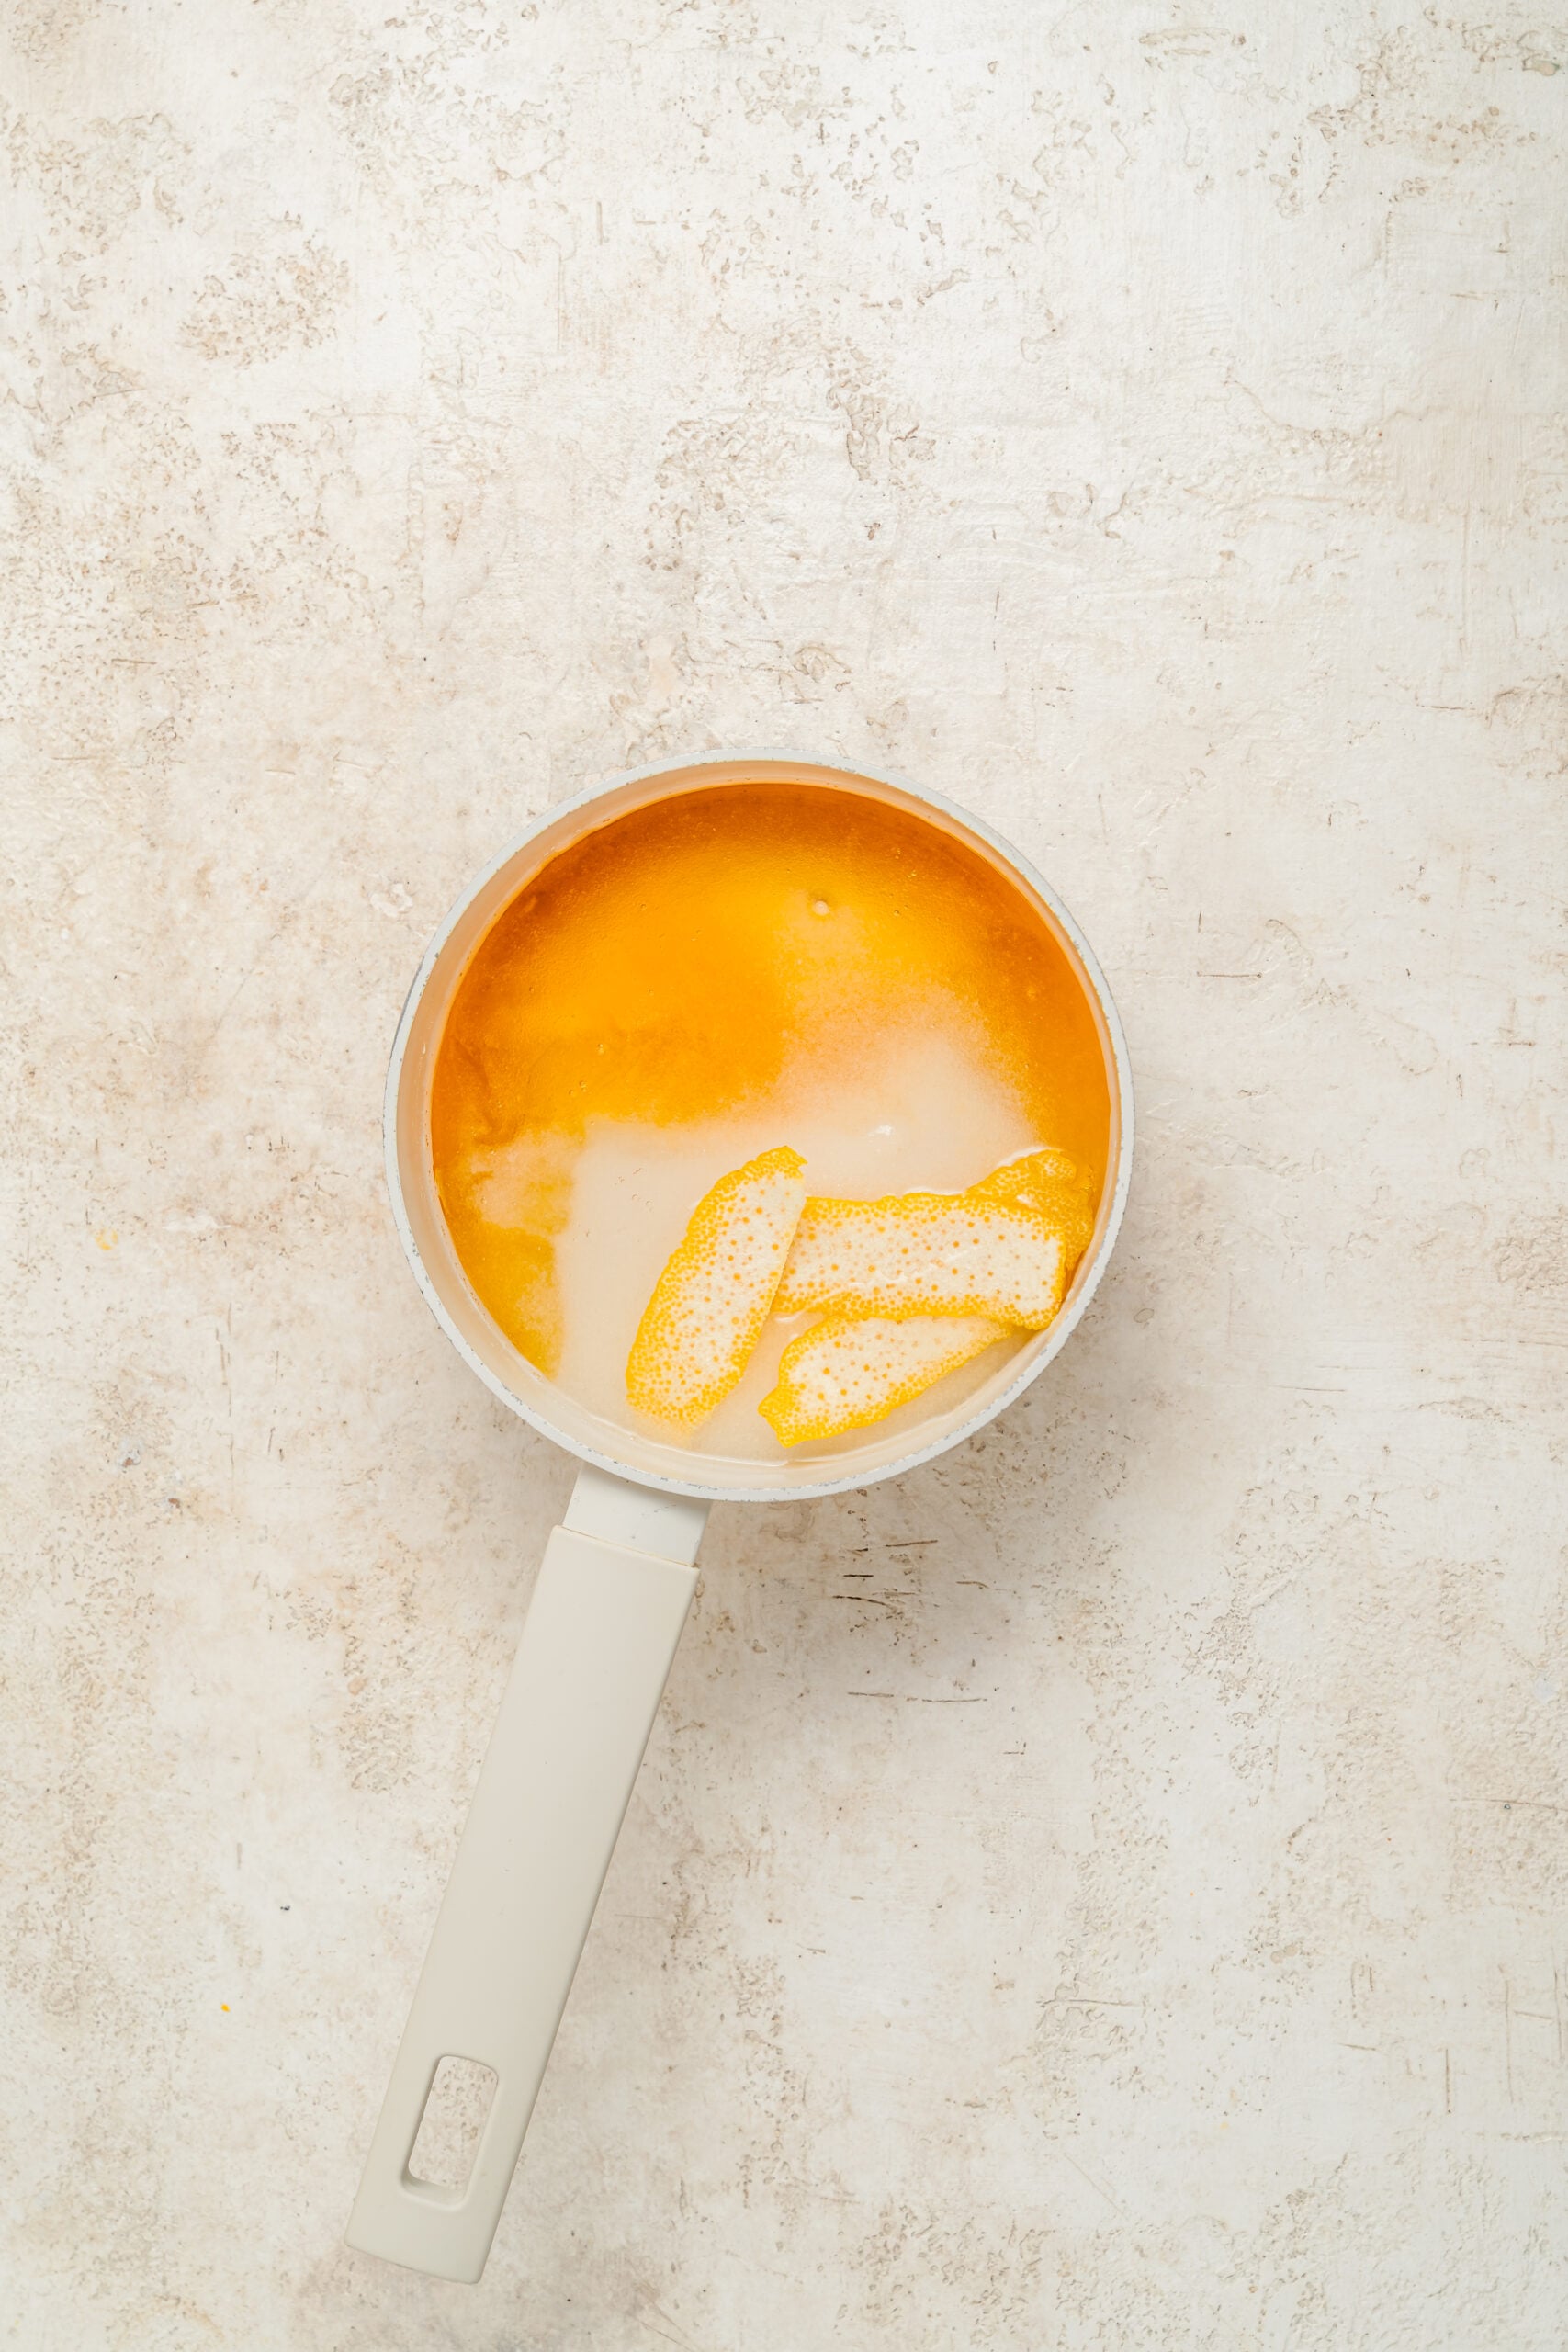
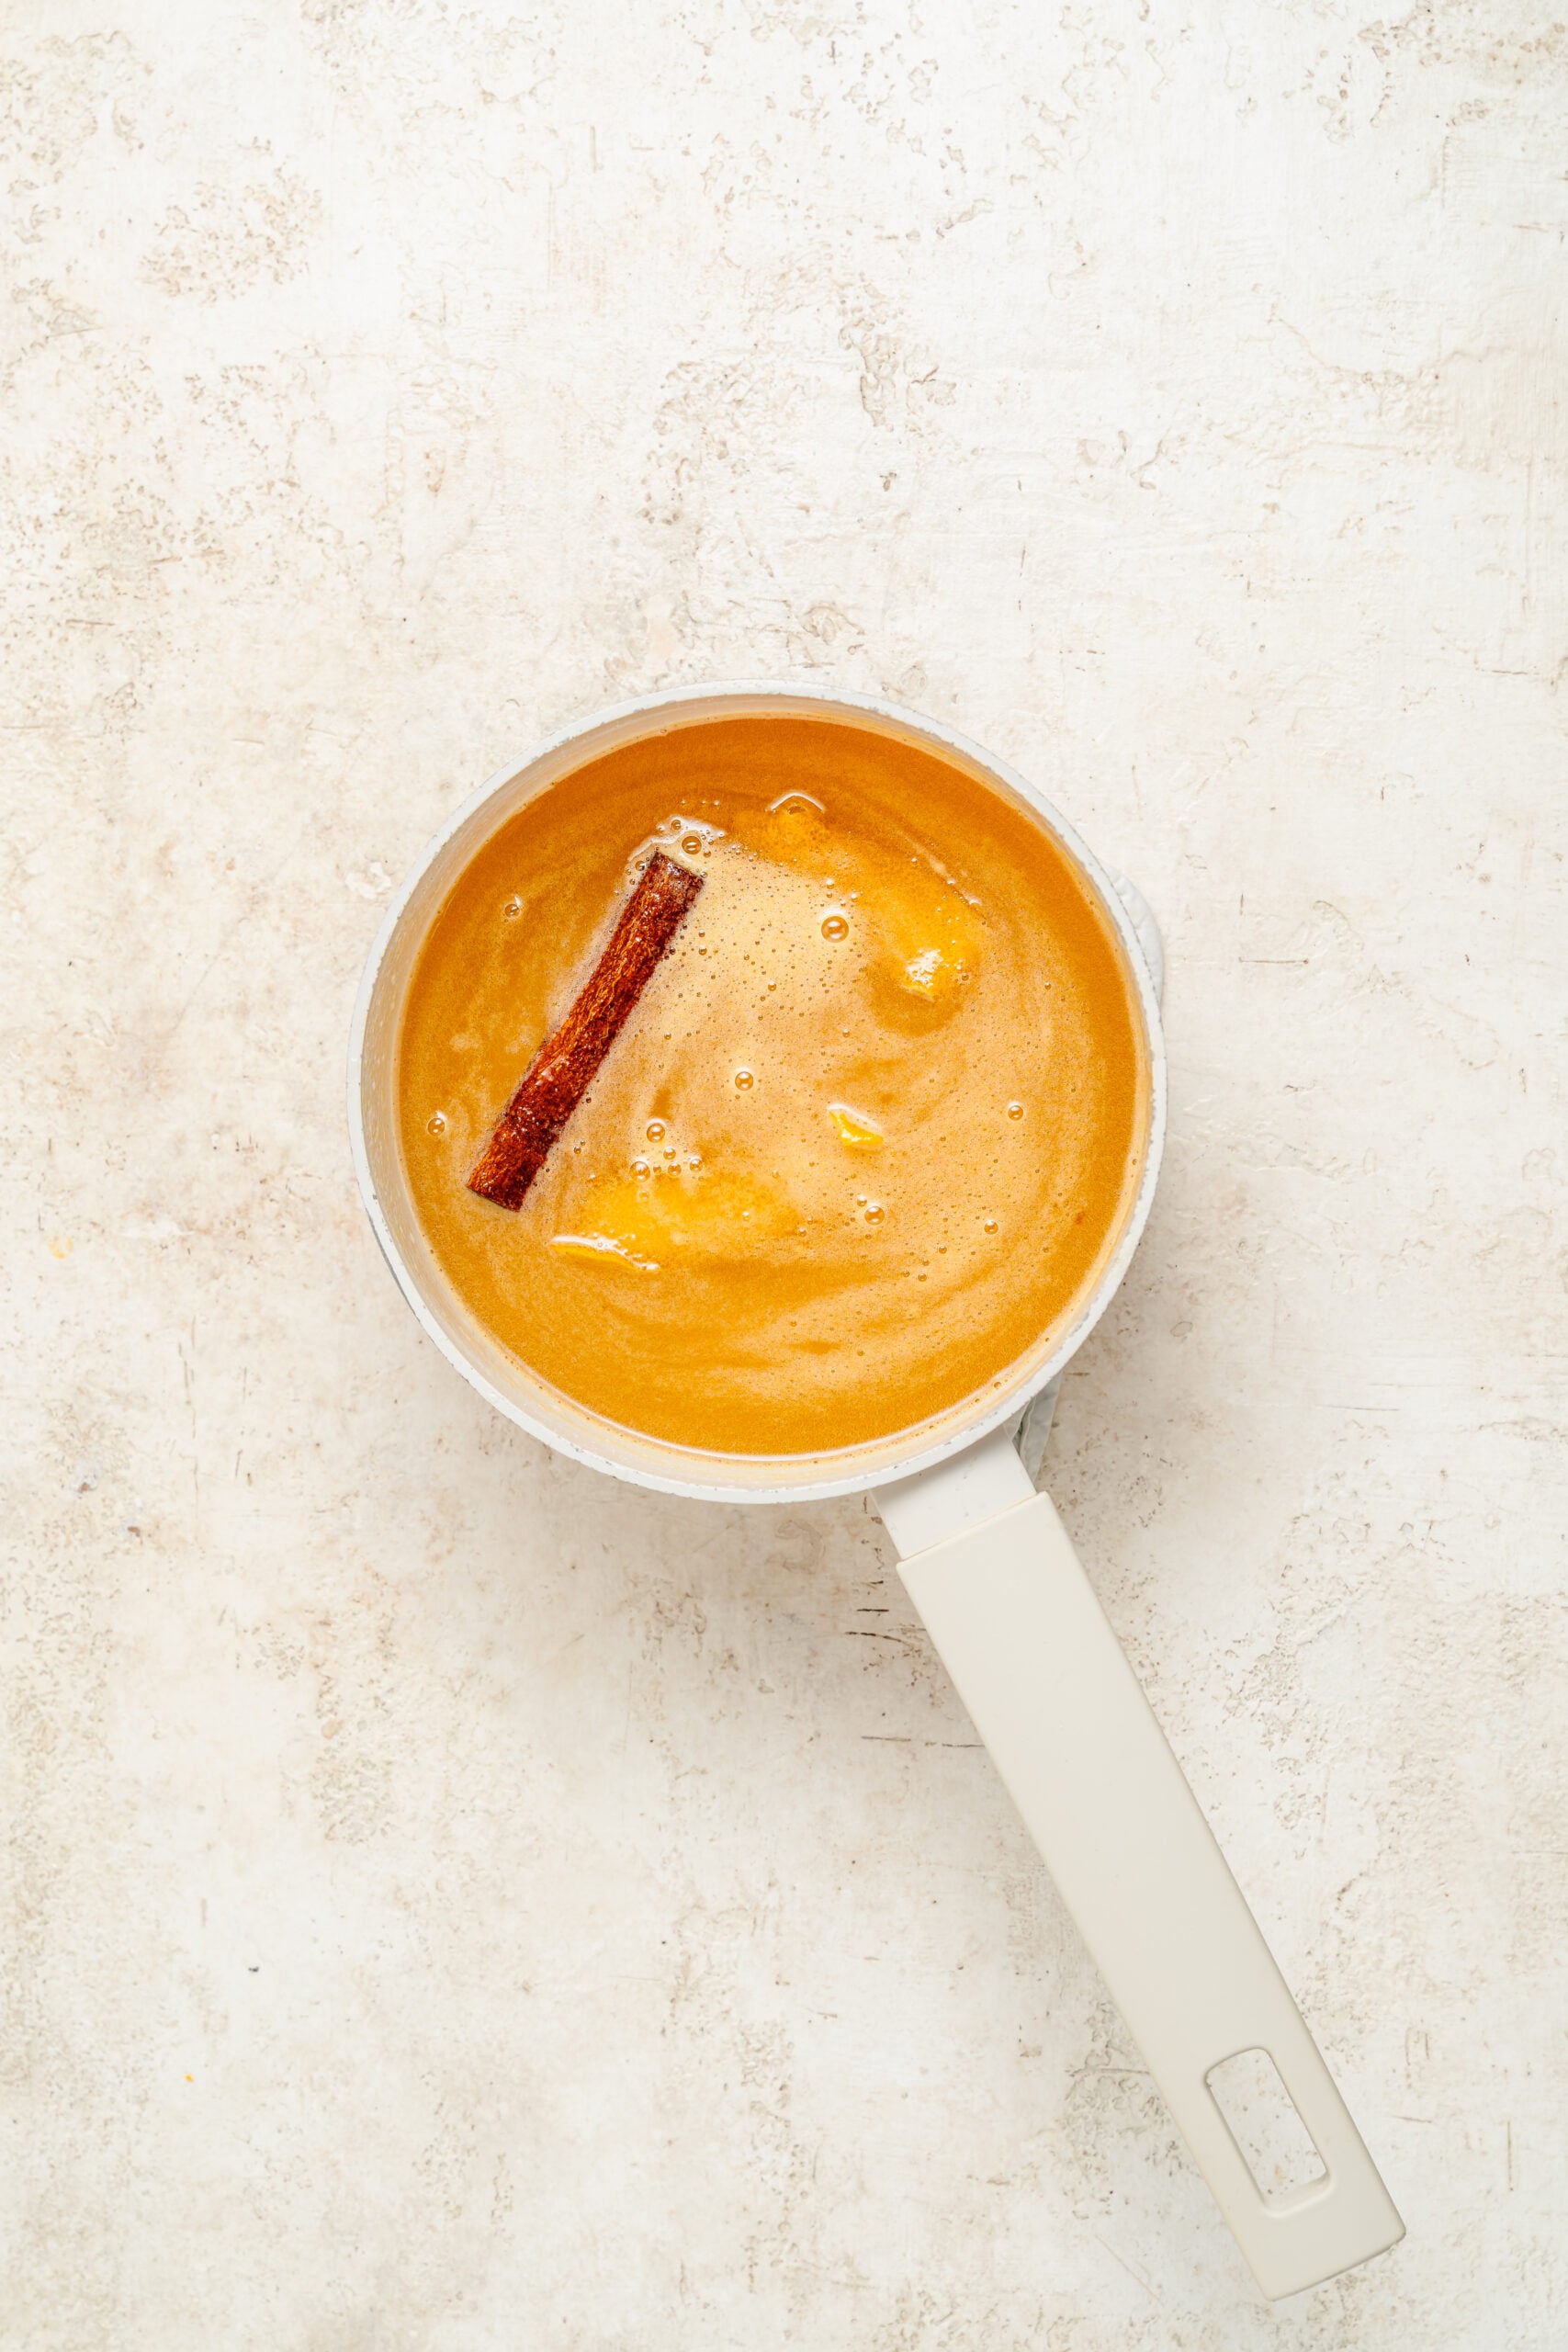
- Leave the syrup to cool completely, at least an hour, then fish out the zest strips and the cinnamon stick. It has to be properly cold when it meets the baklava, so make it first and forget about it.
- Melt the butter gently in a small pan and let it stand for 5 minutes. A pale foam rises to the top and the milky solids sink.
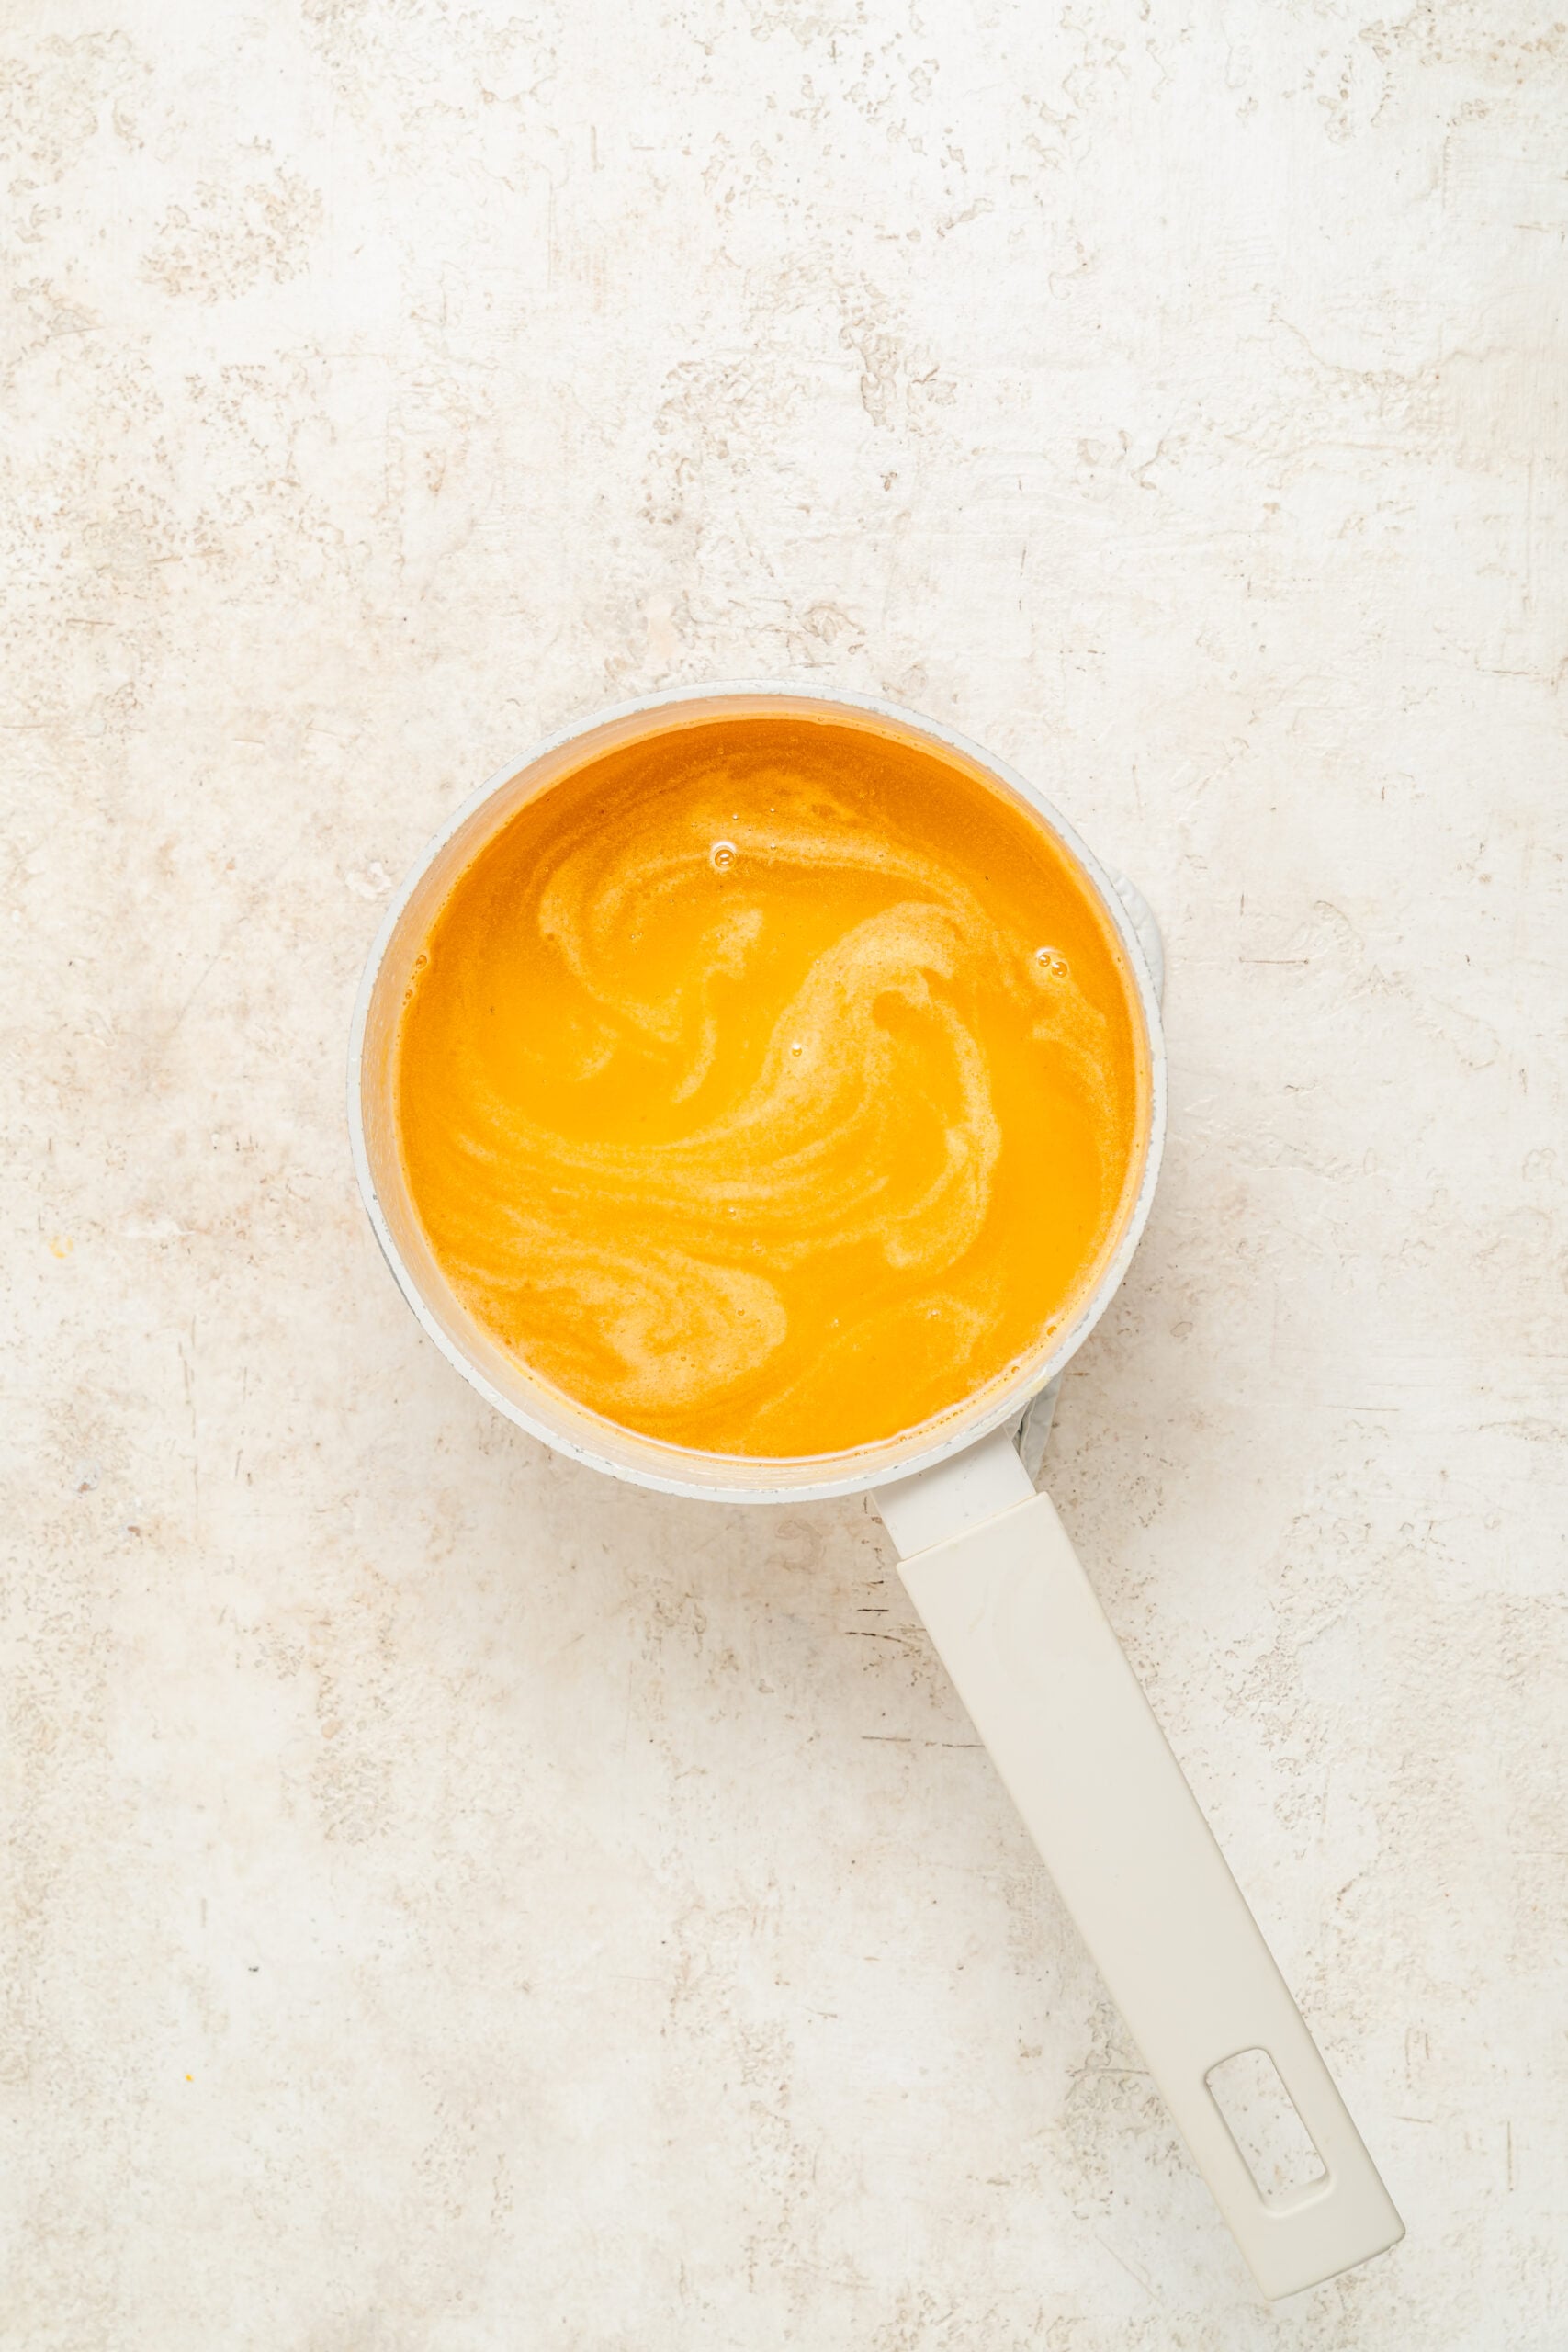
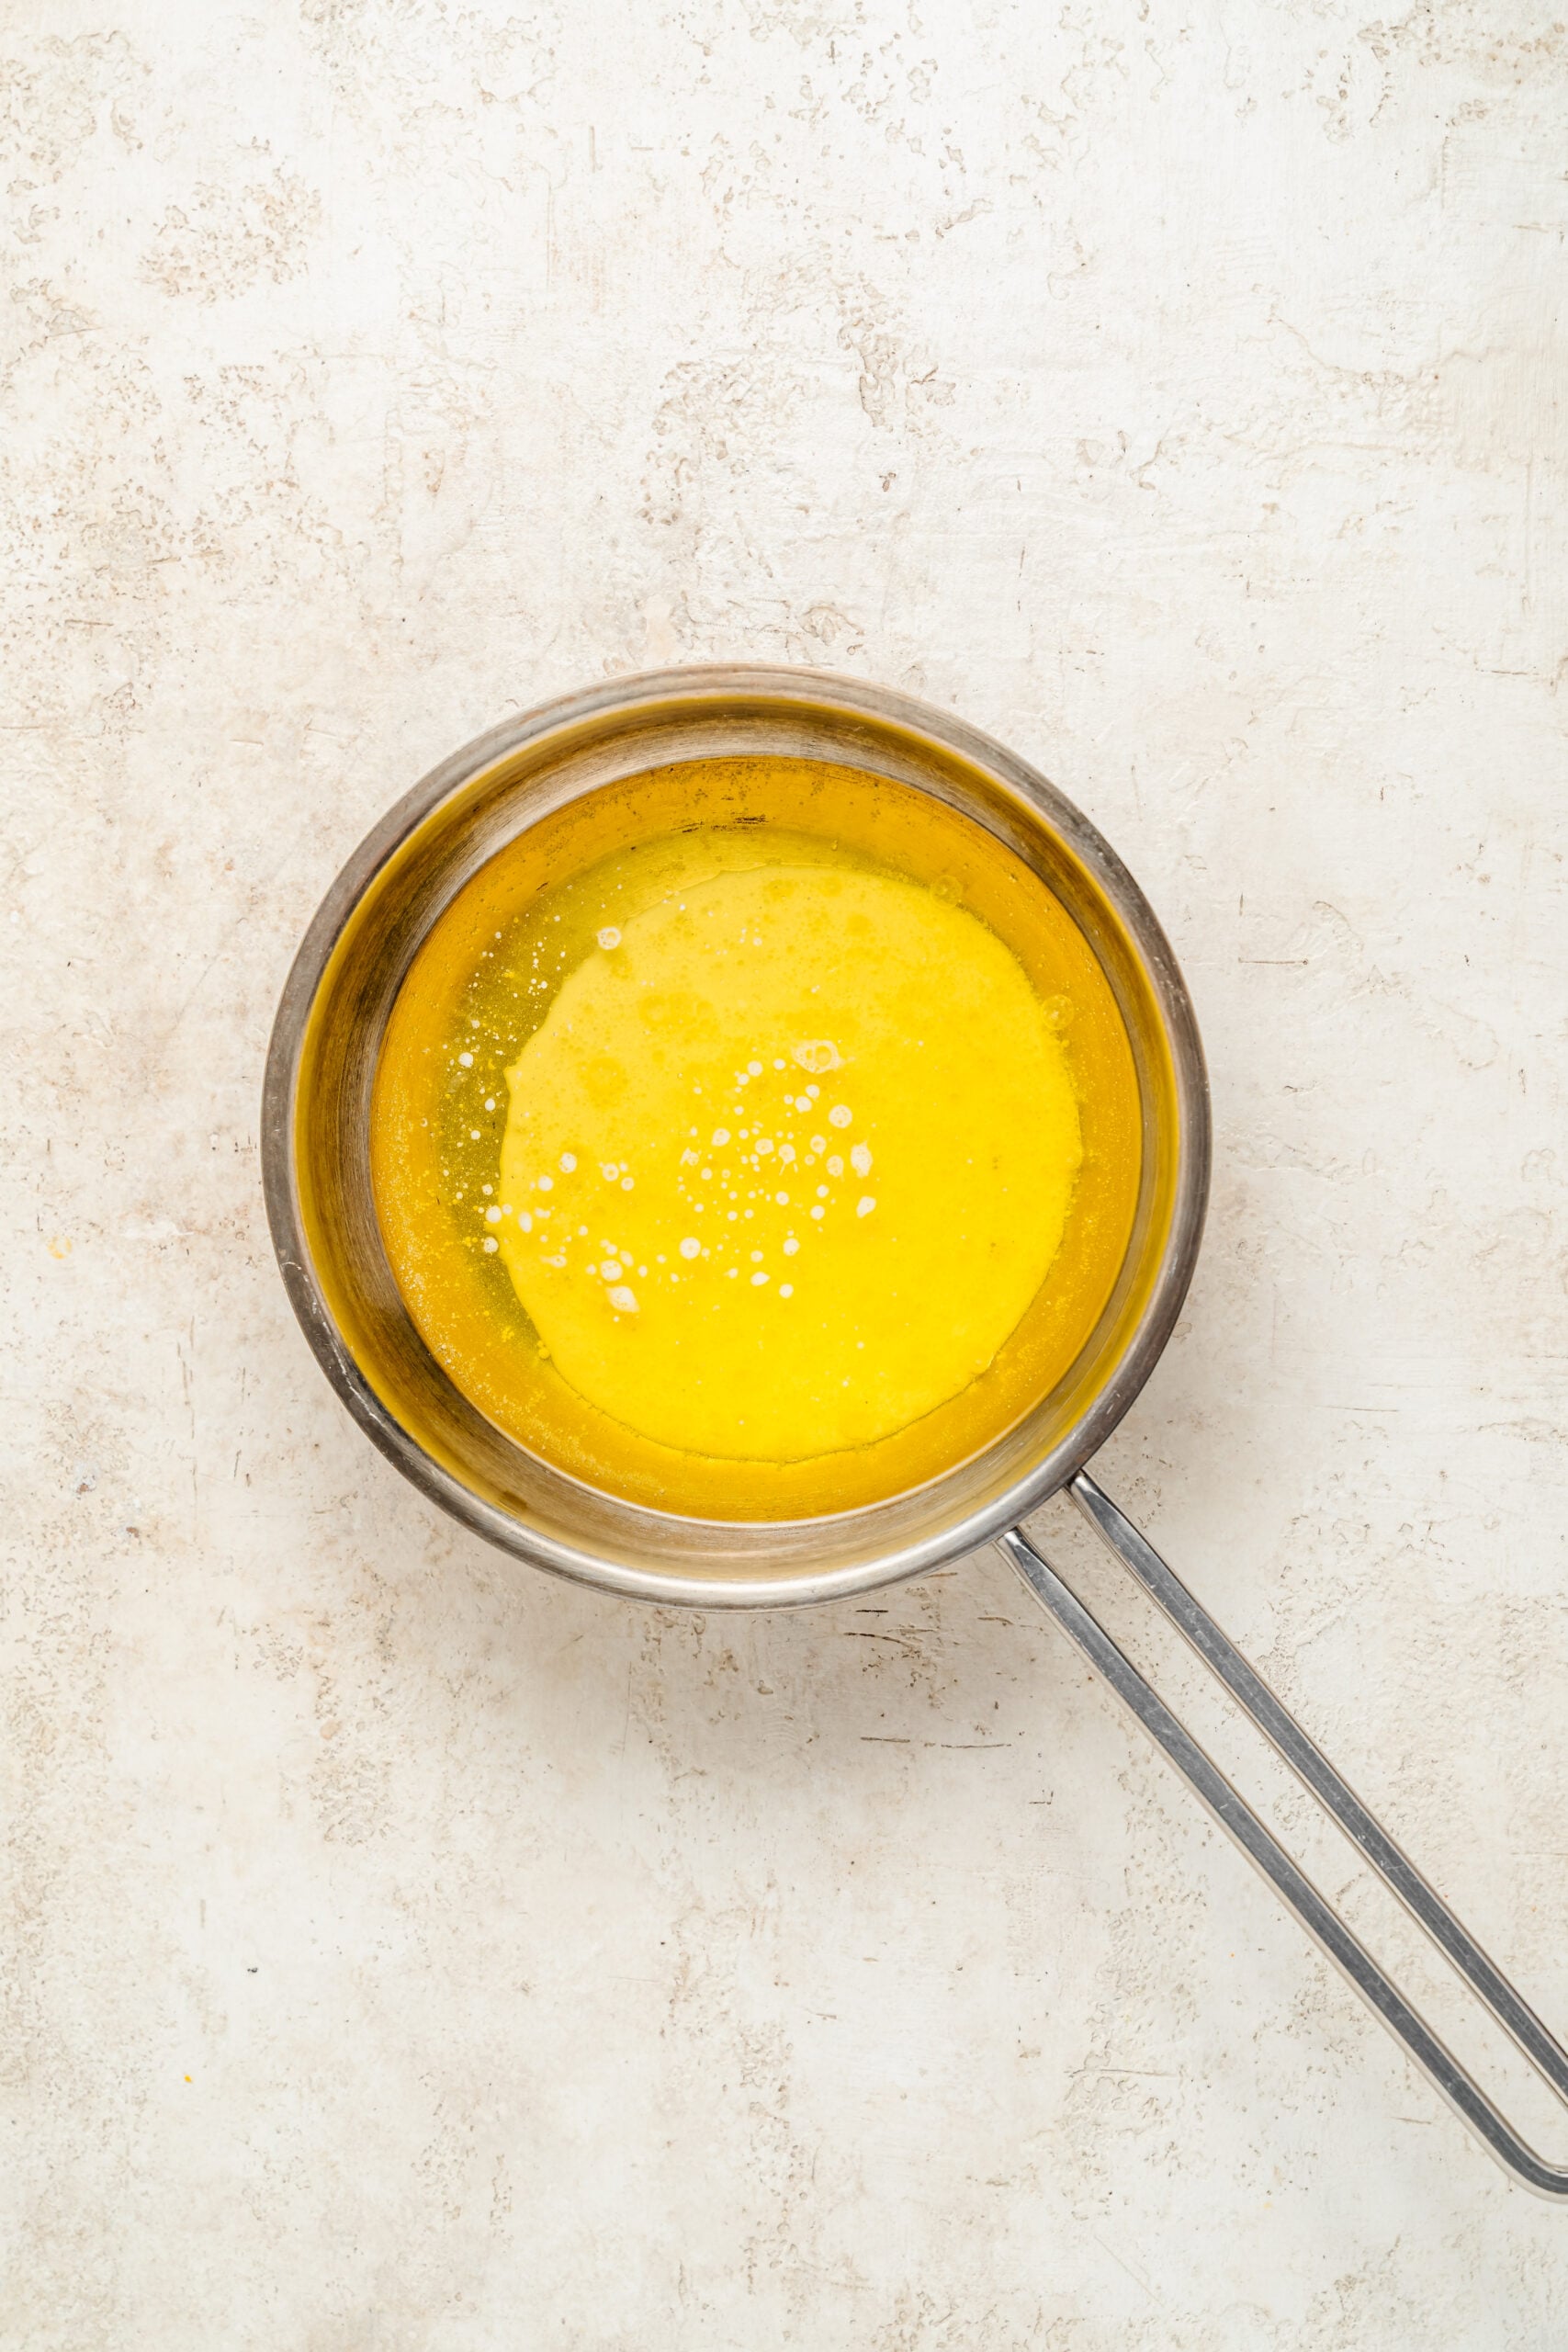
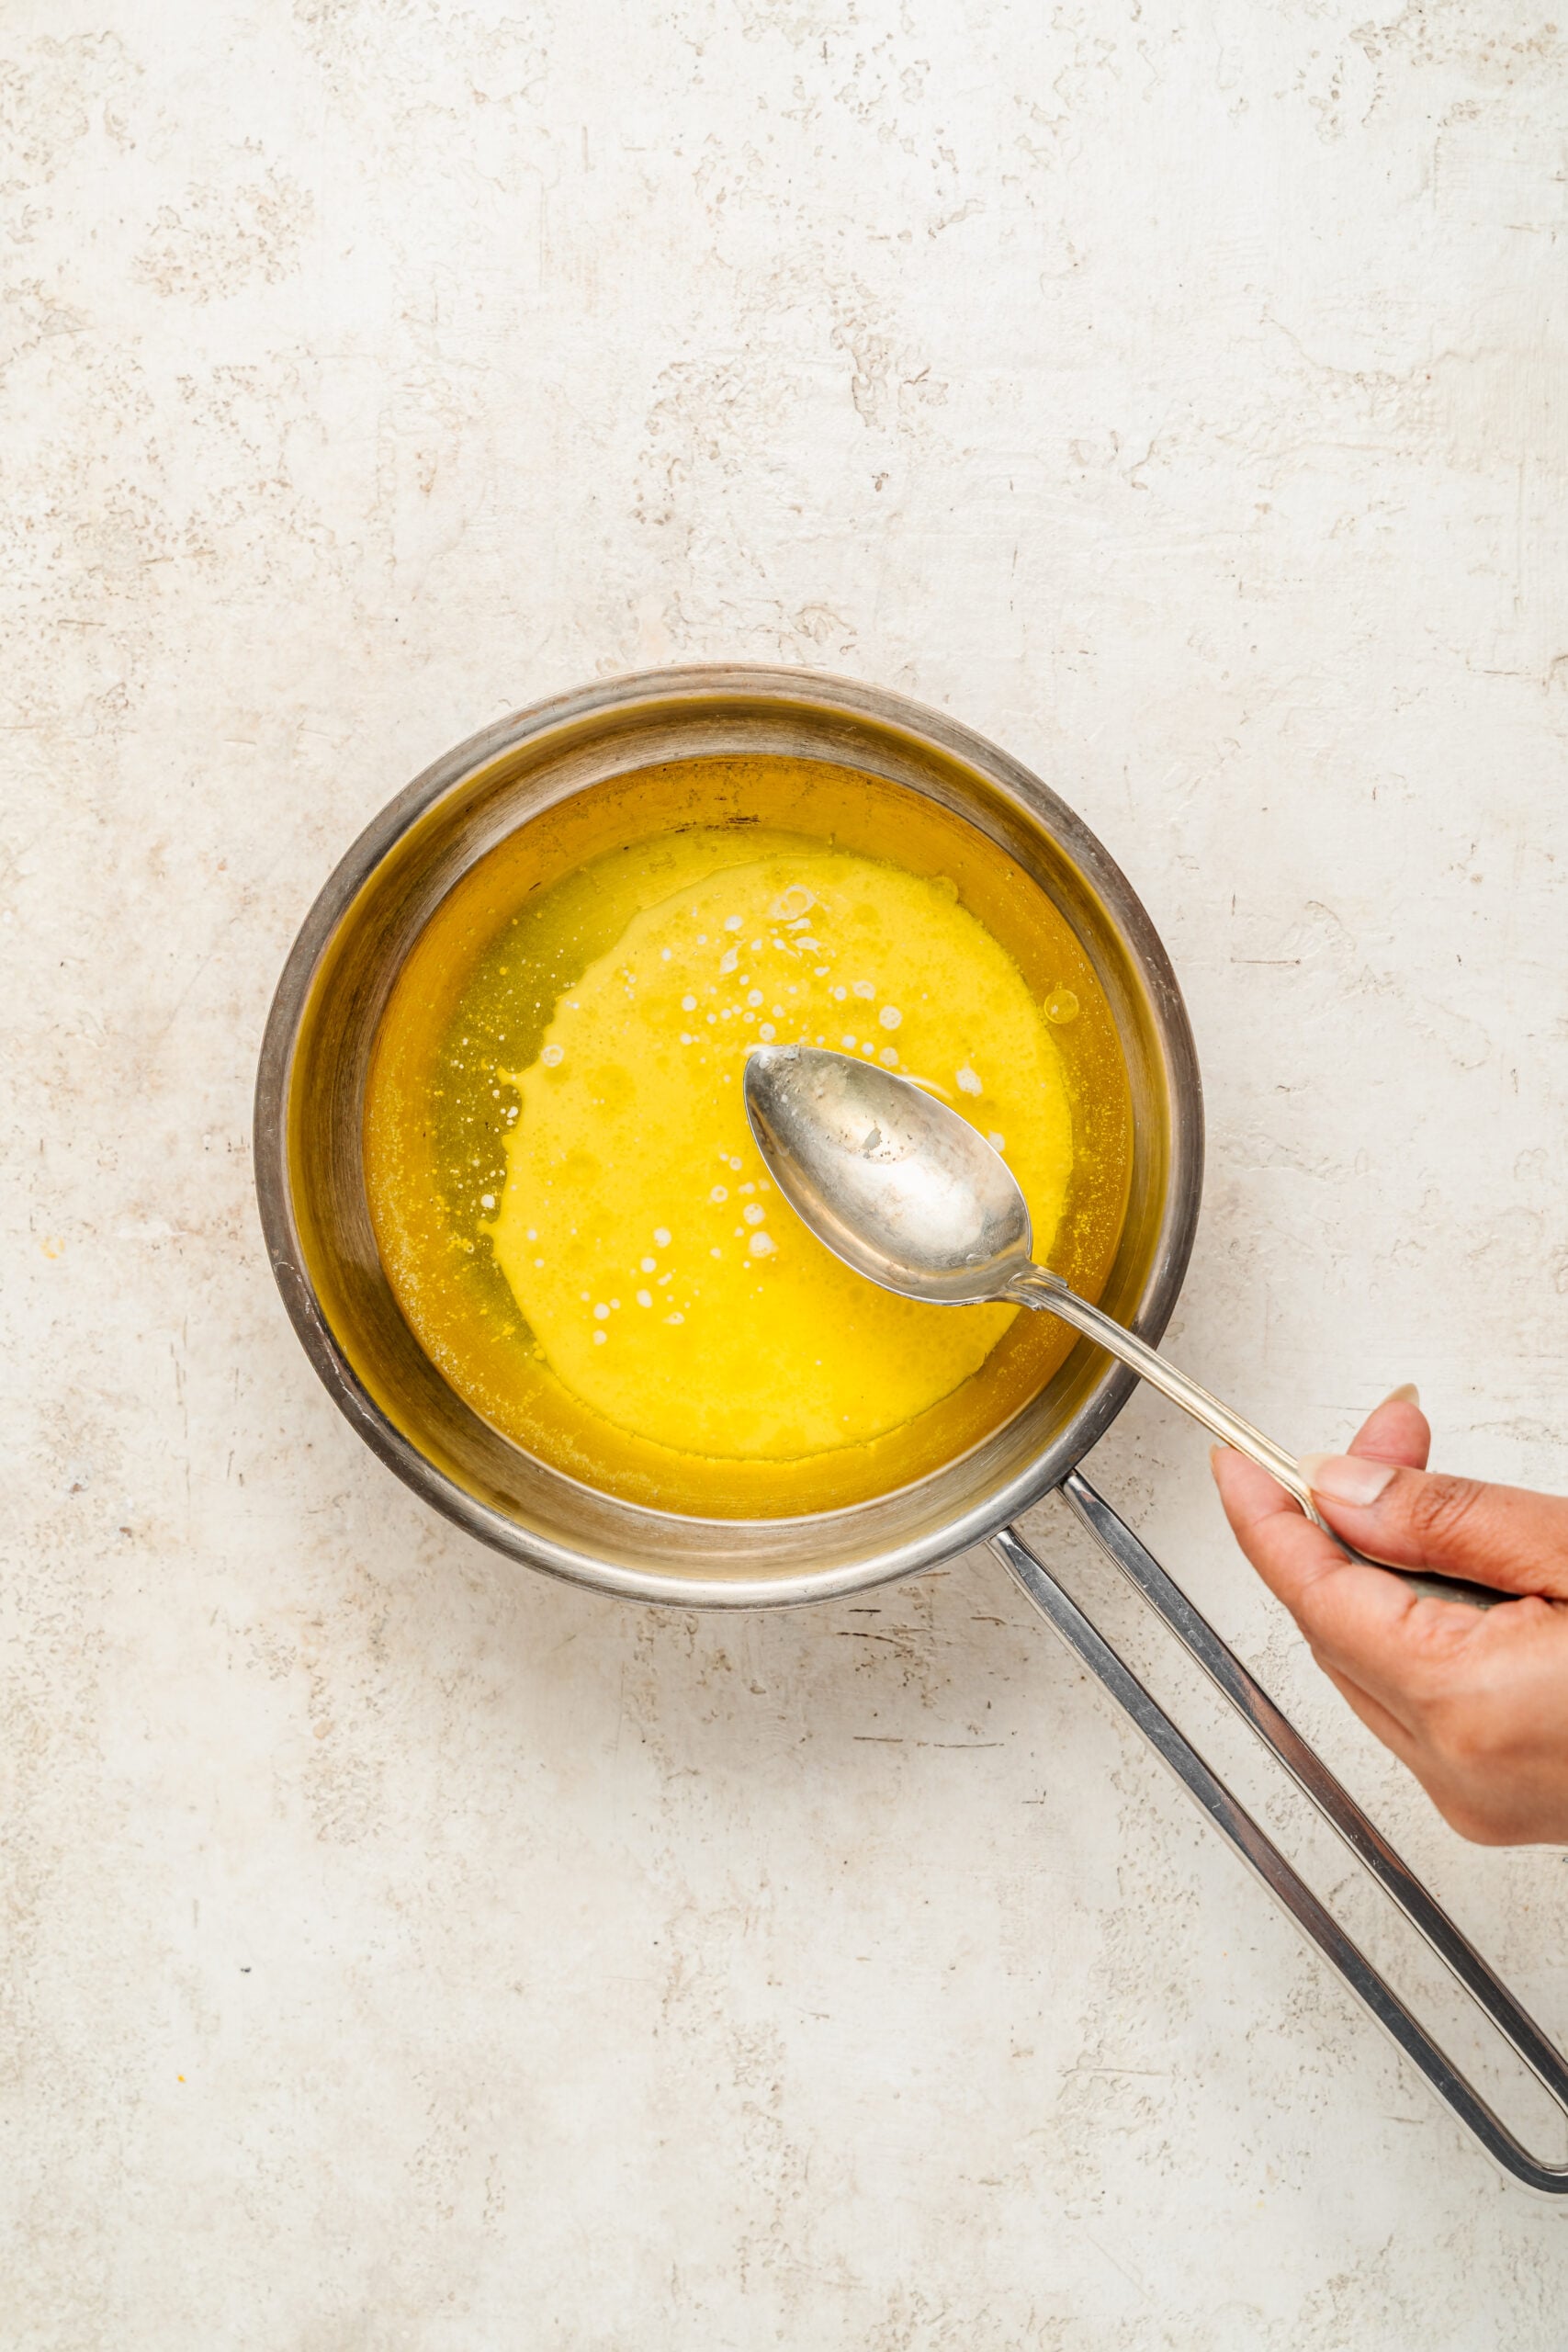
- Skim the foam off the top, then pour off the clear golden fat and leave the solids behind in the pan. Those solids are what make phyllo go soft and spotty, so be ruthless about it.
- Keep the clarified butter somewhere warm so it stays liquid. Heat the oven to 165 C (325 F) with a rack in the middle, and brush your tin with a little of it.
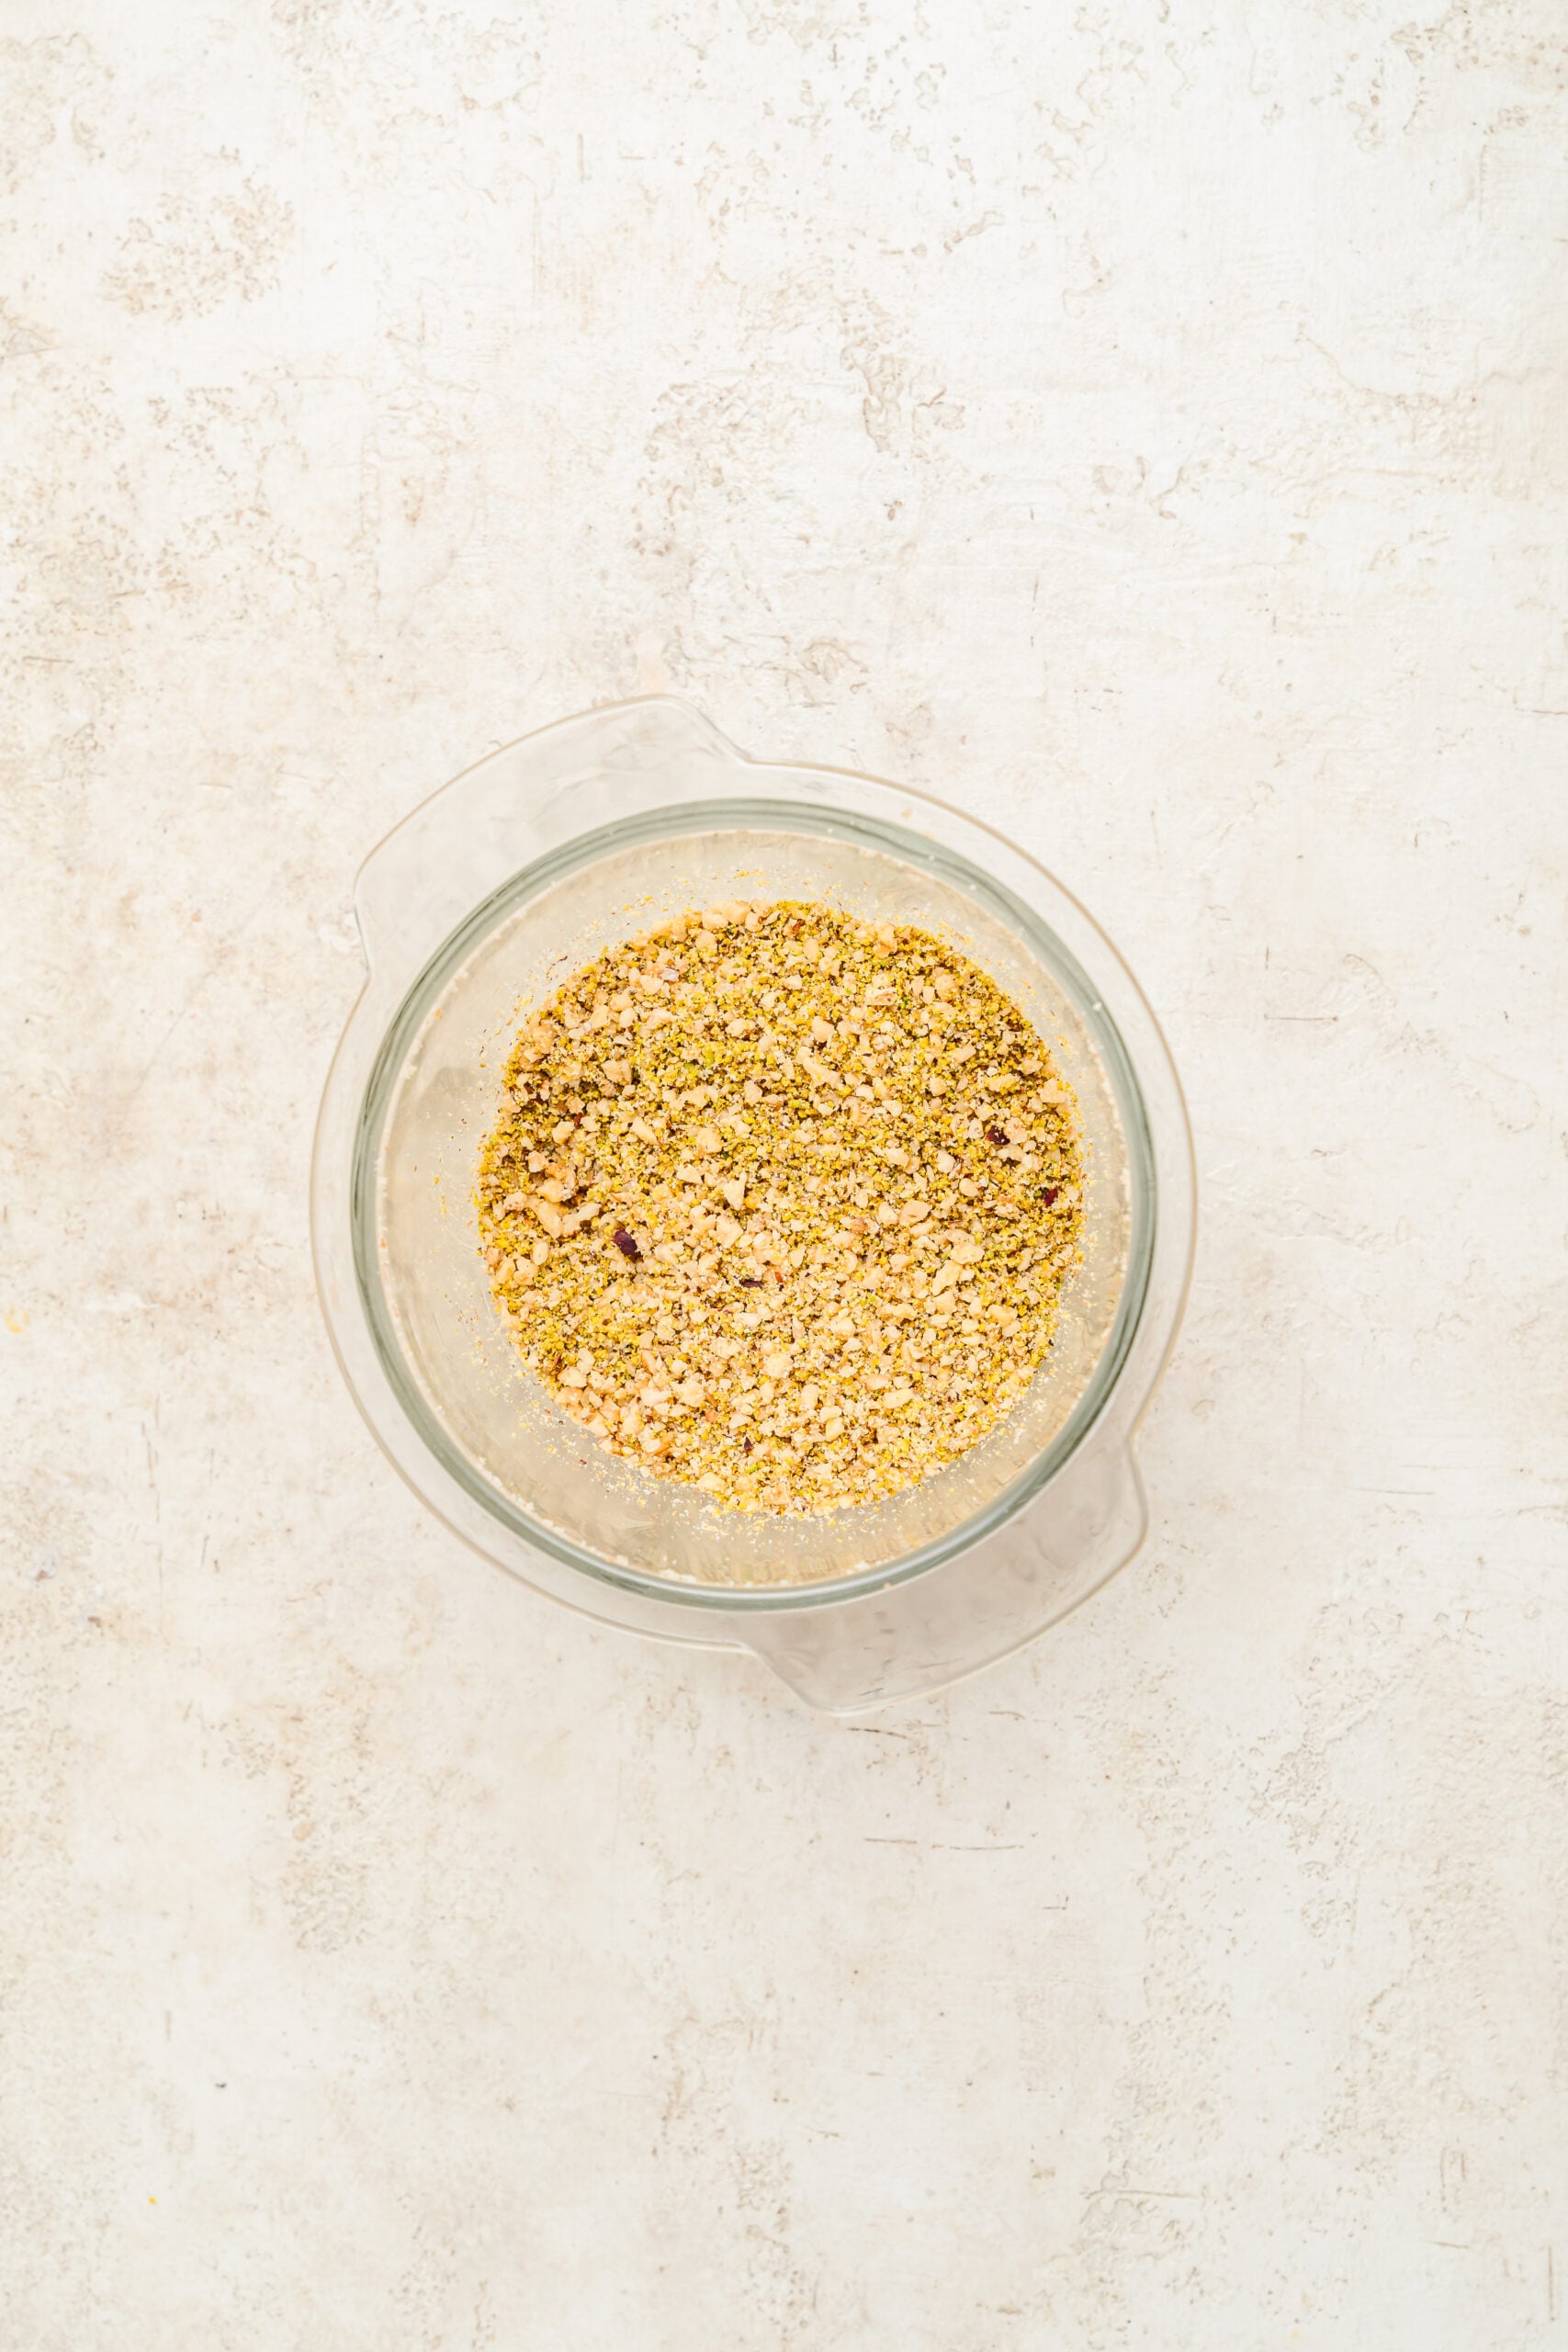
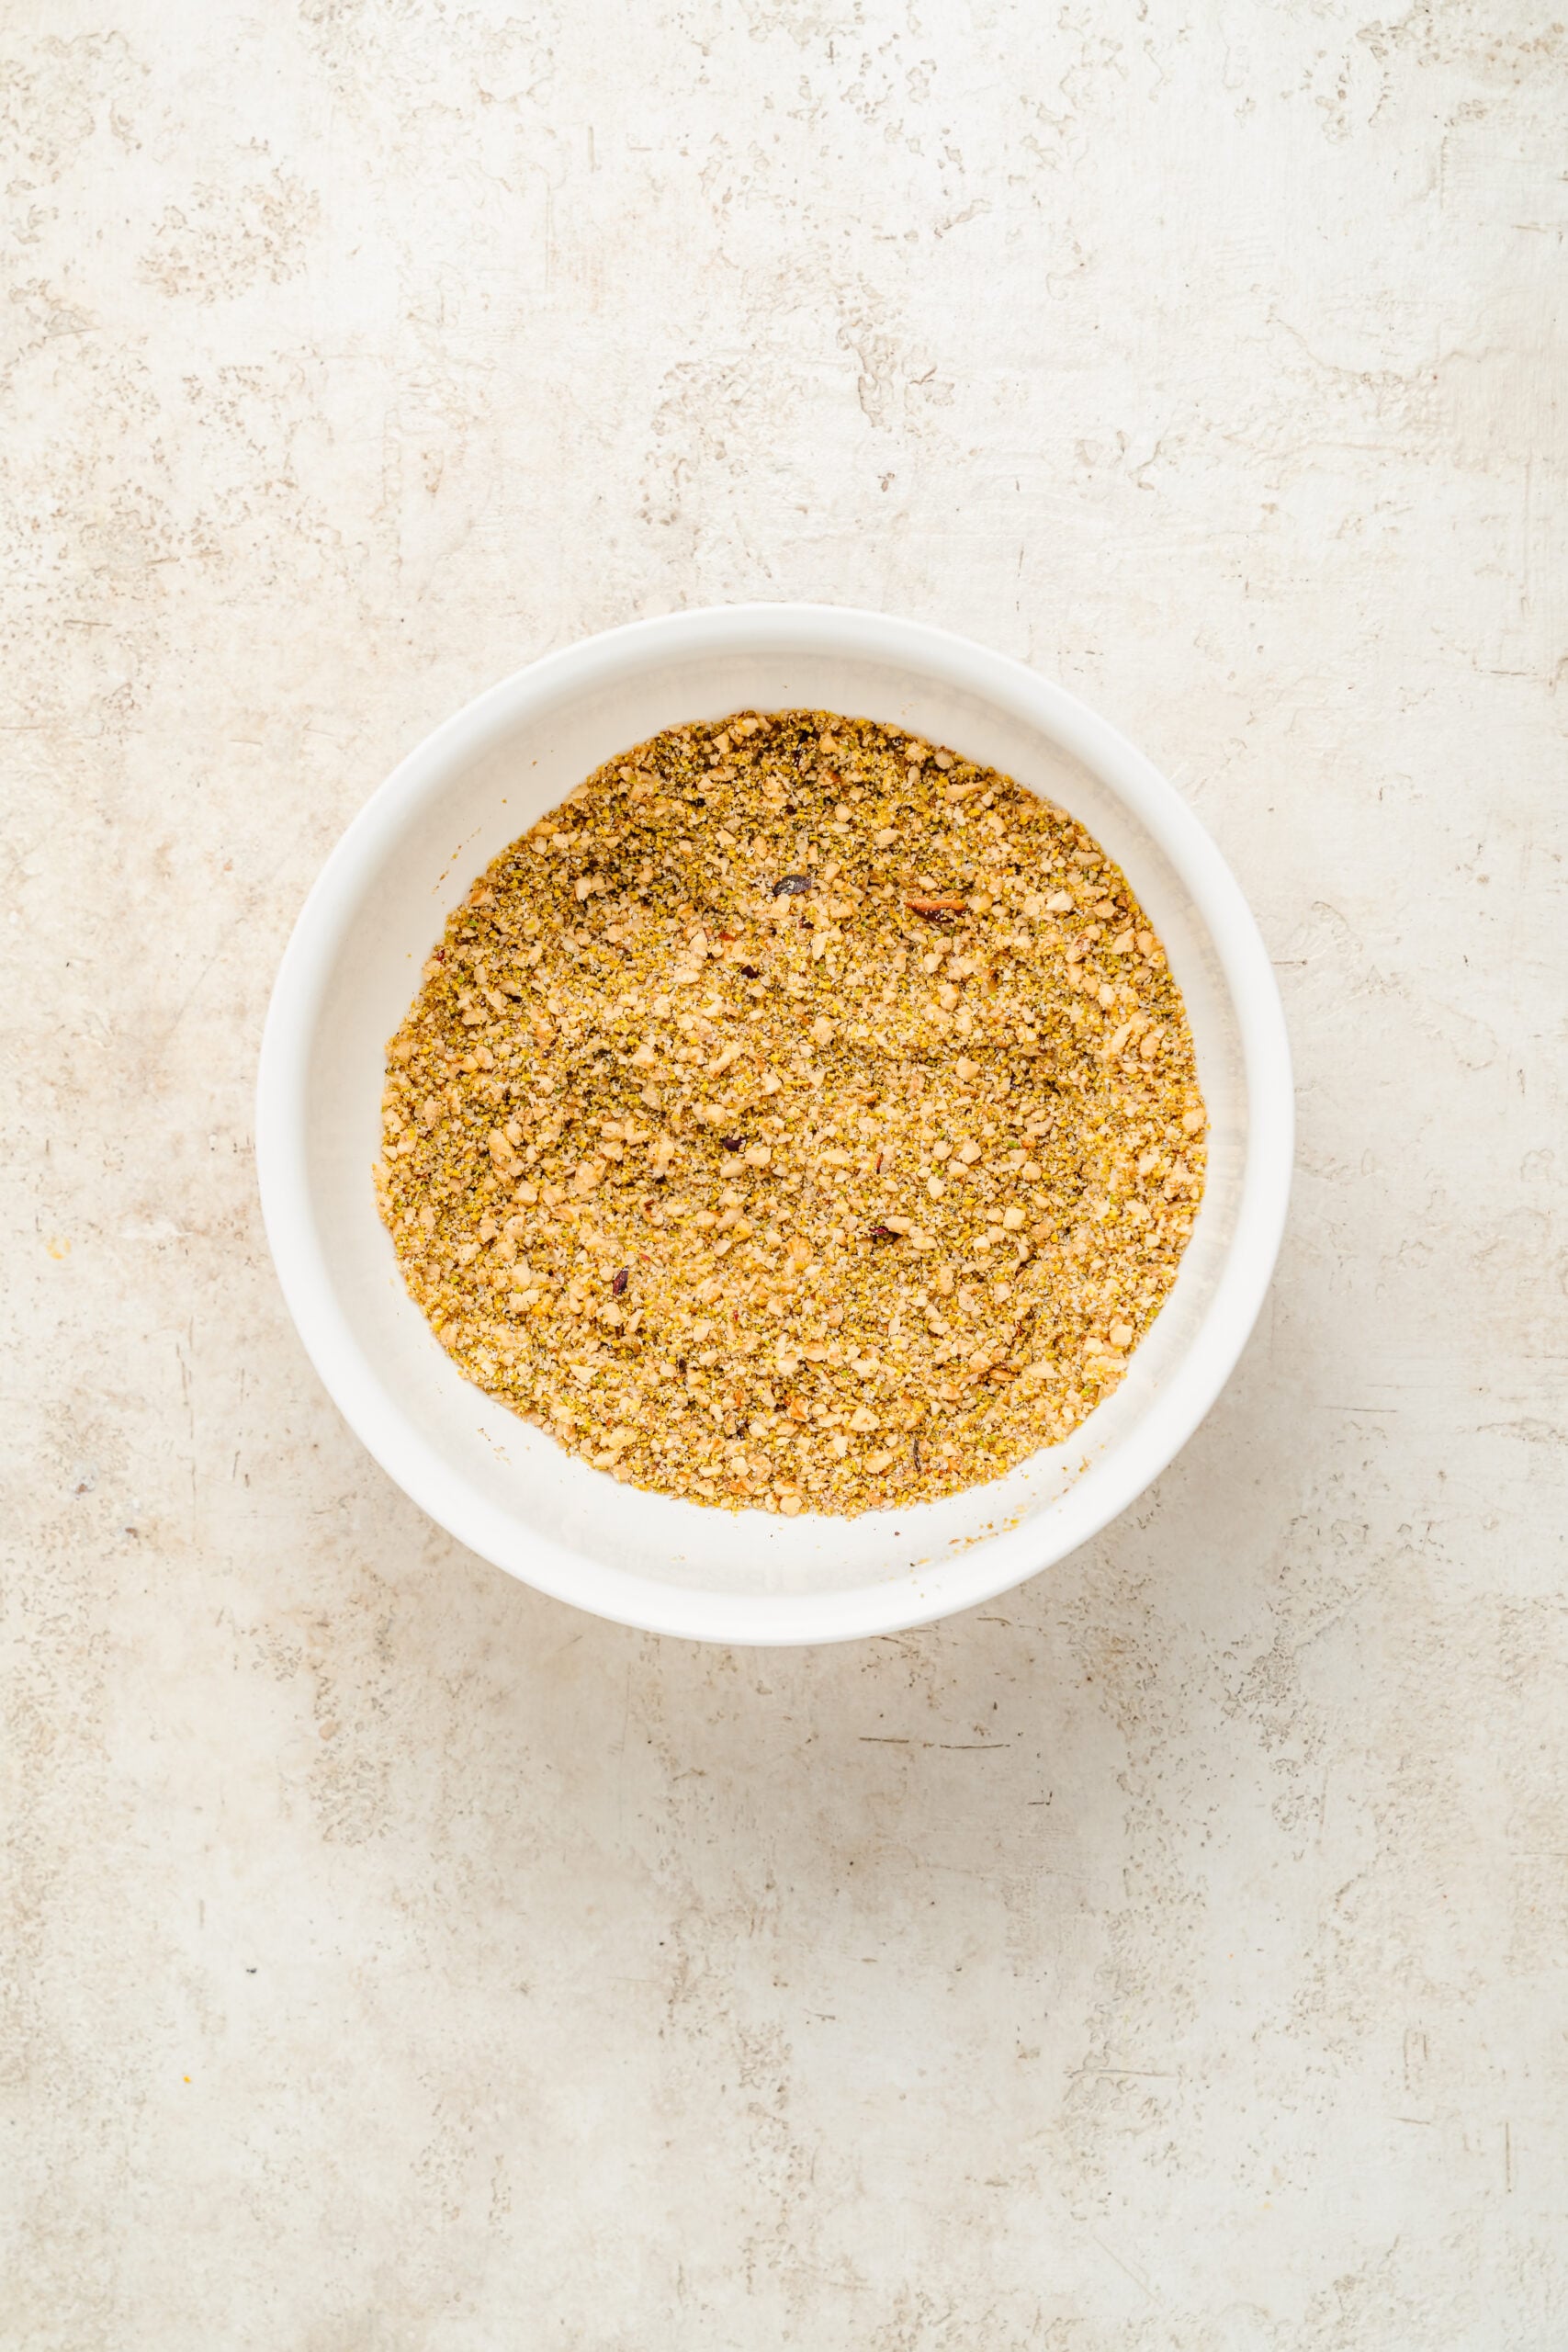
- Pulse the pistachios and walnuts in a food processor in short bursts until they look like coarse breadcrumbs with a few bigger pieces still in there. Stop well before they turn to paste.
- Tip them into a bowl and stir through the sugar, cinnamon and salt.
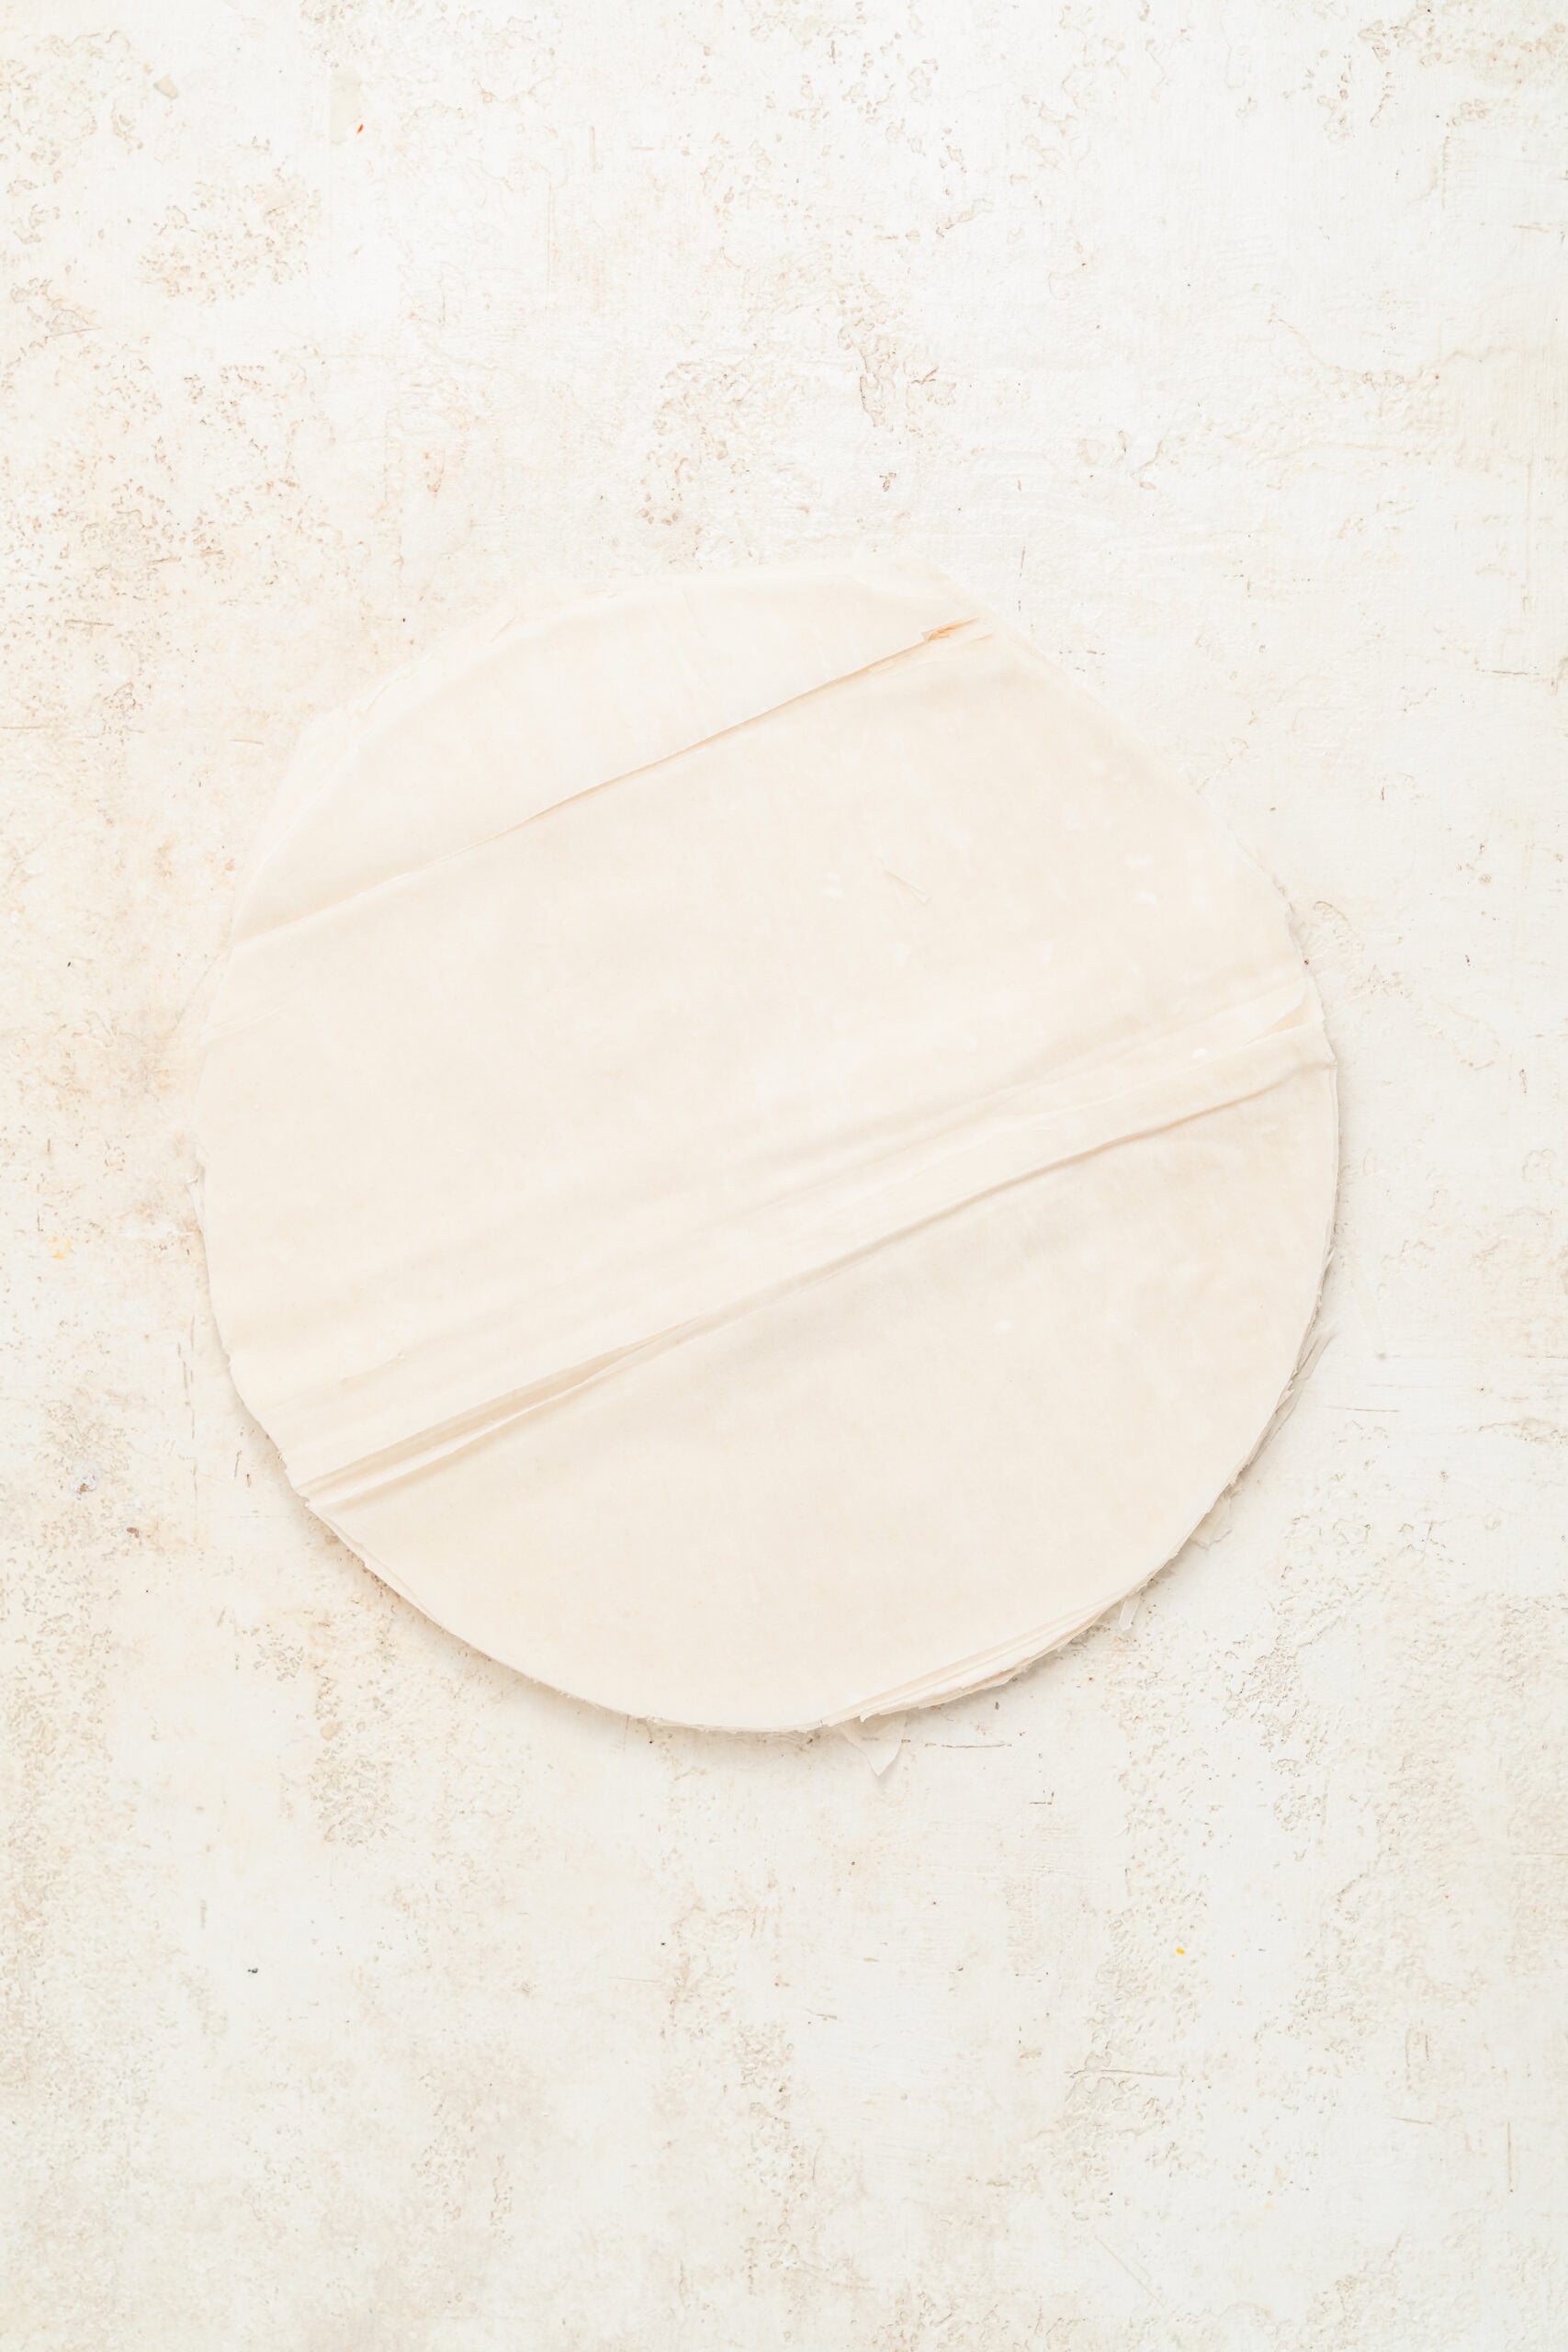
- Unroll the phyllo and trim the whole stack to the footprint of your tin in one pass with a sharp knife. Cover it with a sheet of baking paper and then a barely damp tea towel, and keep it covered the entire time you work. Uncovered phyllo dries out in about two minutes.
- Lay one sheet in the tin and brush it all over with butter, working from the edges inward so you do not drag and tear it. Repeat until you have 10 buttered sheets stacked.
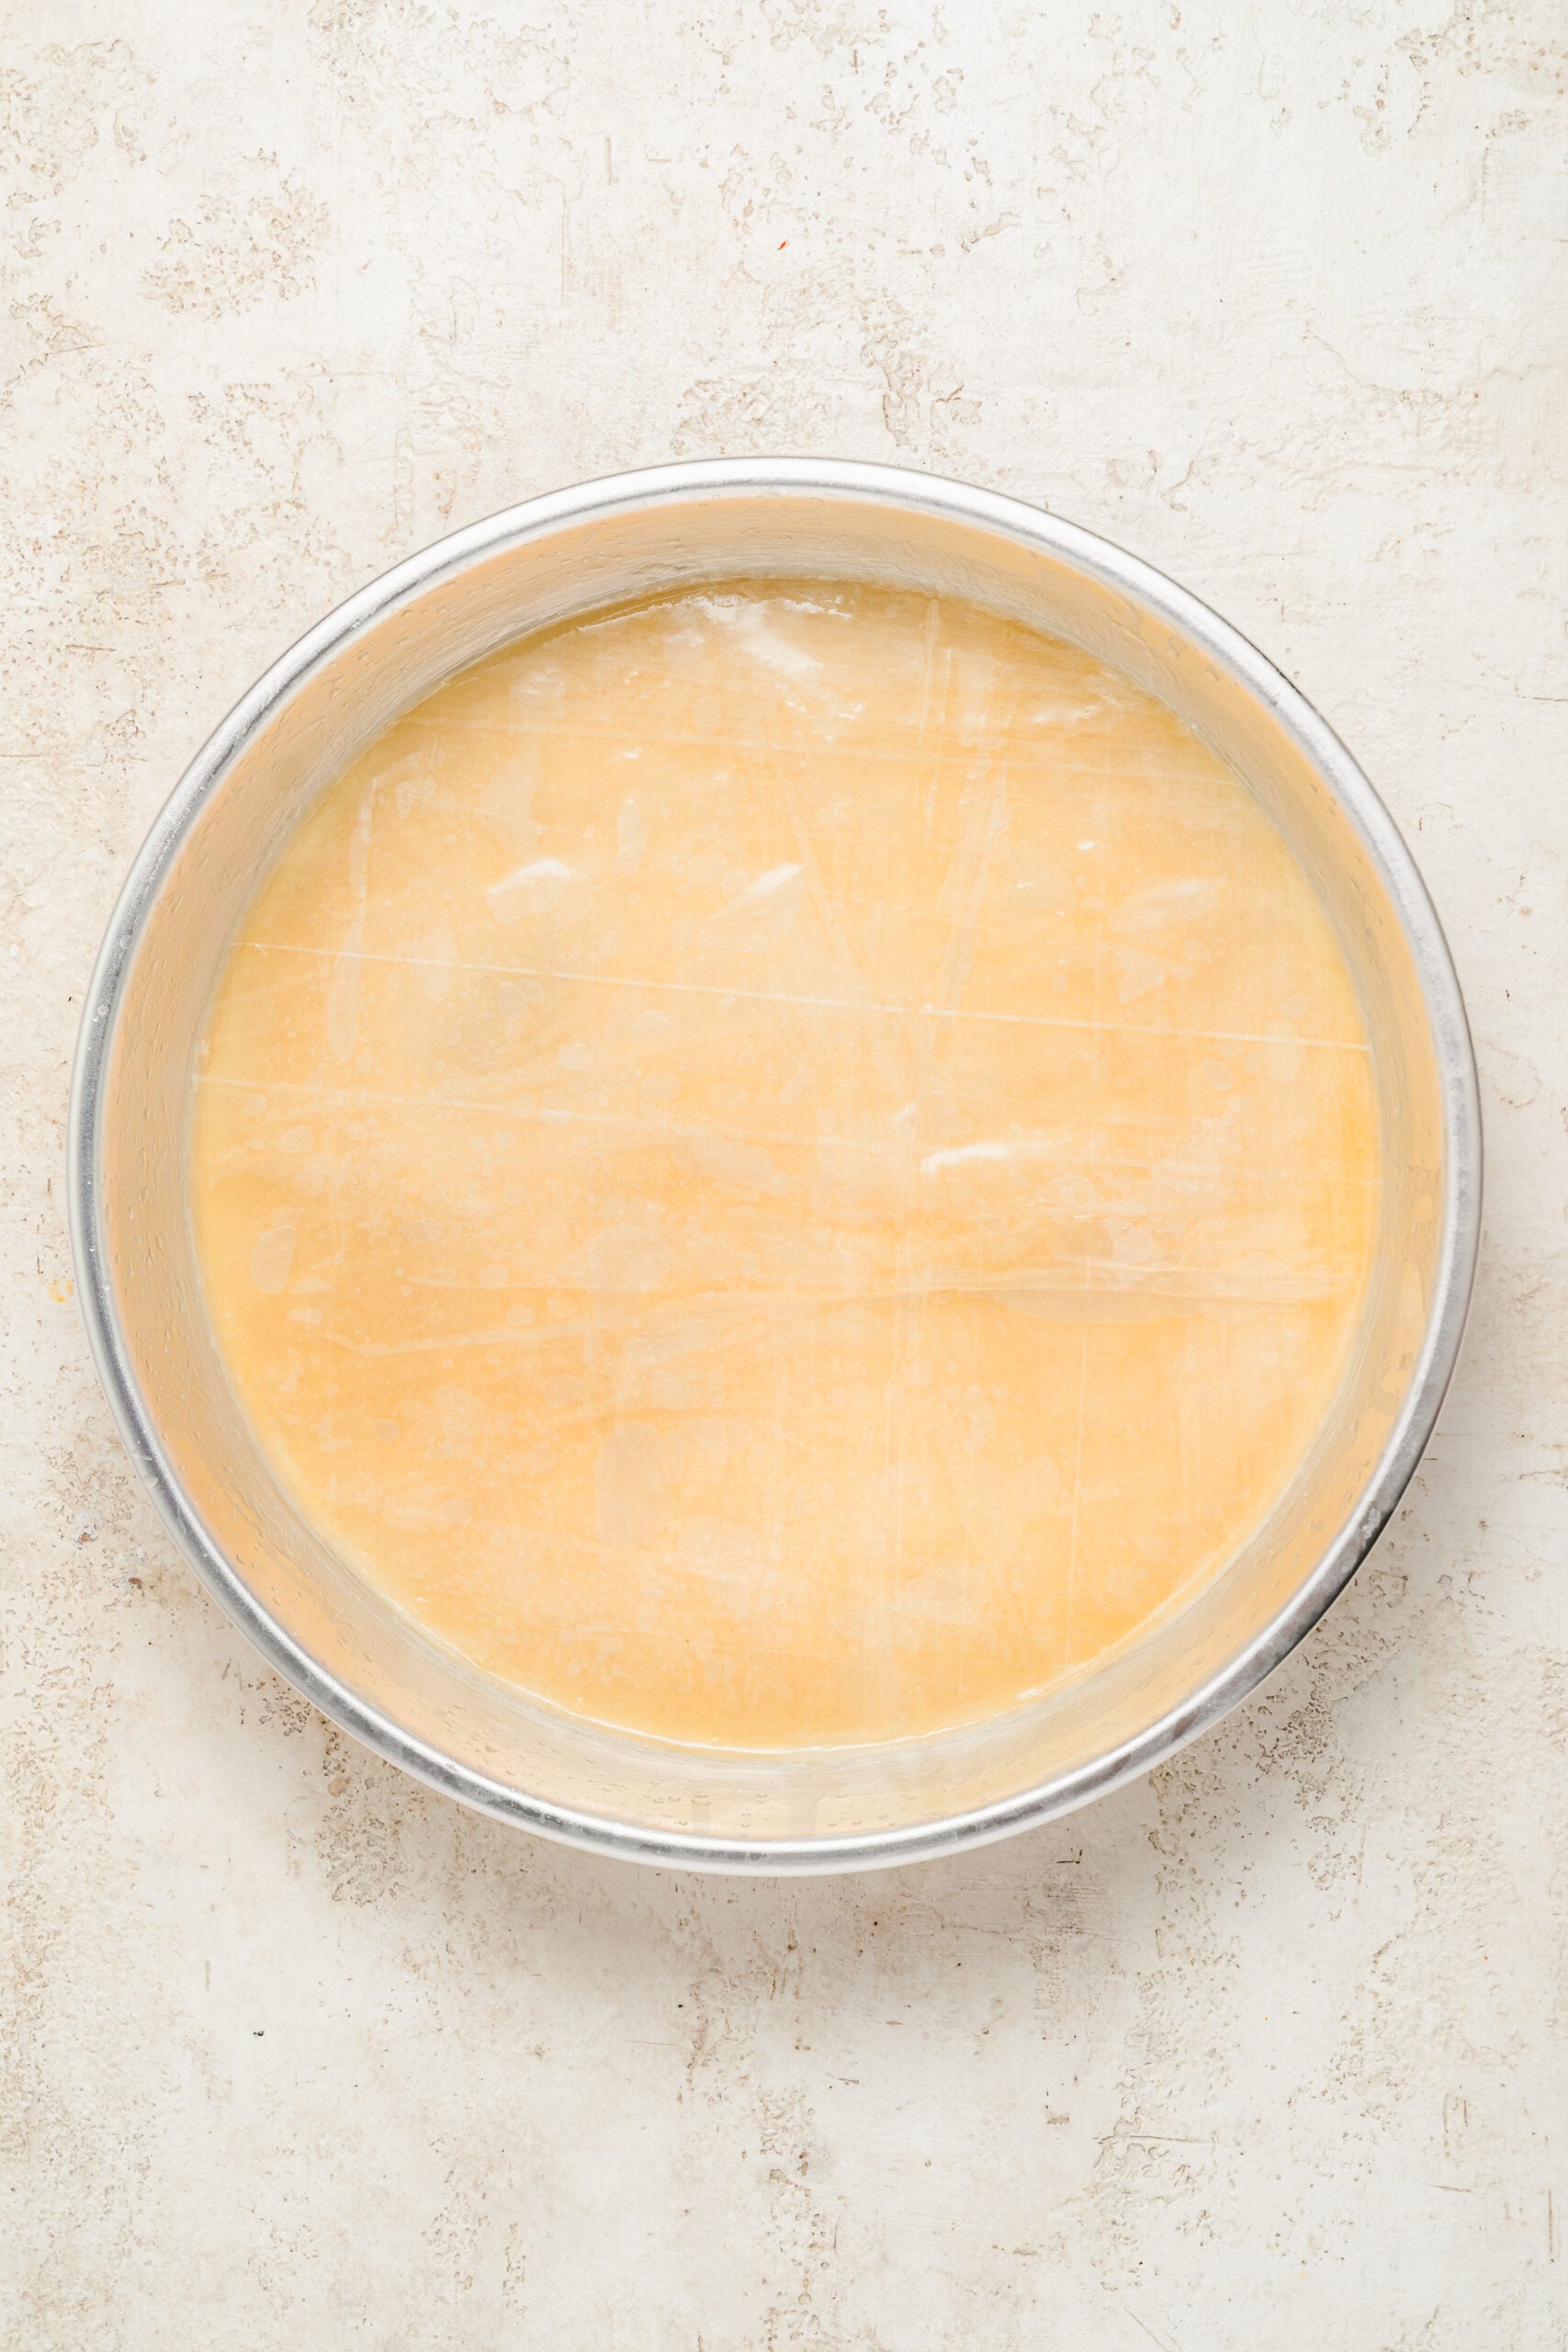
- Scatter a third of the nut mixture evenly over the pastry, right out to the edges.
- Stack 5 more buttered sheets on top of the nuts.
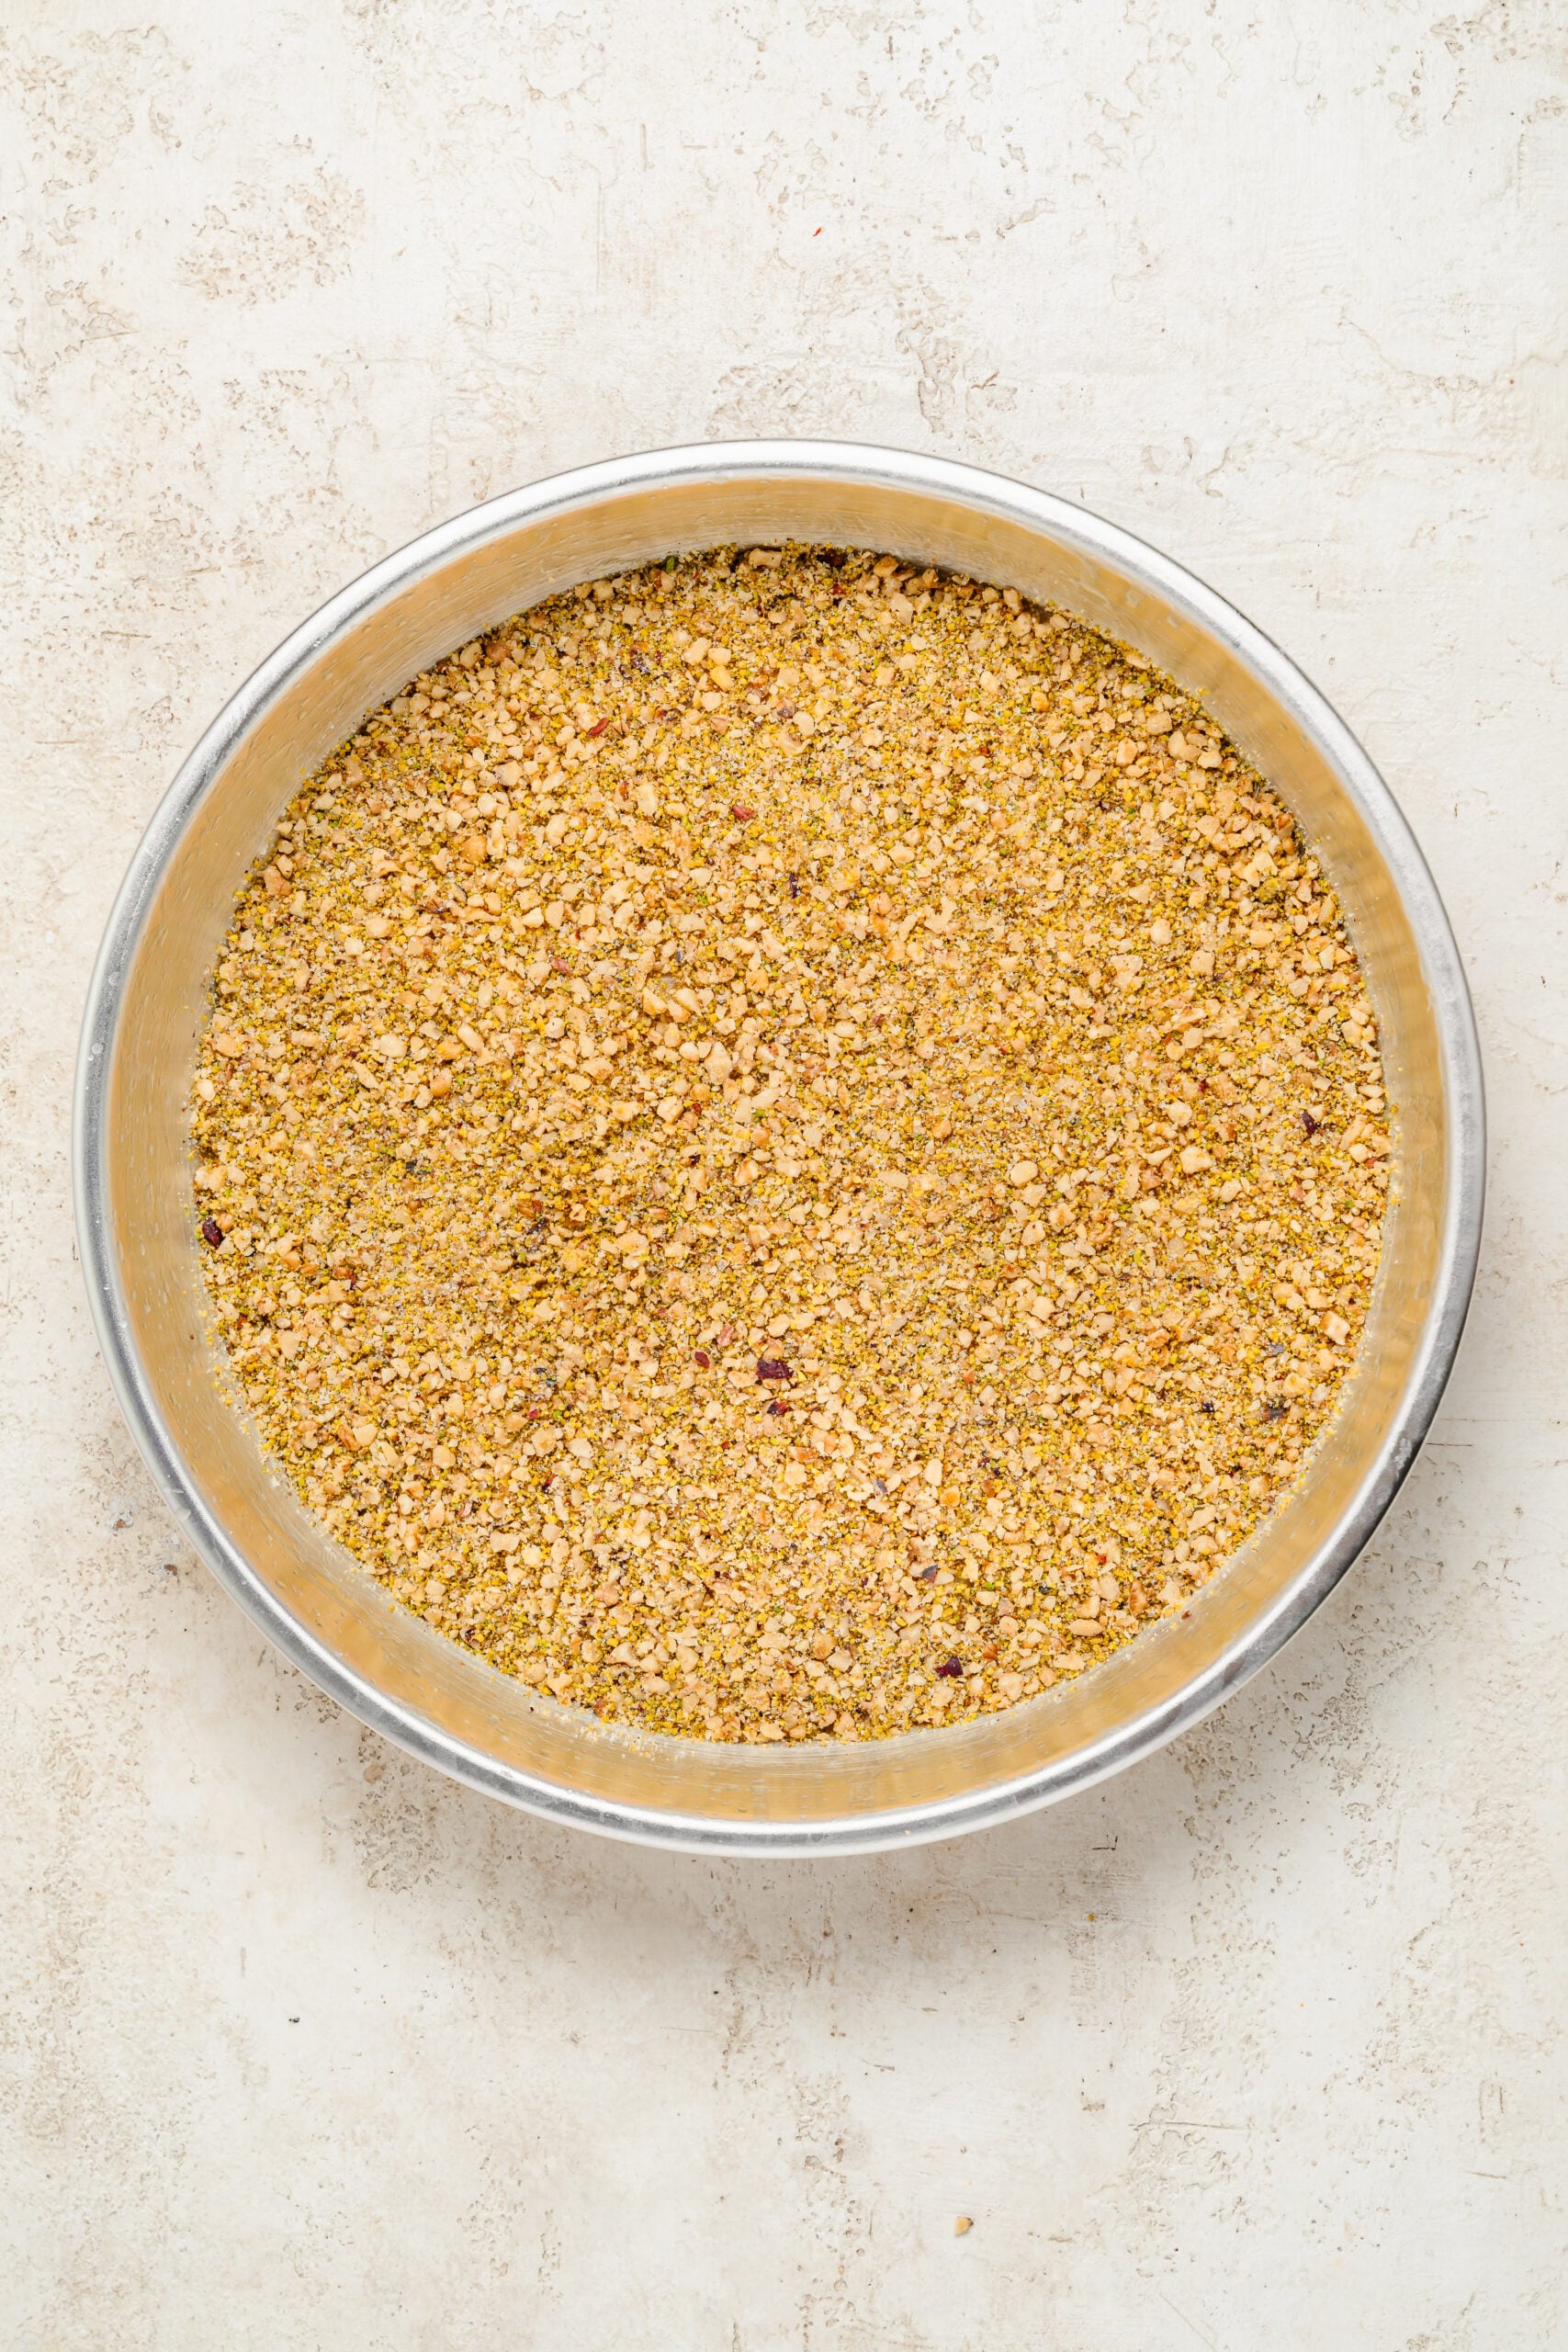
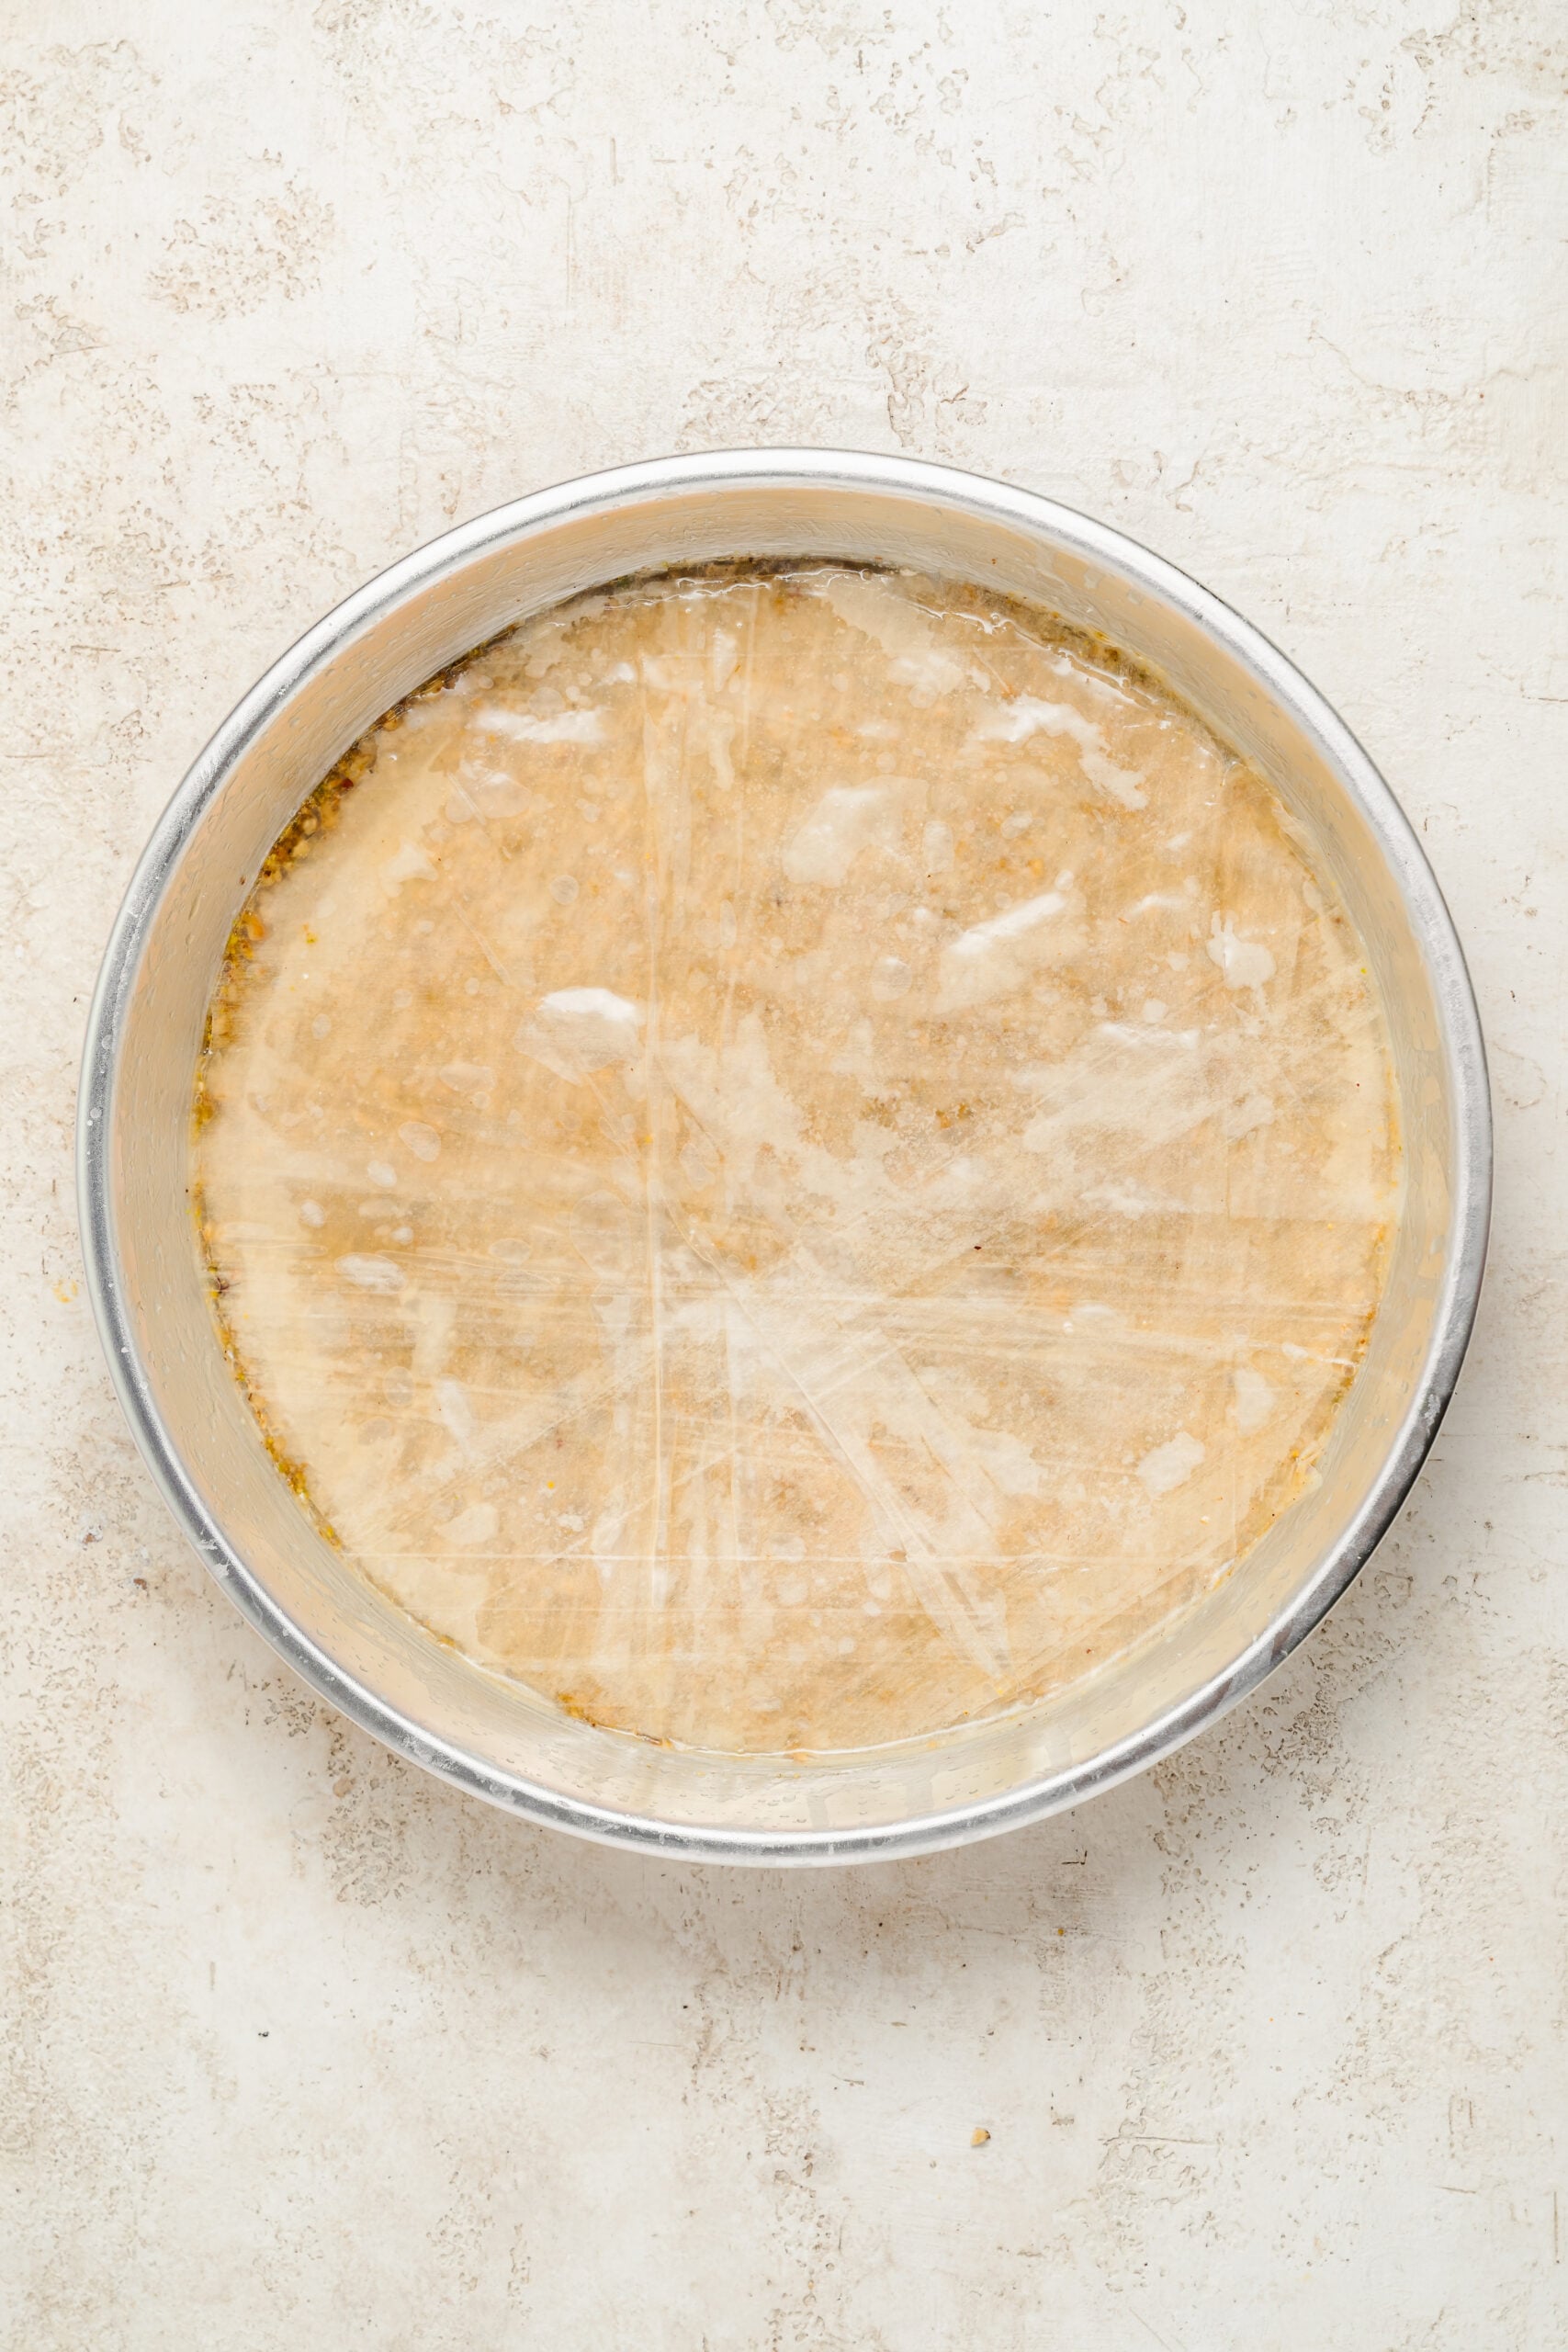
- Add another third of the nuts, then 5 more buttered sheets.
- Scatter the last third of the nuts over that.
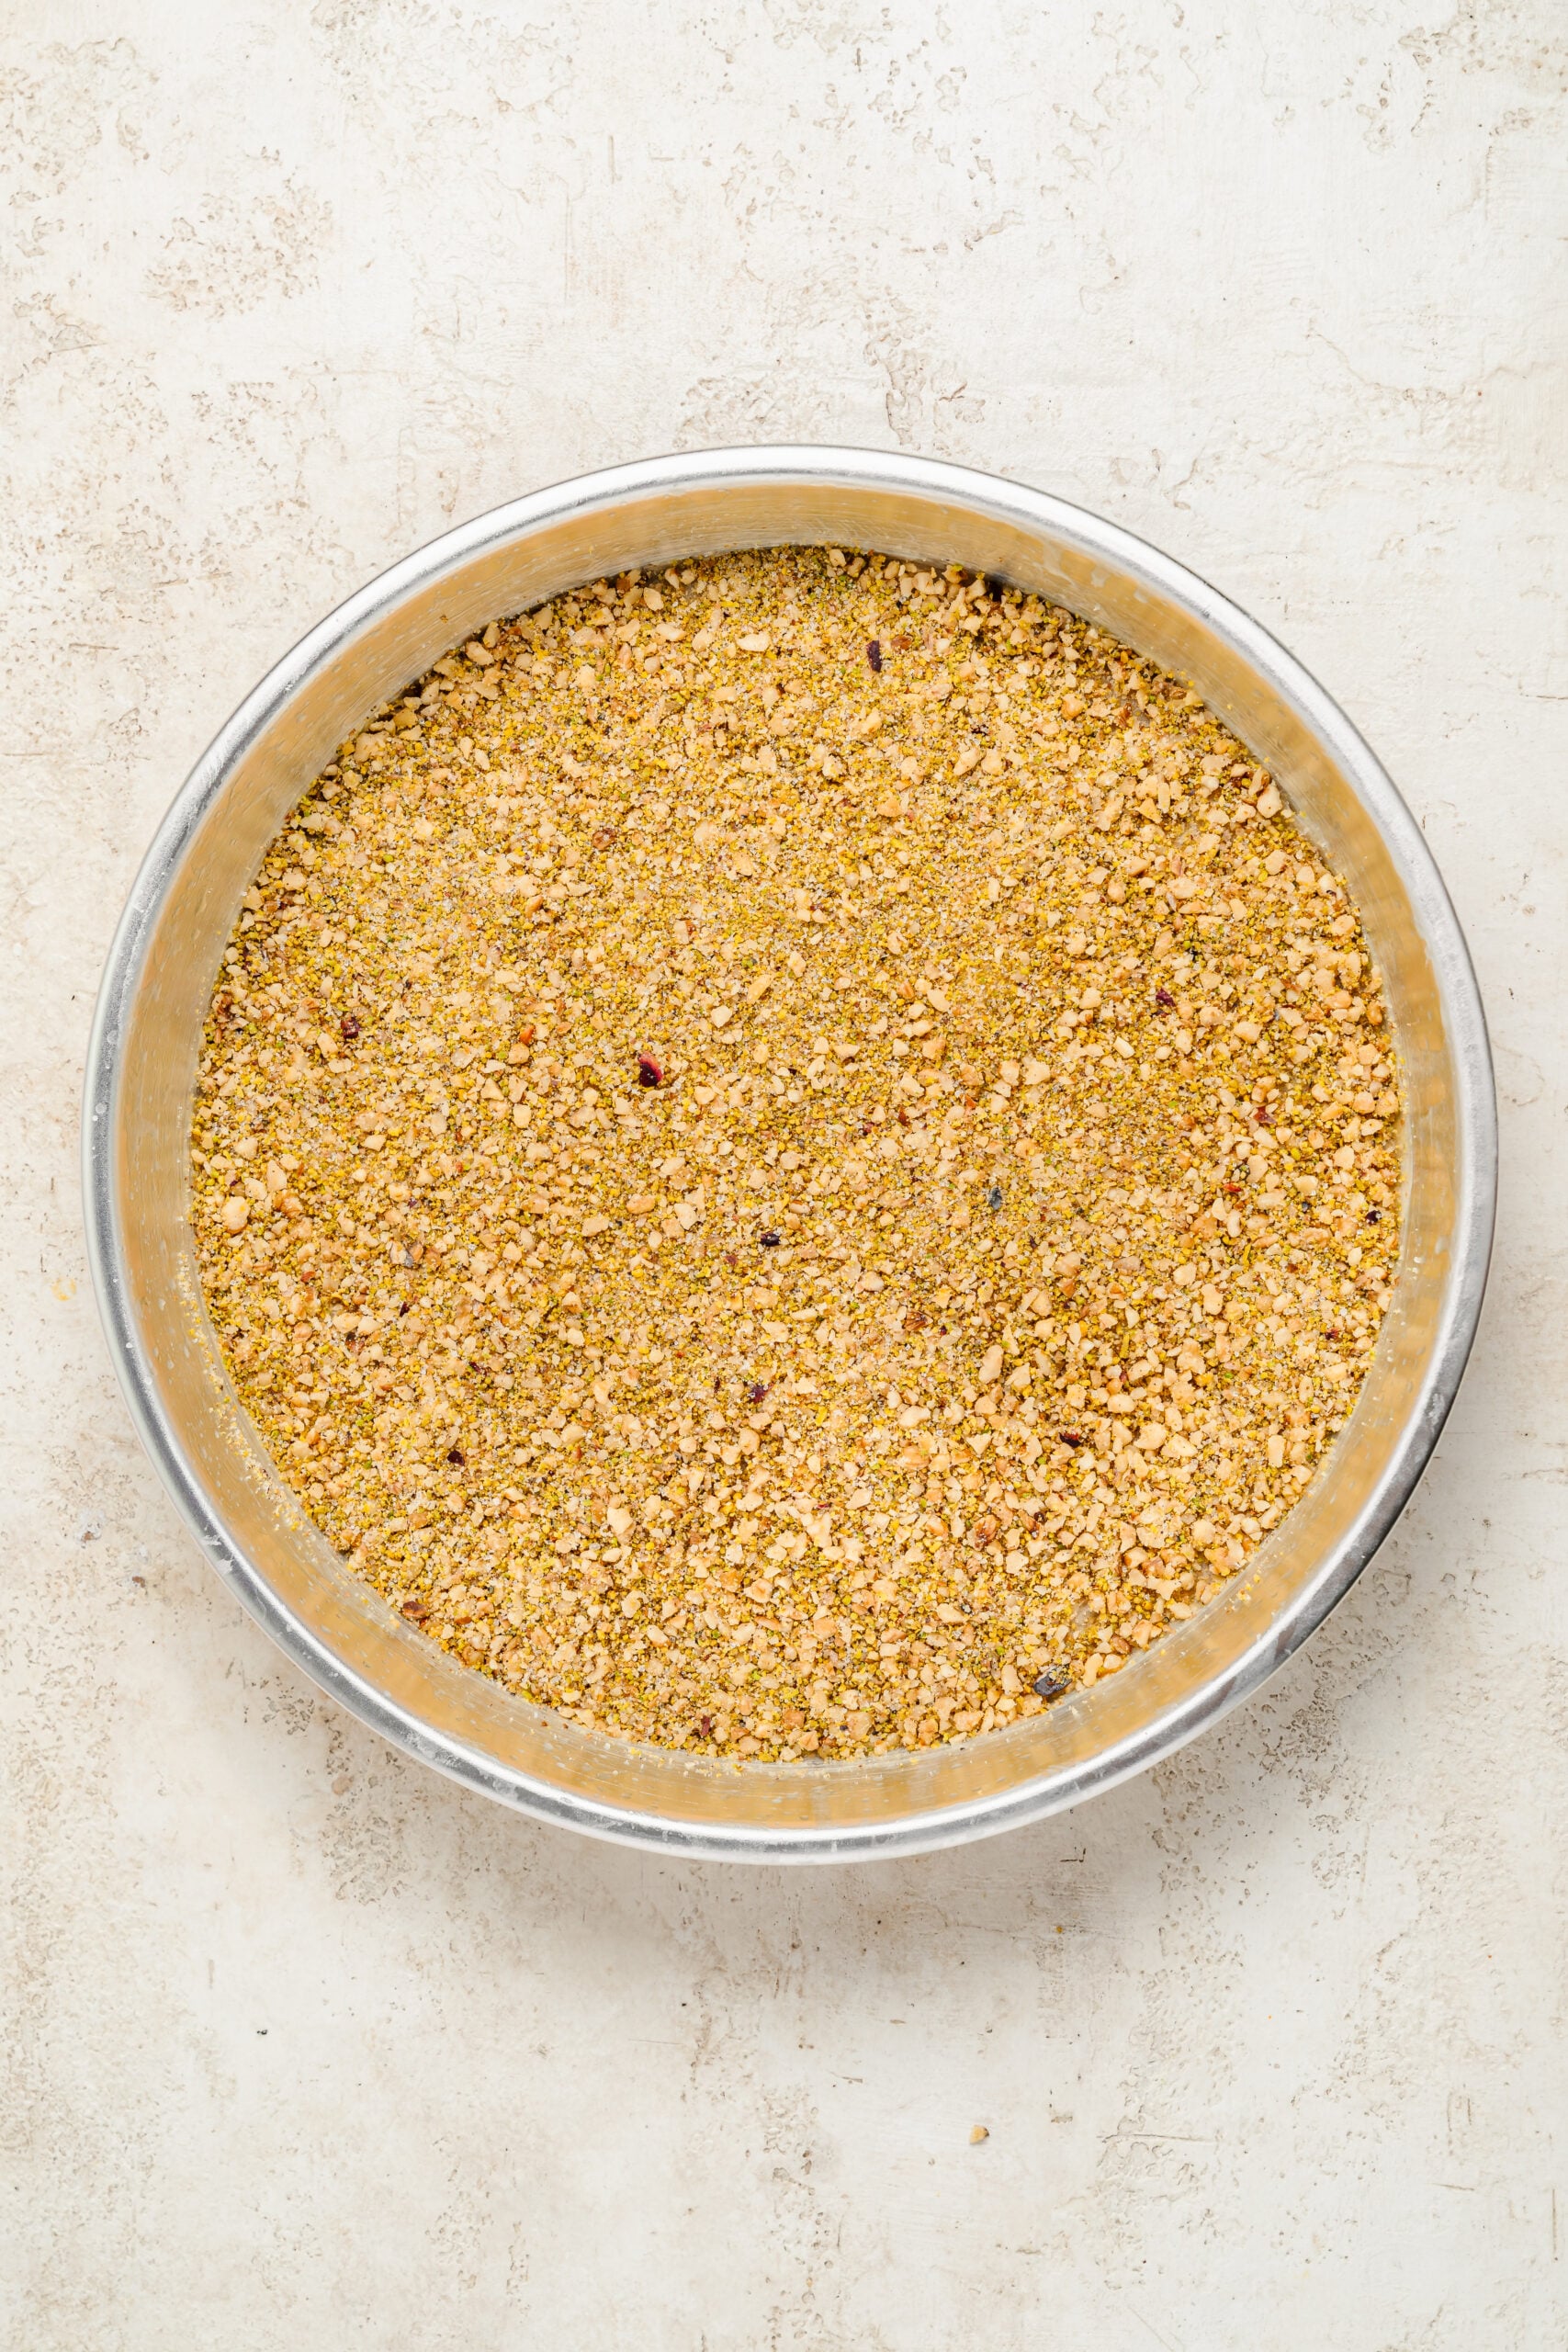
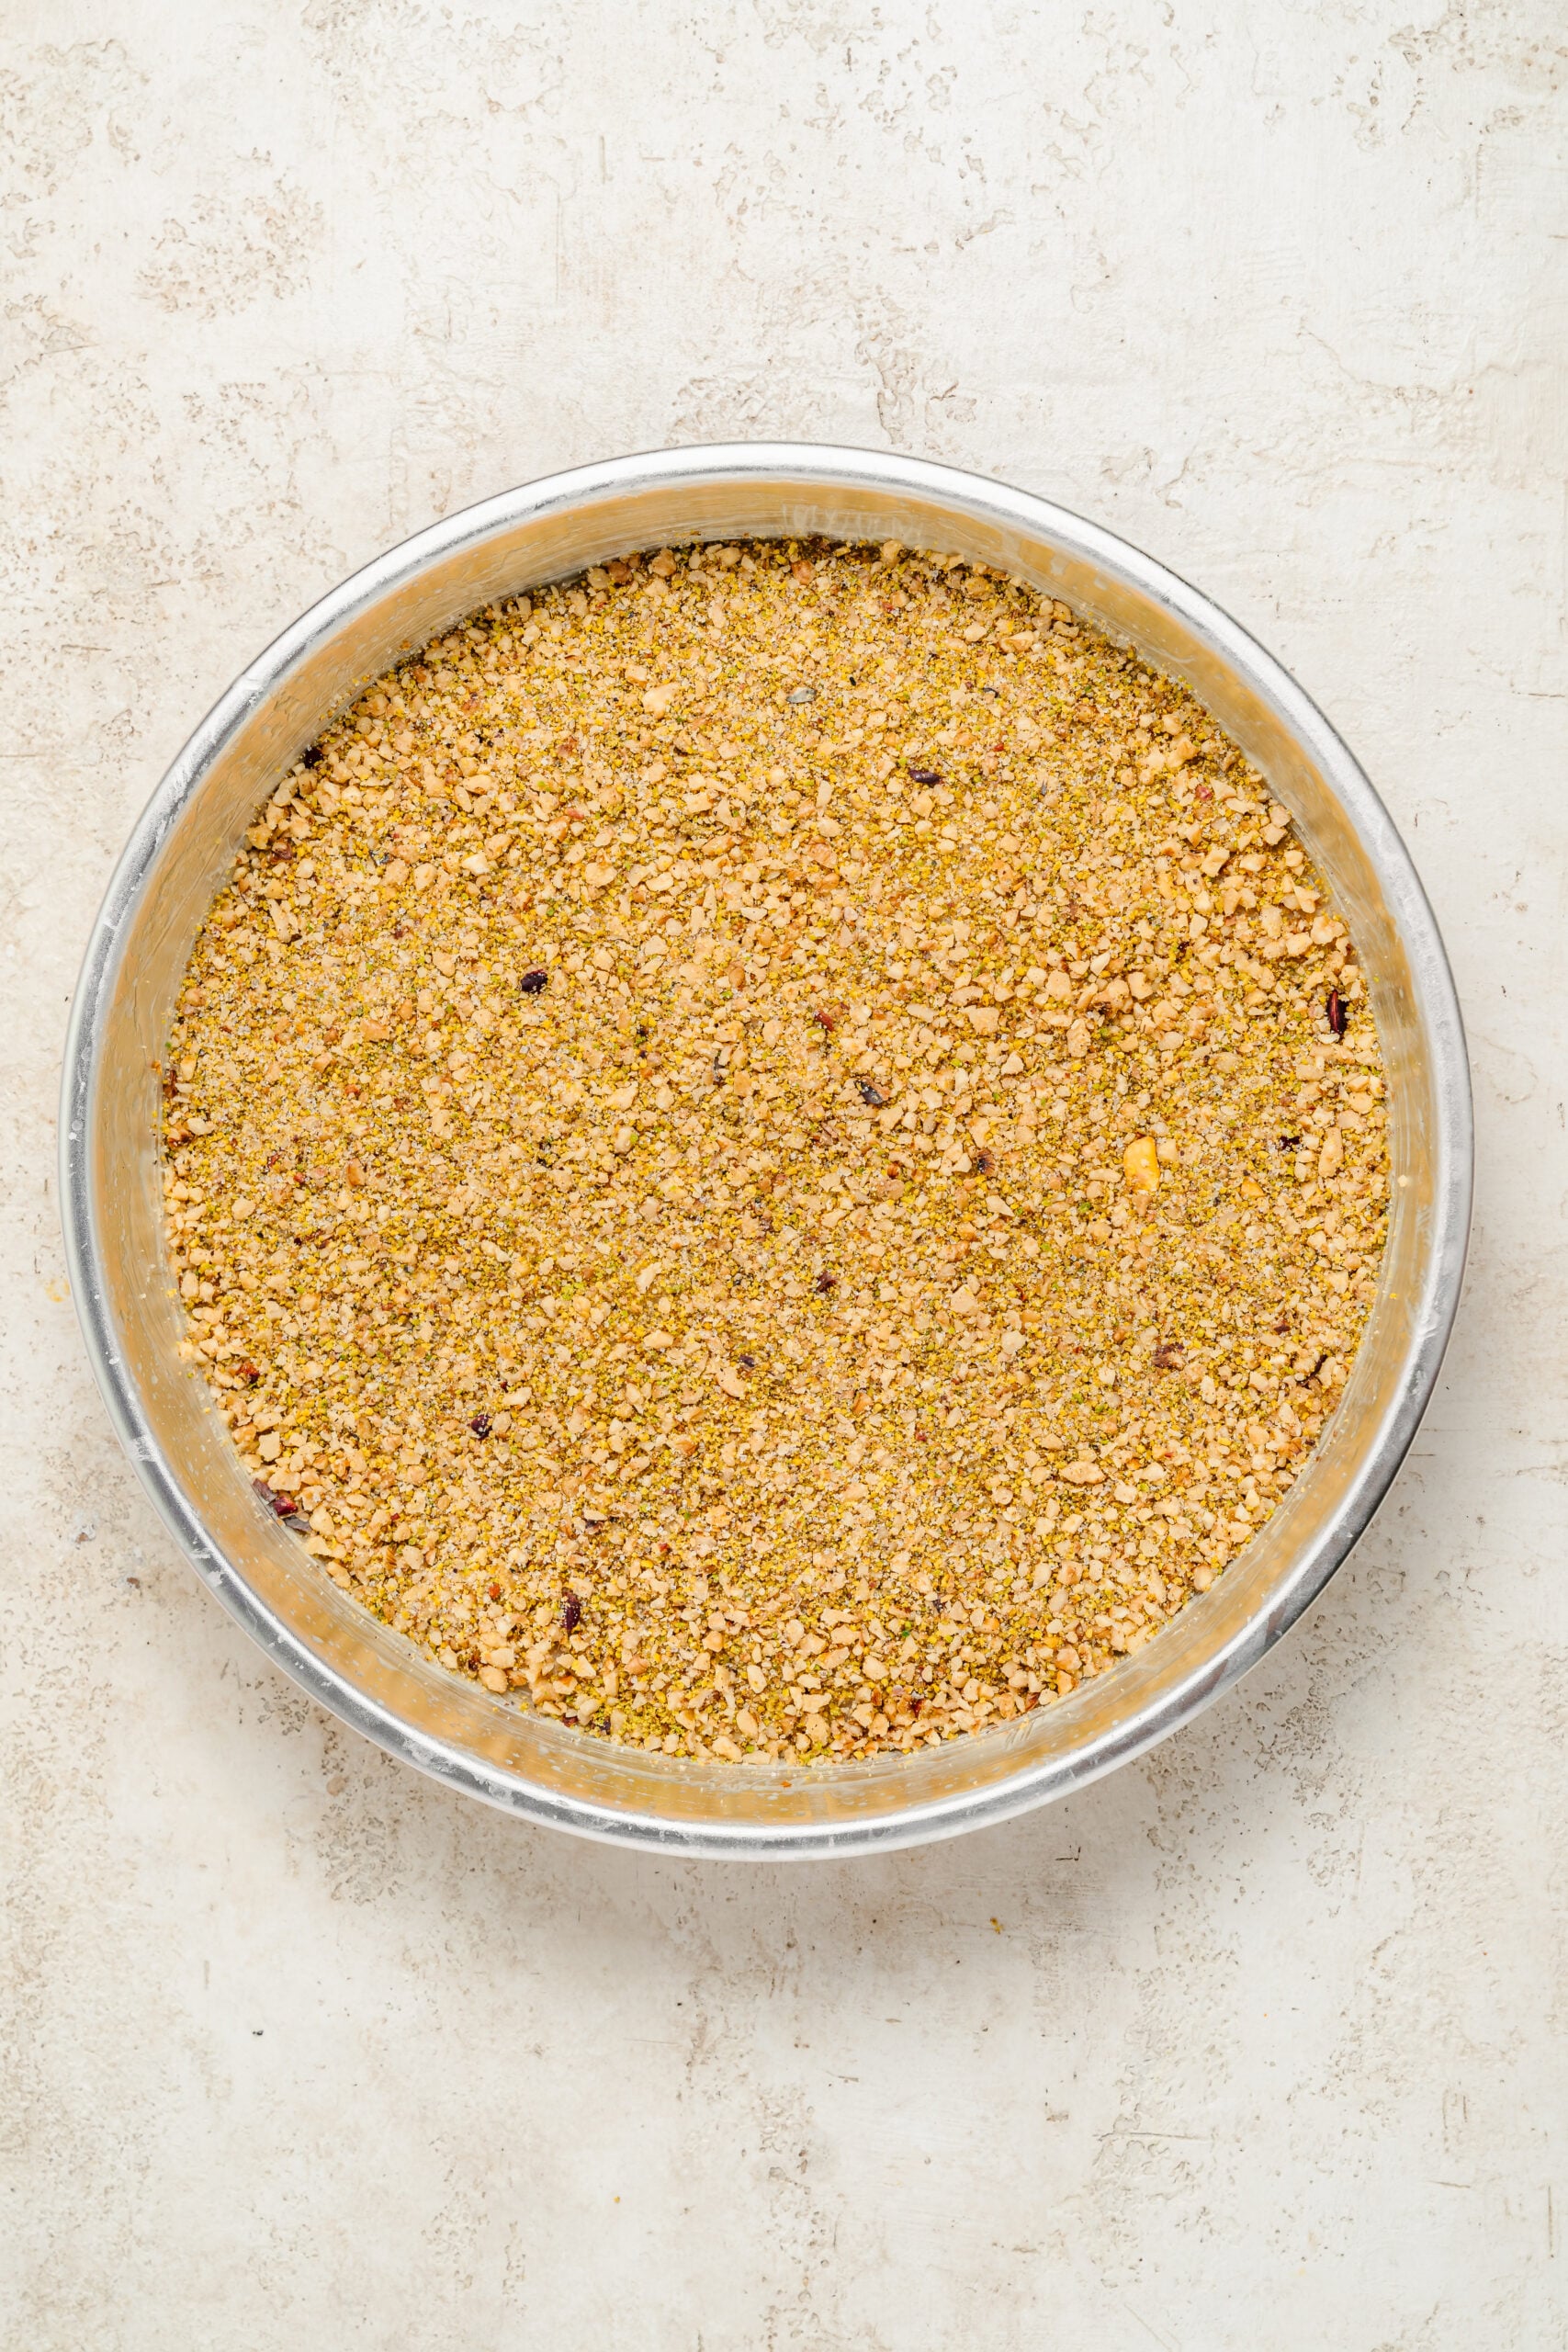
- Stack the remaining sheets on top, buttering every one, and butter the final sheet generously. Aim for 10 sheets in the crown. If your count leaves you short, borrow from a middle layer rather than from the top or the base.
- Cut all the way to the bottom of the tin with a sharp thin knife, now, before it bakes. Parallel lines one way, then diagonals cutting across them for diamonds.
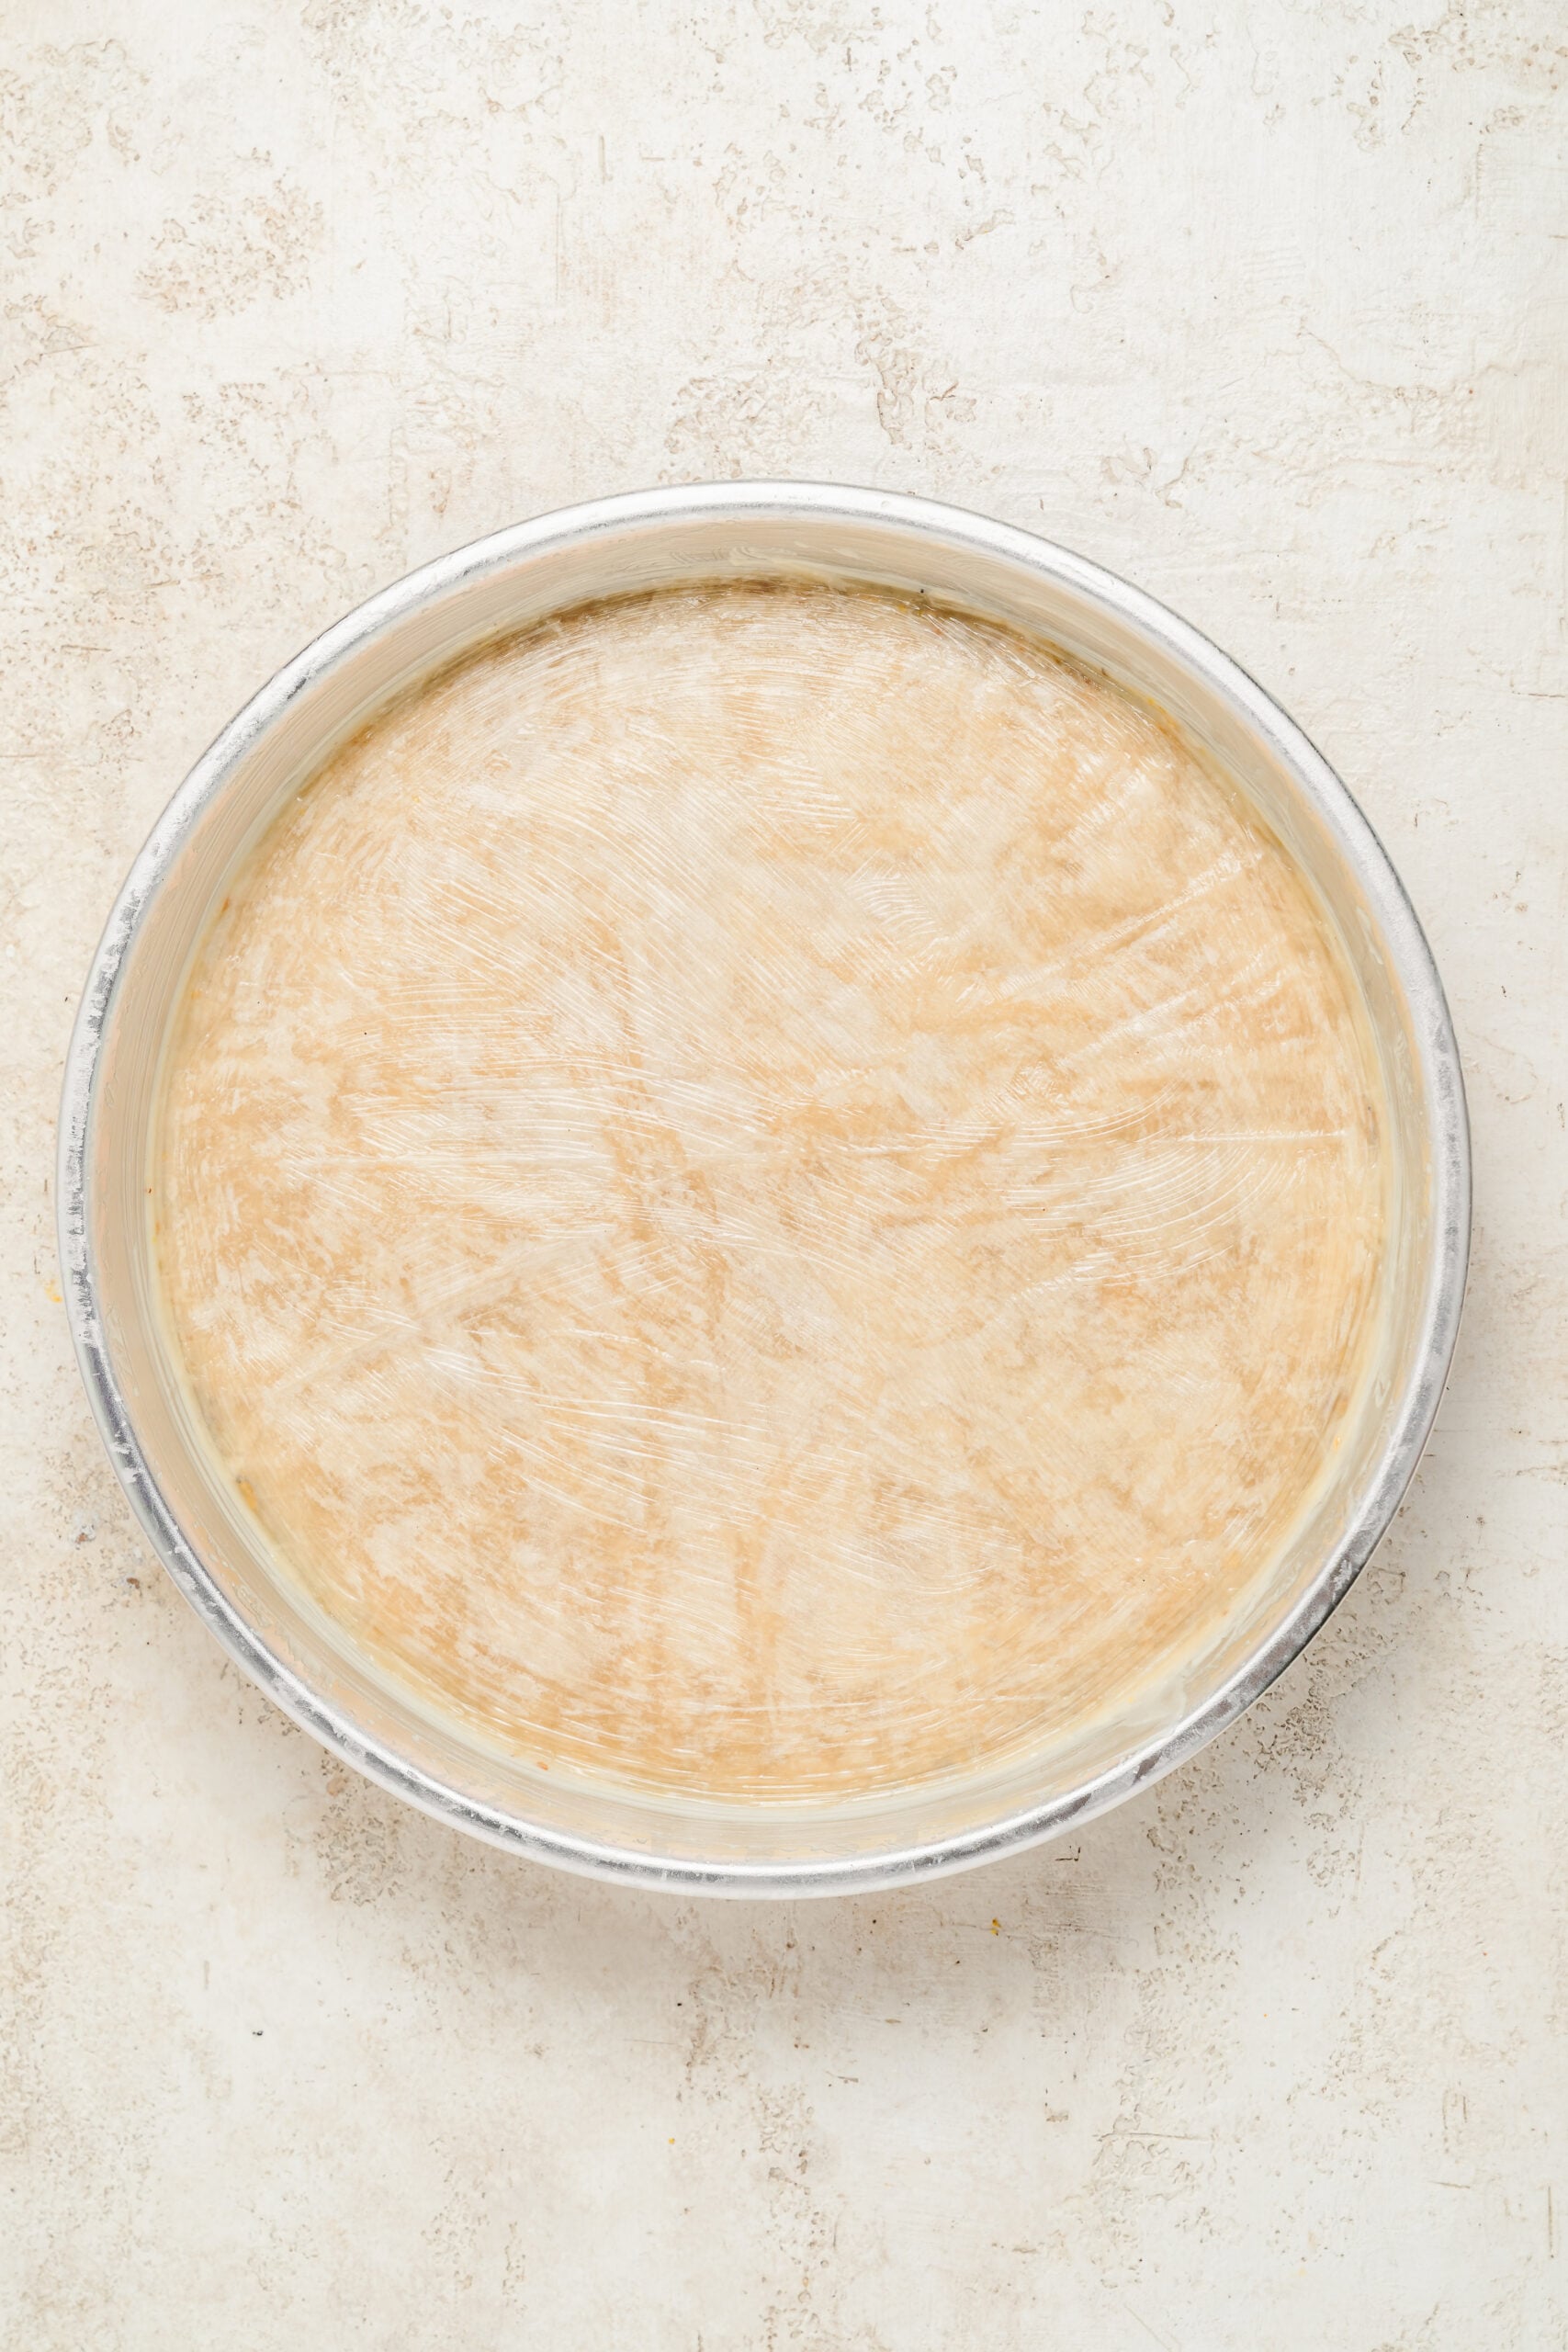
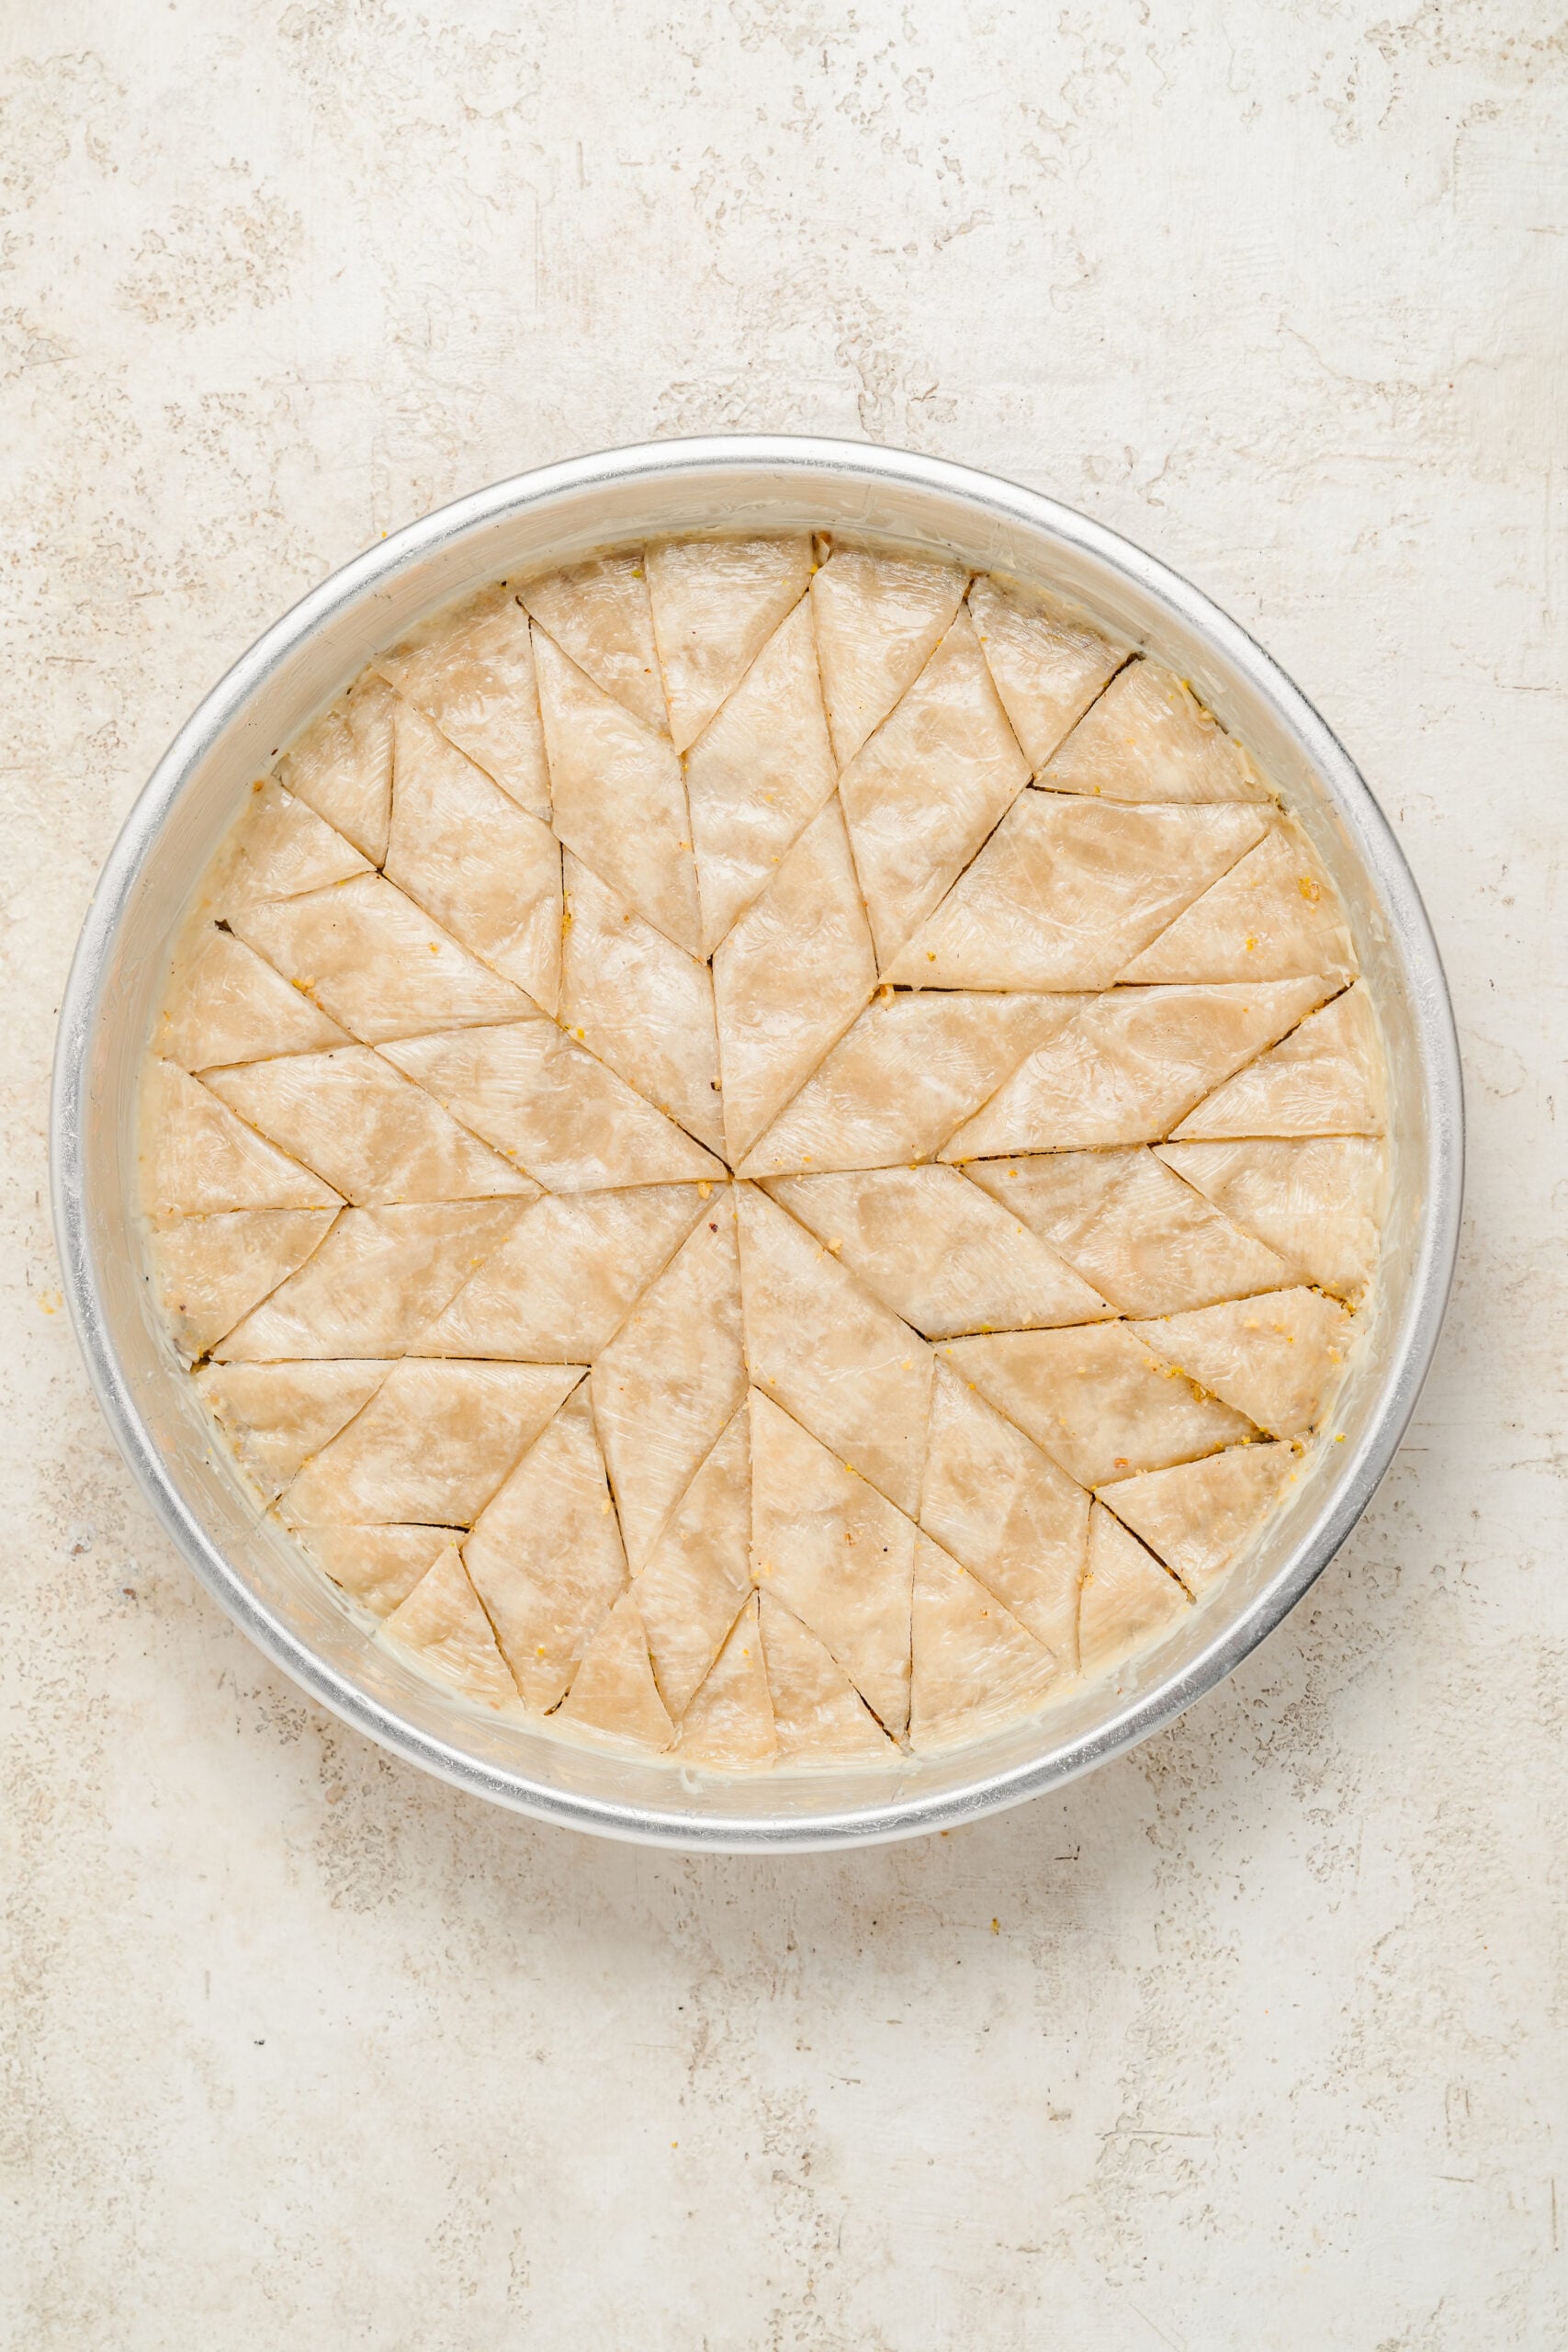
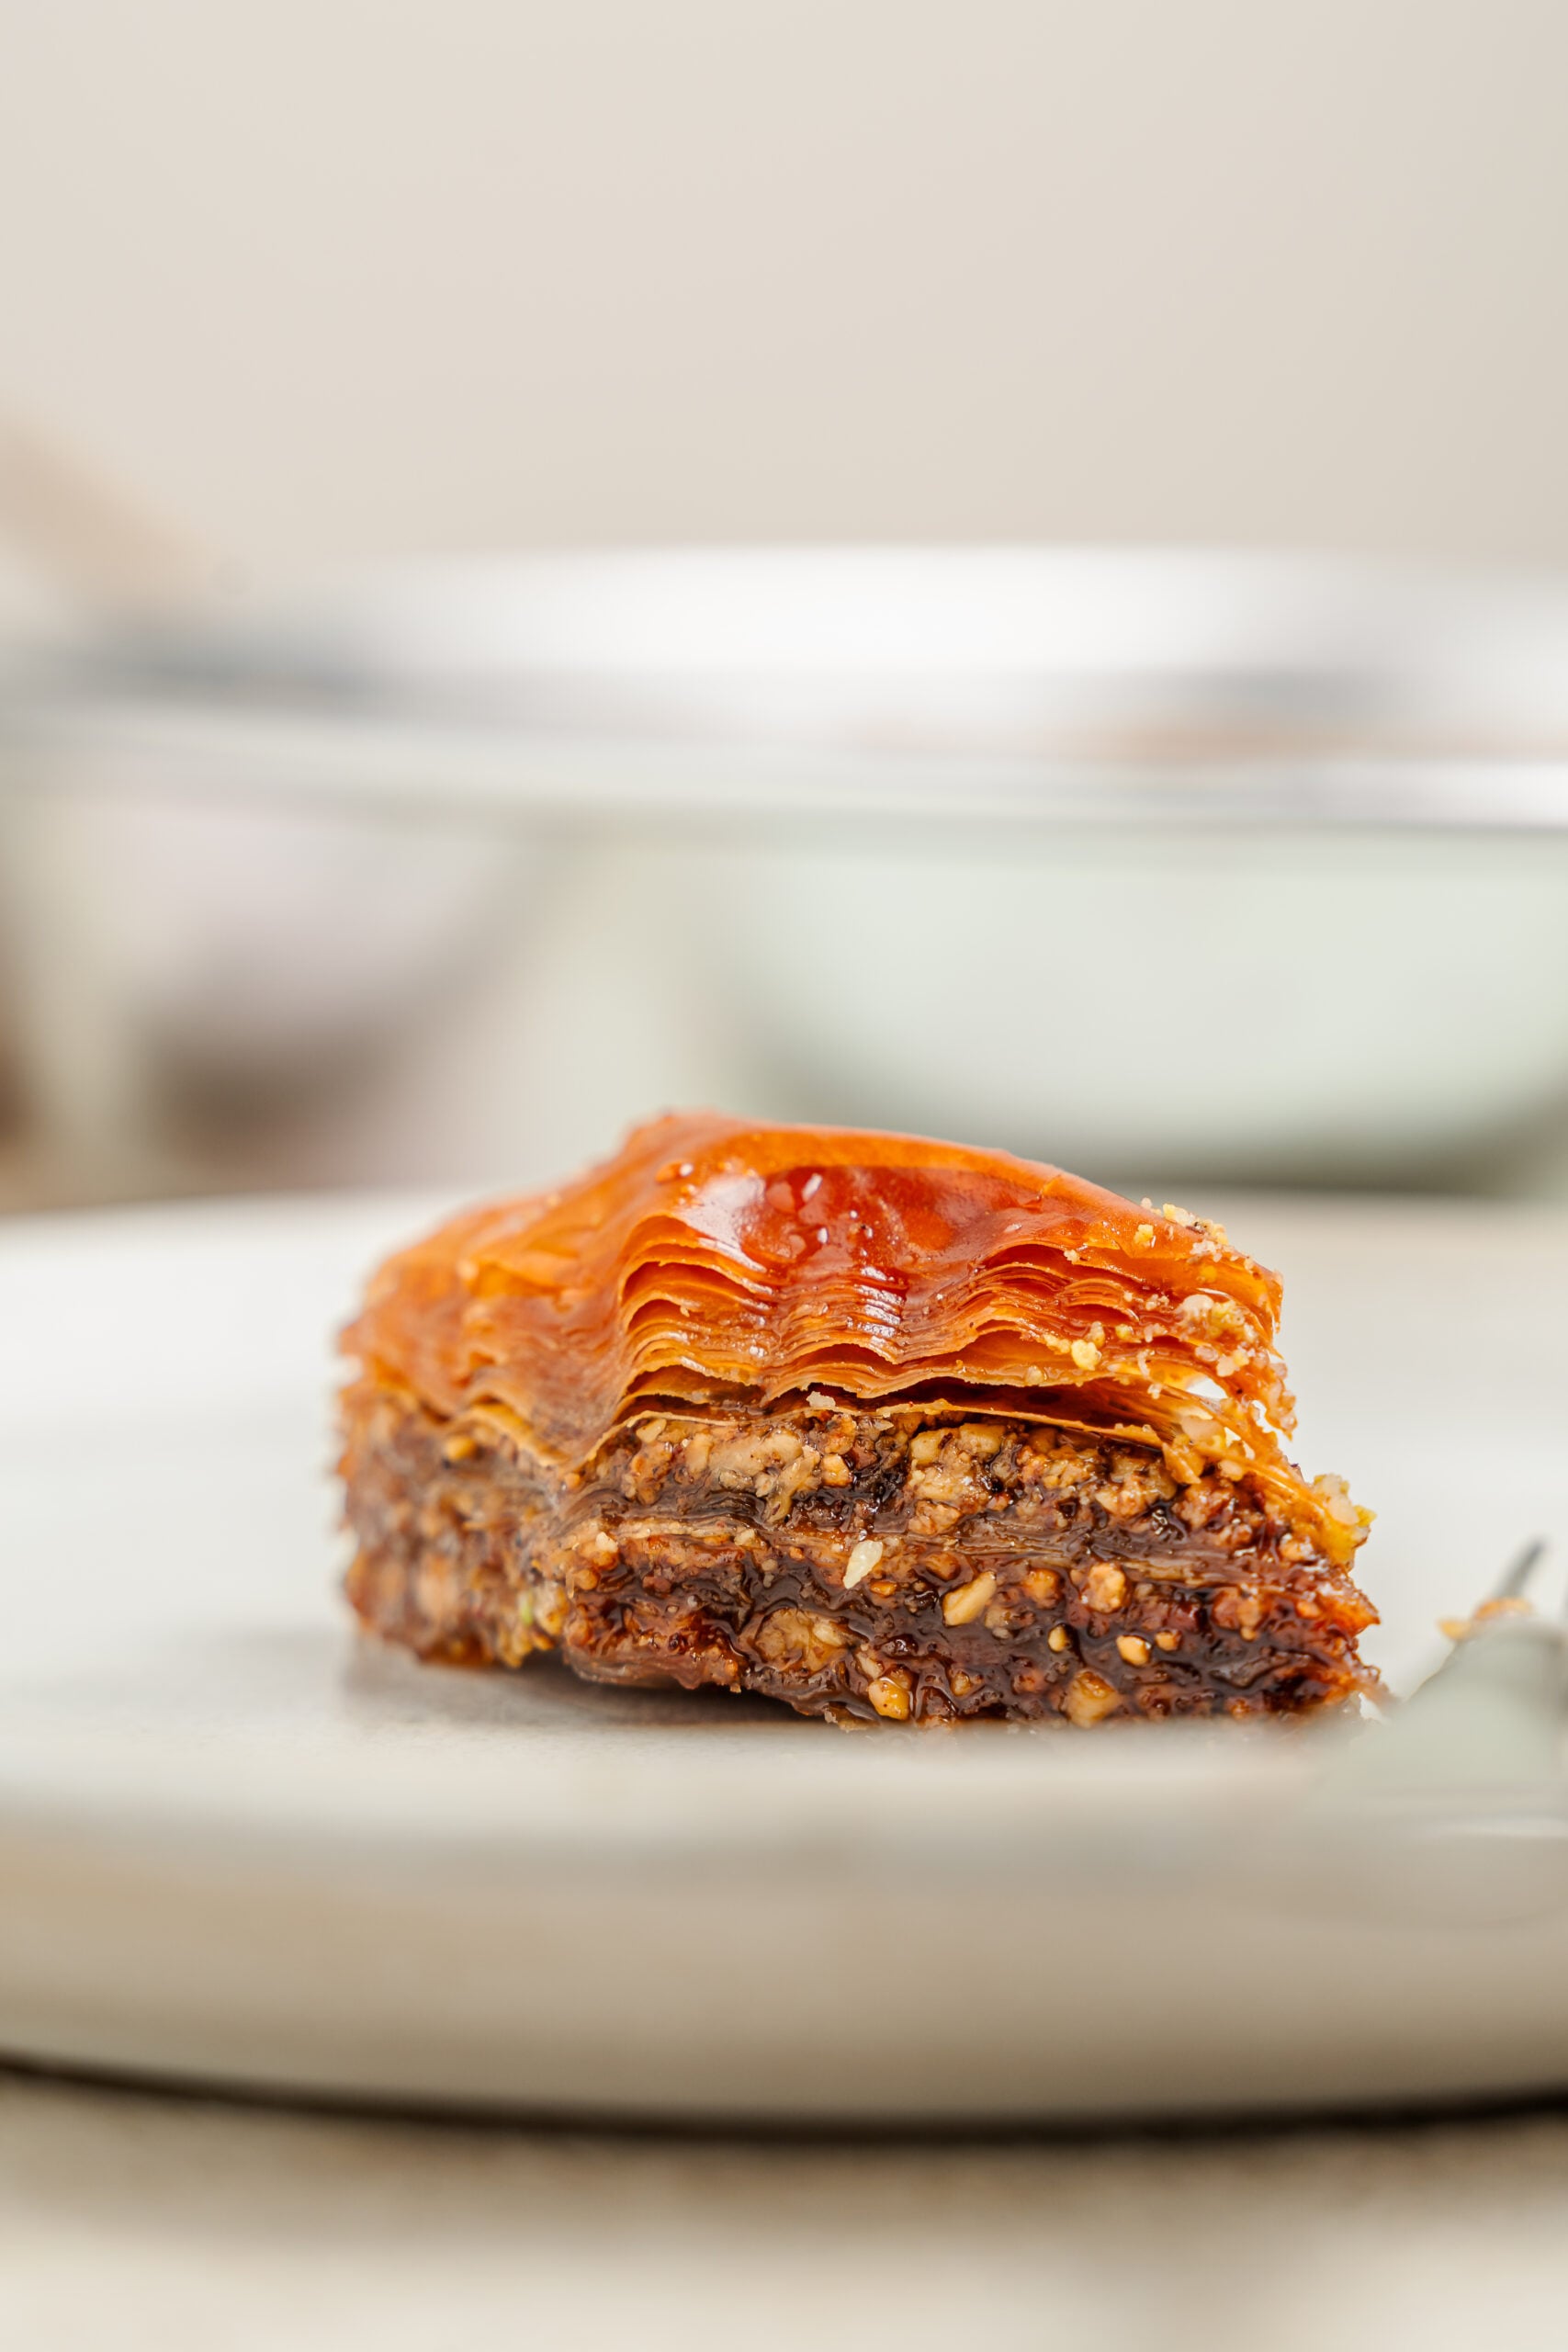
- Bake for 1 hour 15 minutes, until the whole surface is a deep, even golden brown and the edges have visibly pulled away from the tin. If the top is running ahead of the middle, tent it loosely with foil for the last 20 minutes.
- The moment the tin leaves the oven, pour the cool syrup slowly and evenly over the hot pastry, going back over the cut lines so it runs down into them. It will hiss and bubble, which is exactly right.
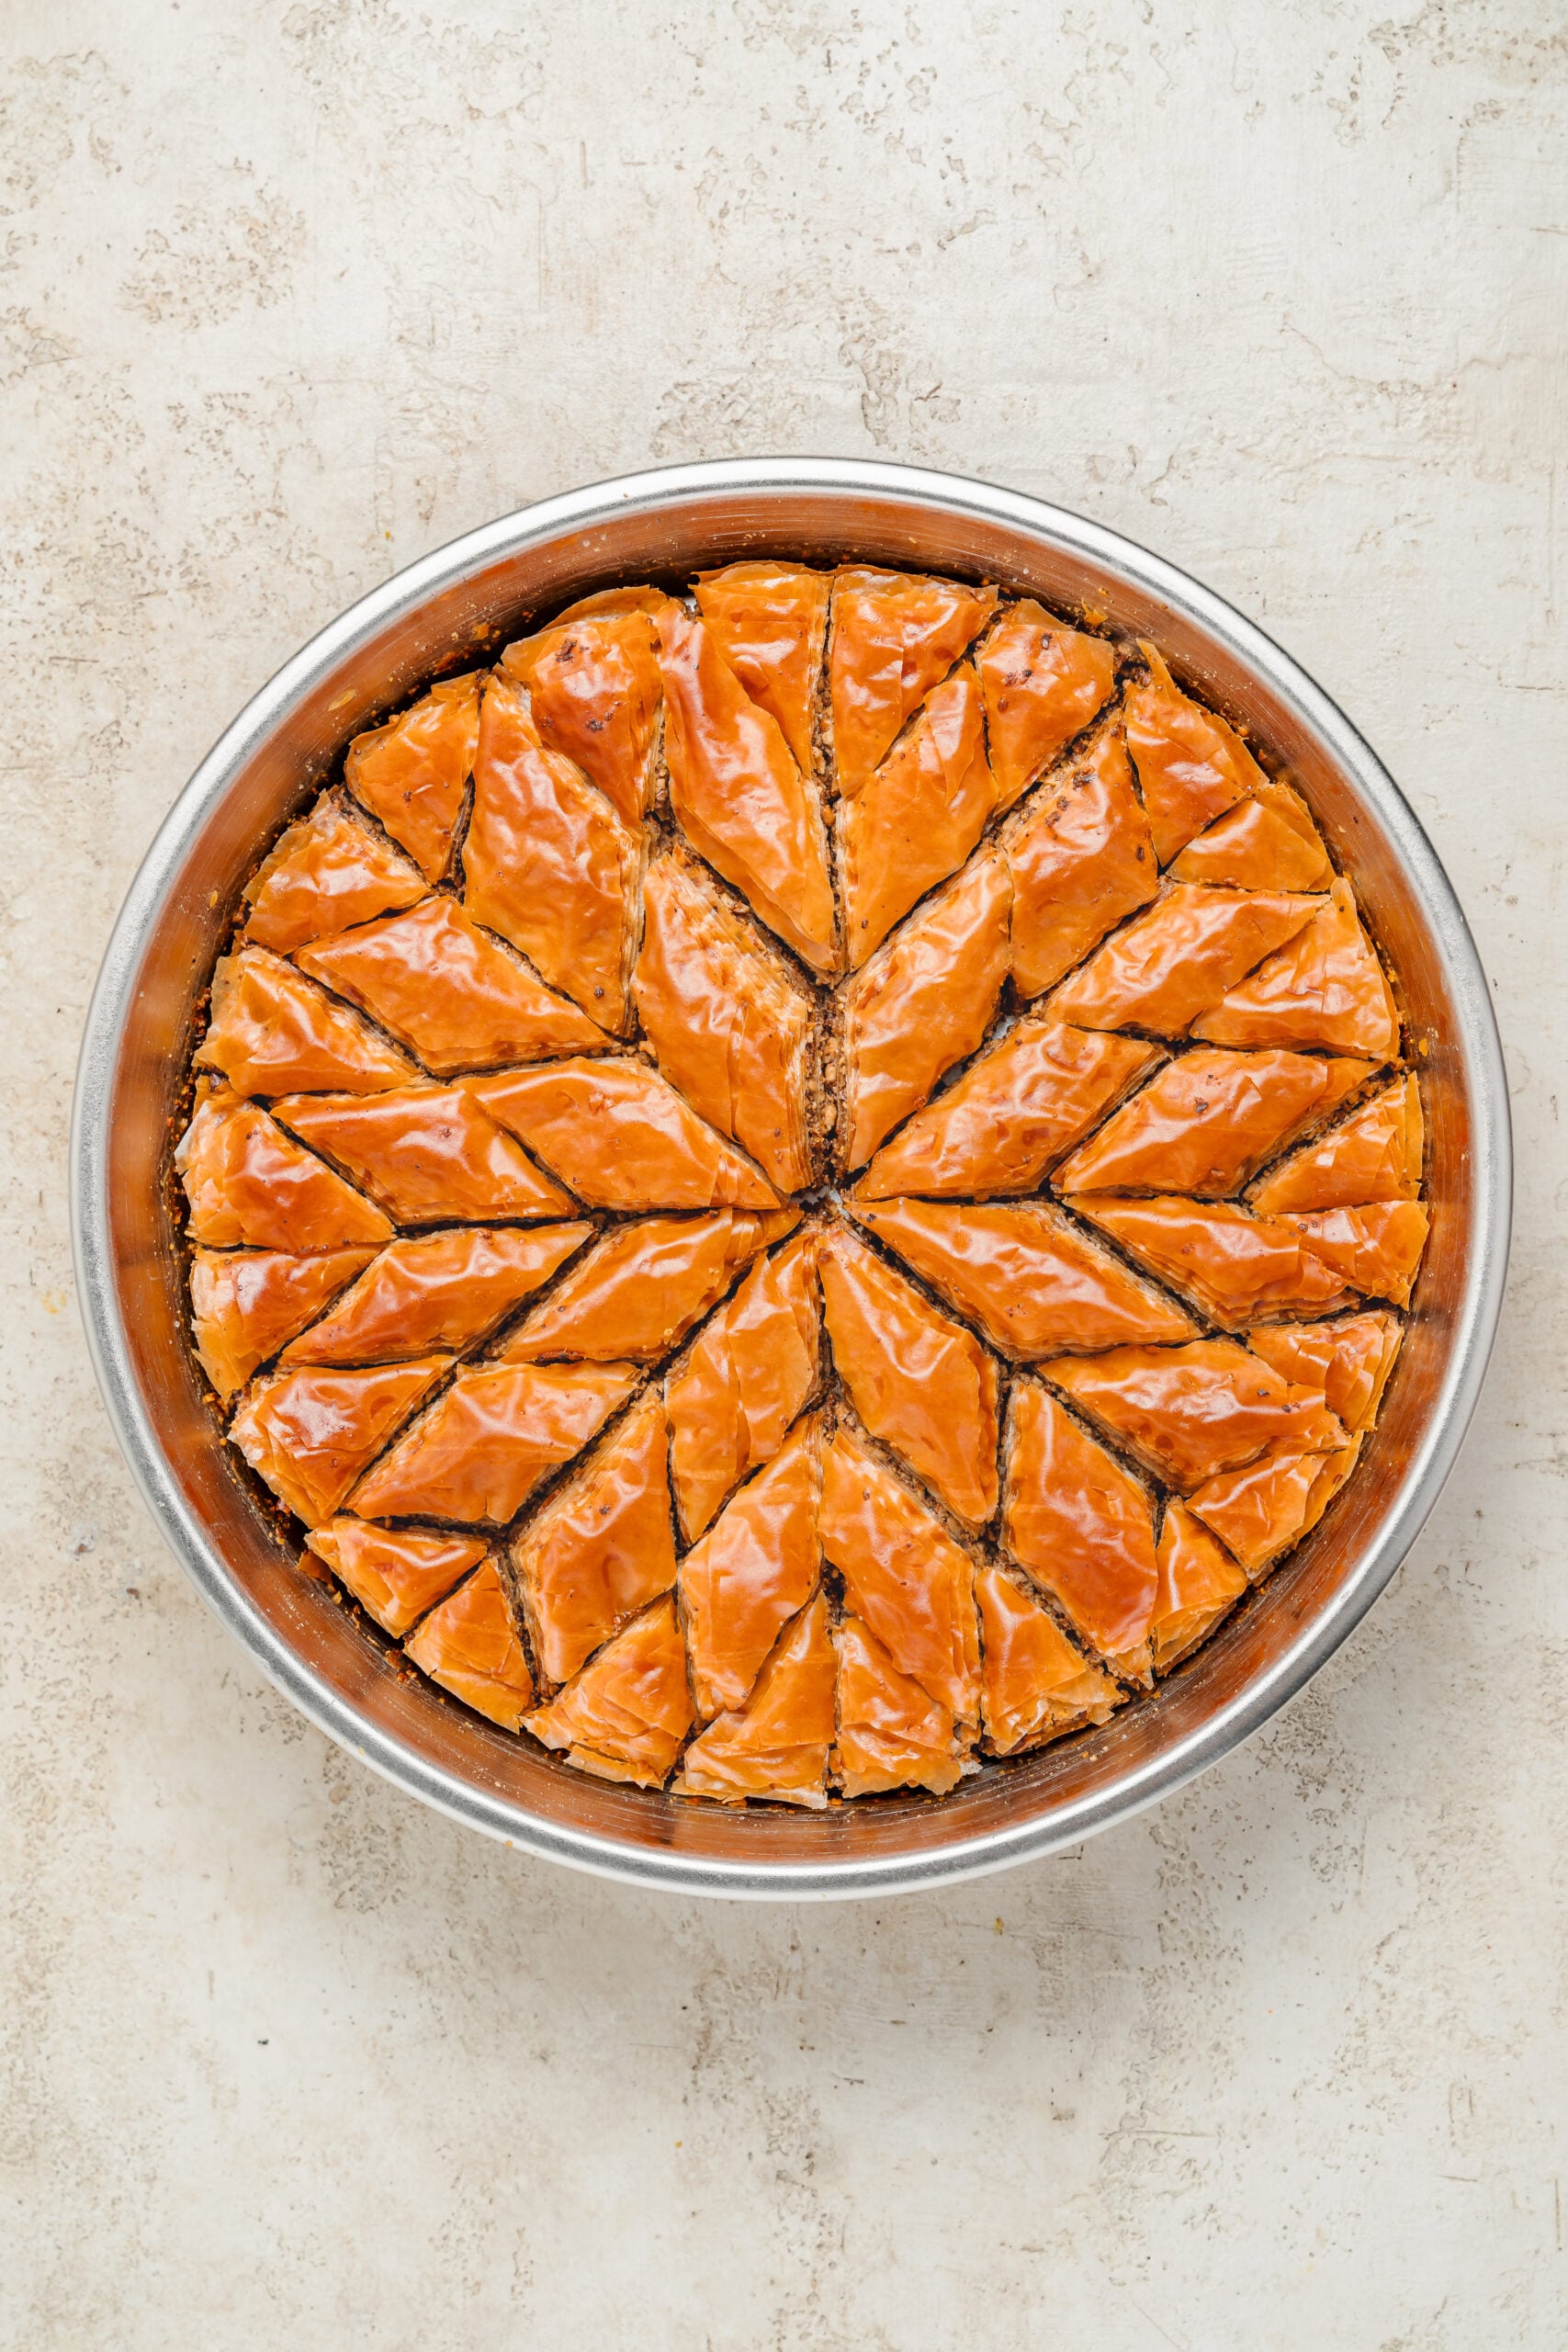
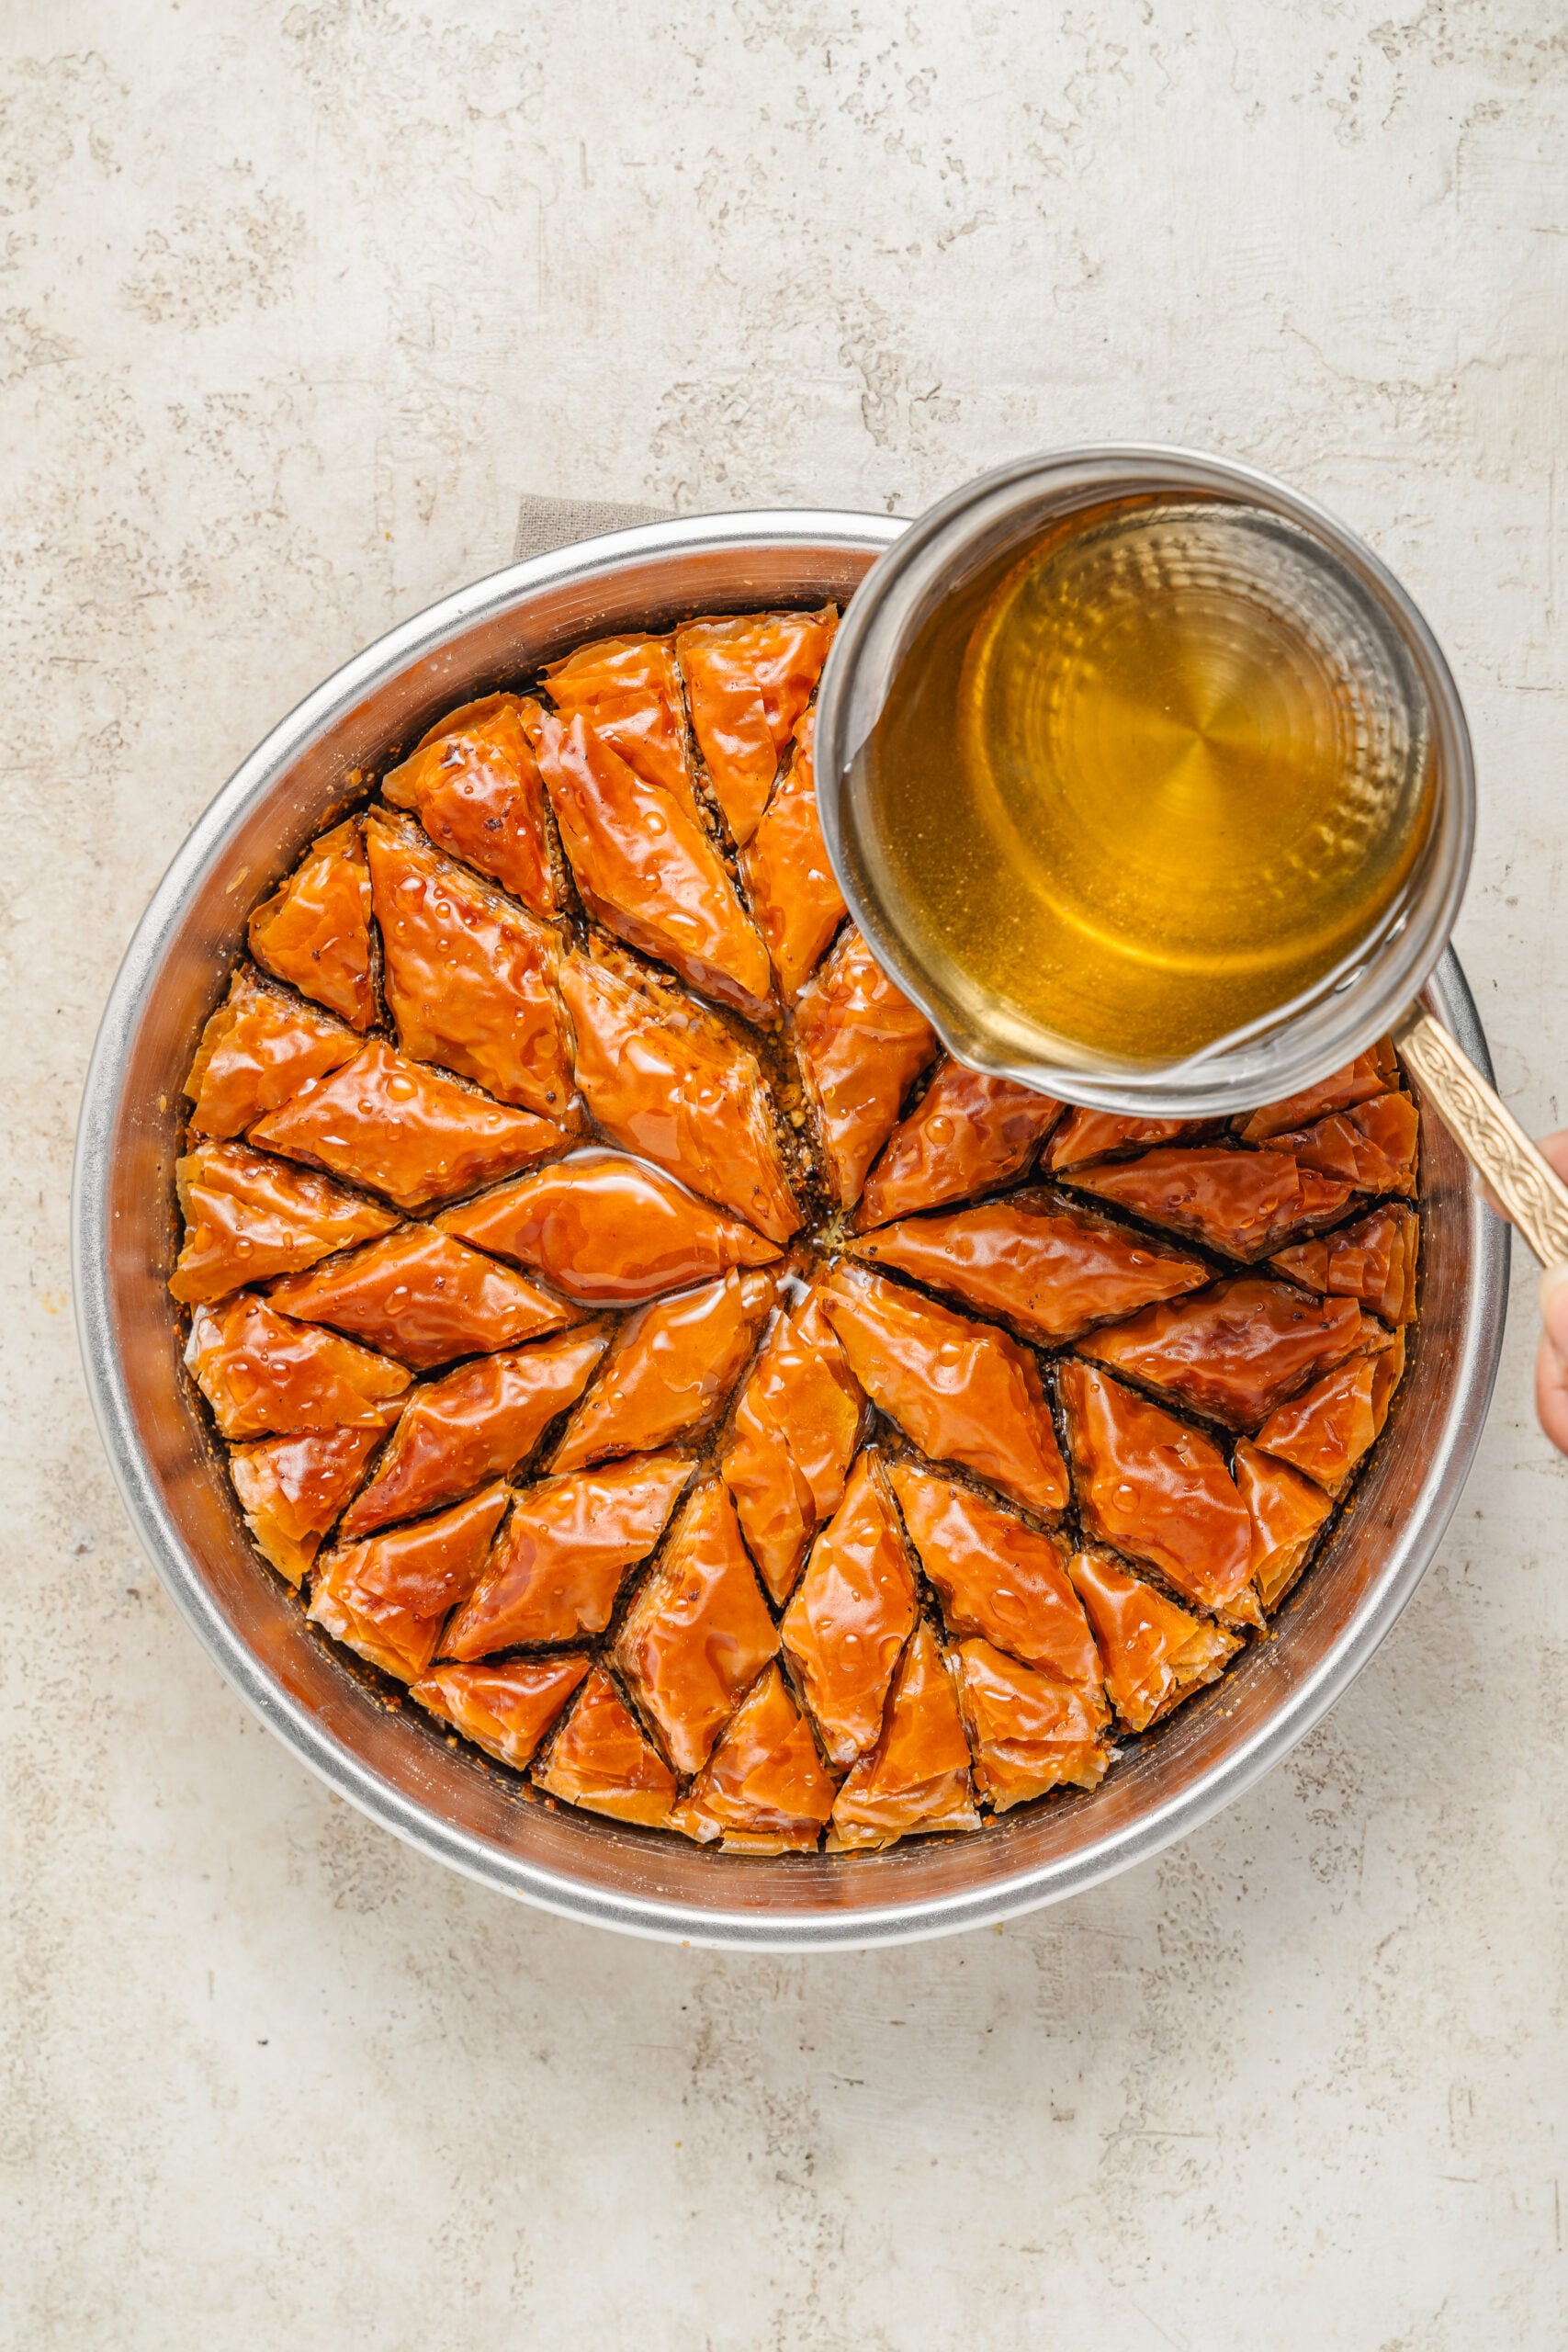
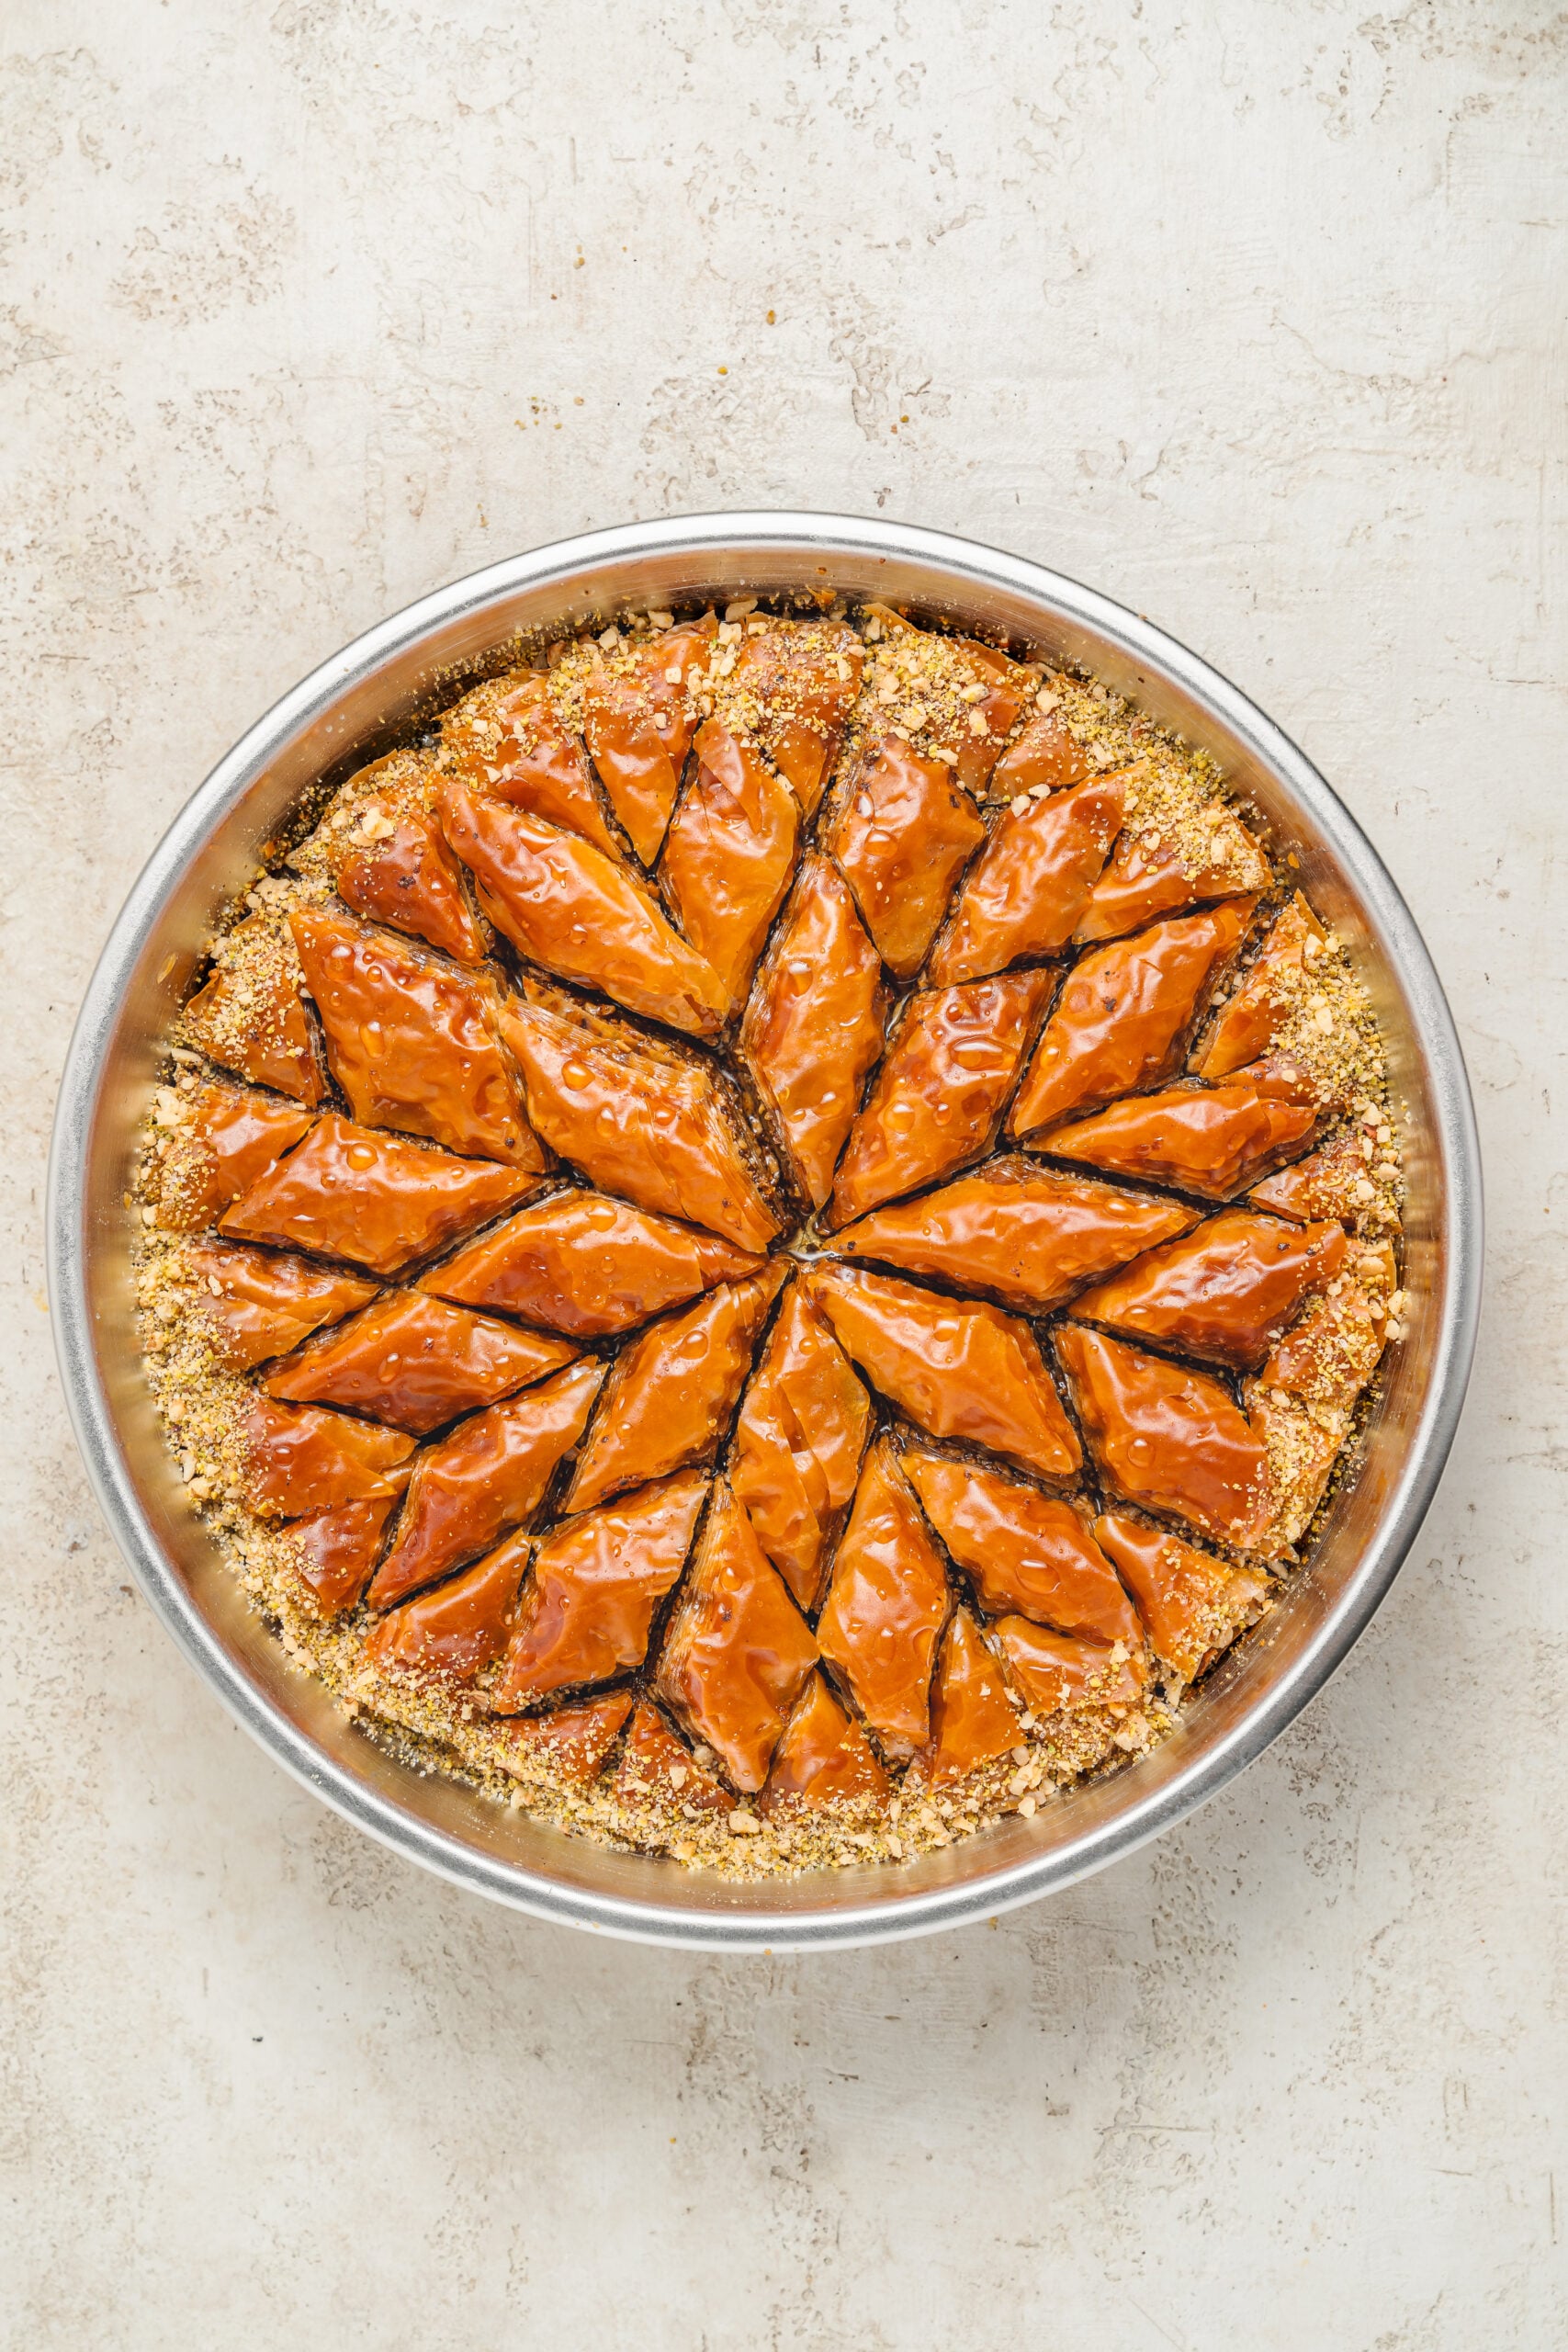
- Scatter the finely chopped pistachios over the top while the surface is still wet, so they stick rather than roll off.
- Rest it at room temperature, uncovered, for at least 6 hours and preferably overnight. Run the knife back through the cut lines before you lift the first piece out.
Why baklava goes soggy, and how to stop it
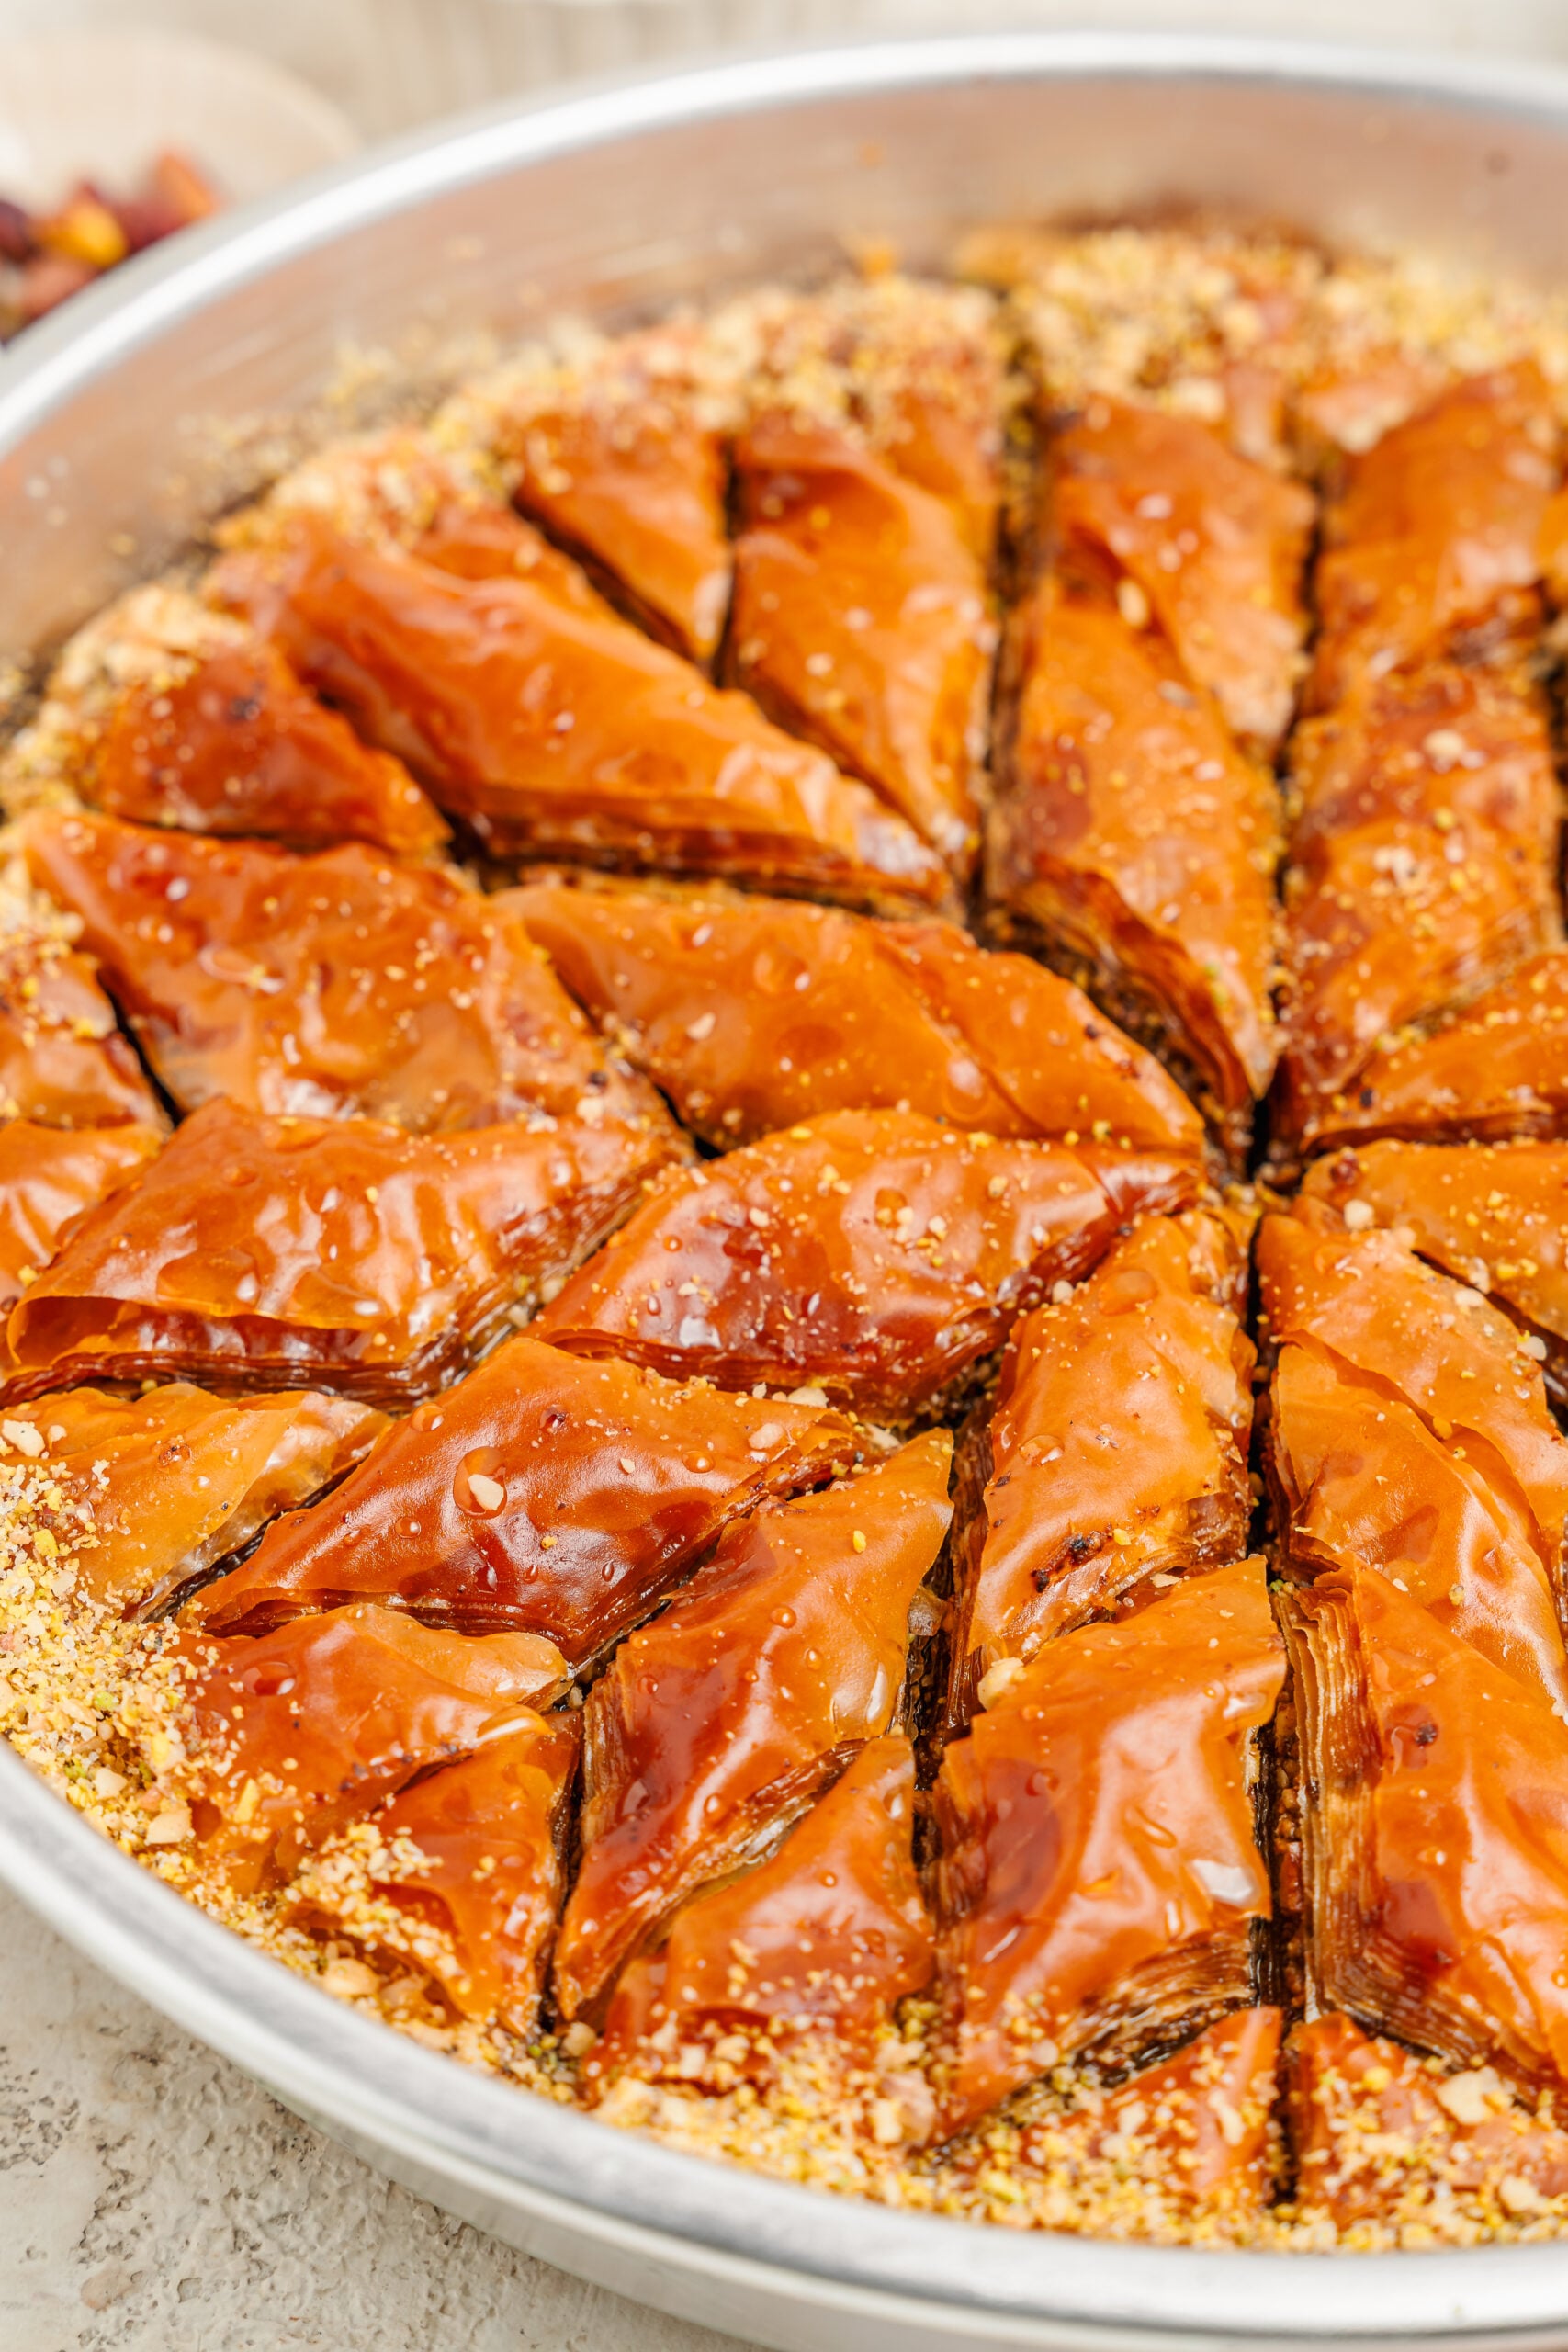
A soggy bottom has exactly three causes and they are all fixable before you start. The first is underbaking. Pale baklava has not driven off enough moisture, so the syrup has nowhere to go but down, and it pools in the base. Bake it further than feels comfortable: you are looking for a deep, even bronze across the whole surface, not a blonde top with brown edges.
The second is temperature. Cool syrup onto hot pastry is the only combination that works. The heat of the tray flashes the water out of the syrup as it lands, so the sugar travels through the layers while the pastry stays crisp. Hot syrup onto hot pastry floods it. Cool syrup onto cool pastry just sits on top and never goes in.
The third is butter that was not clarified. The water in whole butter steams between the sheets and softens them, and the milk solids brown into spots and stop the layers separating. It takes five extra minutes to clarify and it changes the texture of the finished tray completely.
If the syrup is pooling on the surface instead of sinking, the cuts did not reach the base of the tin. That is a knife problem, not a syrup problem.
Cutting it so the pieces come out clean
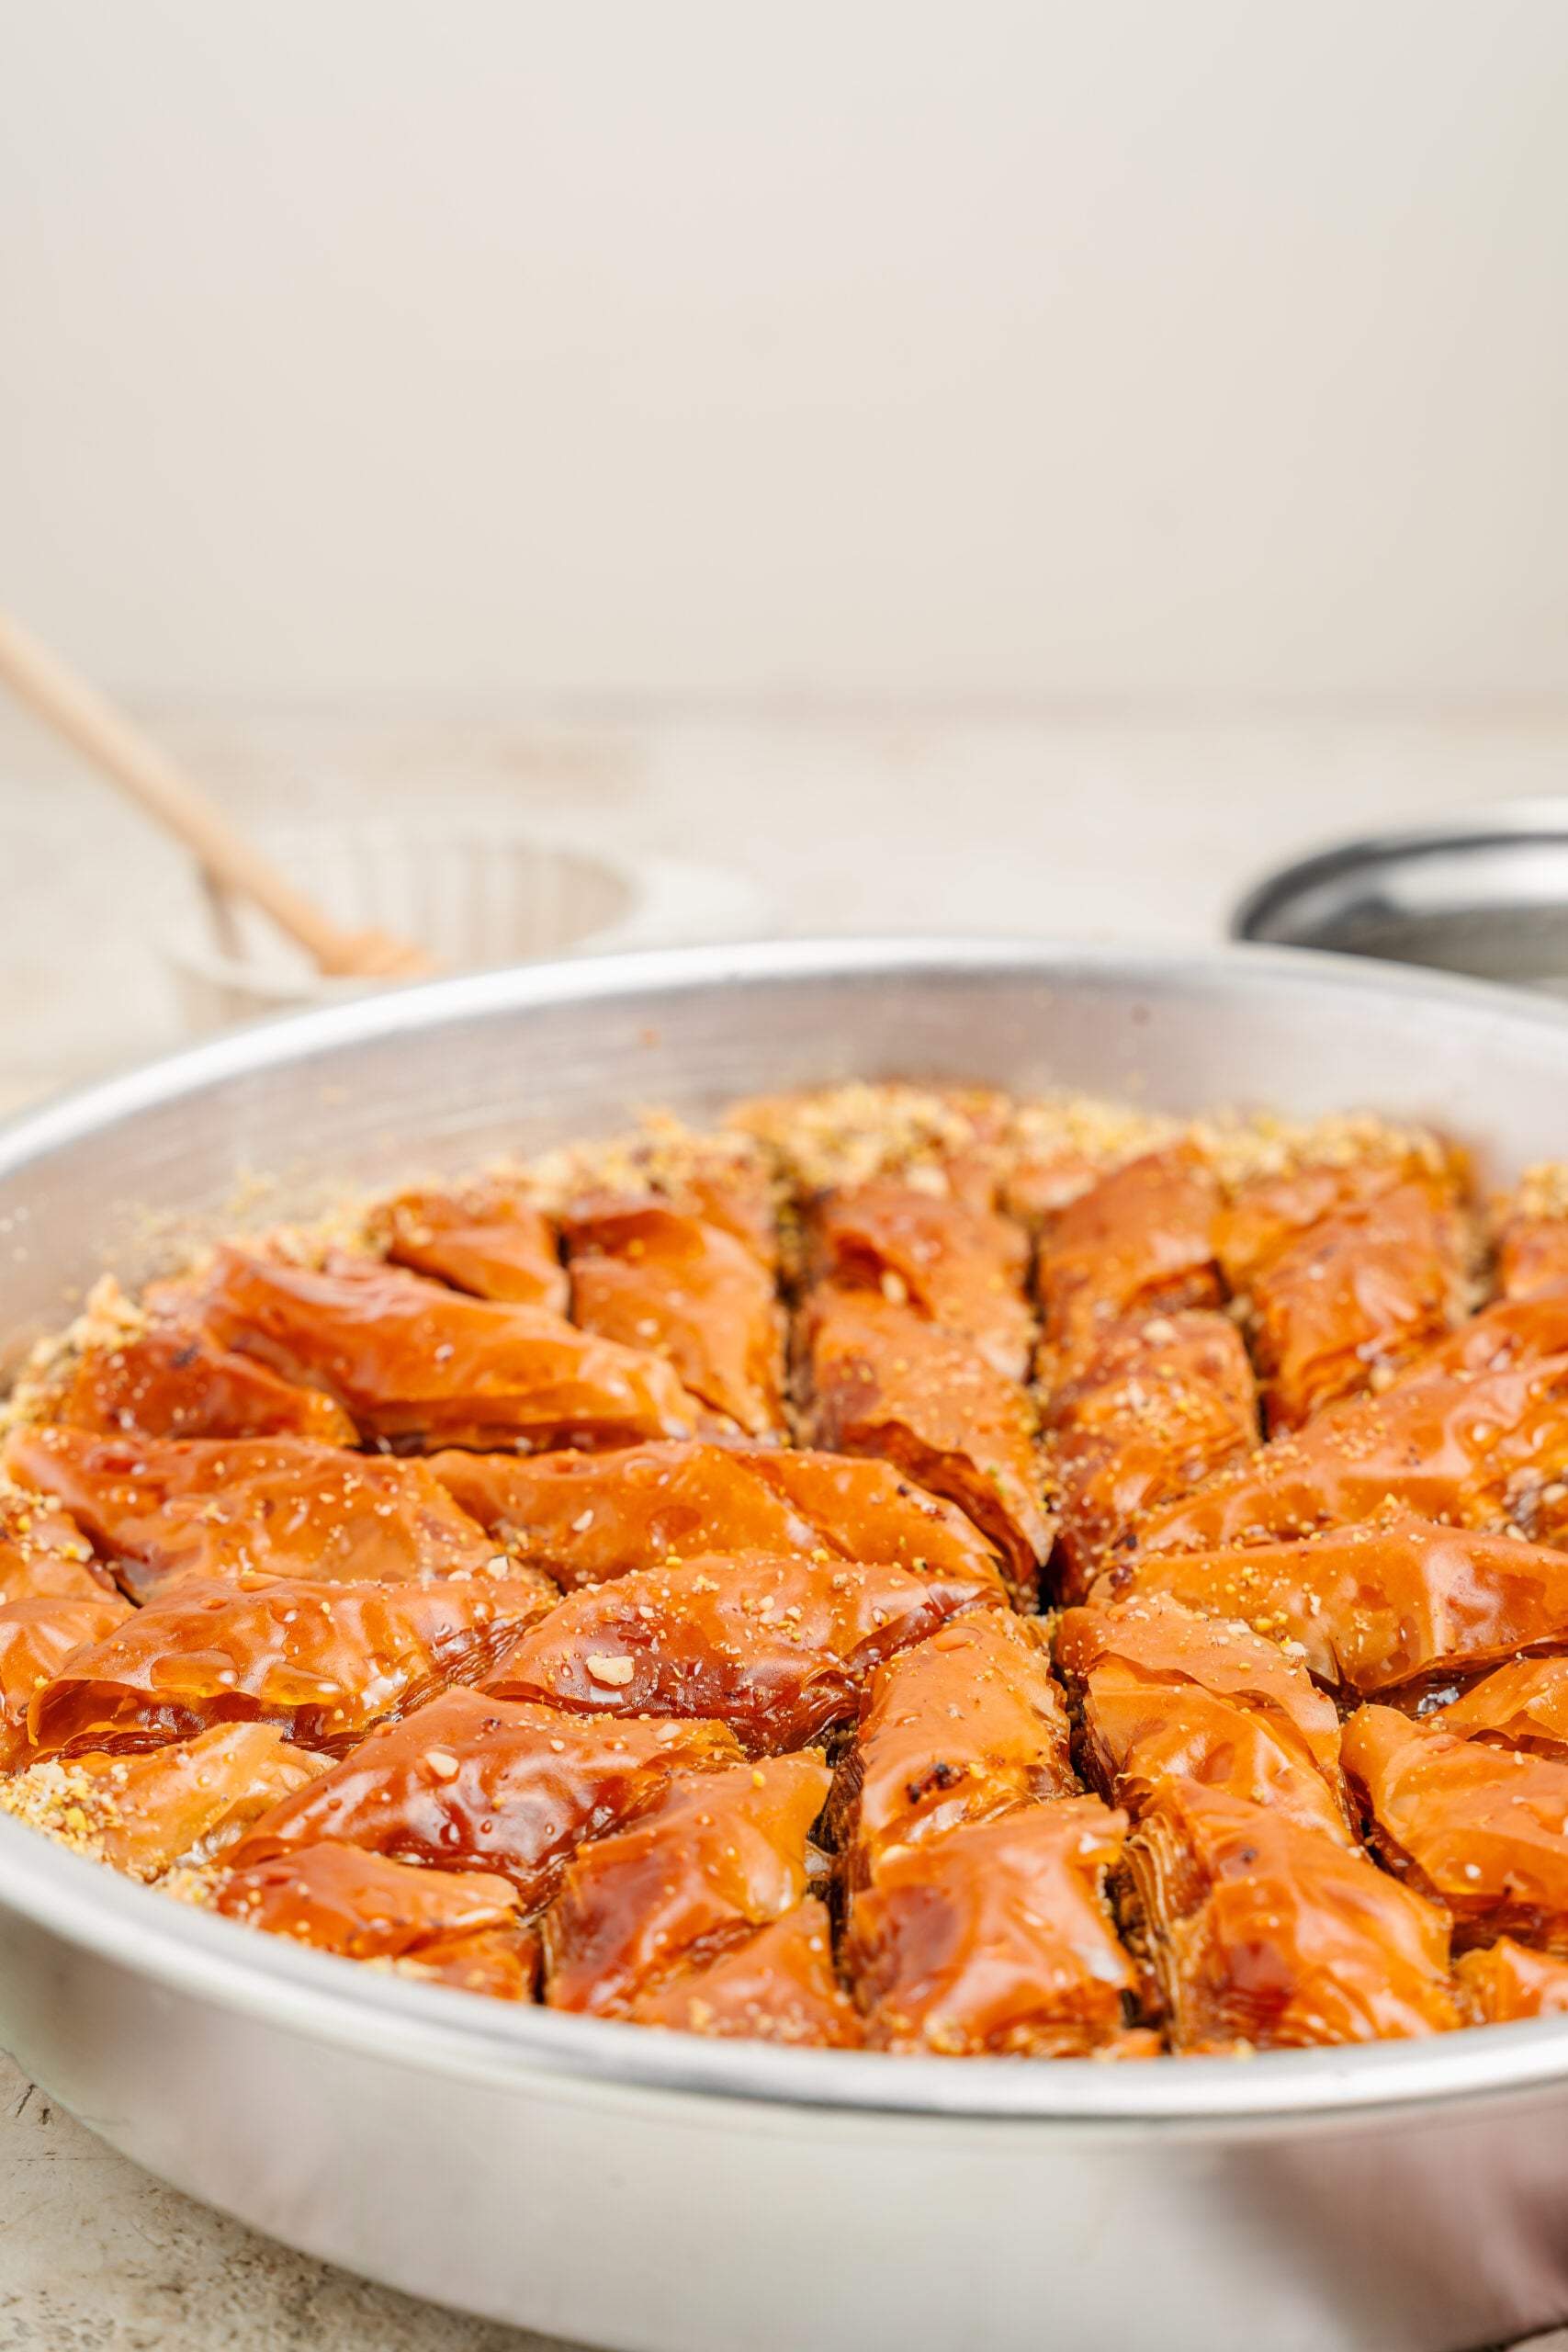
Cutting raw is non negotiable. Baked phyllo shatters under a knife, so a tray cut after the oven gives you a pile of rubble and a tray cut before the oven gives you clean edges that open up as it bakes. Use a thin, genuinely sharp knife and press straight down rather than sawing.
Make sure every cut reaches the metal. If you stop at the nut layer, the syrup cannot travel down the channels and it sits on top instead, which is the single most common reason a tray looks wet and tastes dry. For diamonds, cut parallel lines across the tin first, then cut diagonals through them at roughly 45 degrees. For squares, cut the second set straight across.
Phyllo tearing while you brush is usually pressure and direction. Load the brush lightly, work from the outside edges inward, and let the bristles lay the butter down rather than pushing it around. Tears in the middle layers vanish completely once it bakes, so only the base and the crown are worth fussing over. If you want the same careful layering in something smaller, the pistachio macarons are built on the same idea of patience paying off.
How long it keeps, and how to freeze it
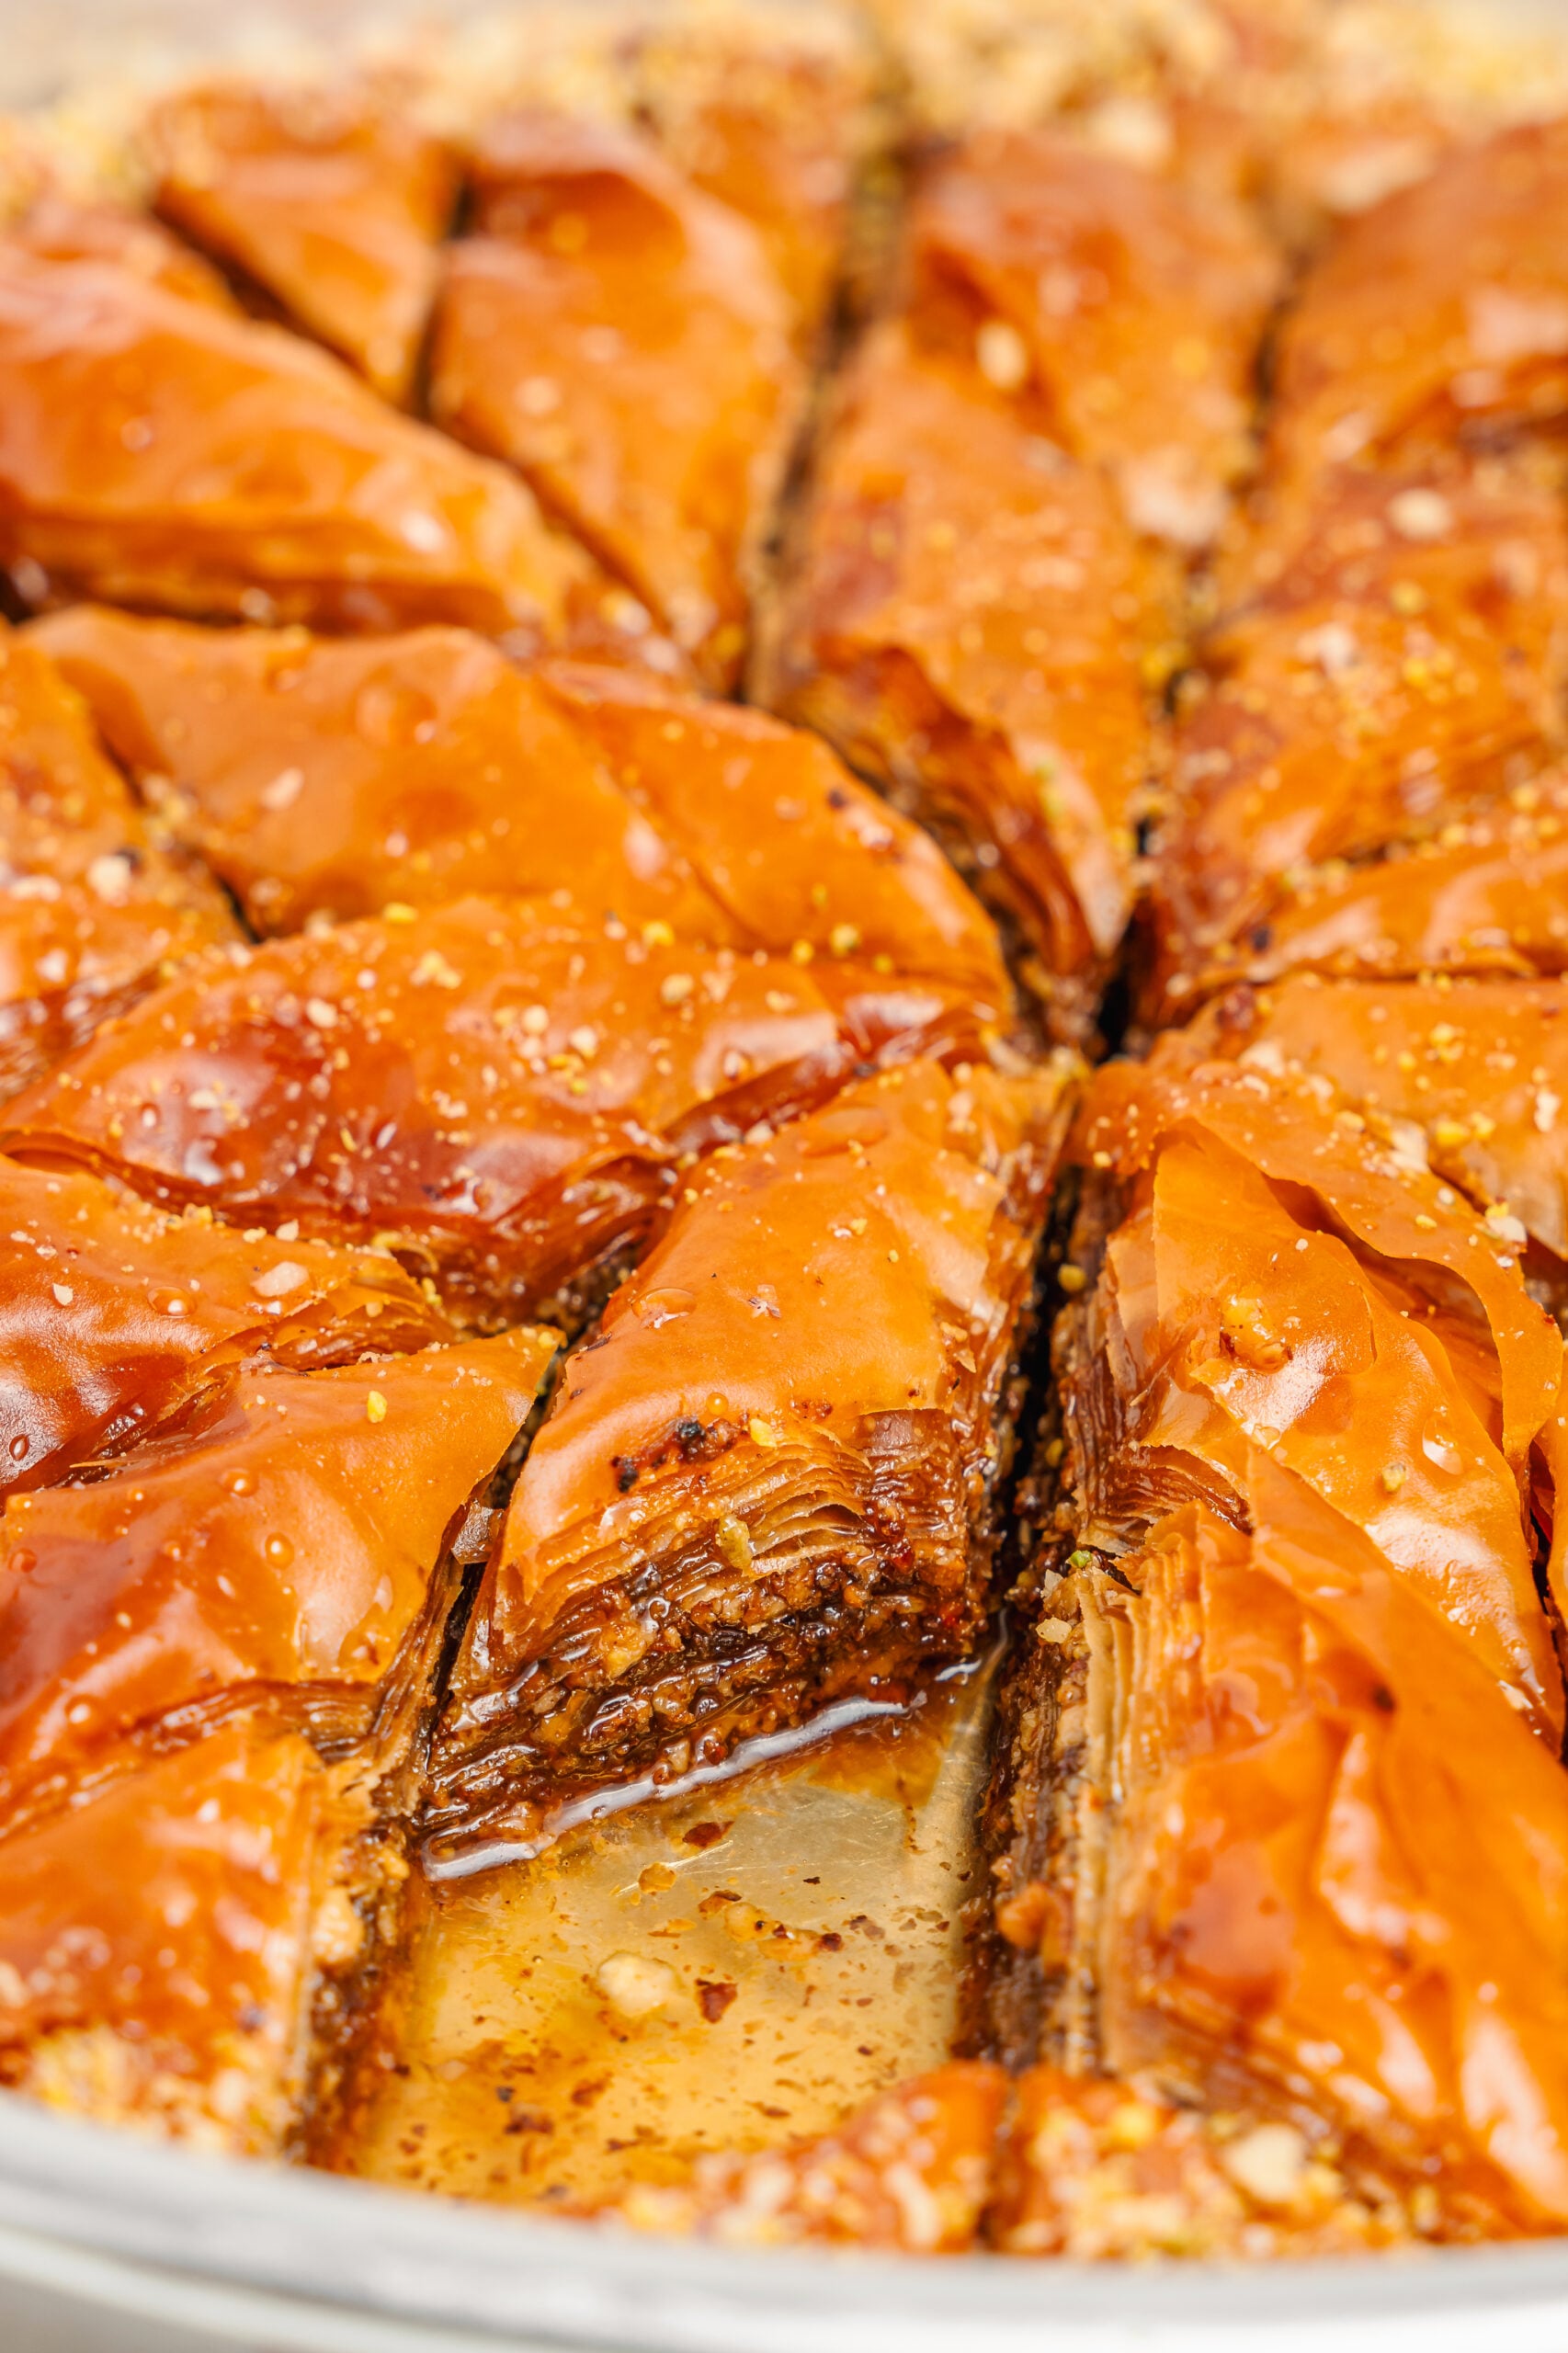
Baklava is better on day two than on day one, which makes it one of the few desserts that genuinely rewards making it ahead. Keep it at room temperature, loosely covered, for up to 5 days. Do not put it in the fridge. Cold turns the phyllo leathery and makes the syrup weep out of the layers, and neither of those comes back.
To freeze it baked, lay the syruped pieces in a single layer, freeze until firm, then box them with baking paper between the layers. They keep for up to 3 months and thaw uncovered at room temperature in a couple of hours. You can also freeze the whole tray raw: assemble it, cut it, wrap it well, and bake it straight from the freezer with 10 to 15 minutes added.
If you are building a tray of things to keep, it sits well next to a Russian honey cake, which also improves with a night in the tin.
Pistachio baklava recipe FAQ
Frequently Asked Questions
Why is my baklava soggy on the bottom?
There are three causes and they are all fixable before you start. The most common is underbaking: pale baklava has not driven off enough moisture, so the syrup pools in the base instead of travelling through the layers. The second is temperature, because only cool syrup onto hot pastry works. The third is butter that was not clarified, since the water in whole butter steams between the sheets and softens them.
Do I really have to cut baklava before baking it?
Yes, and it is the single most important step for clean pieces. Baked phyllo shatters under a knife, so a tray cut after the oven comes out as rubble. Cut all the way down to the metal with a thin, genuinely sharp knife, pressing straight down rather than sawing. If the cuts stop at the nut layer, the syrup has no channels to run down and will sit on the surface instead.
Can I use fresh phyllo instead of frozen?
You can, and if you have access to good fresh phyllo it is slightly easier to handle because it has not been through a freeze and thaw. Frozen is what most people can actually buy, and it works perfectly well as long as you thaw it overnight in the fridge rather than on the bench. A fast thaw sweats, and damp phyllo tears the moment you touch it.
How far ahead can I make baklava?
Make it at least a day ahead if you can, because it is genuinely better on day two once the syrup has fully travelled through. It keeps at room temperature, loosely covered, for up to 5 days. Do not refrigerate it: cold turns the phyllo leathery and makes the syrup weep out, and neither of those comes back.
What is the difference between Greek and Turkish baklava?
The nut, mostly. Greek baklava is traditionally all walnut and often leans on cinnamon and clove, while Turkish baklava is traditionally all pistachio with a cleaner, simpler syrup. This version sits between them, weighted towards pistachio for colour and sweetness with walnut underneath for depth. Any ratio between the two is legitimate.
Why did my phyllo keep tearing while I was brushing it?
Almost always pressure and direction. Load the brush lightly and work from the outside edges inward so the bristles lay the butter down rather than dragging the sheet. It also helps to keep the unused stack under baking paper and a barely damp tea towel, because uncovered phyllo dries out in roughly two minutes. Tears in the middle layers disappear completely once it bakes, so only the base and the crown are worth worrying about.
Let’s Get Cooking
If you liked this recipe make sure to leave me a comment and rating down below. I’d love to know how it went! Also, don’t forget to tag me on Instagram @catherine.desserts.
Follow me on Facebook, Pinterest, YouTube, and TikTok for more of my baking creations and updates!
The Best Pistachio Baklava Recipe with Honey Lemon Syrup
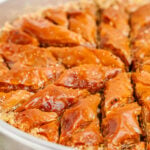
Crisp layers of buttered phyllo packed with a pistachio and walnut filling, baked to a deep gold and soaked the moment it leaves the oven with a cool honey lemon syrup.
- Prep Time: 45 minutes
- Rest Time: 6 hours
- Cook Time: 1 hour 15 minutes
- Total Time: 8 hours 15 minutes
- Yield: 24 pieces 1x
- Category: Dessert
- Method: Baking
- Cuisine: Middle Eastern
Ingredients
Units
Scale
Honey lemon syrup
- 300 g (1 1/2 cups) granulated sugar
- 240 ml (1 cup) water
- 170 g (1/2 cup) honey
- 2 tablespoons lemon juice
- 3 wide strips lemon zest, pared with a peeler
- 1 cinnamon stick
Pistachio and walnut filling
- 185 g (1 1/2 cups) shelled unsalted pistachios
- 200 g (2 cups) walnut halves
- 50 g (1/4 cup) granulated sugar
- 1 1/2 teaspoons ground cinnamon
- 1/4 teaspoon fine salt
Assembly
- 454 g (1 pound) frozen phyllo pastry, thawed overnight in the fridge
- 280 g (1 1/4 cups) unsalted butter, melted
- 2 tablespoons finely chopped pistachios, to finish
Instructions
- Make the syrup first, because it has to be cool when it meets the hot baklava. Put the sugar, water, honey, lemon juice, lemon zest strips and cinnamon stick in a small saucepan. Stir over medium heat until the sugar dissolves, then bring to a simmer and cook for 10 minutes without stirring. Take it off the heat and leave it to cool completely, at least an hour. Fish out the zest and the cinnamon stick before using.
- Clarify the butter. Melt the butter gently, then leave it to settle for 5 minutes. Skim the foam off the top and pour off the clear golden fat, leaving the milky solids behind in the pan. Those solids are what make phyllo go soft and spotty, so discard them. Keep the clarified butter warm and liquid.
- Heat the oven to 165 C (325 F), with a rack in the middle. Brush a 9×13 inch (23×33 cm) metal pan with butter.
- Make the filling. Pulse the pistachios and walnuts in a food processor in short bursts until they look like coarse breadcrumbs with a few bigger pieces left in. Stop before they turn to paste. Tip into a bowl and stir through the sugar, cinnamon and salt.
- Prepare the phyllo. Unroll the stack and trim it to the footprint of your pan with a sharp knife, cutting through the whole stack at once. Cover it with a sheet of baking paper and then a clean, barely damp tea towel. Keep it covered the entire time you work, phyllo dries out in about two minutes uncovered.
- Build the base. Lay one sheet in the pan and brush it all over with clarified butter, working from the edges inward so you do not drag and tear it. Repeat until you have 10 buttered sheets stacked.
- Scatter a third of the nut mixture evenly over the pastry, right into the corners.
- Stack 5 more buttered sheets on top, then another third of the nuts. Then 5 more buttered sheets and the last third of the nuts.
- Finish the top. Stack the remaining sheets on top, buttering each one, and butter the final sheet generously. Aim for 10 sheets on top, which gives a thick crown that holds its shape and stays crisp. If your phyllo count leaves you short, take the extra sheets from a middle layer rather than the top or the base.
- Cut before baking, not after. Using a sharp thin knife, cut all the way to the bottom of the pan. Cut 4 straight lines down the long side to give 5 strips, then cut diagonally across them to make diamonds, or straight across for 24 squares. Cutting raw is the only way to get clean edges.
- Bake for 1 hour 15 minutes, until the whole surface is a deep, even golden brown and the edges have visibly pulled from the pan. Pale baklava tastes raw and goes soggy, so take it further than feels comfortable. If the top is browning faster than the middle, tent it loosely with foil for the last 20 minutes.
- Syrup goes on immediately. The moment the pan leaves the oven, pour the cool syrup slowly and evenly over the hot pastry, going back over the cut lines so it runs down into them. It will hiss and bubble. Never pour hot syrup onto hot pastry, and do not let the baklava cool first.
- Scatter the finely chopped pistachios over the top while the surface is still wet.
- Rest at room temperature, uncovered, for at least 6 hours and preferably overnight. The syrup needs the time to travel all the way through. Run the knife through the cut lines again before lifting the first piece out.
Notes
- Pan shape. The photos show this built in a round tin rather than the 9×13 inch rectangle. Both work. Cut a round tin the same way: parallel lines across it, then diagonals through them.
- Substitutions. All walnut is the traditional Greek version and all pistachio is the Turkish one, so any ratio between them works. Pecans stand in for walnuts. Almonds are firmer and less rich, so use them for no more than half. Maple syrup can replace the honey, though it dulls the flavour. Orange zest instead of lemon, or a tablespoon of rose or orange blossom water stirred into the cooled syrup, both work.
- Make ahead. Baklava is better on day two and holds for 5 days at room temperature, loosely covered, never in the fridge, where the phyllo goes leathery and the syrup weeps.
- Freezing. Freeze baked and syruped pieces in a single layer for up to 3 months and thaw uncovered at room temperature. You can also assemble the whole unbaked tray, cut it, wrap it well and freeze it, then bake from frozen with 10 to 15 minutes added.
- Troubleshooting. A soggy bottom means the syrup was hot, the baklava was cool, or it was underbaked. Syrup pooling on the surface means the pieces were not cut to the base. Butter leaking out during baking means the butter was not clarified. A top layer that lifts away from the filling means the crown was too thin.
Nutrition
- Serving Size: 1 piece