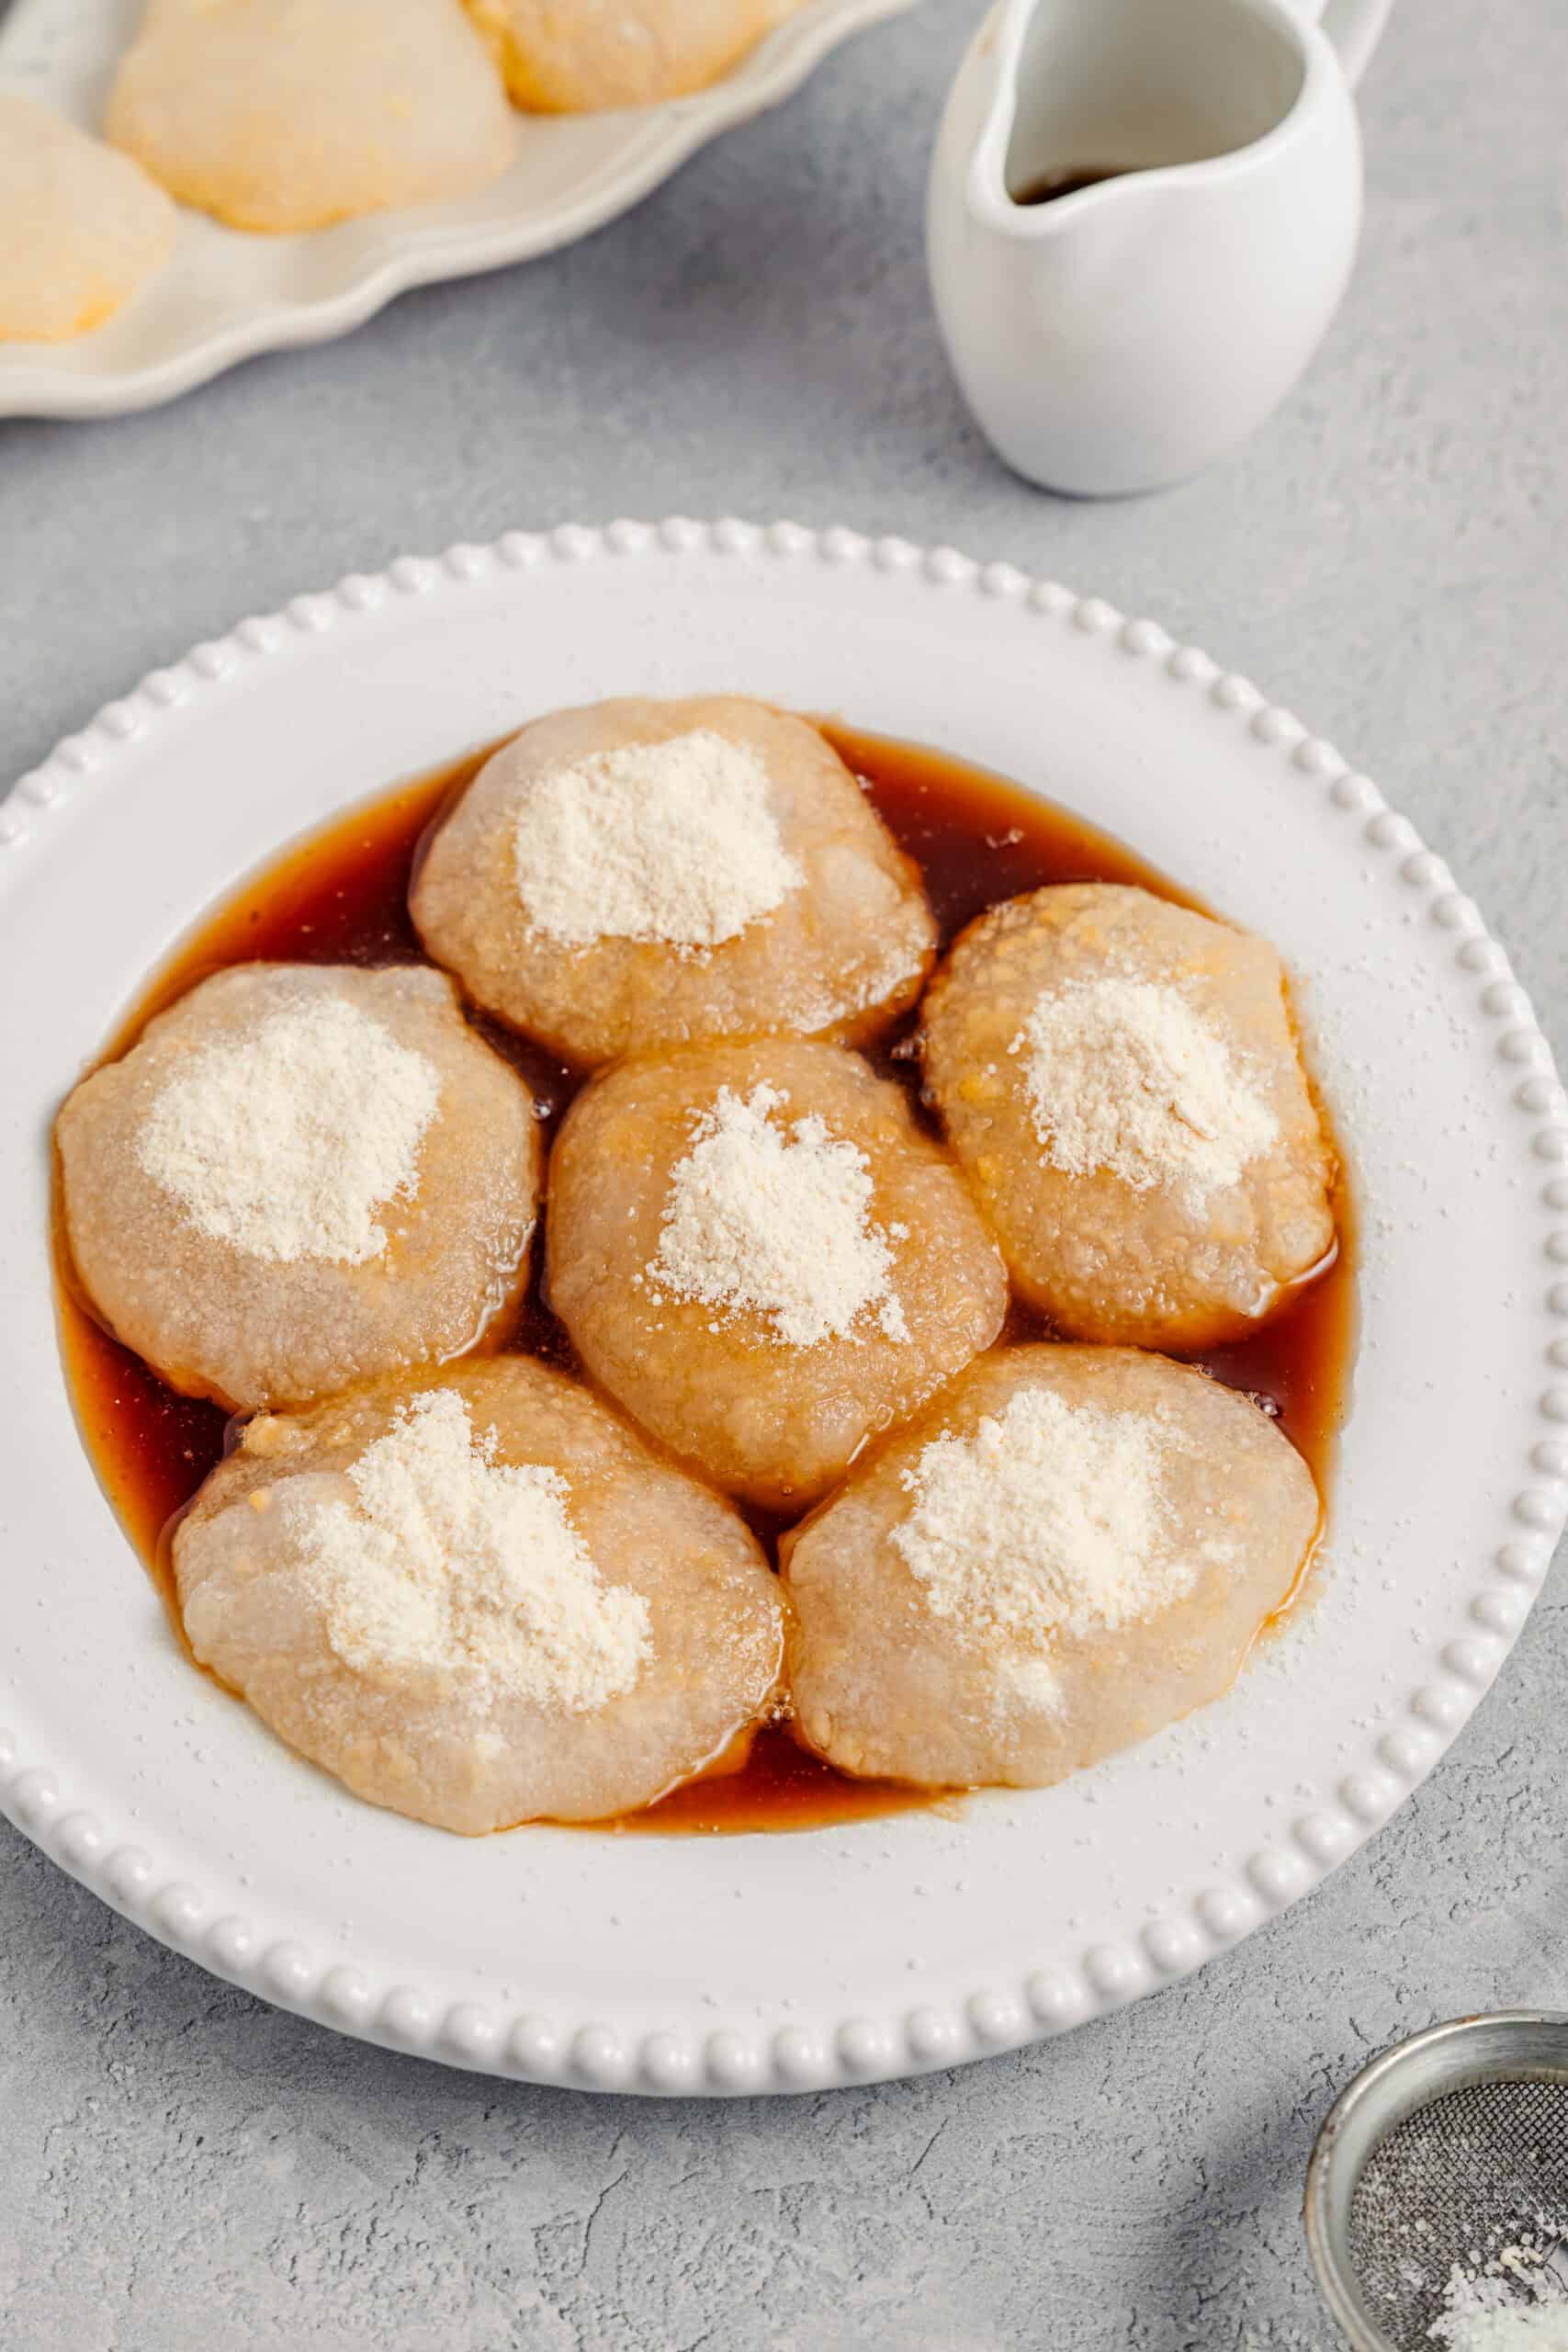
Warabimochi is the wobbliest thing I have ever made: a translucent, cool, almost liquid Japanese mochi that you dust in nutty kinako and drown in dark kuromitsu syrup, and it takes one saucepan and about ten minutes of stirring.
I had eaten warabimochi maybe four times before I ever tried making it, and every single time I assumed it must be difficult. It has that quality of looking engineered, like something that came out of a machine in a Kyoto confectionery shop rather than a home kitchen. Then I actually made it, and it was ready in the time it takes to boil pasta. I stood at the stove stirring, watching a milky white sludge suddenly go clear like a window fogging in reverse, and I genuinely said something out loud in an empty kitchen.
The first batch was a disaster of my own making. I got impatient, pulled it off the heat while there were still white streaks running through it, and ended up with something closer to thick glue that never set properly. The second batch I overcorrected and refrigerated overnight, which turned it cloudy and rubbery by morning. Batch three was the one, and it taught me the two rules that this whole recipe really comes down to: cook it until it is completely, unambiguously clear, and then serve it the same day. Everything else is forgiving.
What Is Warabimochi?
Warabimochi is a Japanese summer confection made from warabimochiko, a starch traditionally milled from the roots of bracken fern, cooked with sugar and water until it turns translucent and jelly like. Despite the name, it is not really mochi in the usual sense at all. Regular mochi is pounded glutinous rice, chewy and opaque and stubbornly elastic. Warabimochi is starch based, clear, and so soft it wobbles violently if you nudge the plate.
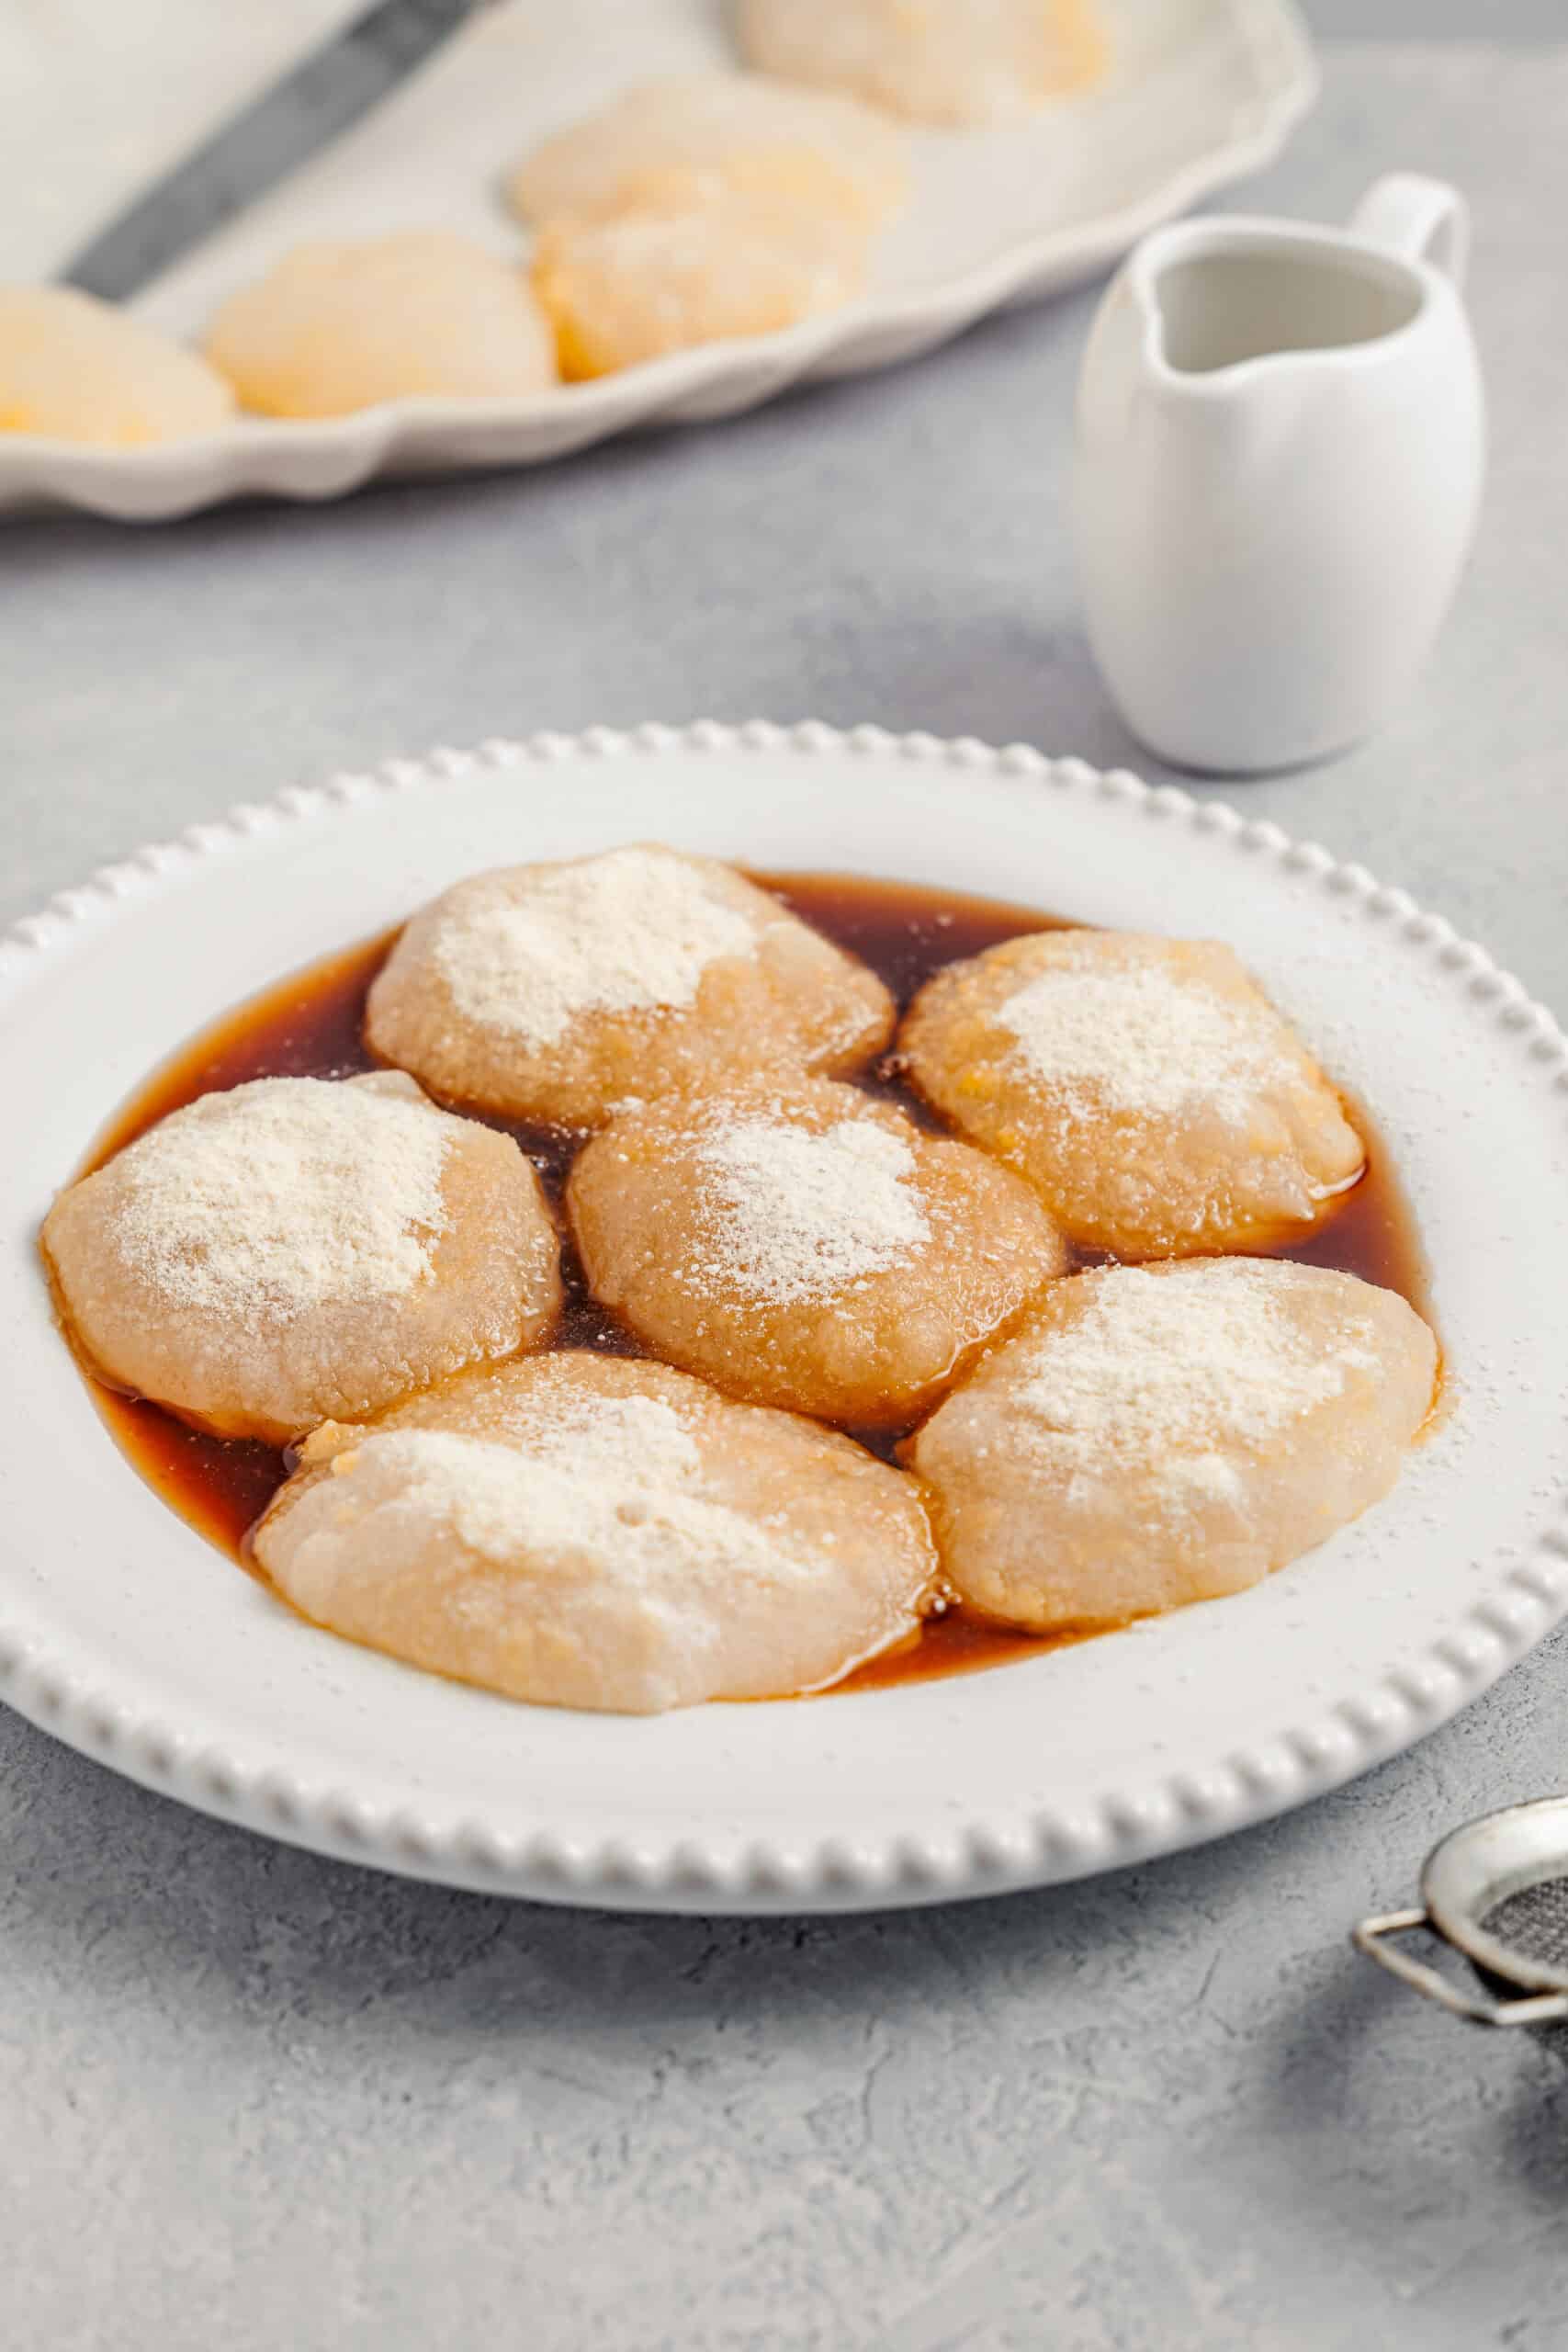
It is almost always served cold in summer, cut into rough cubes, buried in kinako (roasted soybean flour) and drizzled with kuromitsu (Japanese black sugar syrup). The flavour of the mochi itself is close to neutral and faintly sweet, which is the point: it is a vehicle for the toasty, peanut adjacent kinako and the smoky molasses depth of the syrup. If you have made injeolmi, the Korean roasted soybean mochi, you already know exactly what kinako tastes like, though warabimochi has none of the chew.
Where Warabimochi Comes From
Warabimochi is strongly associated with the Kansai region, especially Kyoto and Nara, where it has been sold for centuries and where you still find specialist shops that make nothing else. It was historically a peasant food, since bracken root starch could be dug and processed without needing precious rice, and it later became a refined summer sweet served with green tea. The word warabi means bracken fern, and mochi here simply means something pounded and soft.
The version most Japanese households make now uses sweet potato or tapioca starch, because genuine warabimochiko is expensive and increasingly rare. Purists will tell you the real thing has a darker, greyer colour and a melting quality that starch substitutes cannot match, and they are right. They are also being slightly unreasonable about a dessert that costs a small fortune to make authentically. Both versions are worth eating.
How To Make Warabimochi
There are only two things happening here. You whisk starch, sugar and water together cold until absolutely smooth, then you cook it while stirring constantly until it transforms from a thin milky liquid into a thick, clear, ferociously sticky mass. That transformation happens fast and all at once, usually somewhere between five and eight minutes, and it is genuinely satisfying to watch.
Then you set it, either by spreading it into an oiled dish or by dropping spoonfuls into ice water, cut it into pieces with a wet knife, and dress it. The kinako mixture takes thirty seconds to stir together, and the kuromitsu takes four minutes in a small pan if you do not already have kuromitsu, the Japanese black sugar syrup in the fridge. No moulds, no steamer, no stand mixer, nothing.
Warabimochi At A Glance
| Serves | Prep | Cook | Setting | Total |
|---|---|---|---|---|
| 4 | 5 minutes | 10 minutes | 1 to 2 hours | About 2 hours 15 minutes |
The setting time is mostly passive and happens on the bench rather than in the fridge, which is important. Warabimochi is best served the day it is made, so plan to eat it within a few hours of cooking.
Ingredients
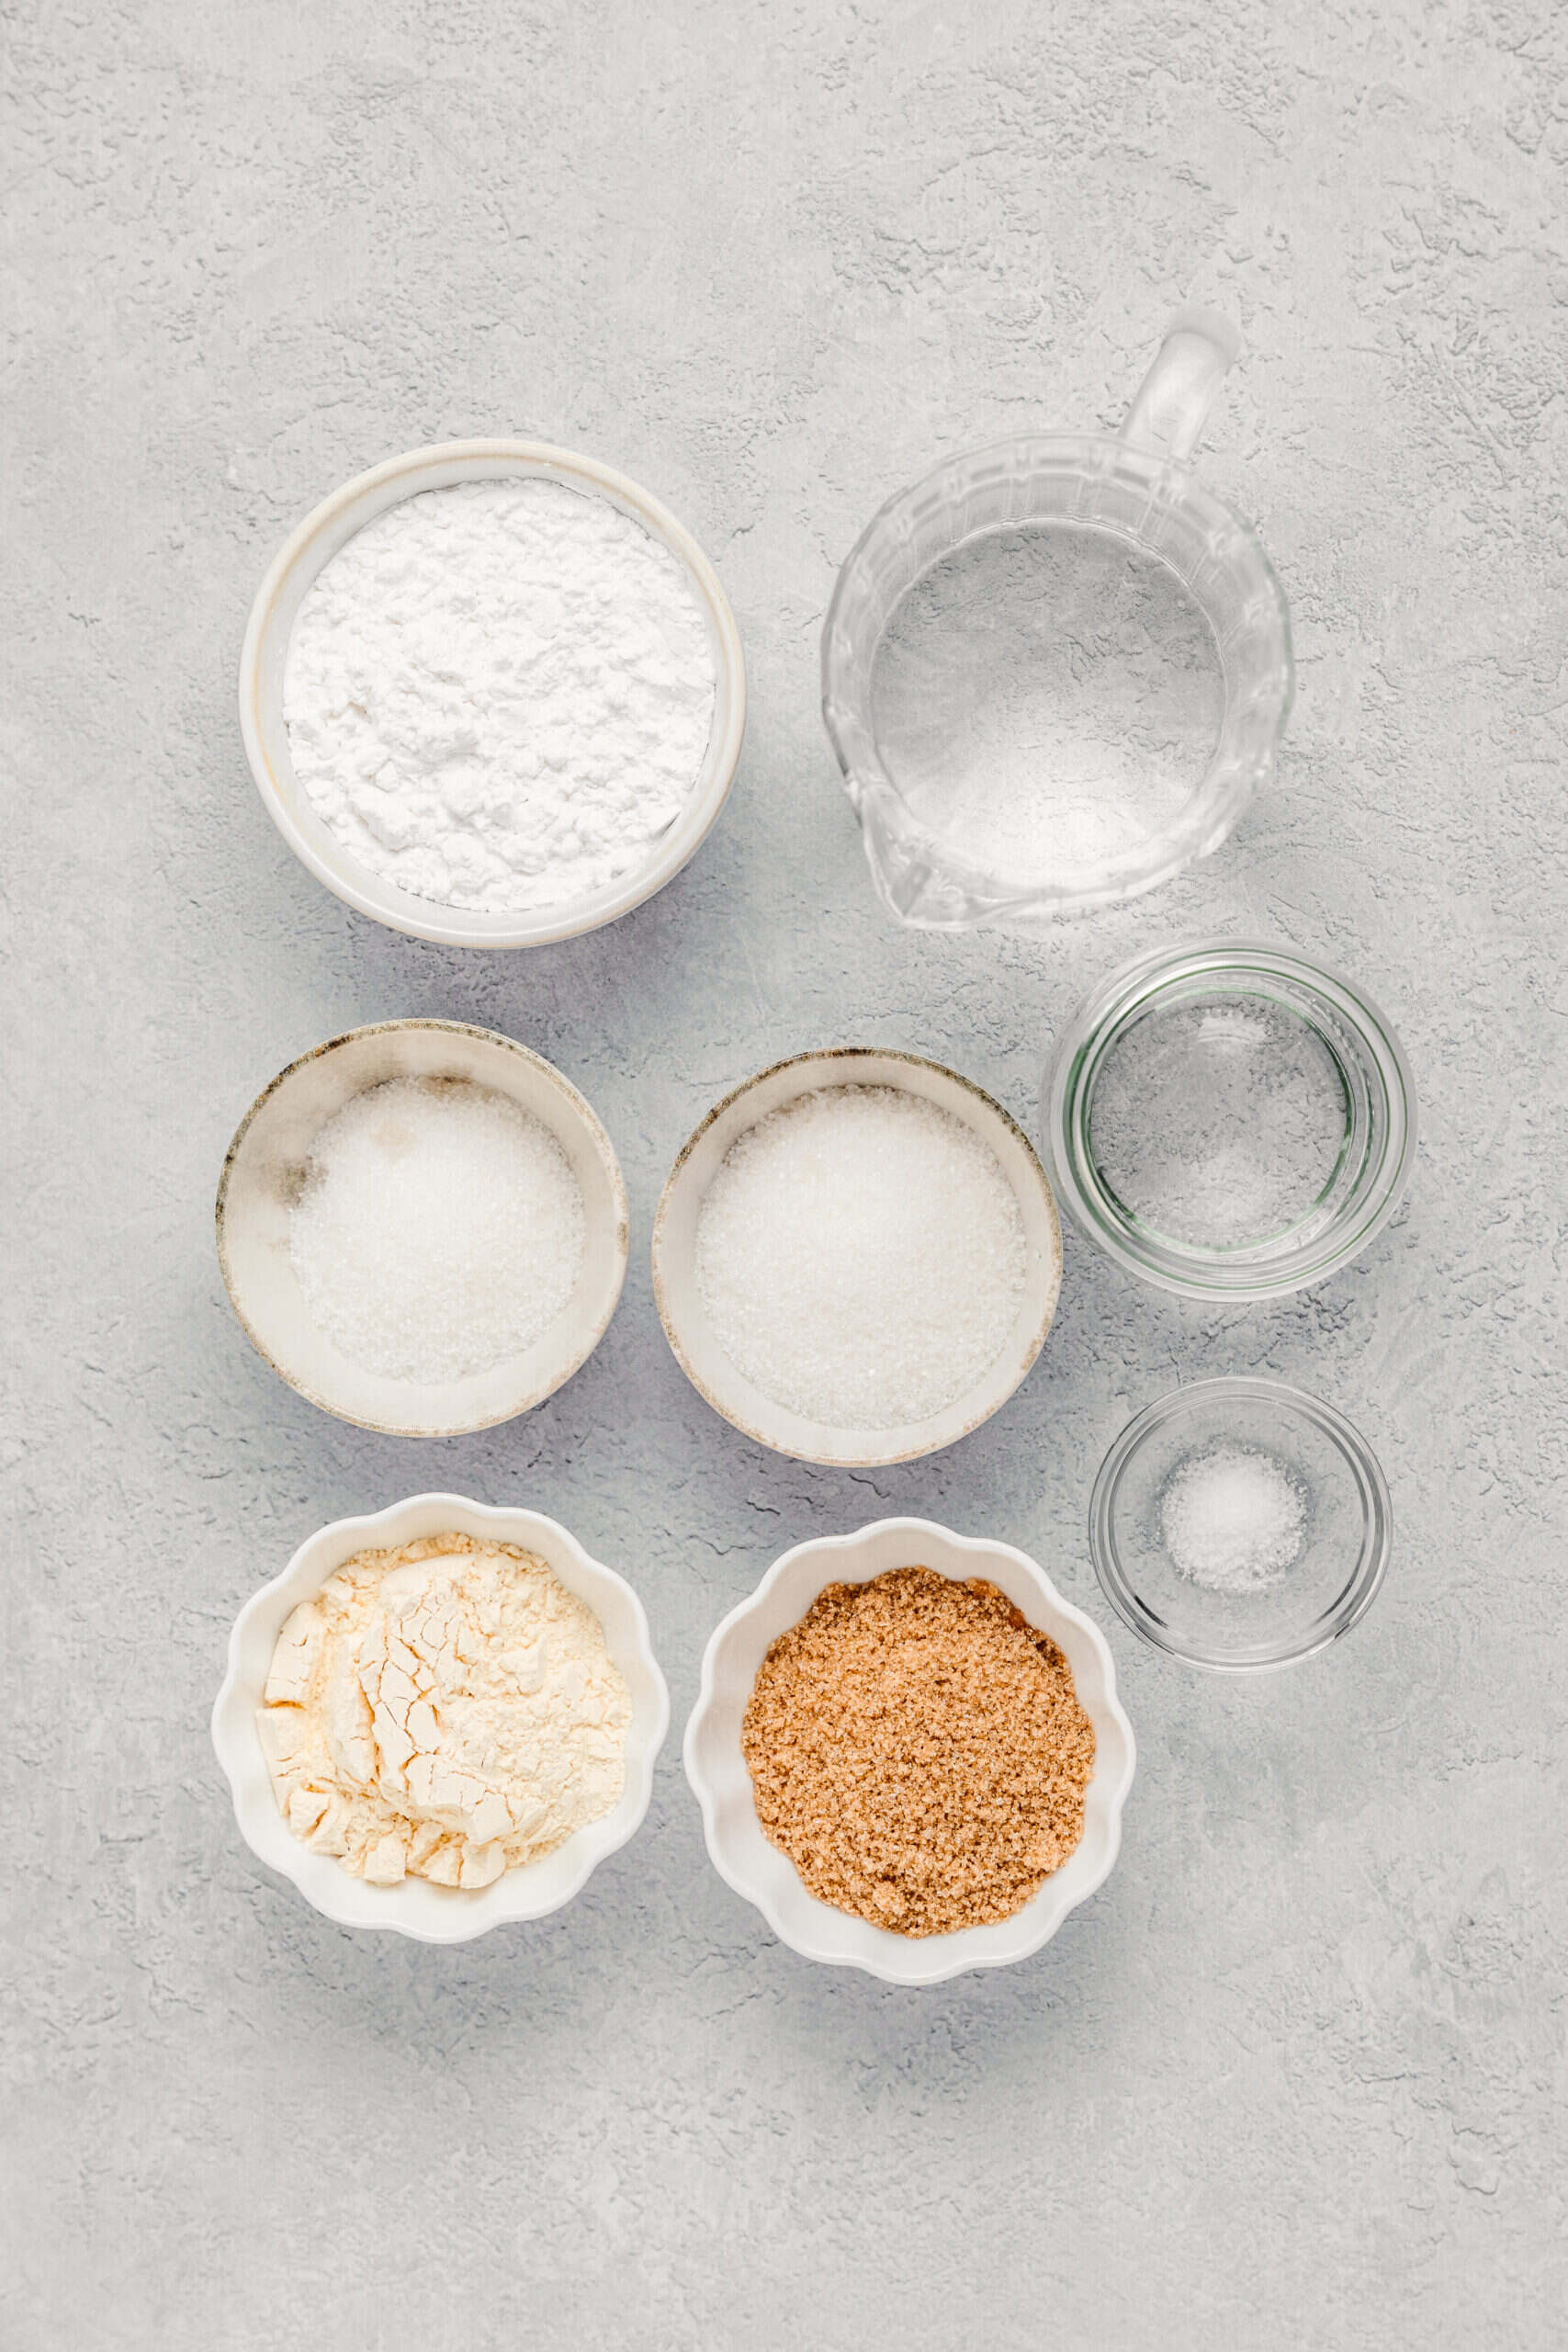
Quantities are in the recipe card at the bottom. Here is what each ingredient contributes, so you know what you can move around and what you cannot.
For The Warabimochi
- Warabimochiko (bracken starch): the traditional starch, and the one that gives warabimochi its signature melting, almost dissolving texture and its slightly grey cast. It is expensive and usually only found in Japanese grocers or online.
- Sweet potato or tapioca starch: the everyday substitute, and what most home cooks in Japan actually use. It sets clearer and slightly bouncier than the real thing, and it is a fraction of the price.
- Granulated sugar: lightly sweetens the mochi itself, but more importantly it softens the set so the finished pieces stay tender rather than rubbery.
- Water: the ratio here matters more than anything else in the recipe. Too little and you get a firm, chewy block, too much and it never sets enough to cut.
For The Kinako Coating
- Kinako (roasted soybean flour): pale beige, deeply toasty, and somewhere between peanut butter and roasted barley in flavour. It is the whole personality of the dish and there is no real substitute.
- Sugar: mixed straight into the kinako, because plain kinako on its own is quite dry and savoury.
- Salt: a pinch, and it sharpens the roasted flavour of the kinako noticeably. Leave it out and the coating tastes dusty.
For The Kuromitsu
- Kurozato (Japanese black sugar): unrefined cane sugar from Okinawa with a smoky, almost savoury molasses depth. It makes a syrup that is far more interesting than plain caramel.
- Dark brown sugar: the accessible stand in. It is sweeter and less complex, so I add a tiny pinch of salt to compensate.
- Water: just enough to dissolve the sugar into a pourable syrup. It thickens considerably as it cools, so stop while it still looks thin.
Optional: My Favourite Extras That Add A Little Magic
- Toasted black sesame: ground with a little sugar and used alongside the kinako, it gives a second coating with a deeper, more bitter roast note.
- A scoop of vanilla or matcha ice cream: served next to the warabimochi so the syrup pools between them. This is how a lot of Kyoto cafes serve it and it is genuinely excellent.
- Matcha powder in the coating: half a teaspoon whisked into the kinako mixture adds colour and a grassy bitterness that balances the kuromitsu.
- A pinch of flaky salt over the finished plate: unconventional, but it makes the black sugar taste twice as deep.
Substitutions: Smart Ingredient Swaps That Still Taste Amazing
- Tapioca starch for warabimochiko: the easiest and most available swap. Expect a slightly bouncier, clearer result that is still very good.
- Potato starch for warabimochiko: works, but sets softer and can weep a little liquid as it sits. Use it within an hour.
- Dark brown sugar for kurozato: perfectly fine, just add a pinch of salt to the syrup to give it back some complexity.
- Maple syrup or dark honey for kuromitsu: not traditional at all, but if you want zero extra cooking they both work poured straight from the bottle.
- Cornstarch for the mochi: the one swap I would avoid. It sets cloudy and chalky and loses the translucency that makes warabimochi look the way it does.
If you want more mochi projects after this, matcha butter mochi is the baked, cake like end of the family, and mochi ice cream explains how the glutinous rice version behaves differently.
Steps
Each photo below matches the step it sits under, so you can check your pan against mine before you move on. The colour change in the middle of this recipe is the thing to watch for.
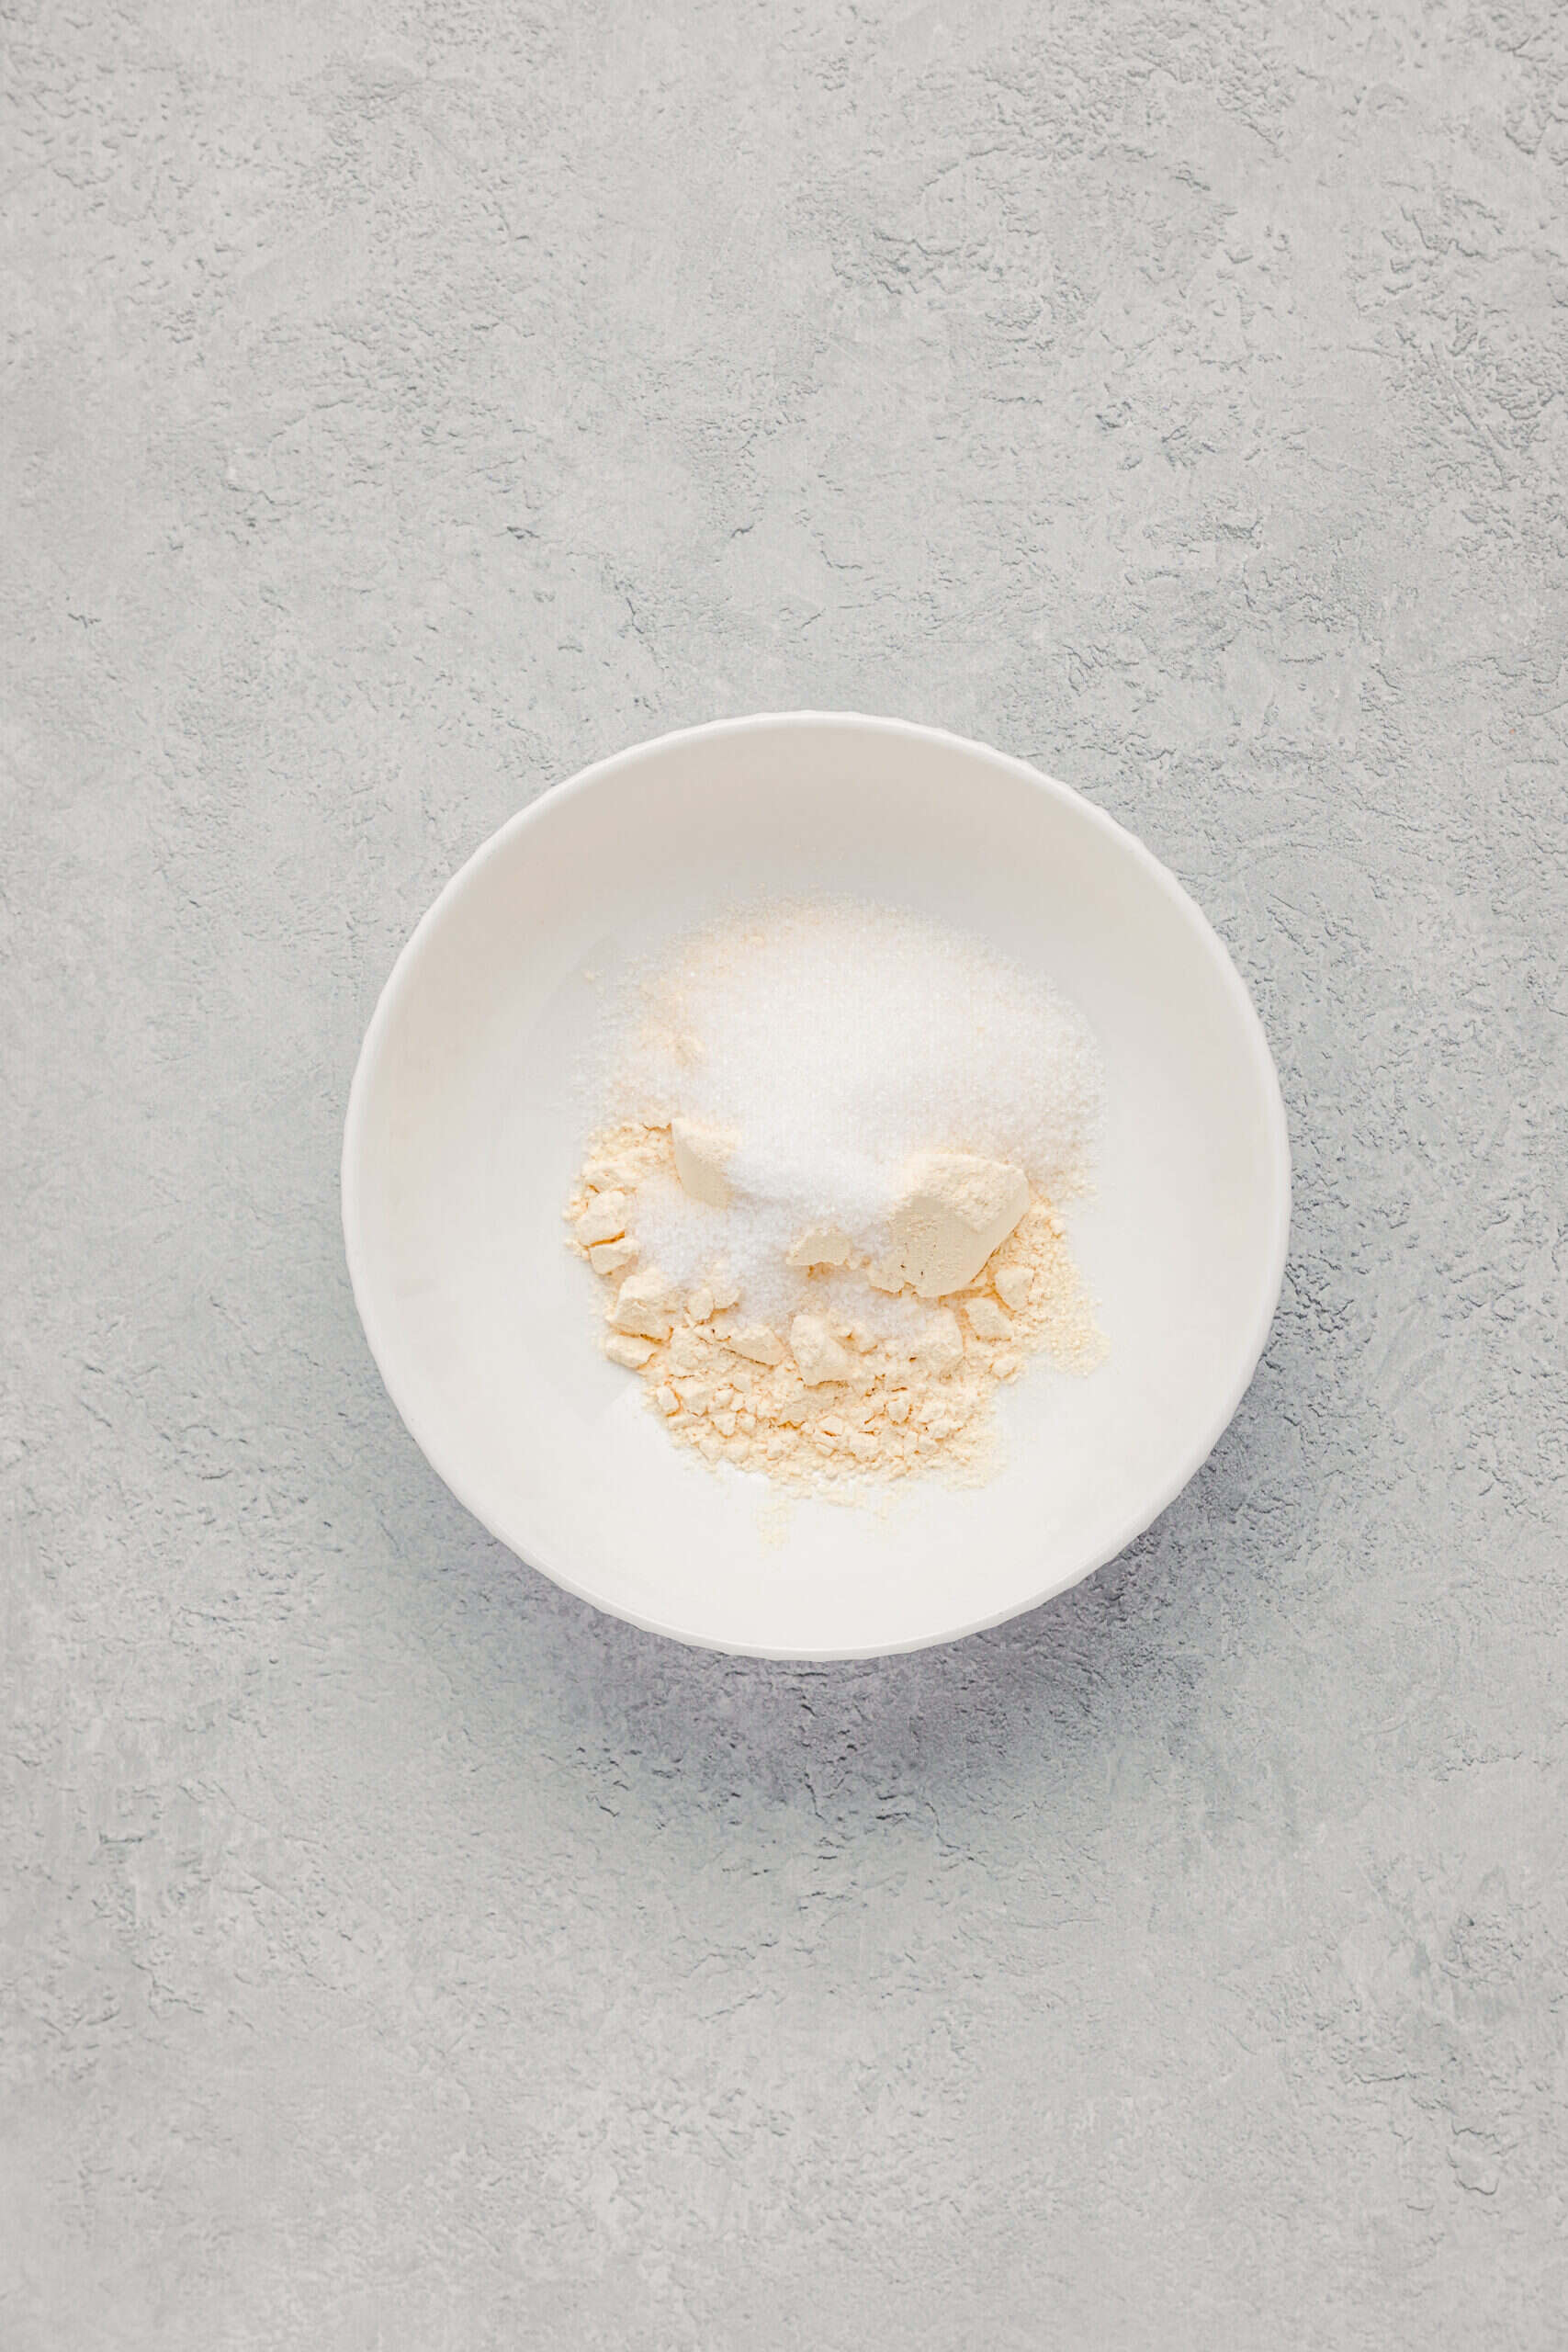
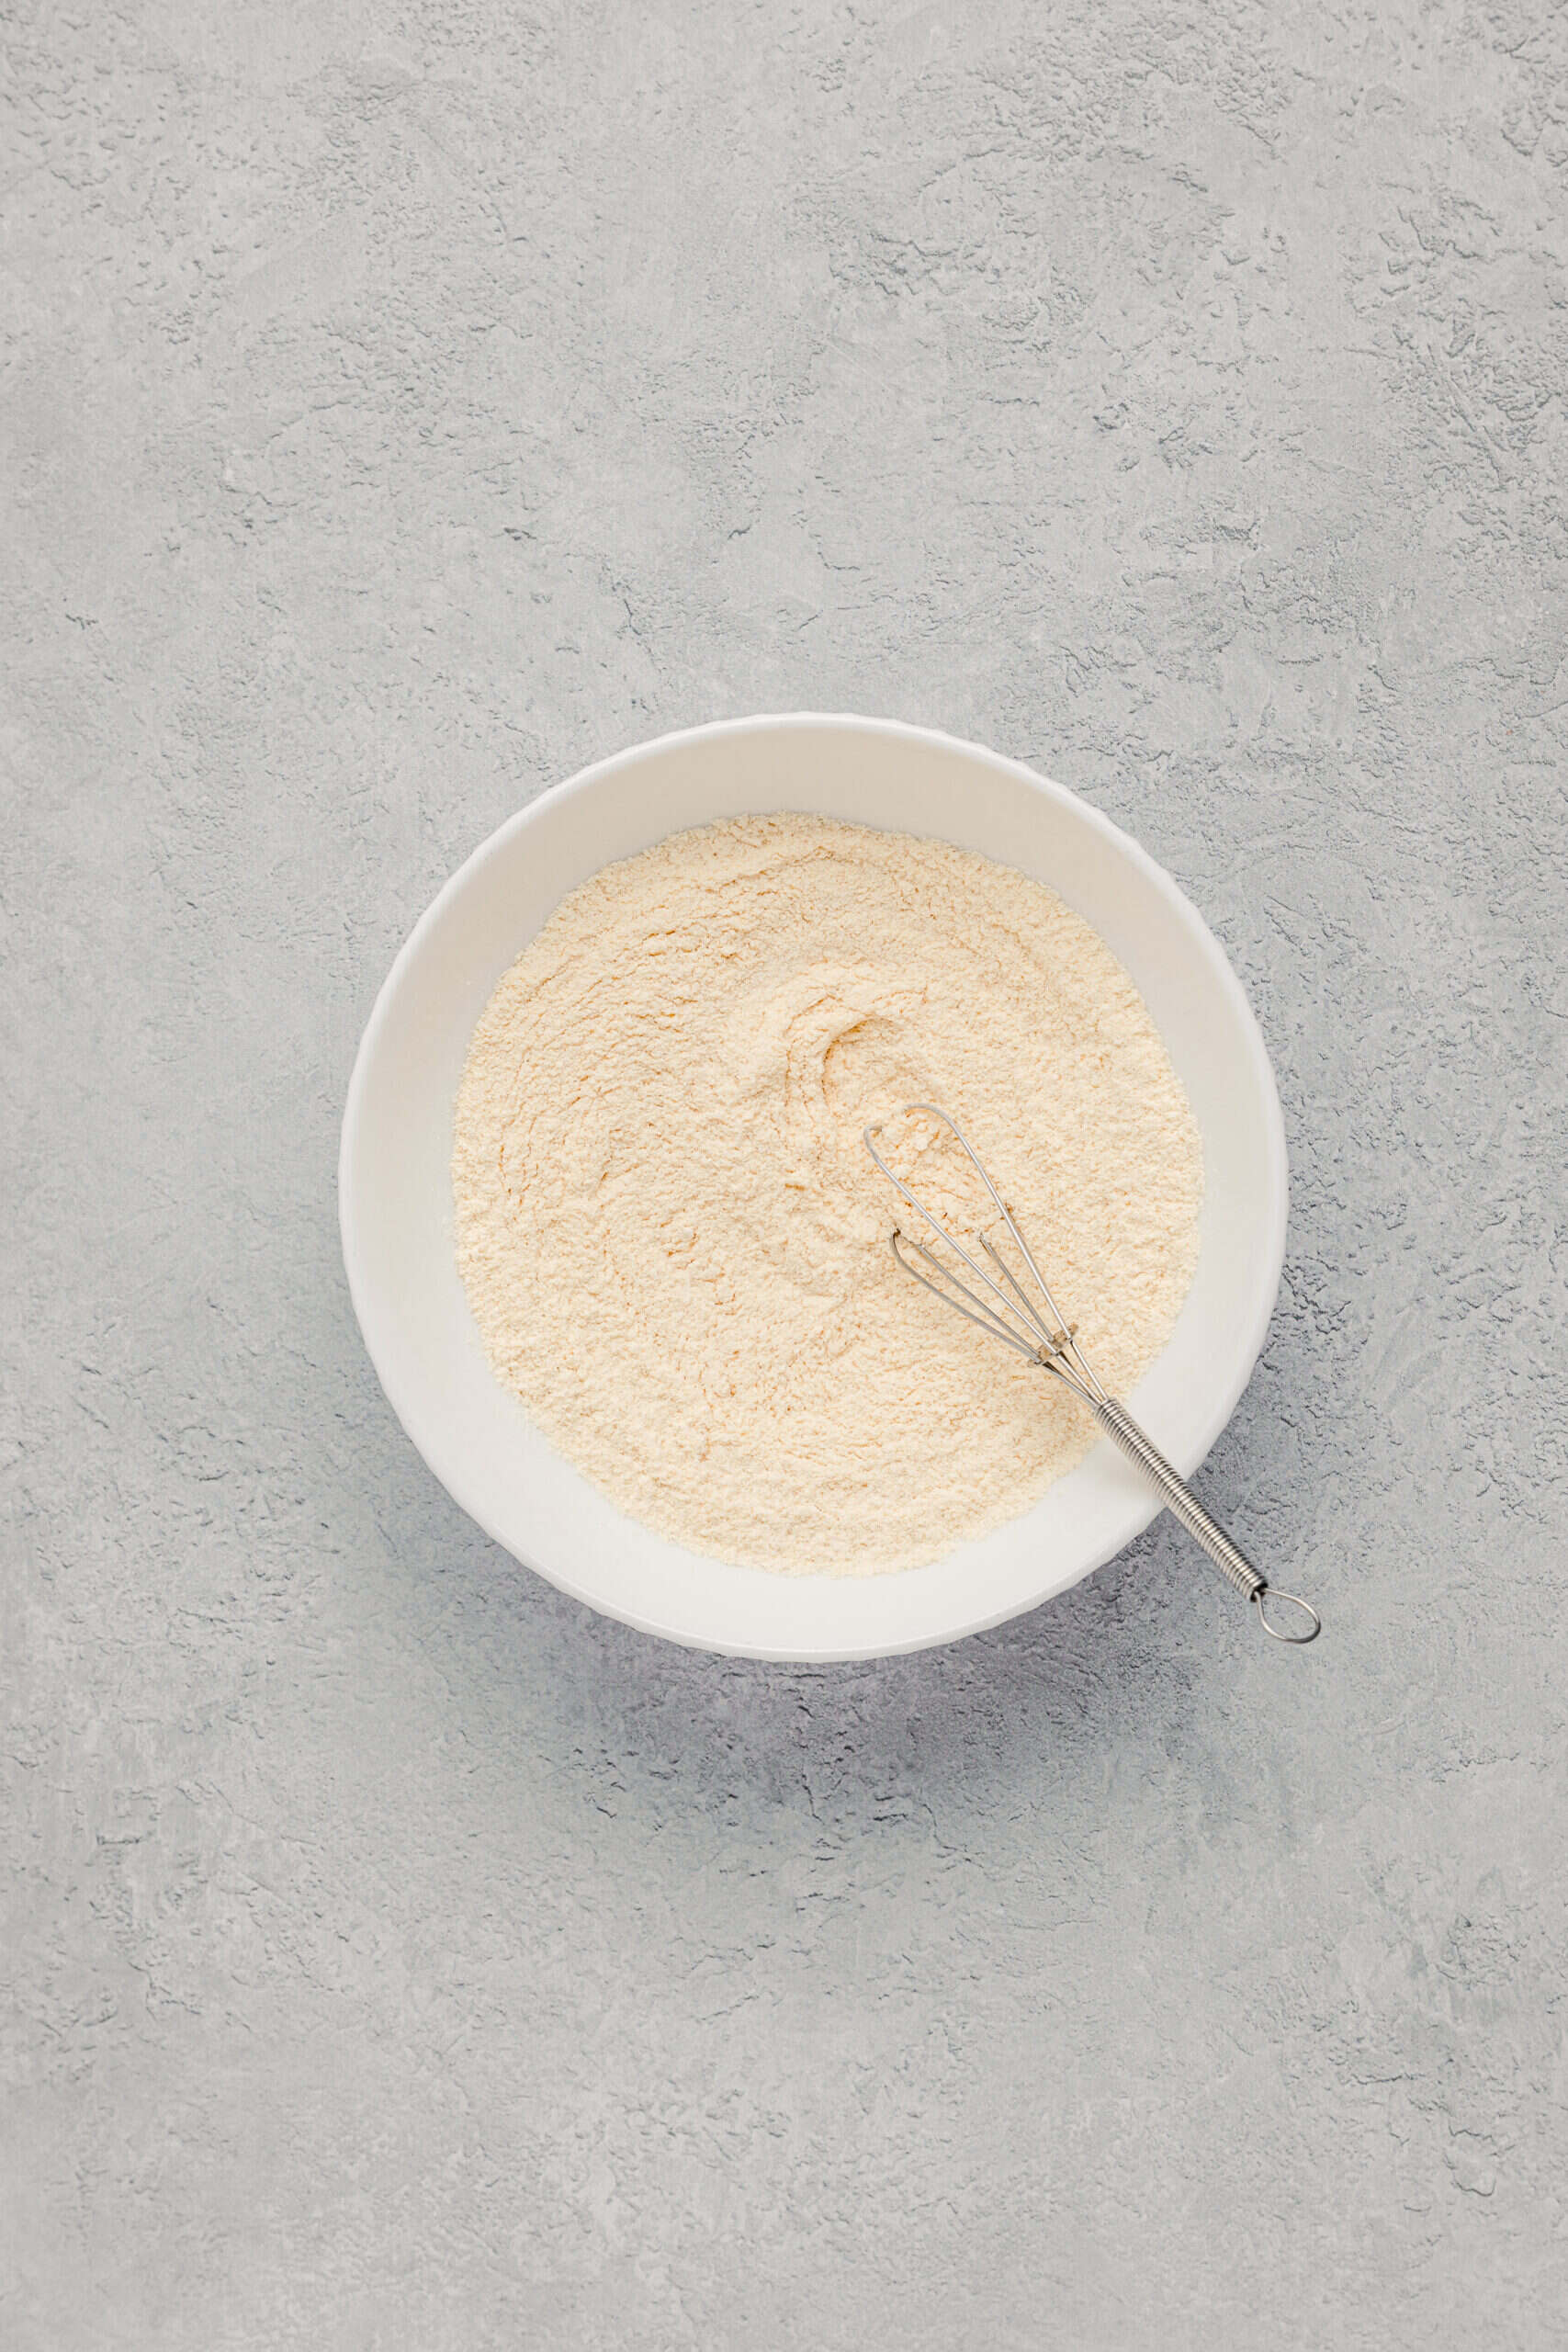
- Stir the kinako, sugar and salt together in a small bowl so the sugar is evenly distributed through the flour. Set it aside somewhere dry.
- Whisk it smooth so there are no pockets of loose sugar, then prepare a bowl of ice water and keep it near the stove.
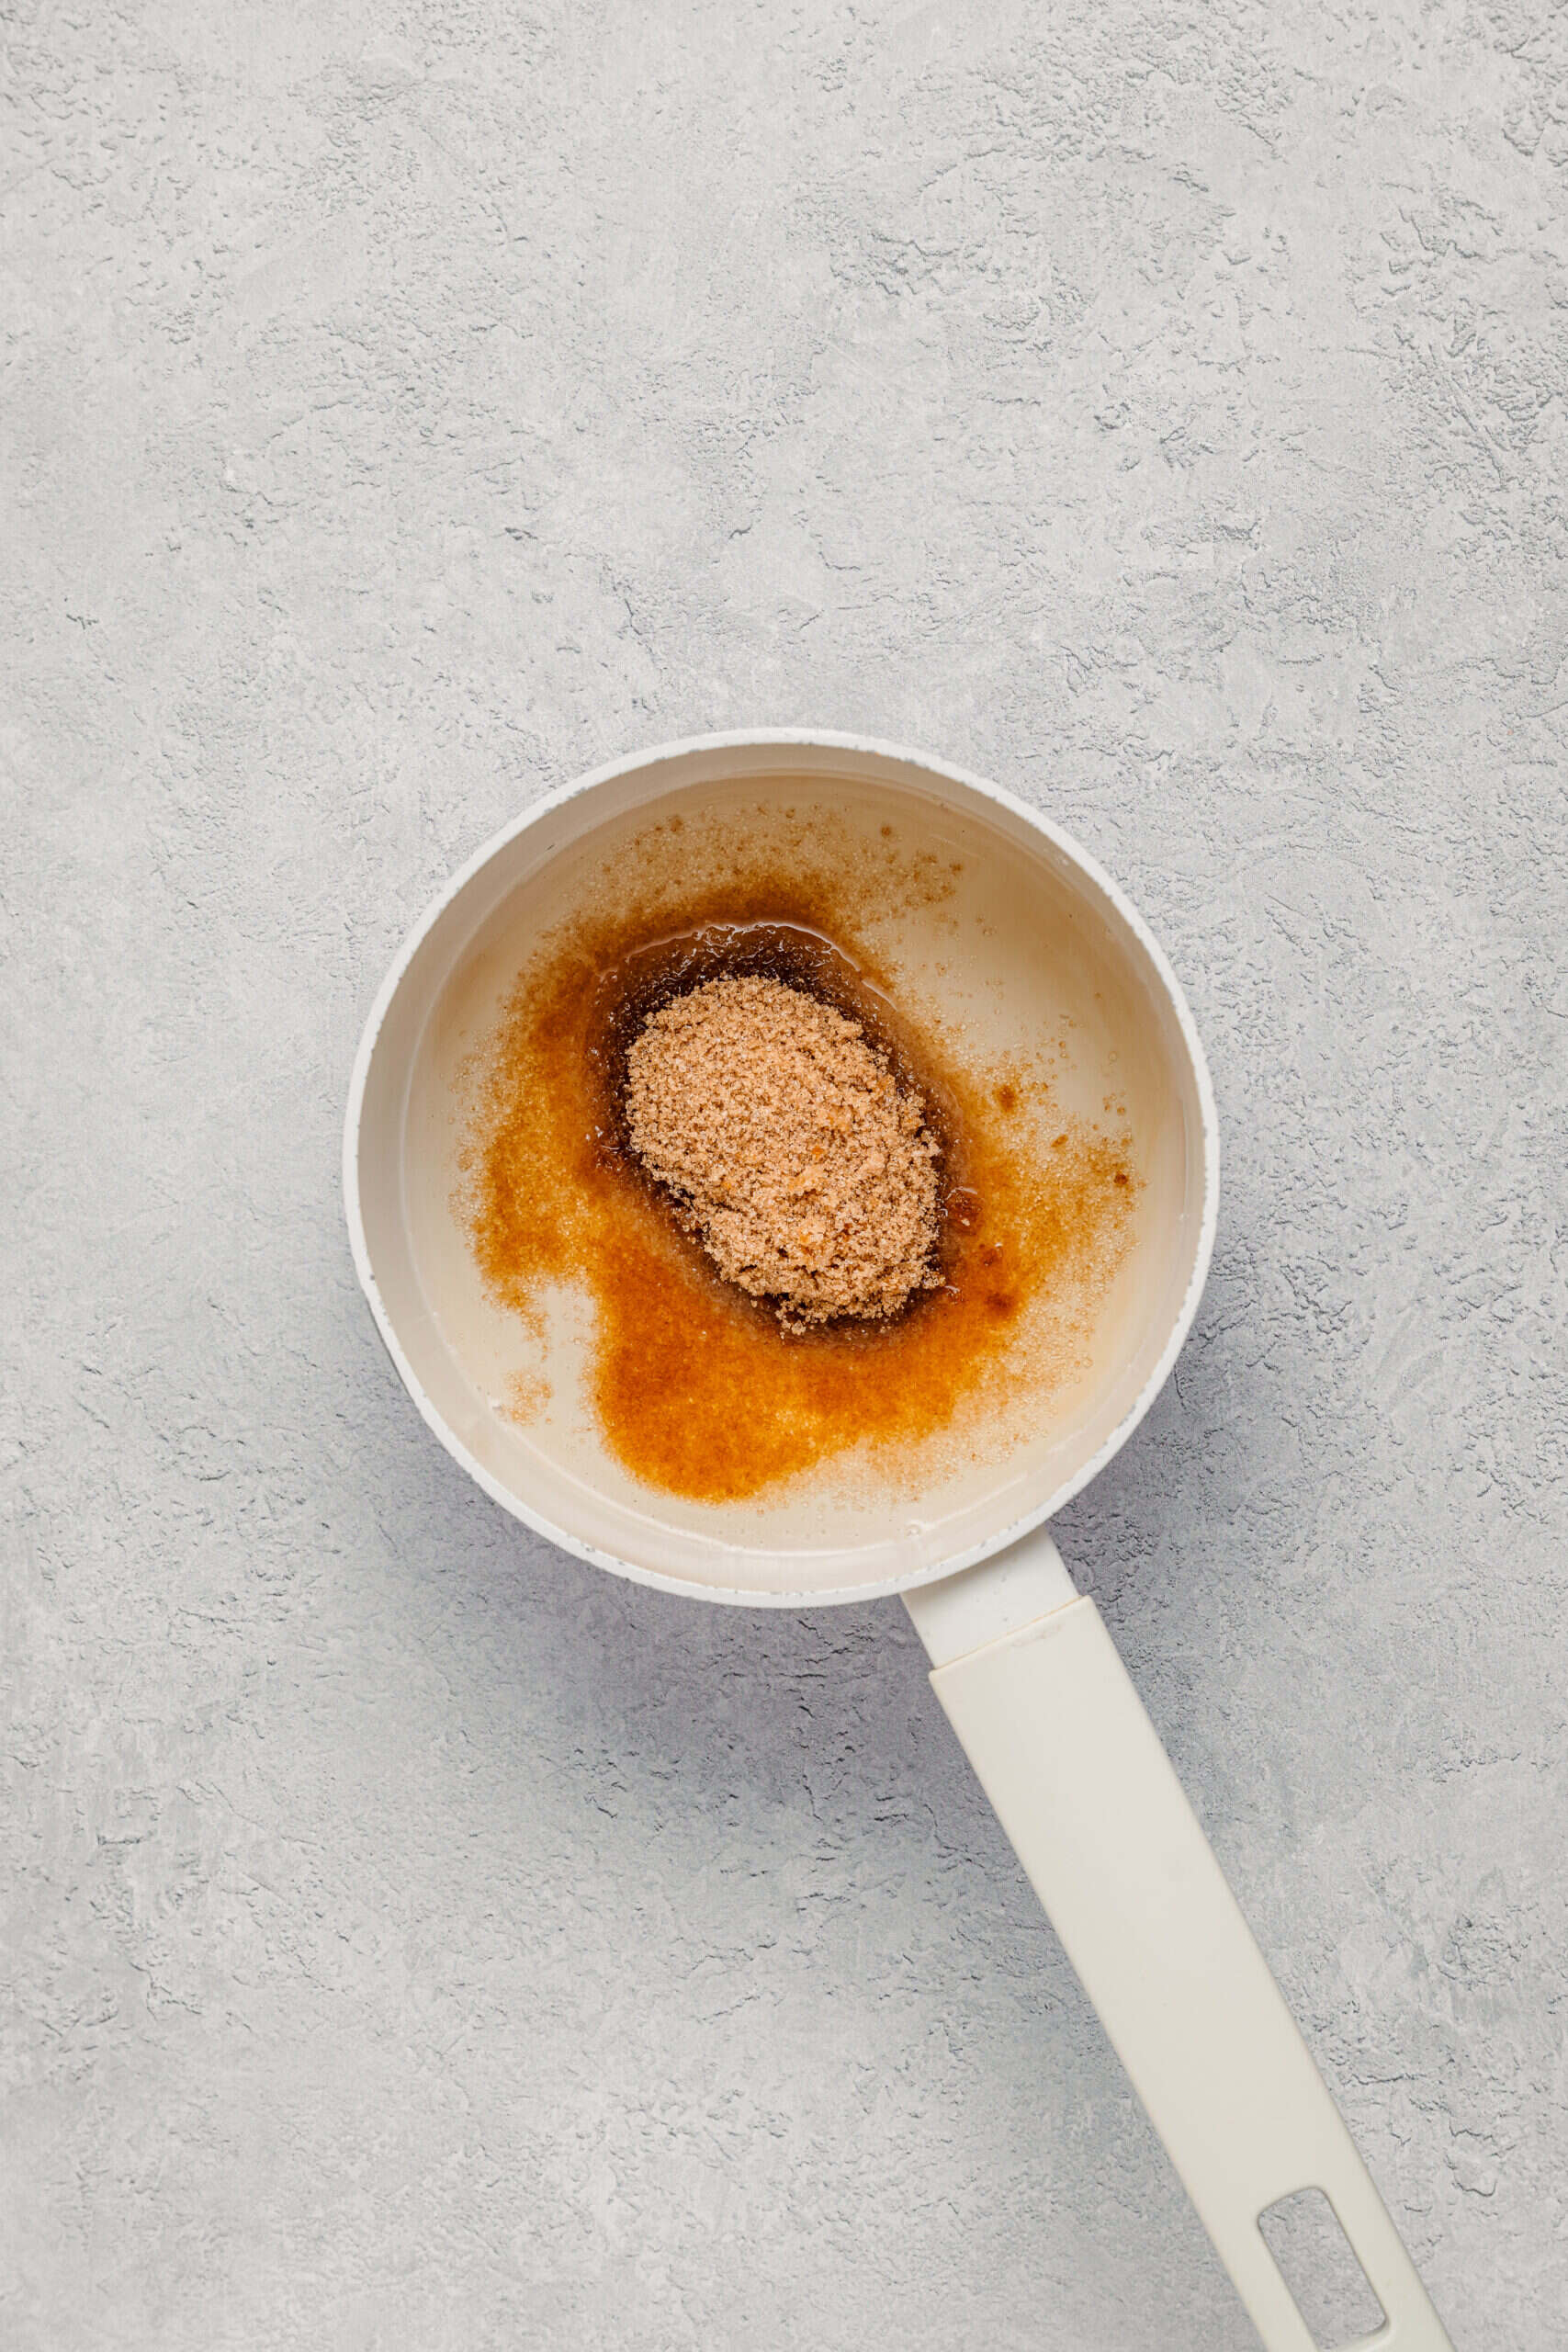
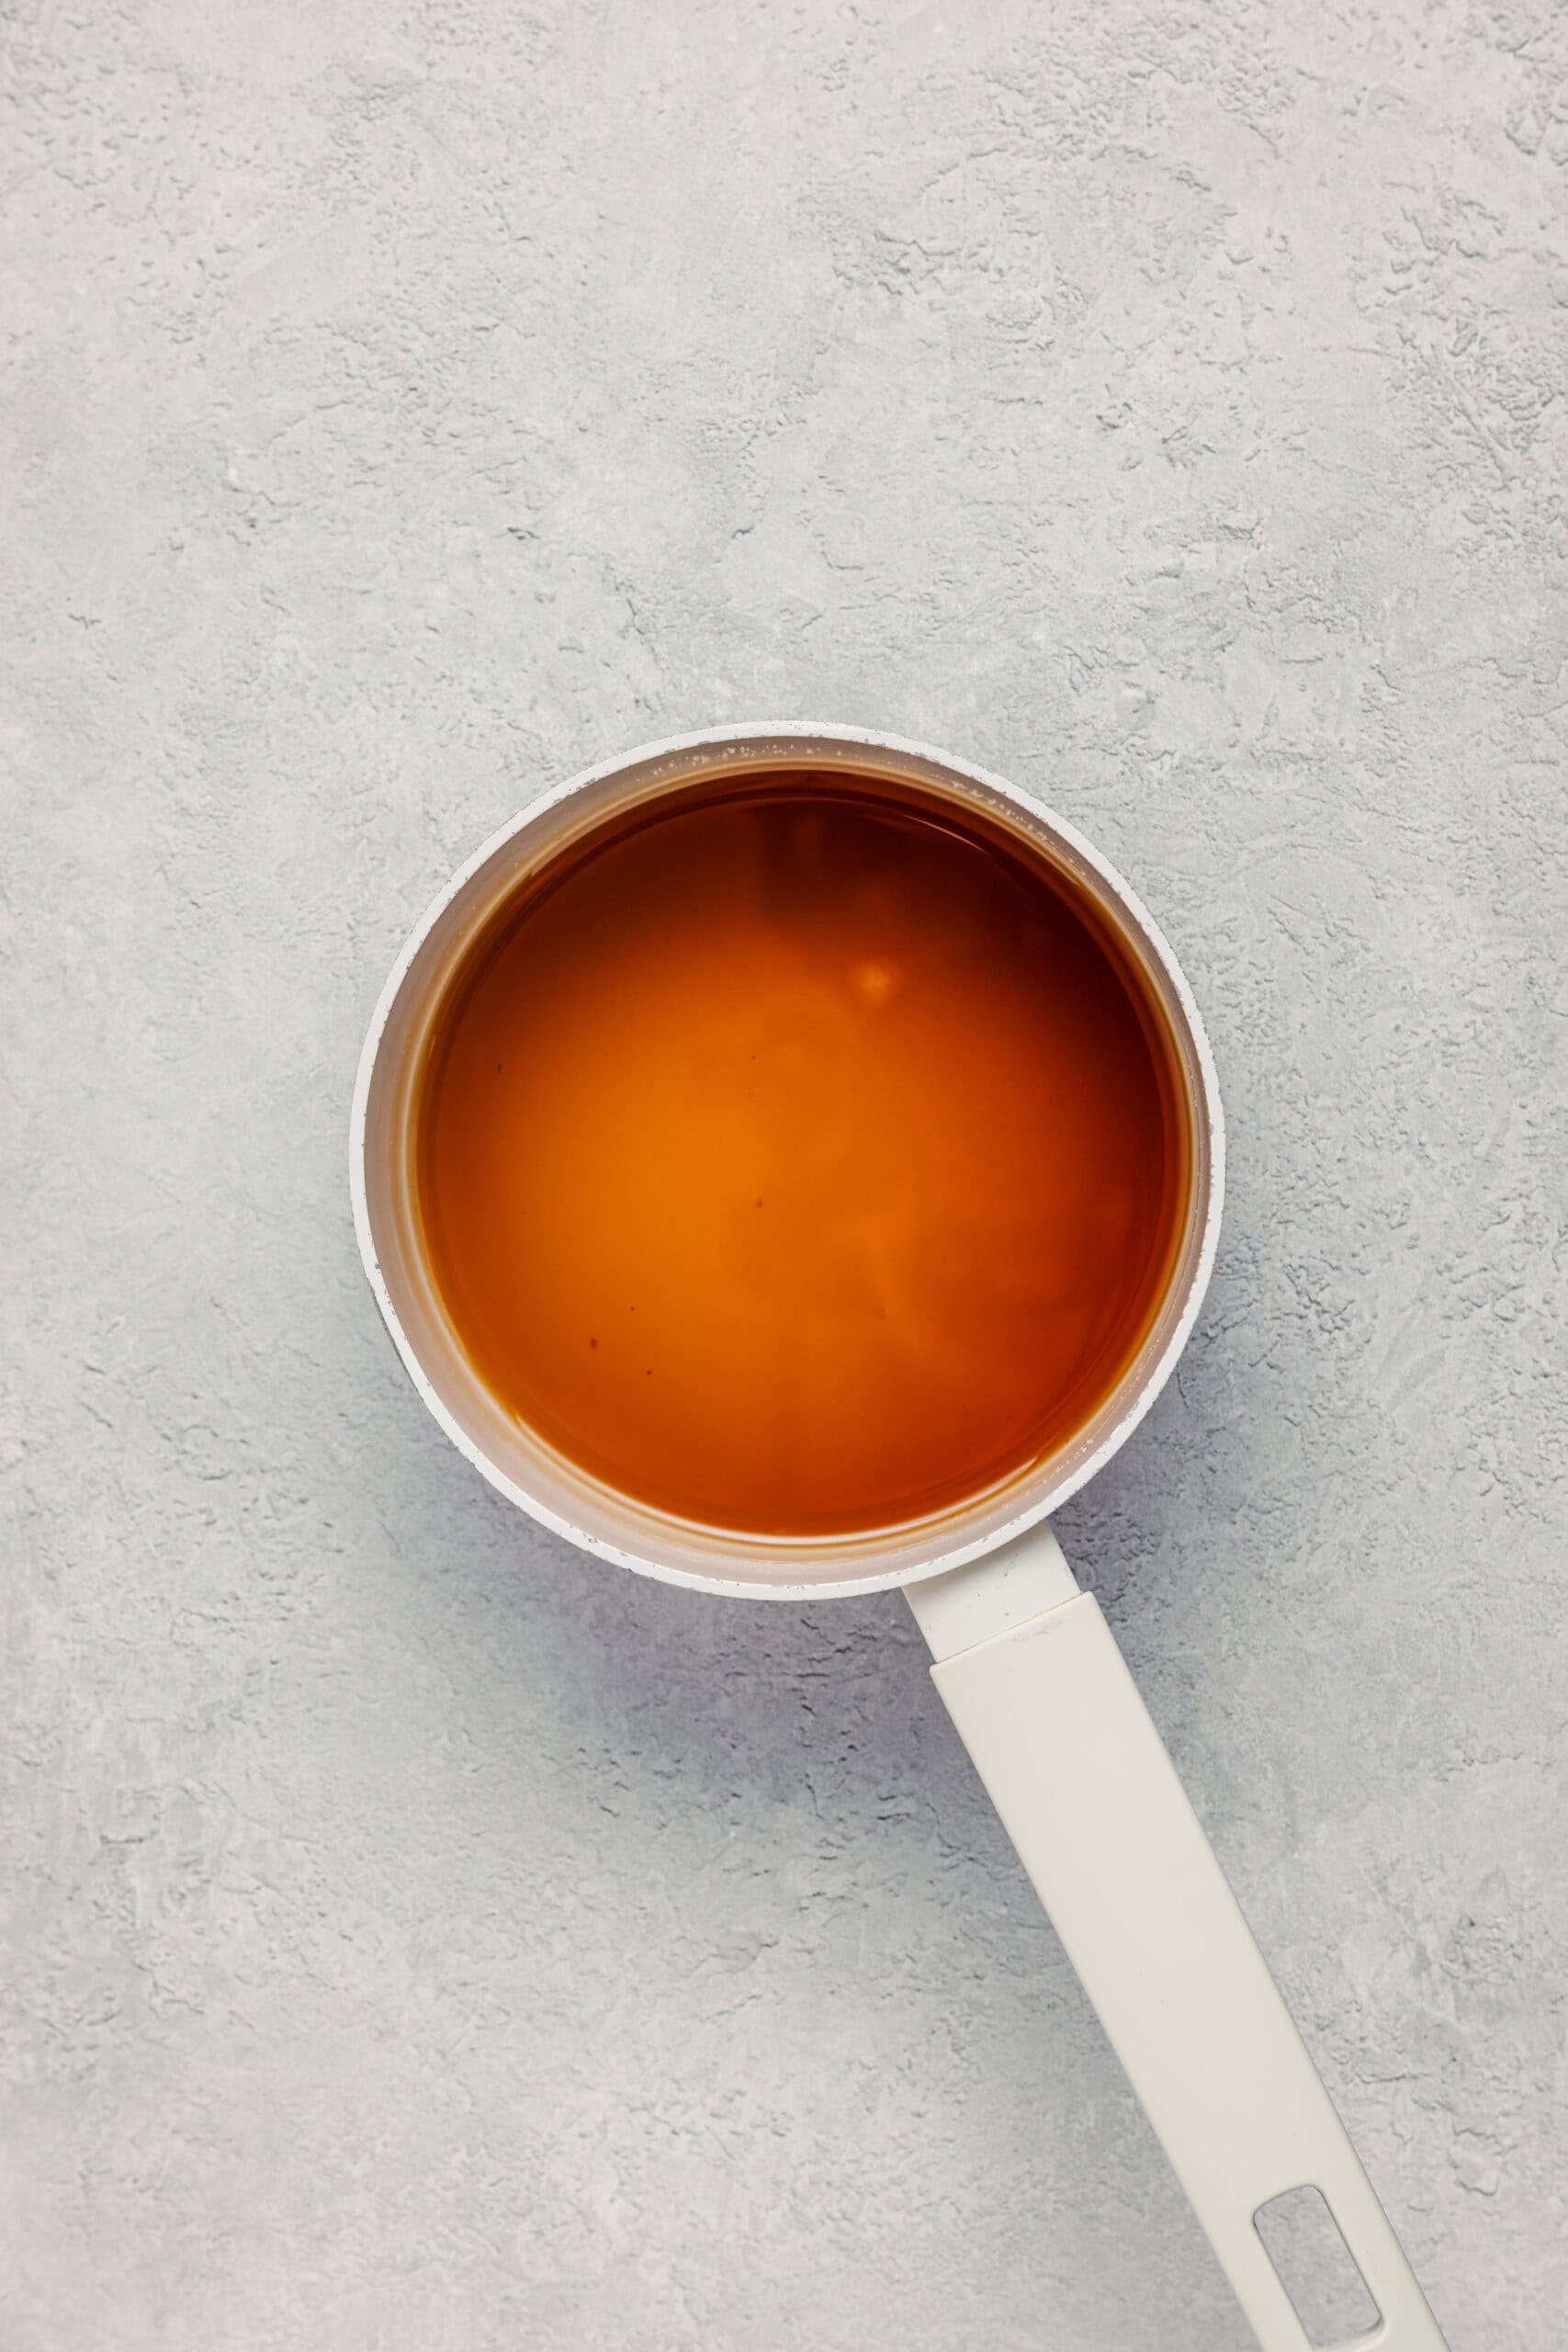
- For the kuromitsu, combine the Japanese black sugar and water in a small saucepan over low heat and stir until the sugar has dissolved.
- Simmer for 3 to 4 minutes until it is lightly syrupy, then take it off the heat and cool. It will thicken quite a lot as it drops in temperature, so do not reduce it too far.
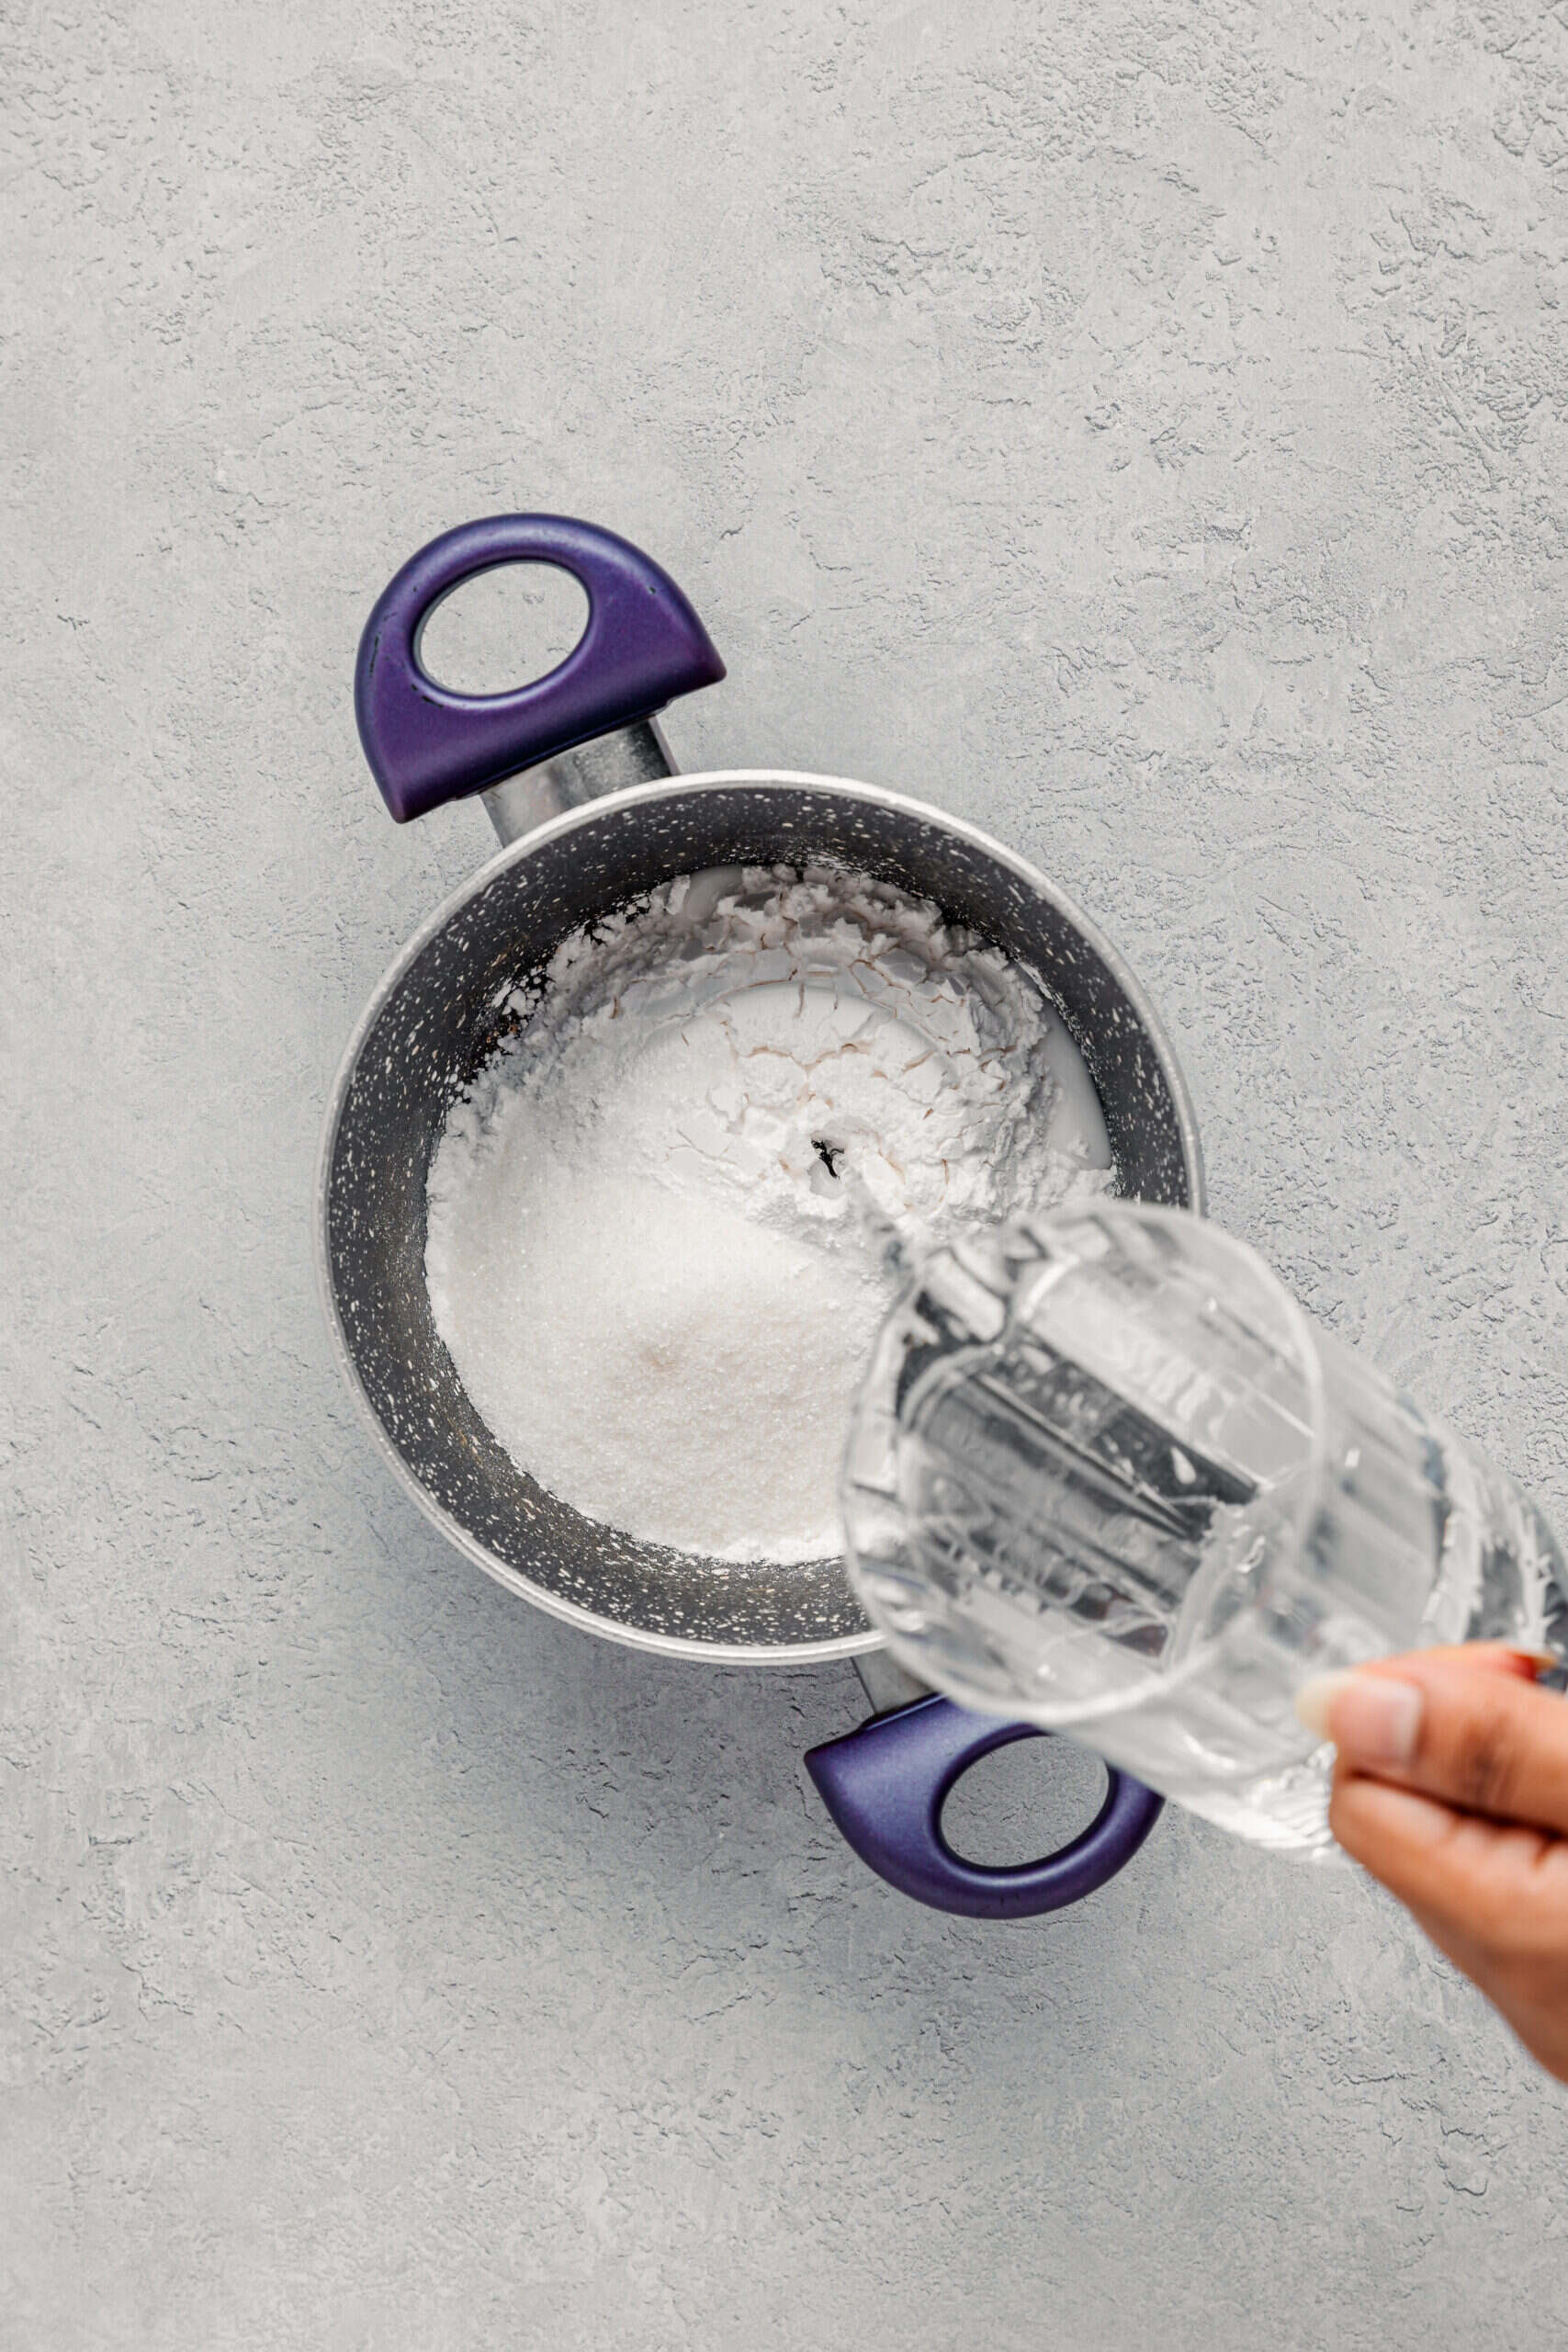
- In a clean saucepan off the heat, add the starch and sugar, then pour in the water. Doing this off the heat is not optional, since starch seizes instantly in hot liquid.
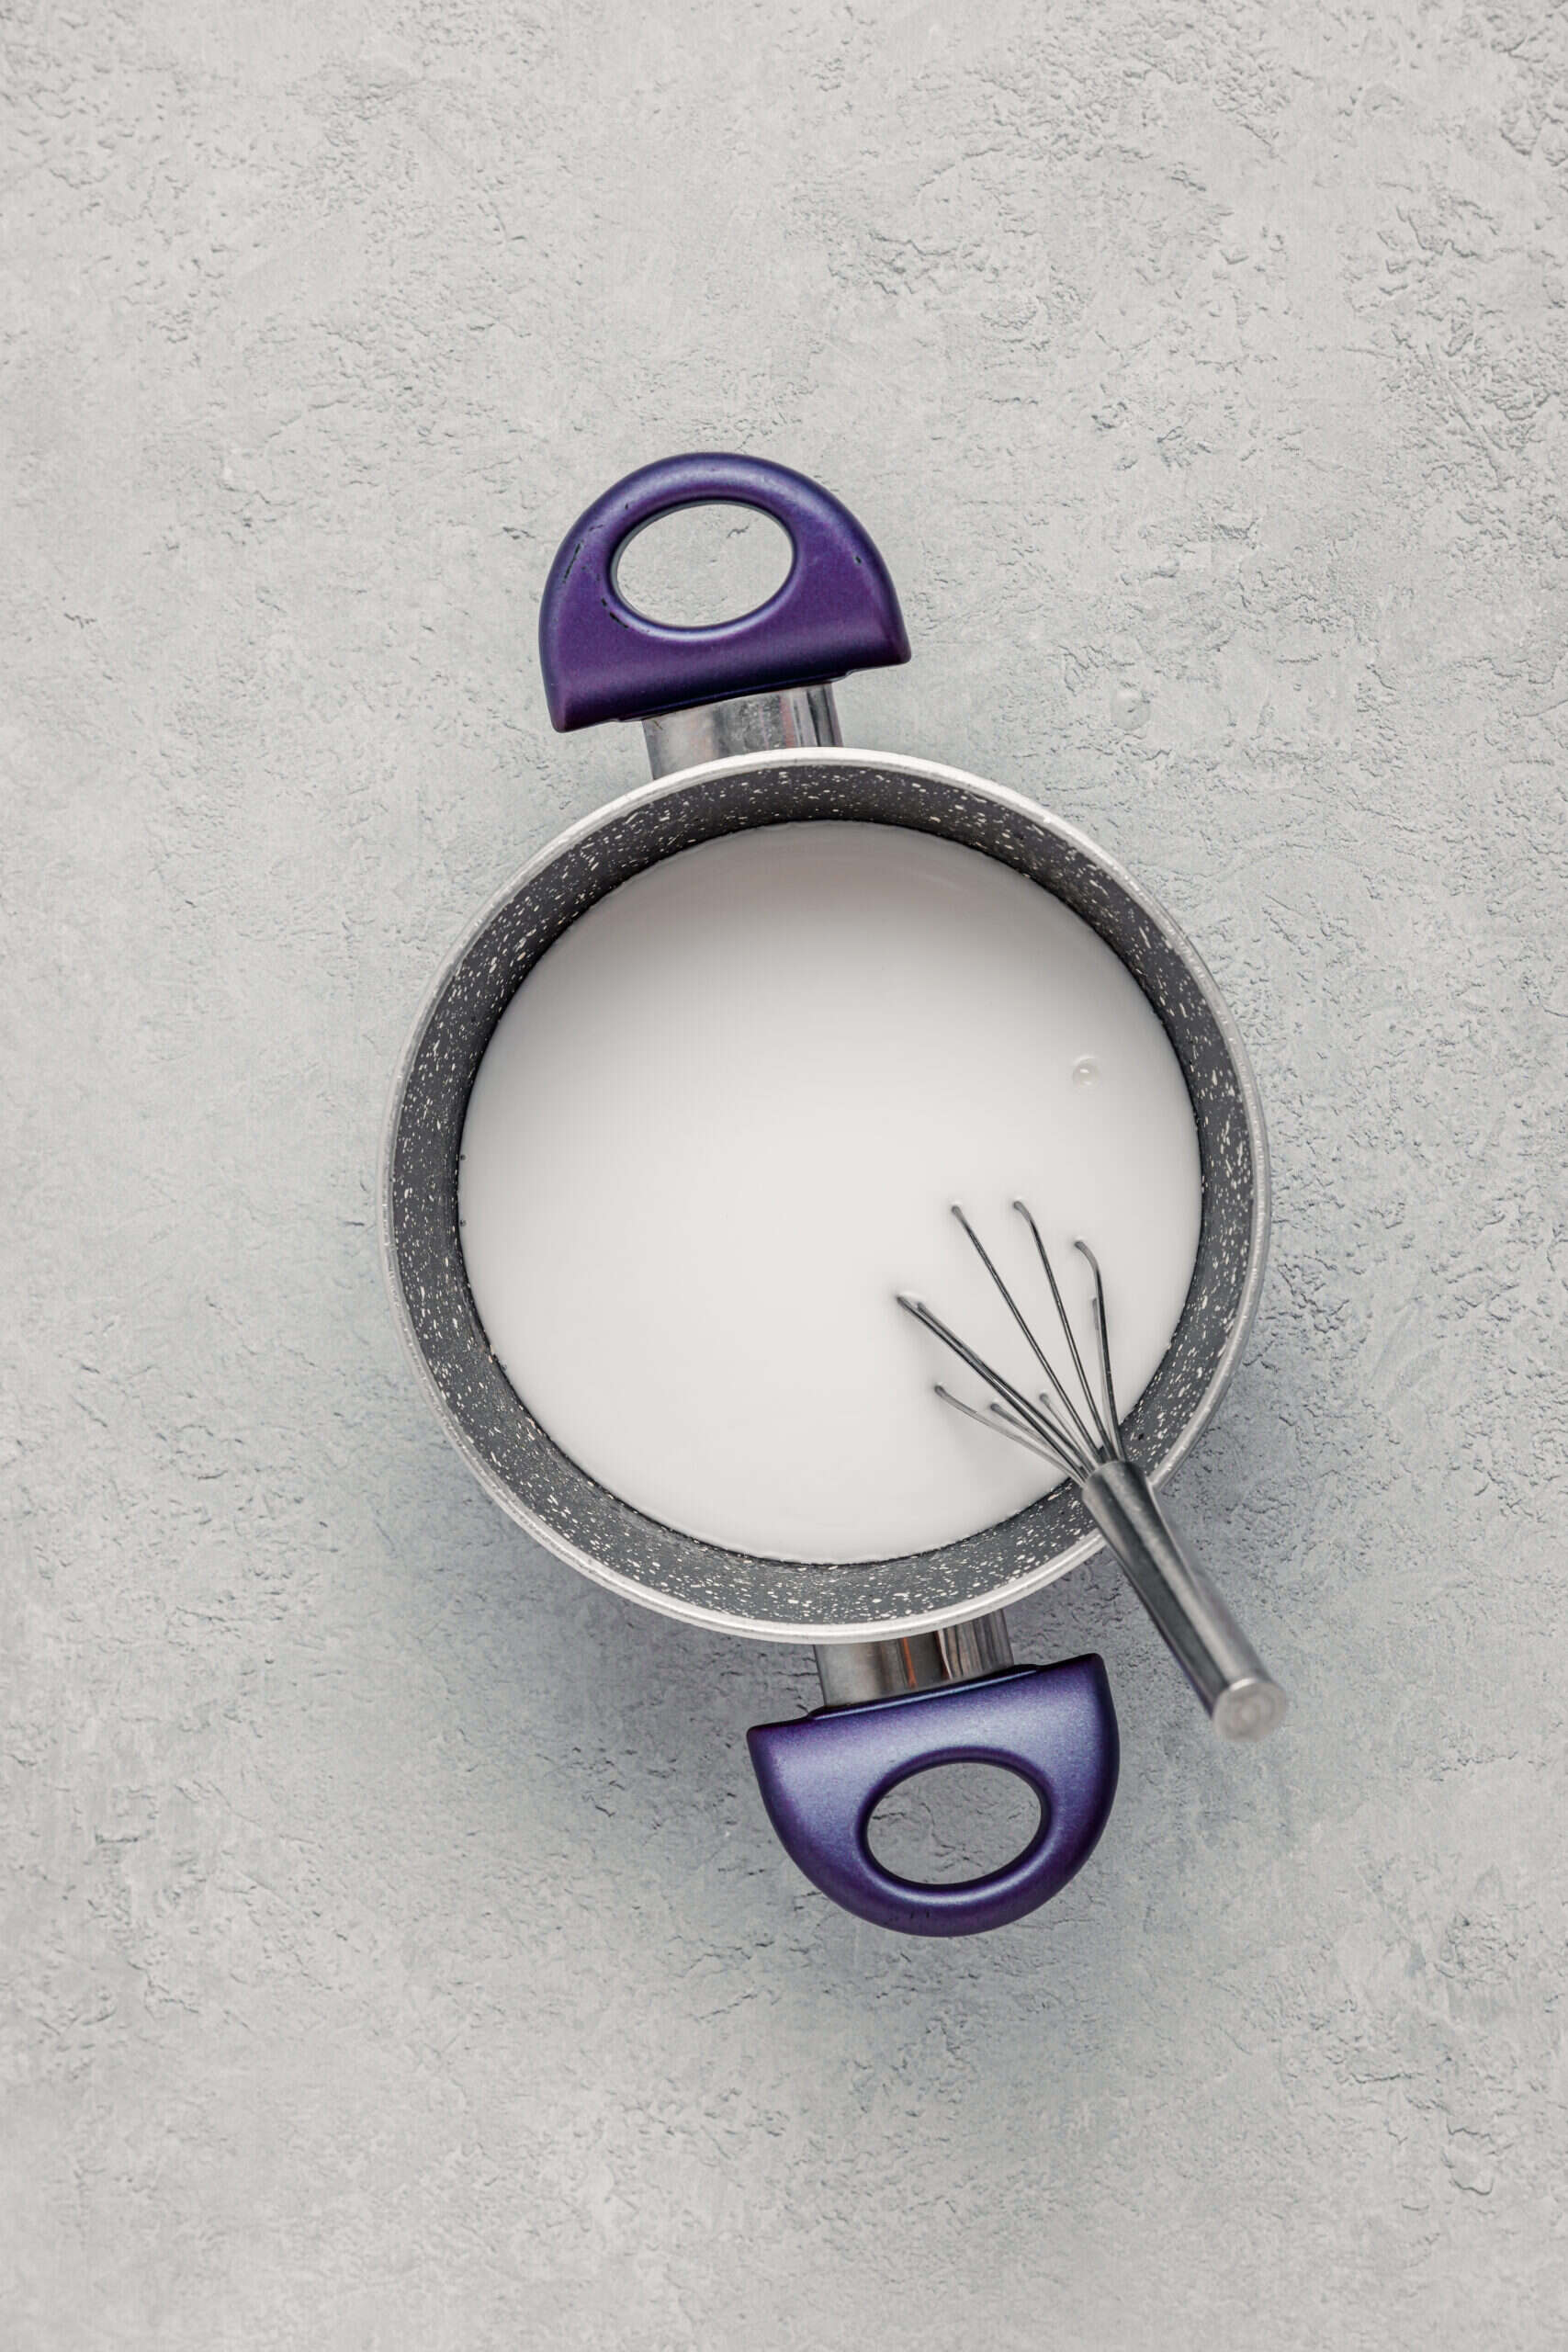
- Whisk until the mixture is completely smooth and milky with no lumps at all. Run the whisk around the bottom edge of the pan where dry starch likes to hide.
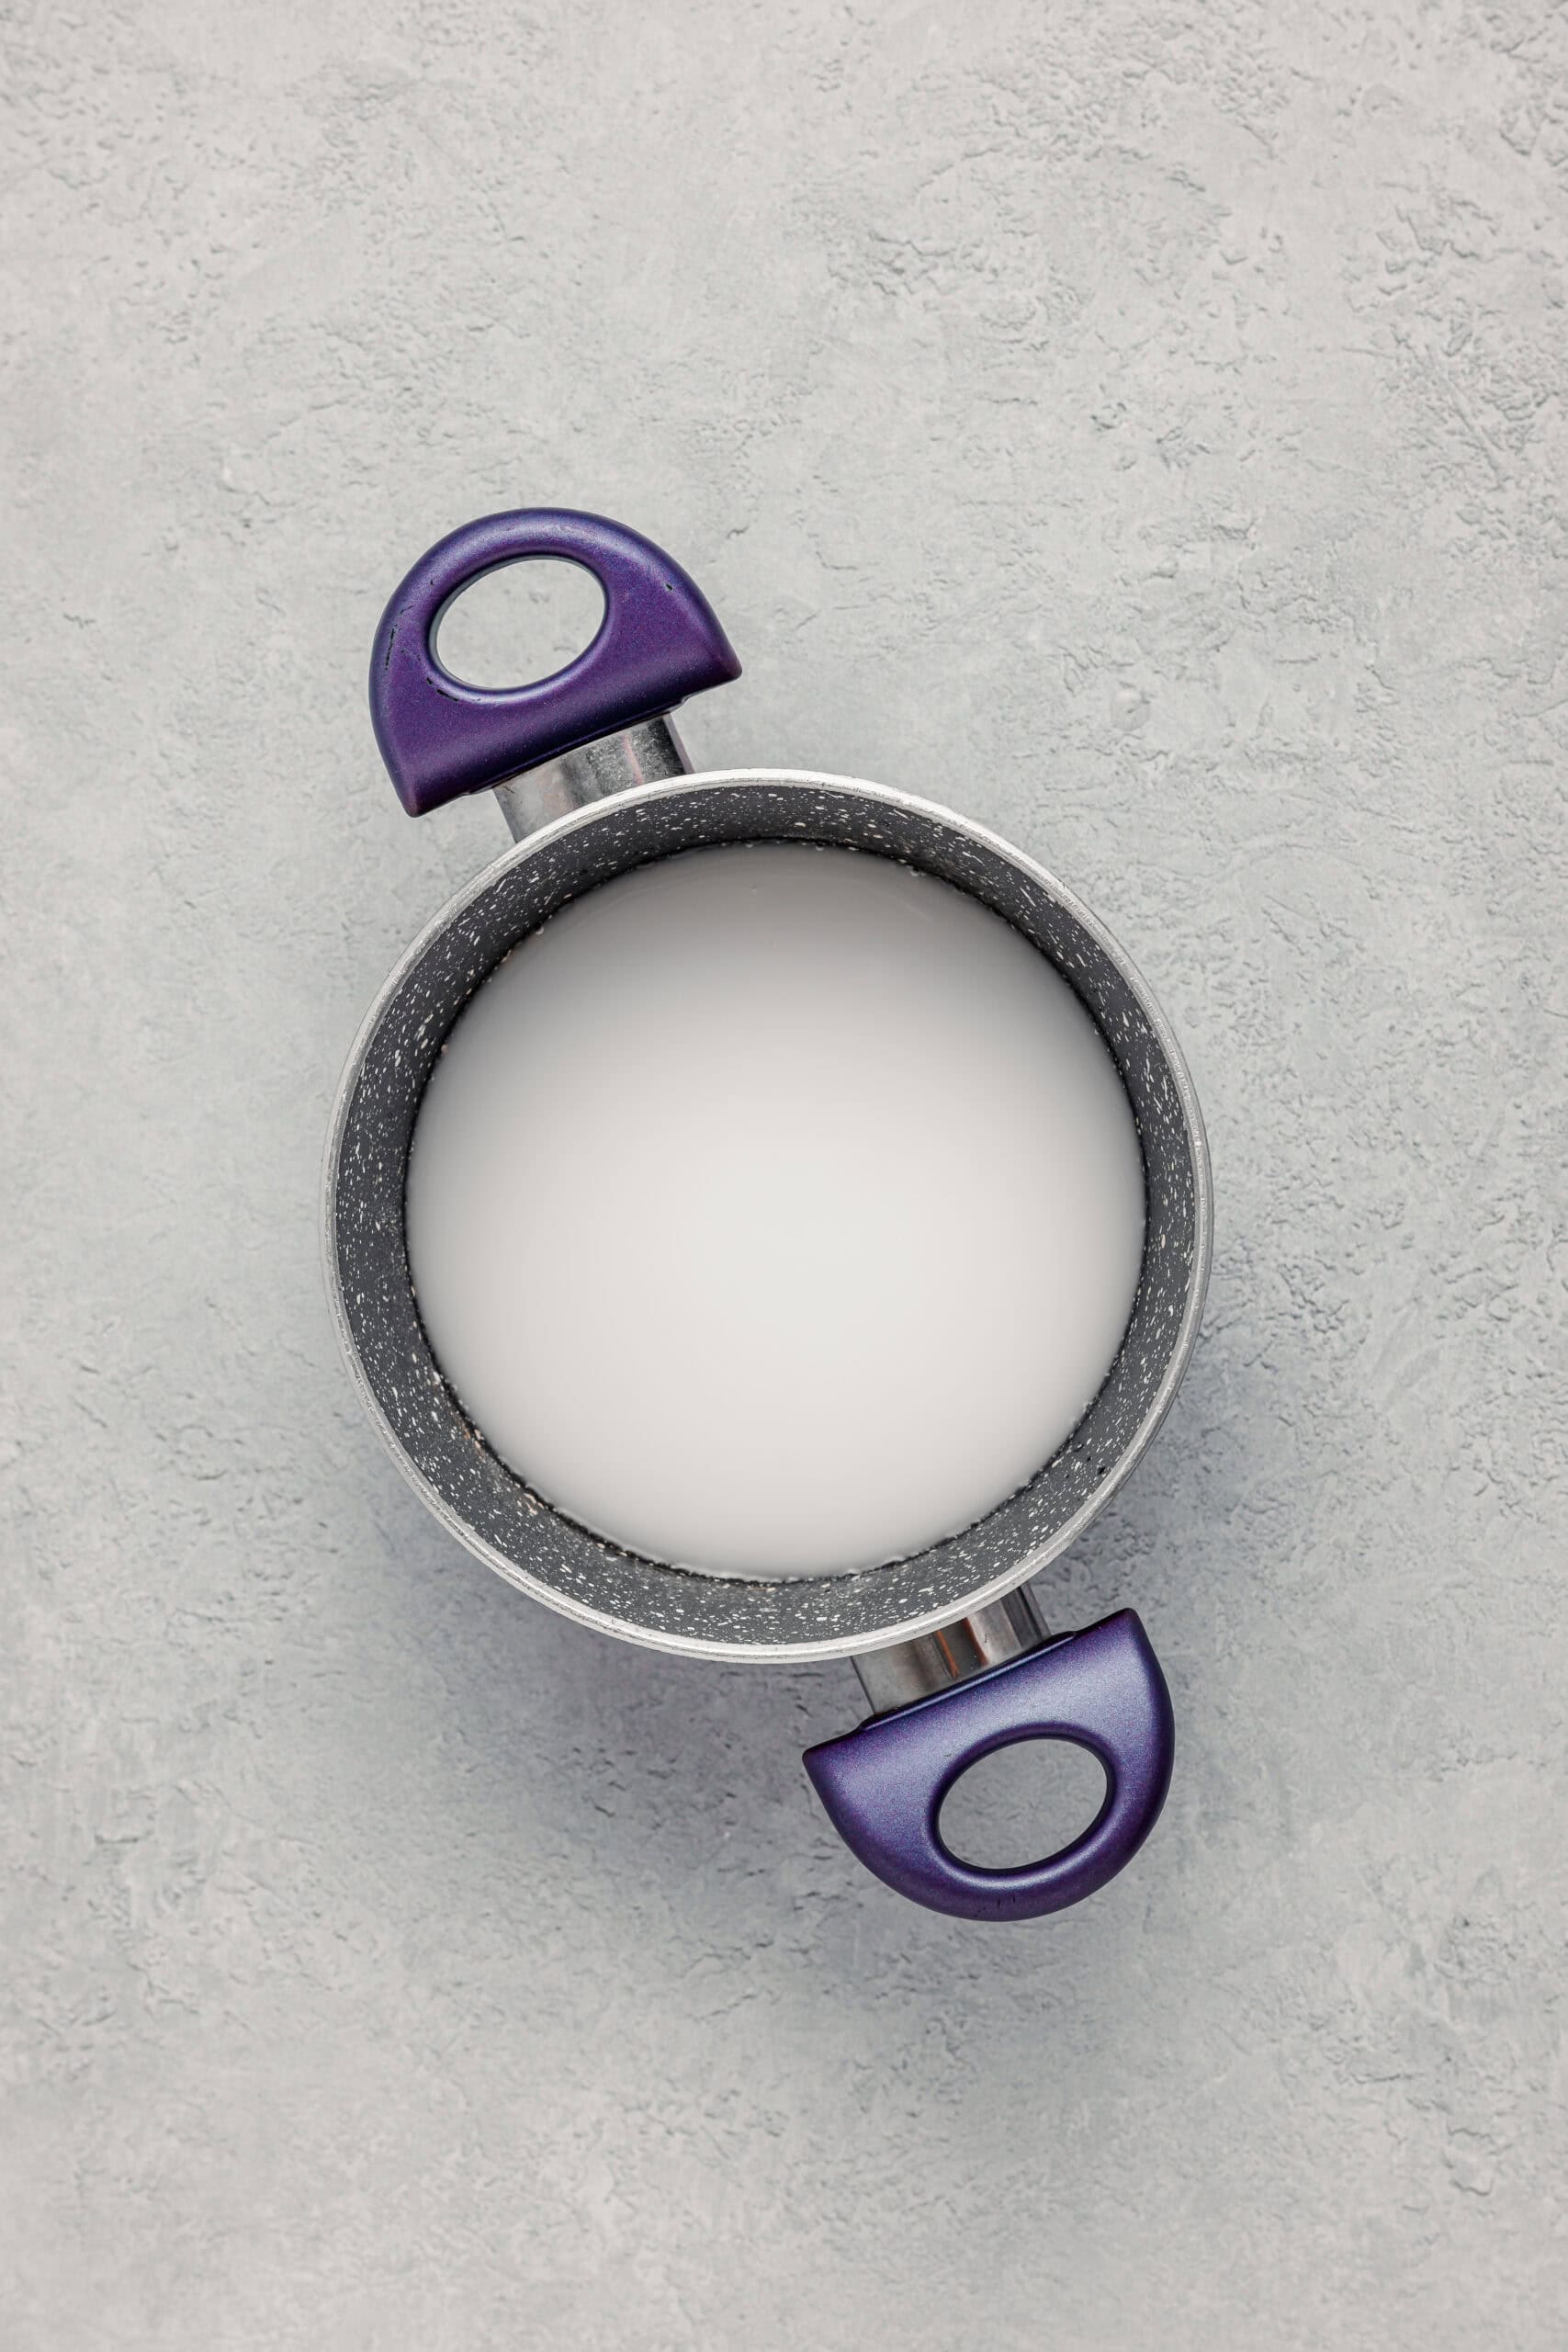
- Set the pan over medium heat and stir constantly with a spatula. For the first few minutes nothing much appears to happen and the mixture stays milky white.
- Then it thickens all at once and turns translucent. Keep stirring hard until there is not a single white streak left, then give it one more minute. This takes about 5 to 8 minutes in total.
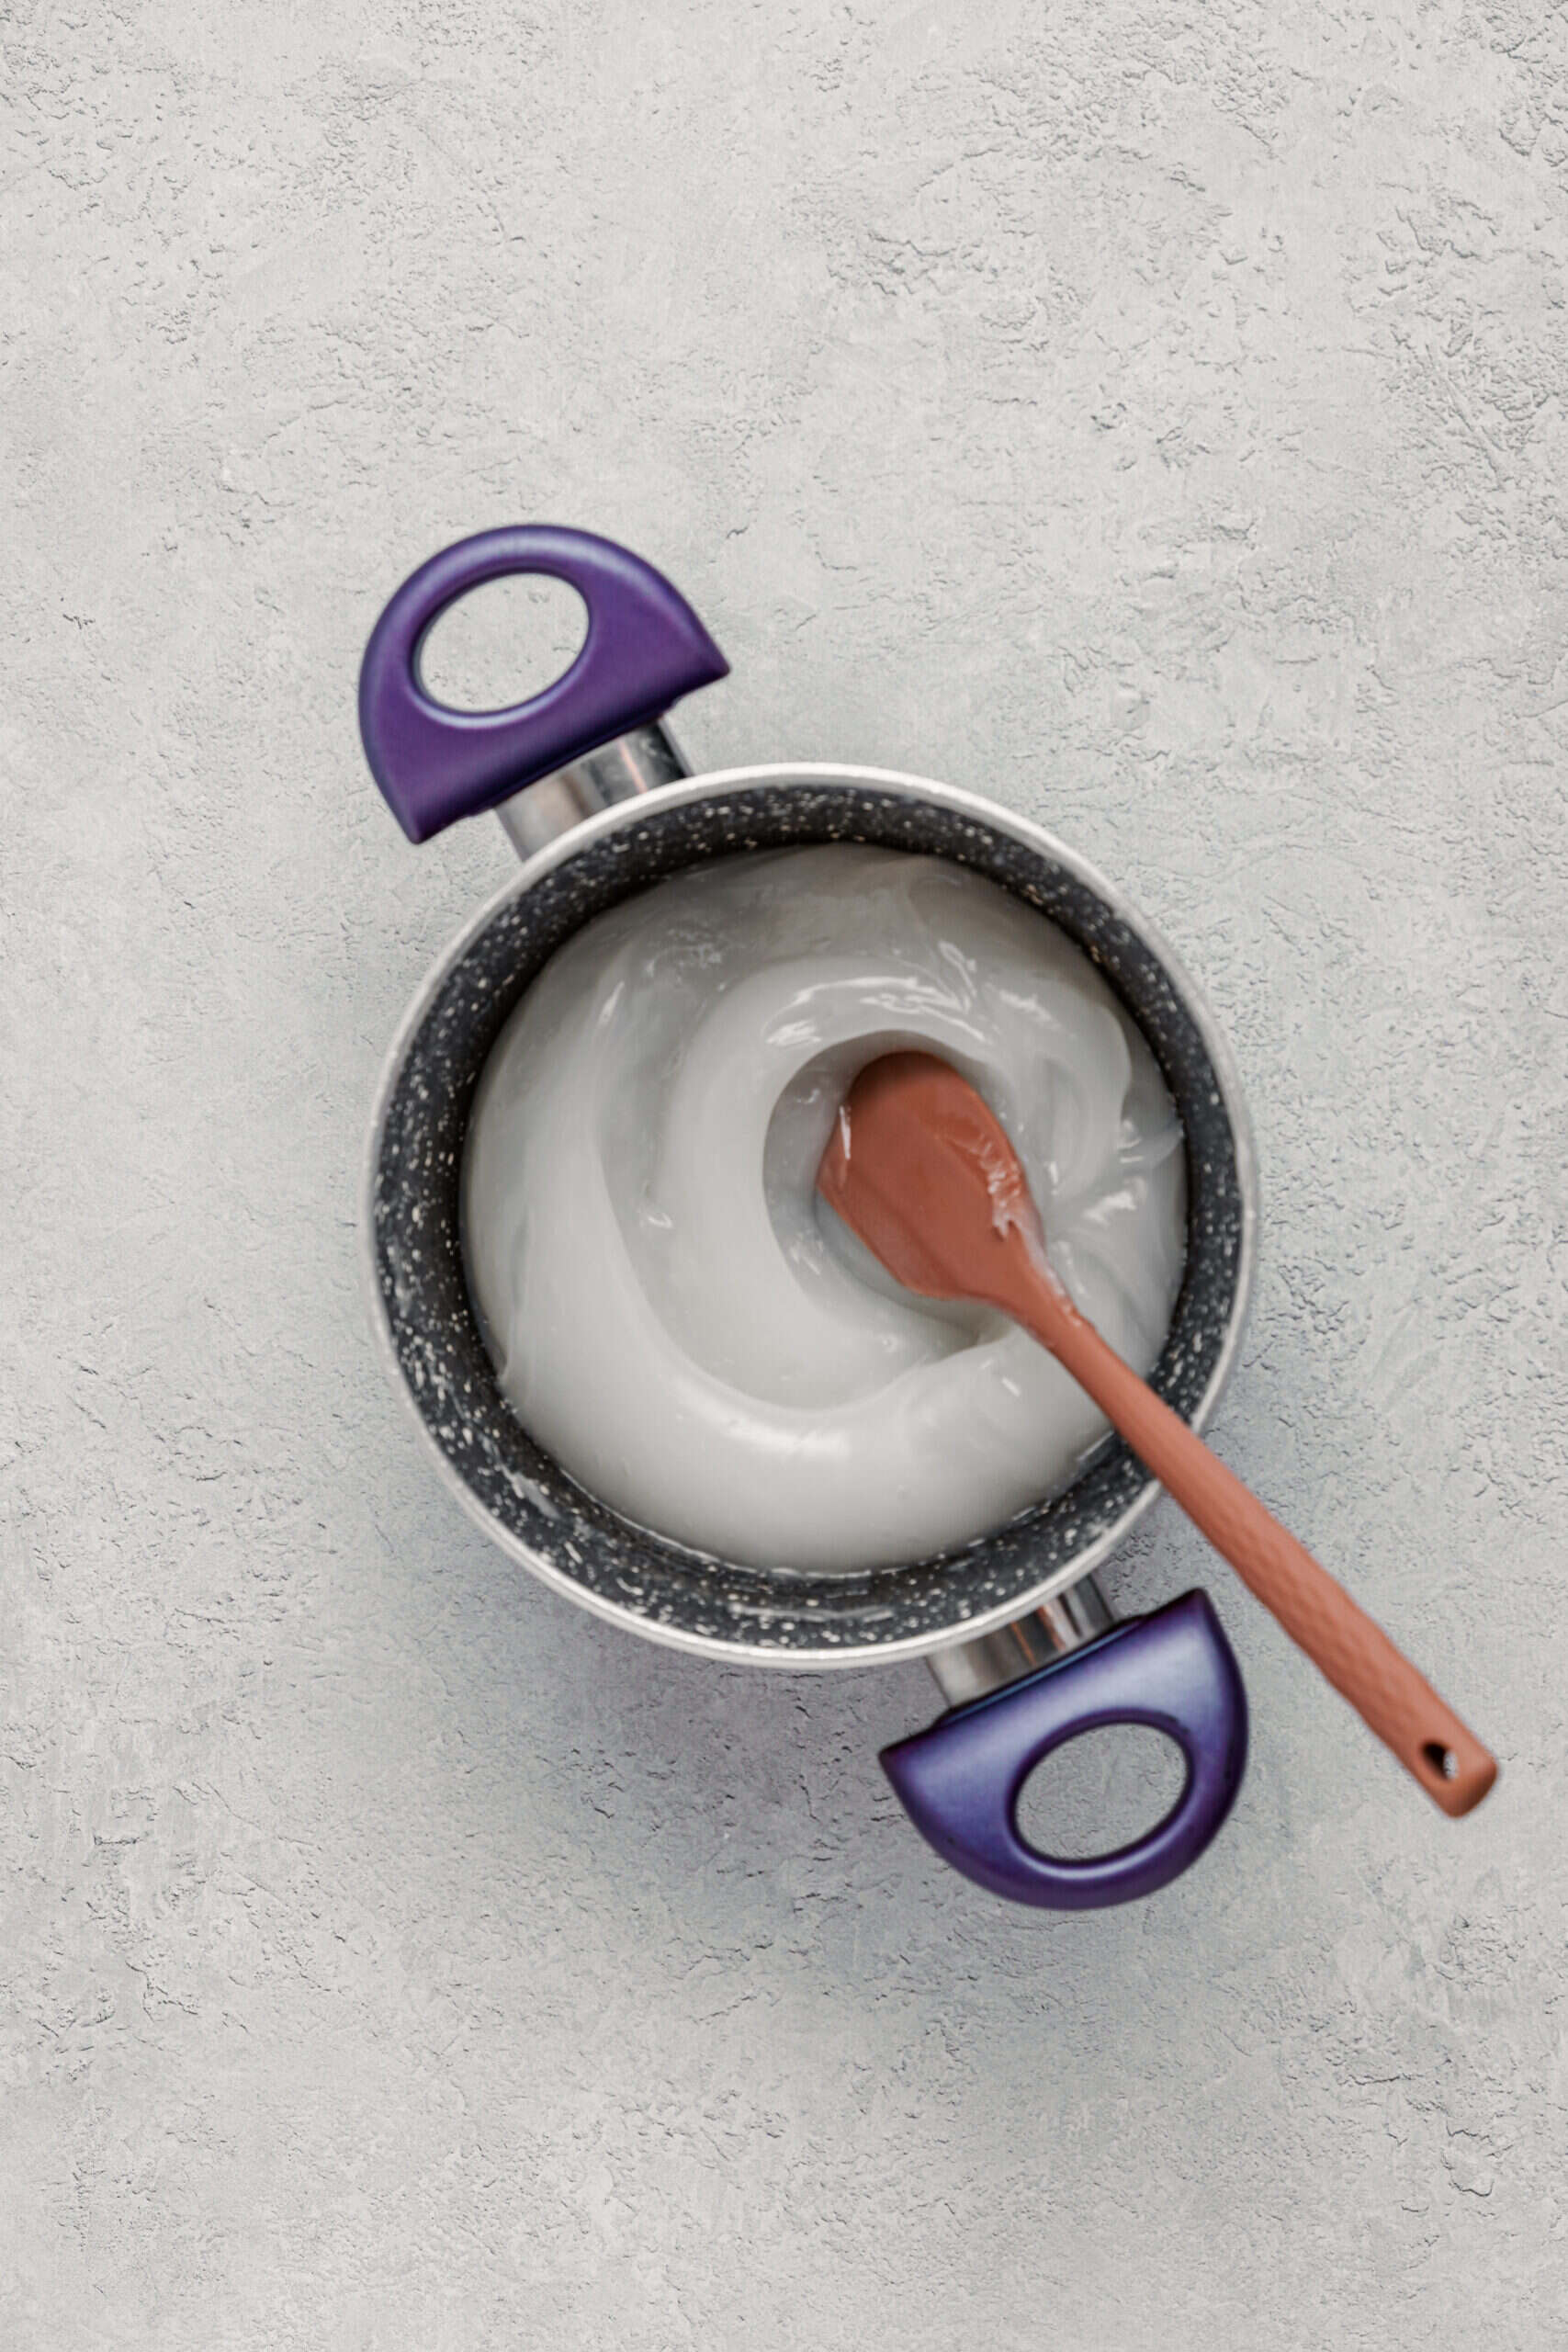
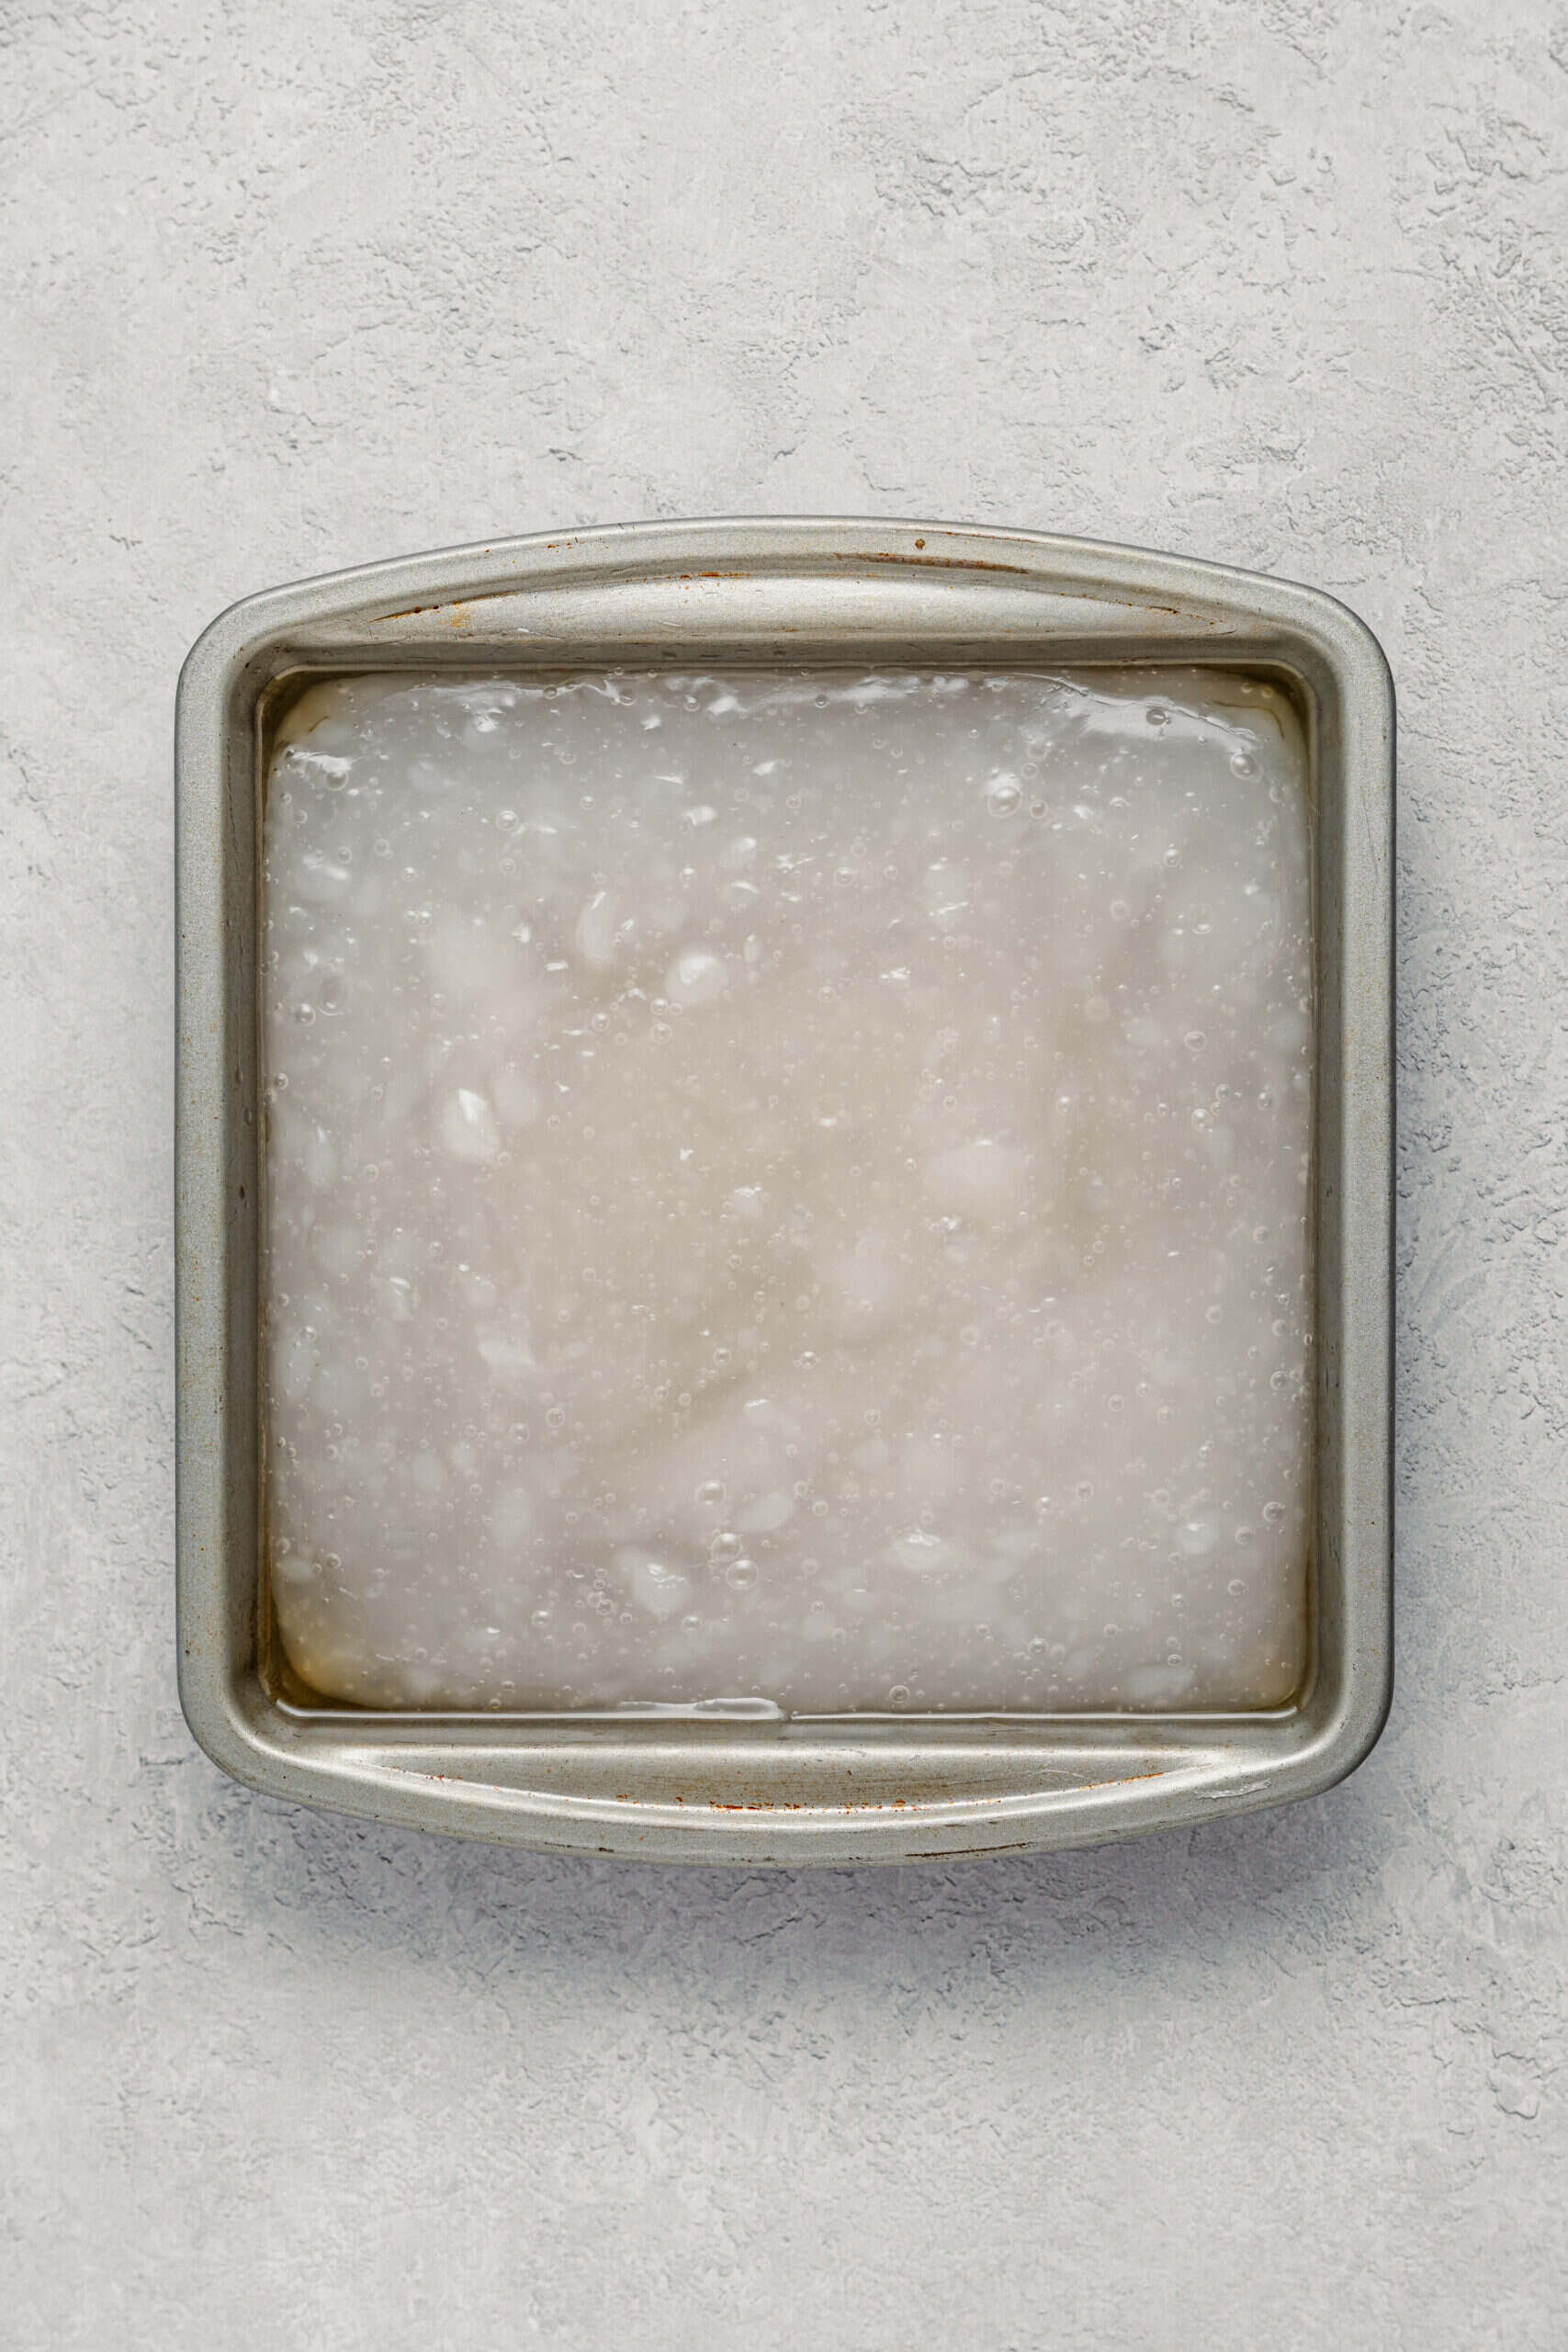
- Working quickly while it is still hot and pliable, scrape the mochi into a lightly oiled dish and spread it flat, or drop spoonfuls straight into the ice water to set their shape. Let it cool on the bench until set but still soft and wobbly.
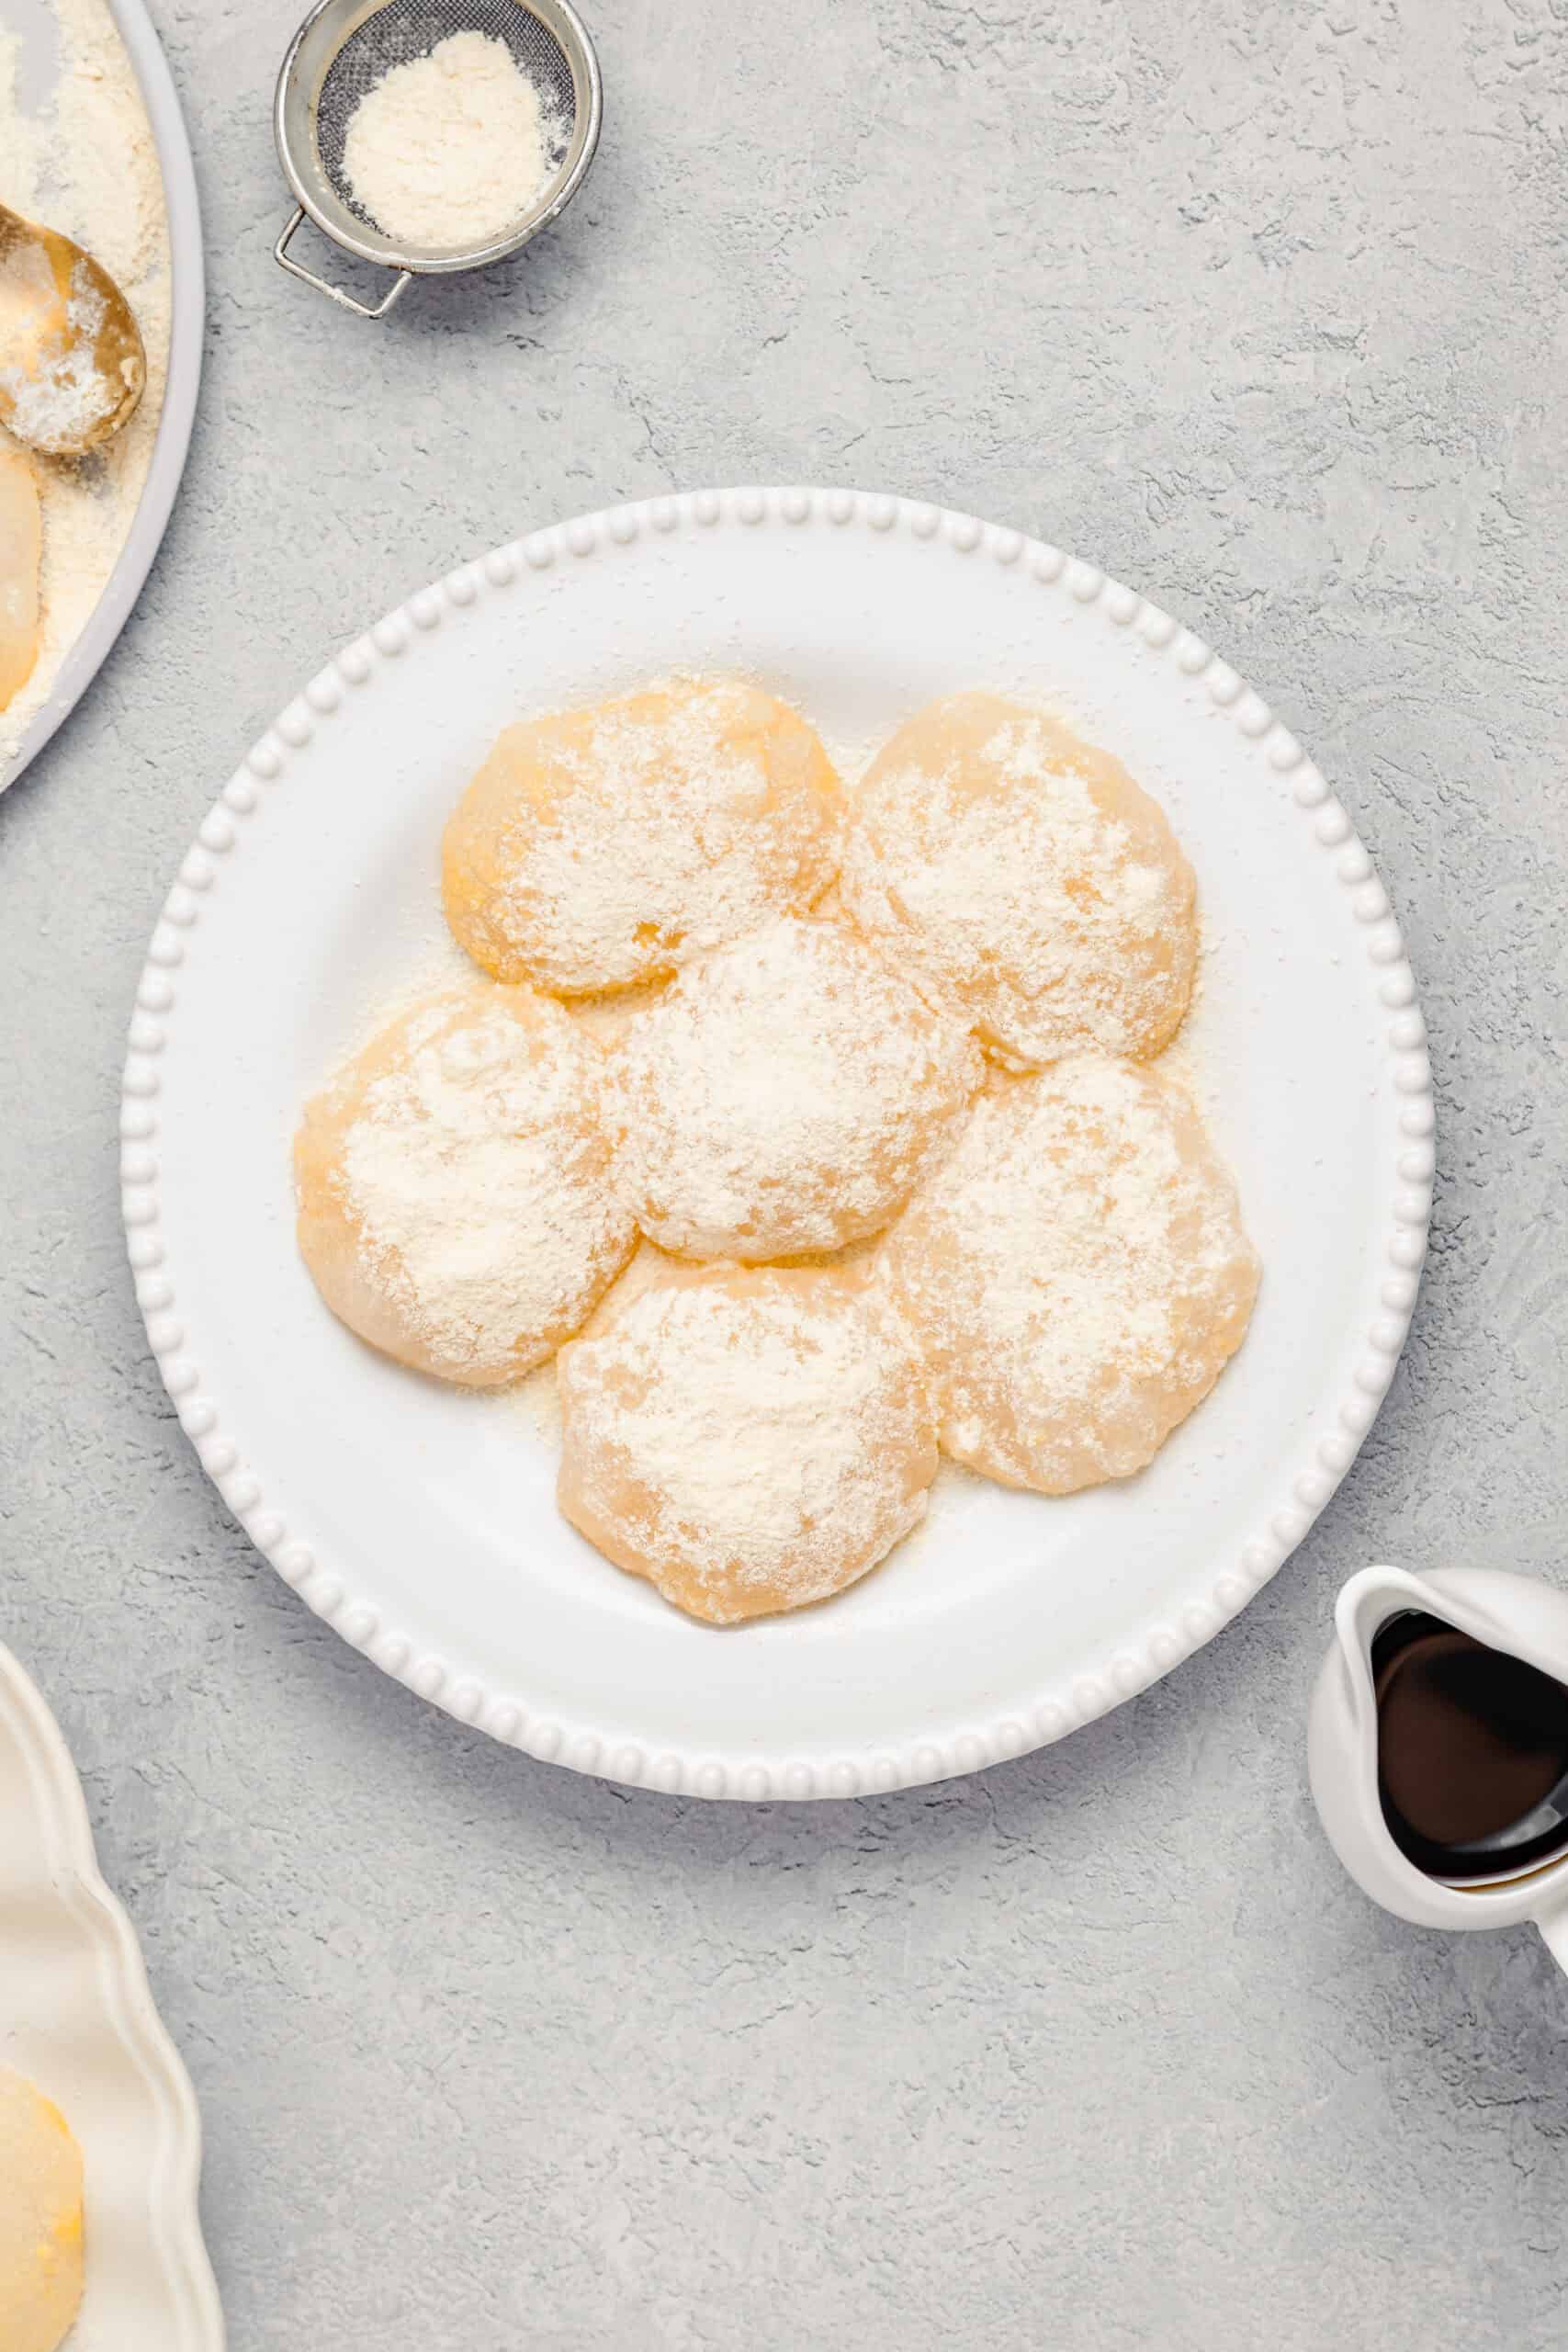
- Cut it into bite size pieces with a wet knife or wet scissors, wiping the blade between cuts, then dust the pieces generously with the kinako mixture until they are completely coated.
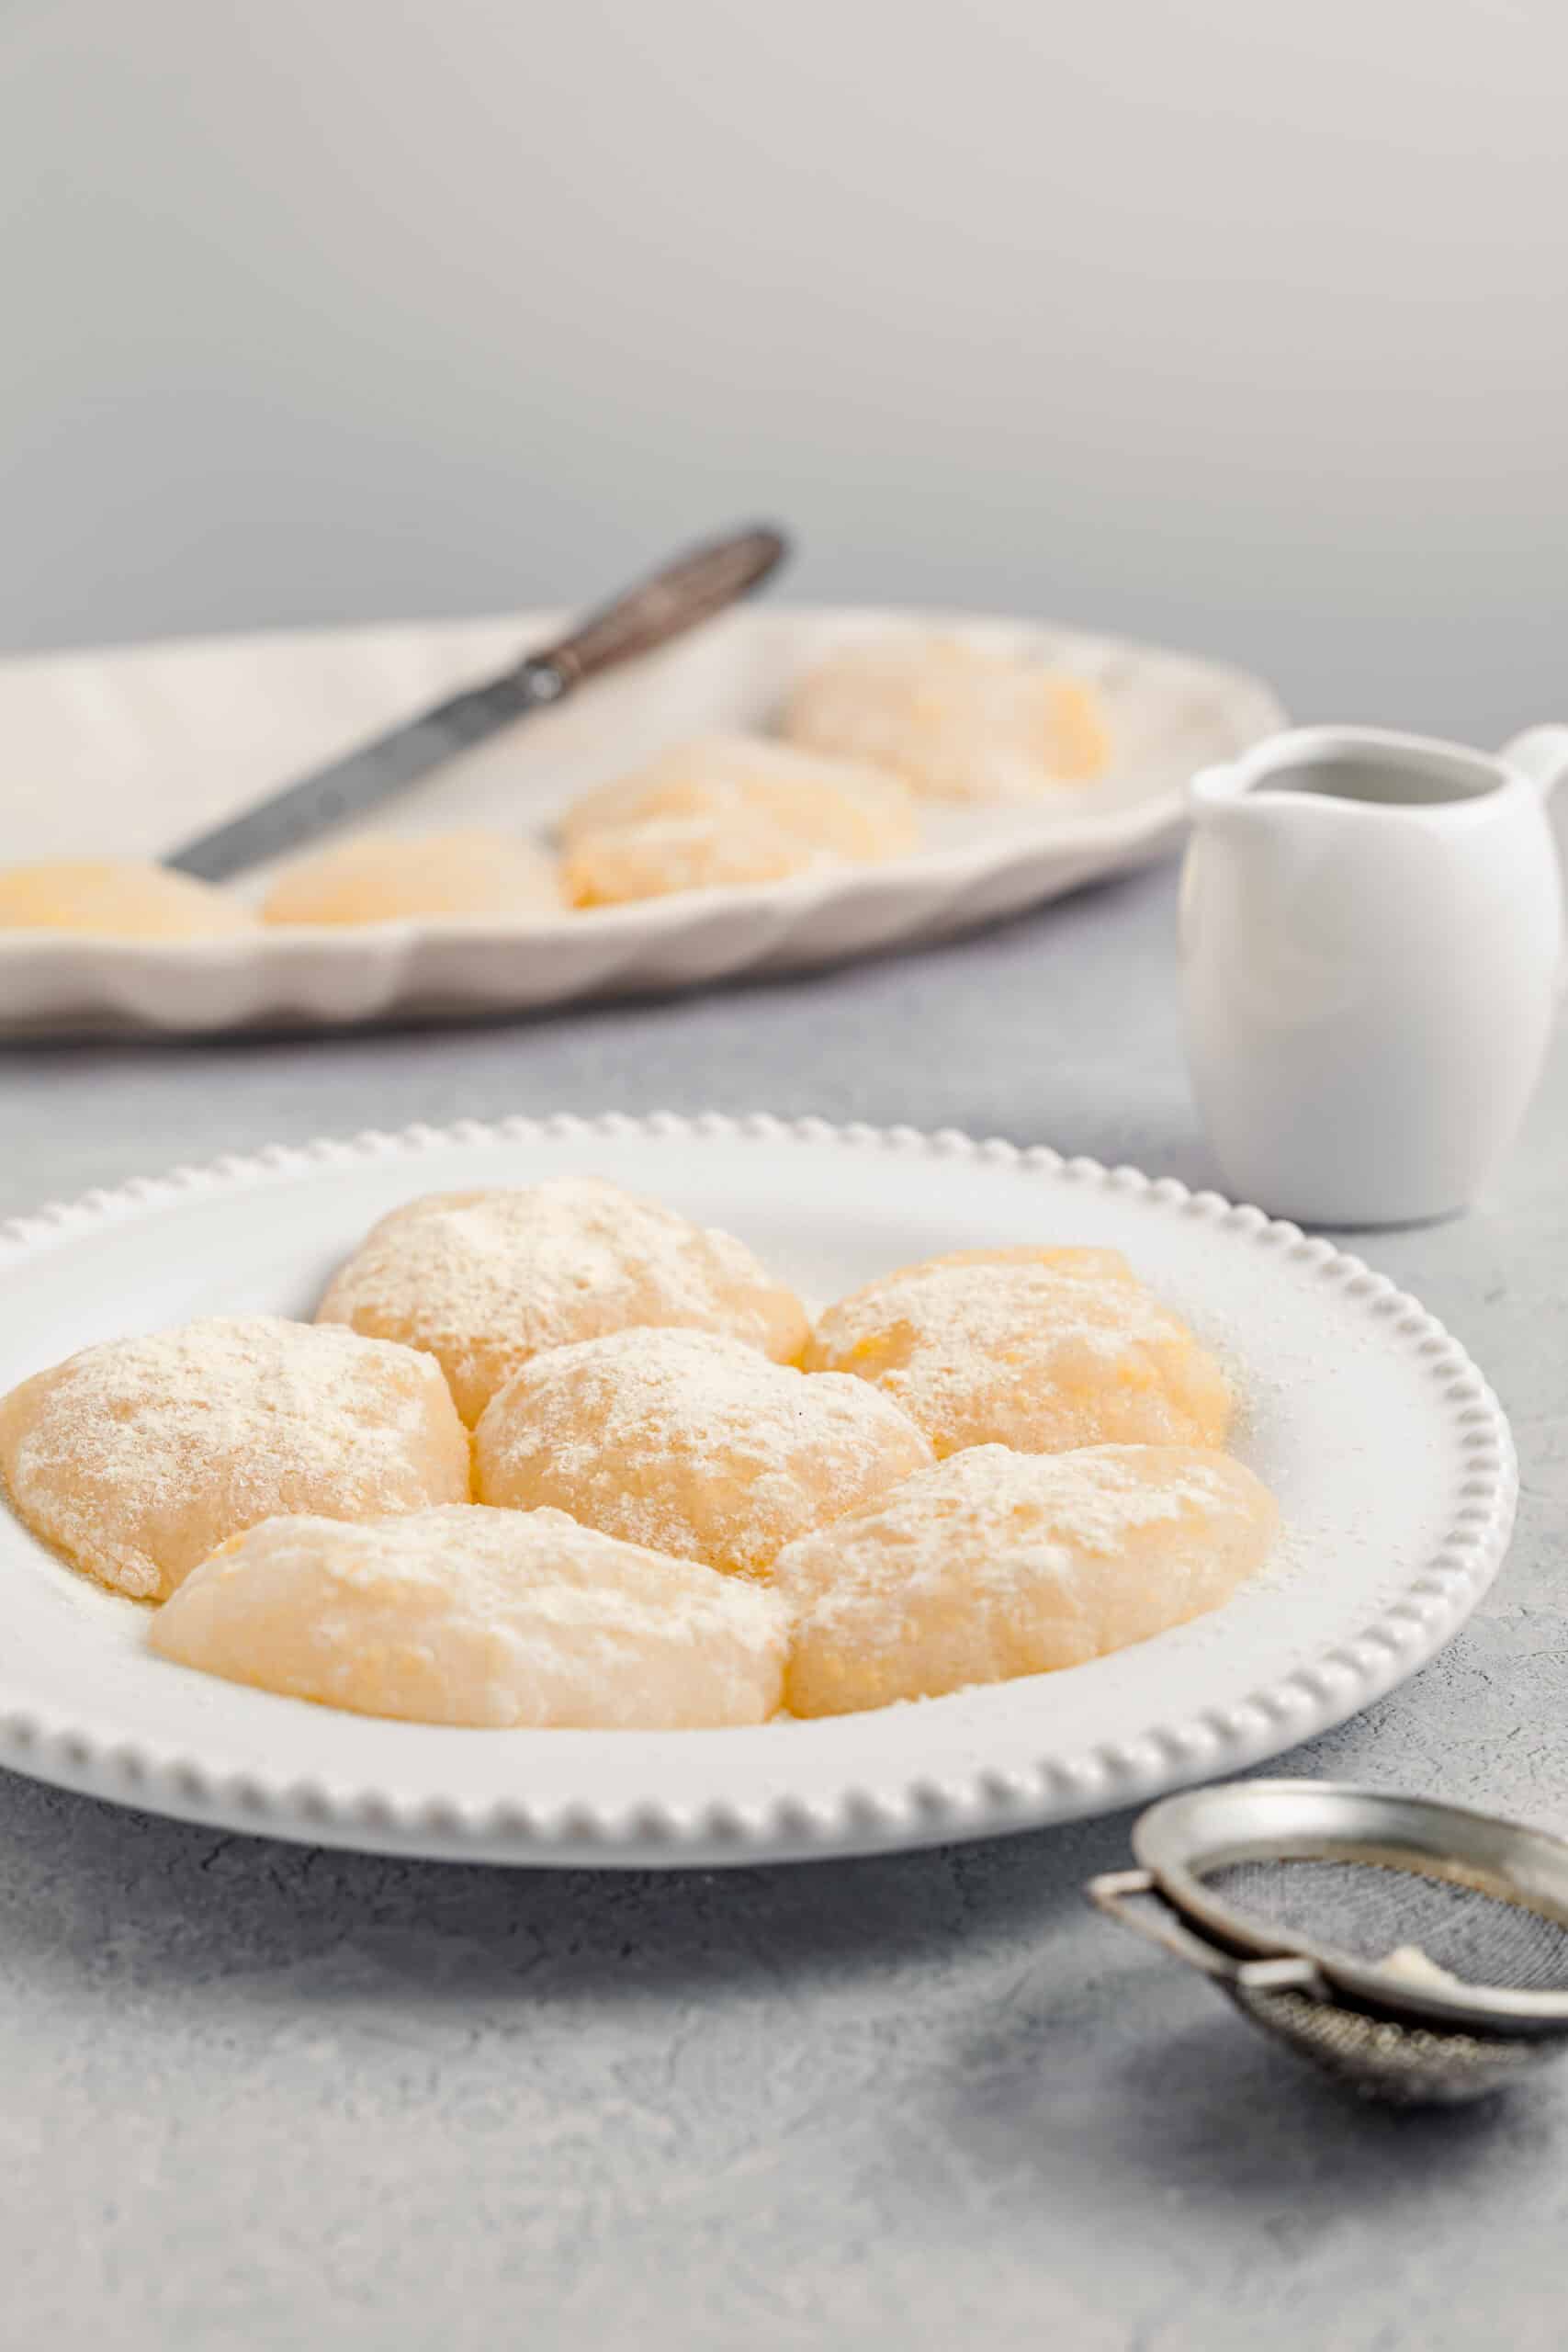
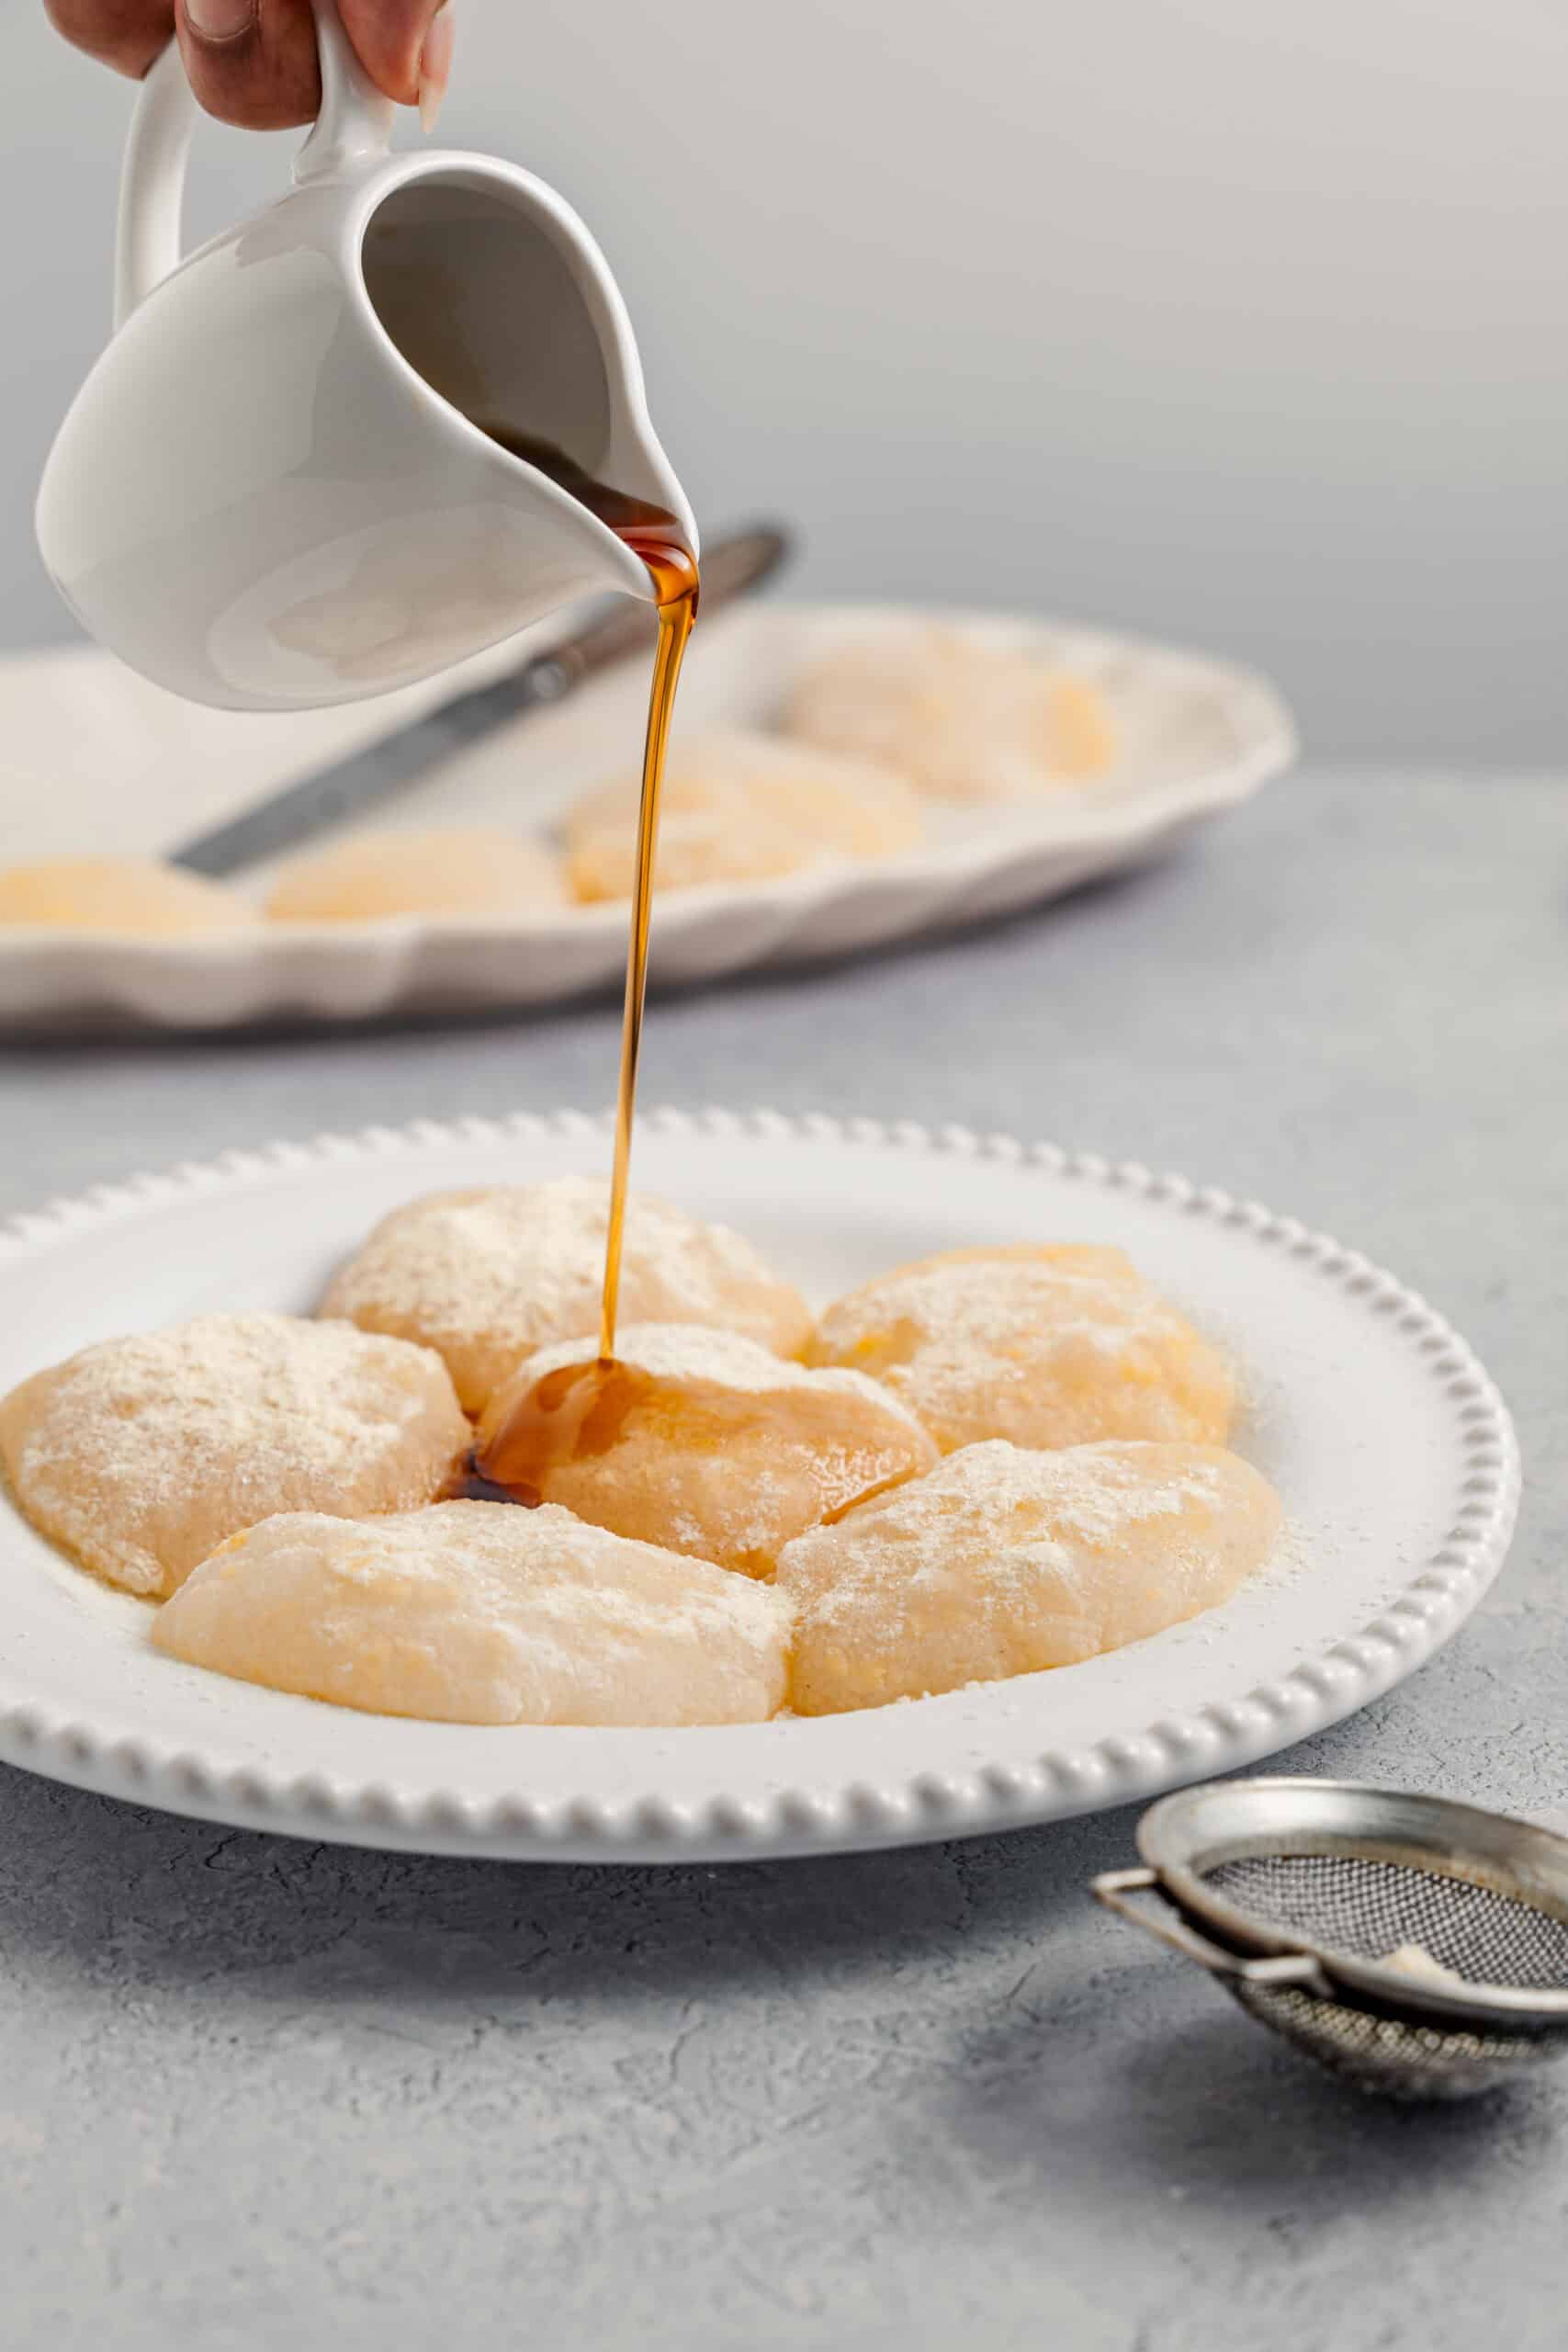
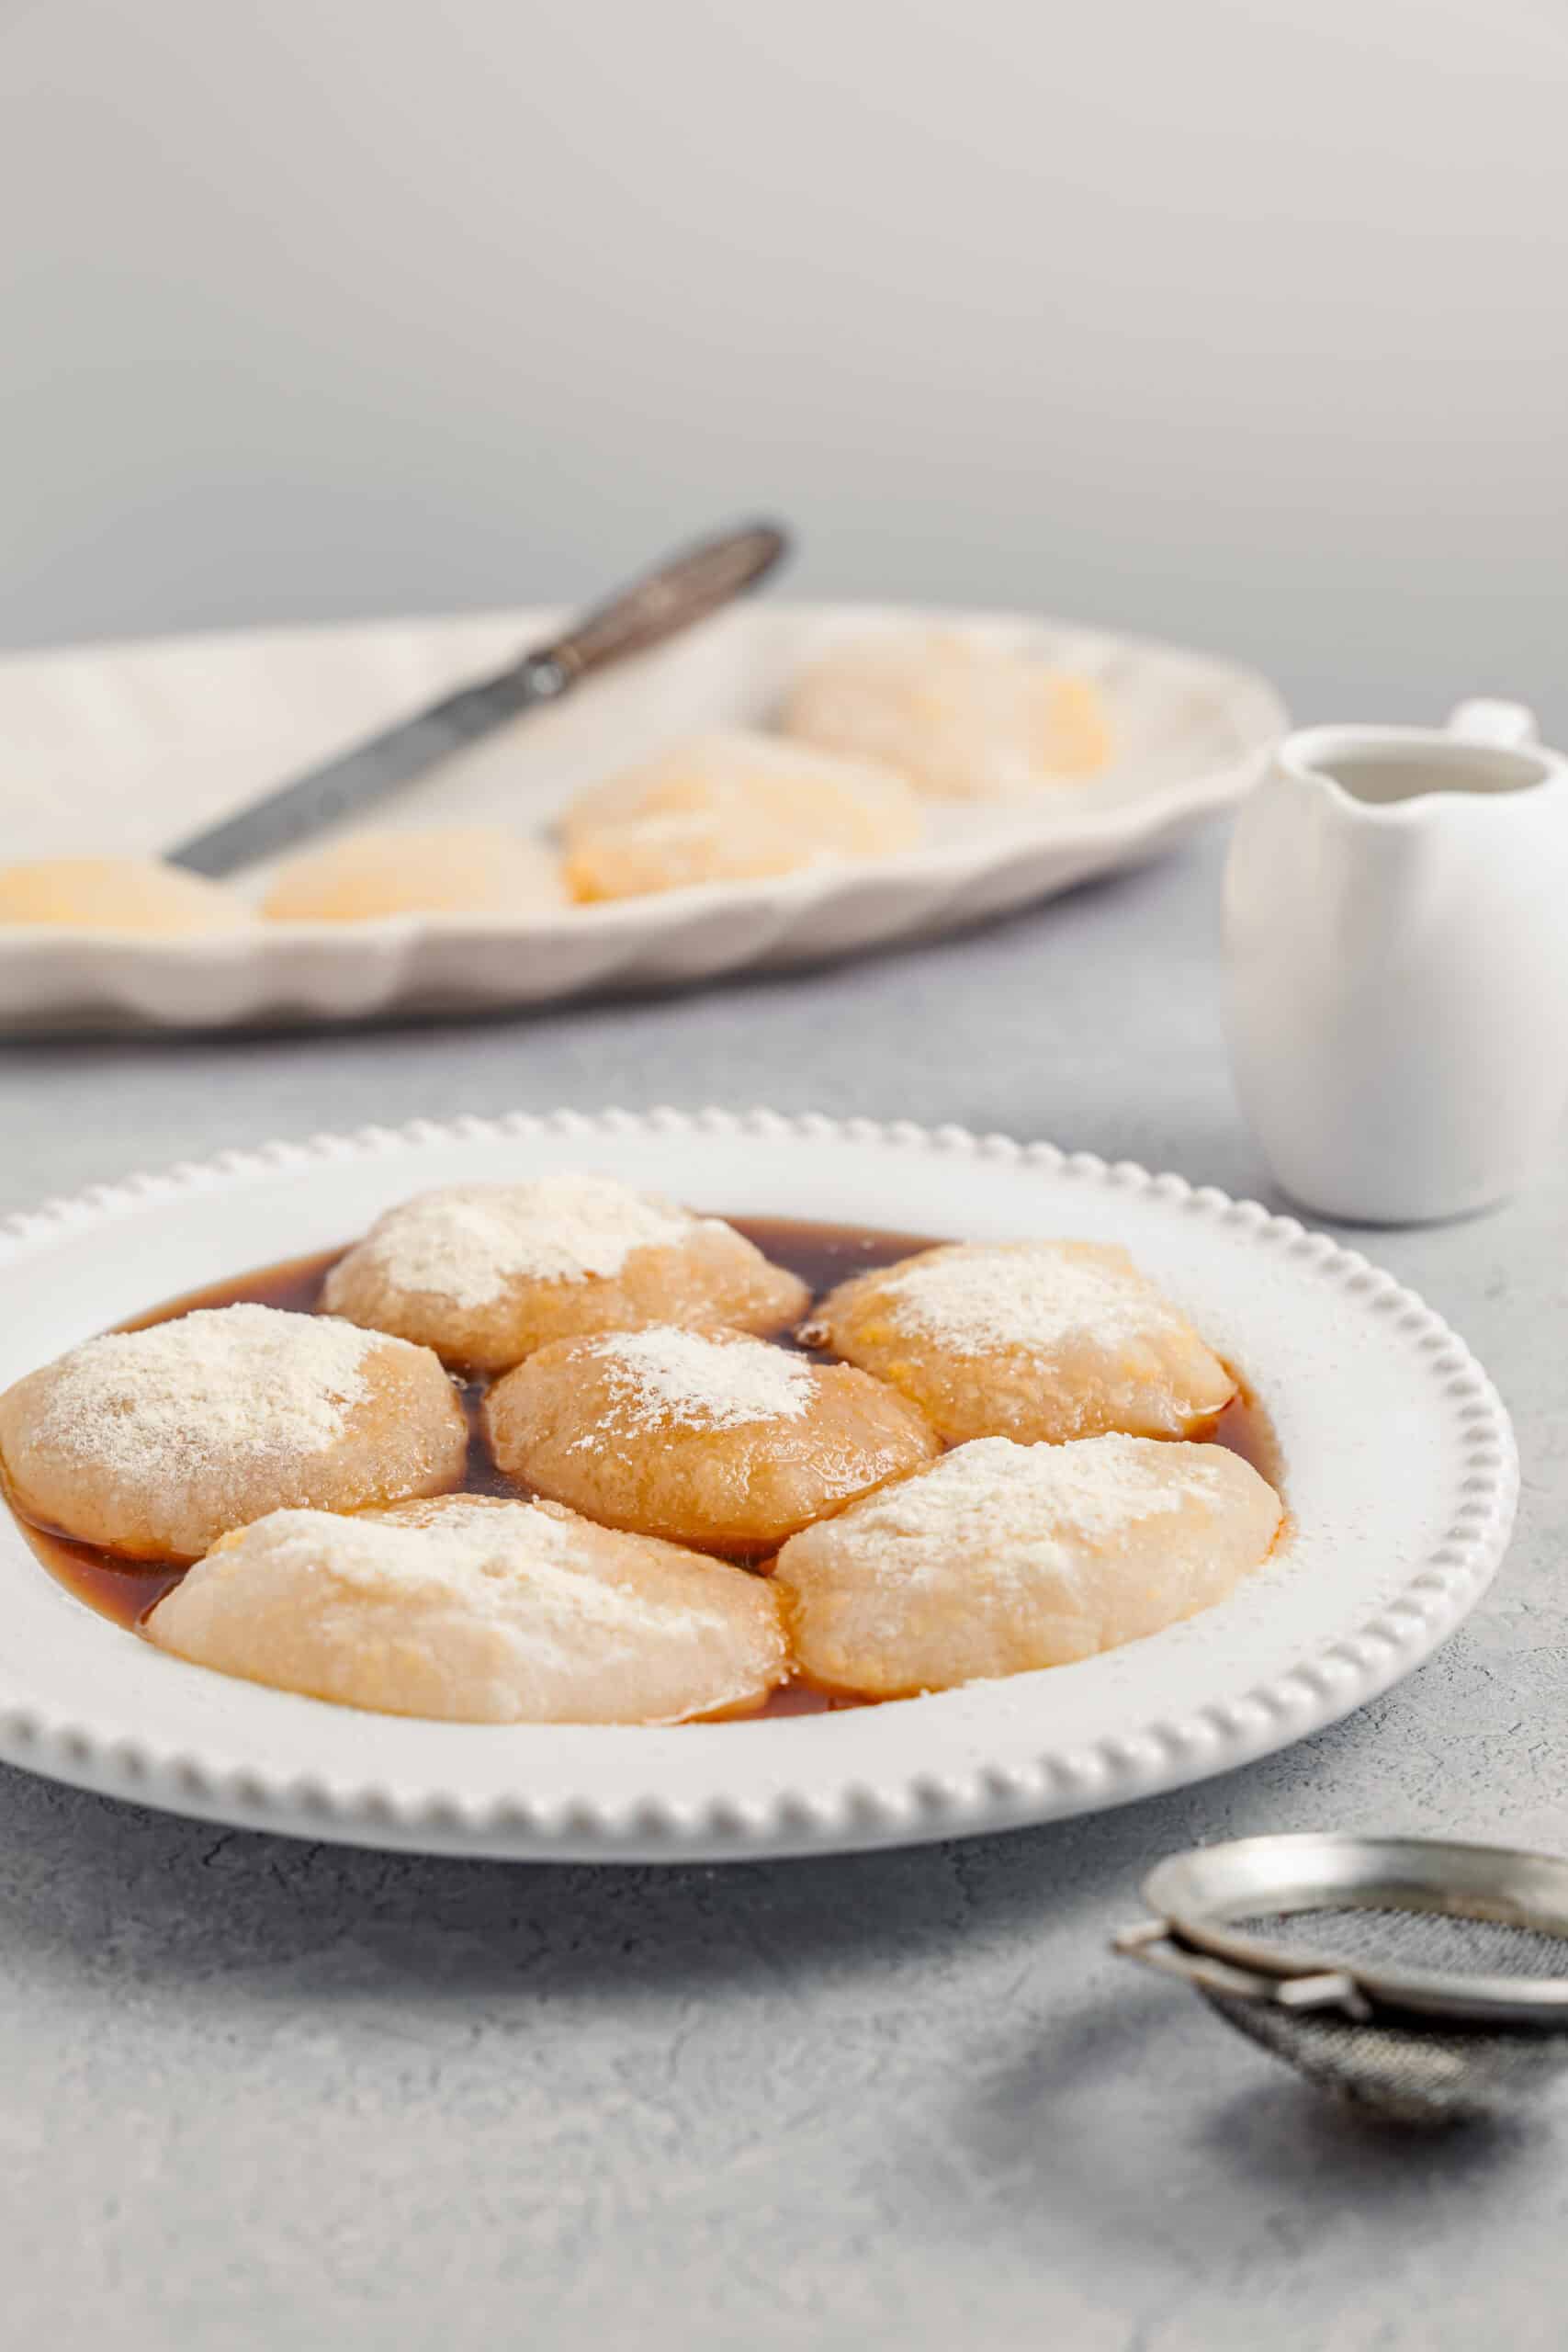
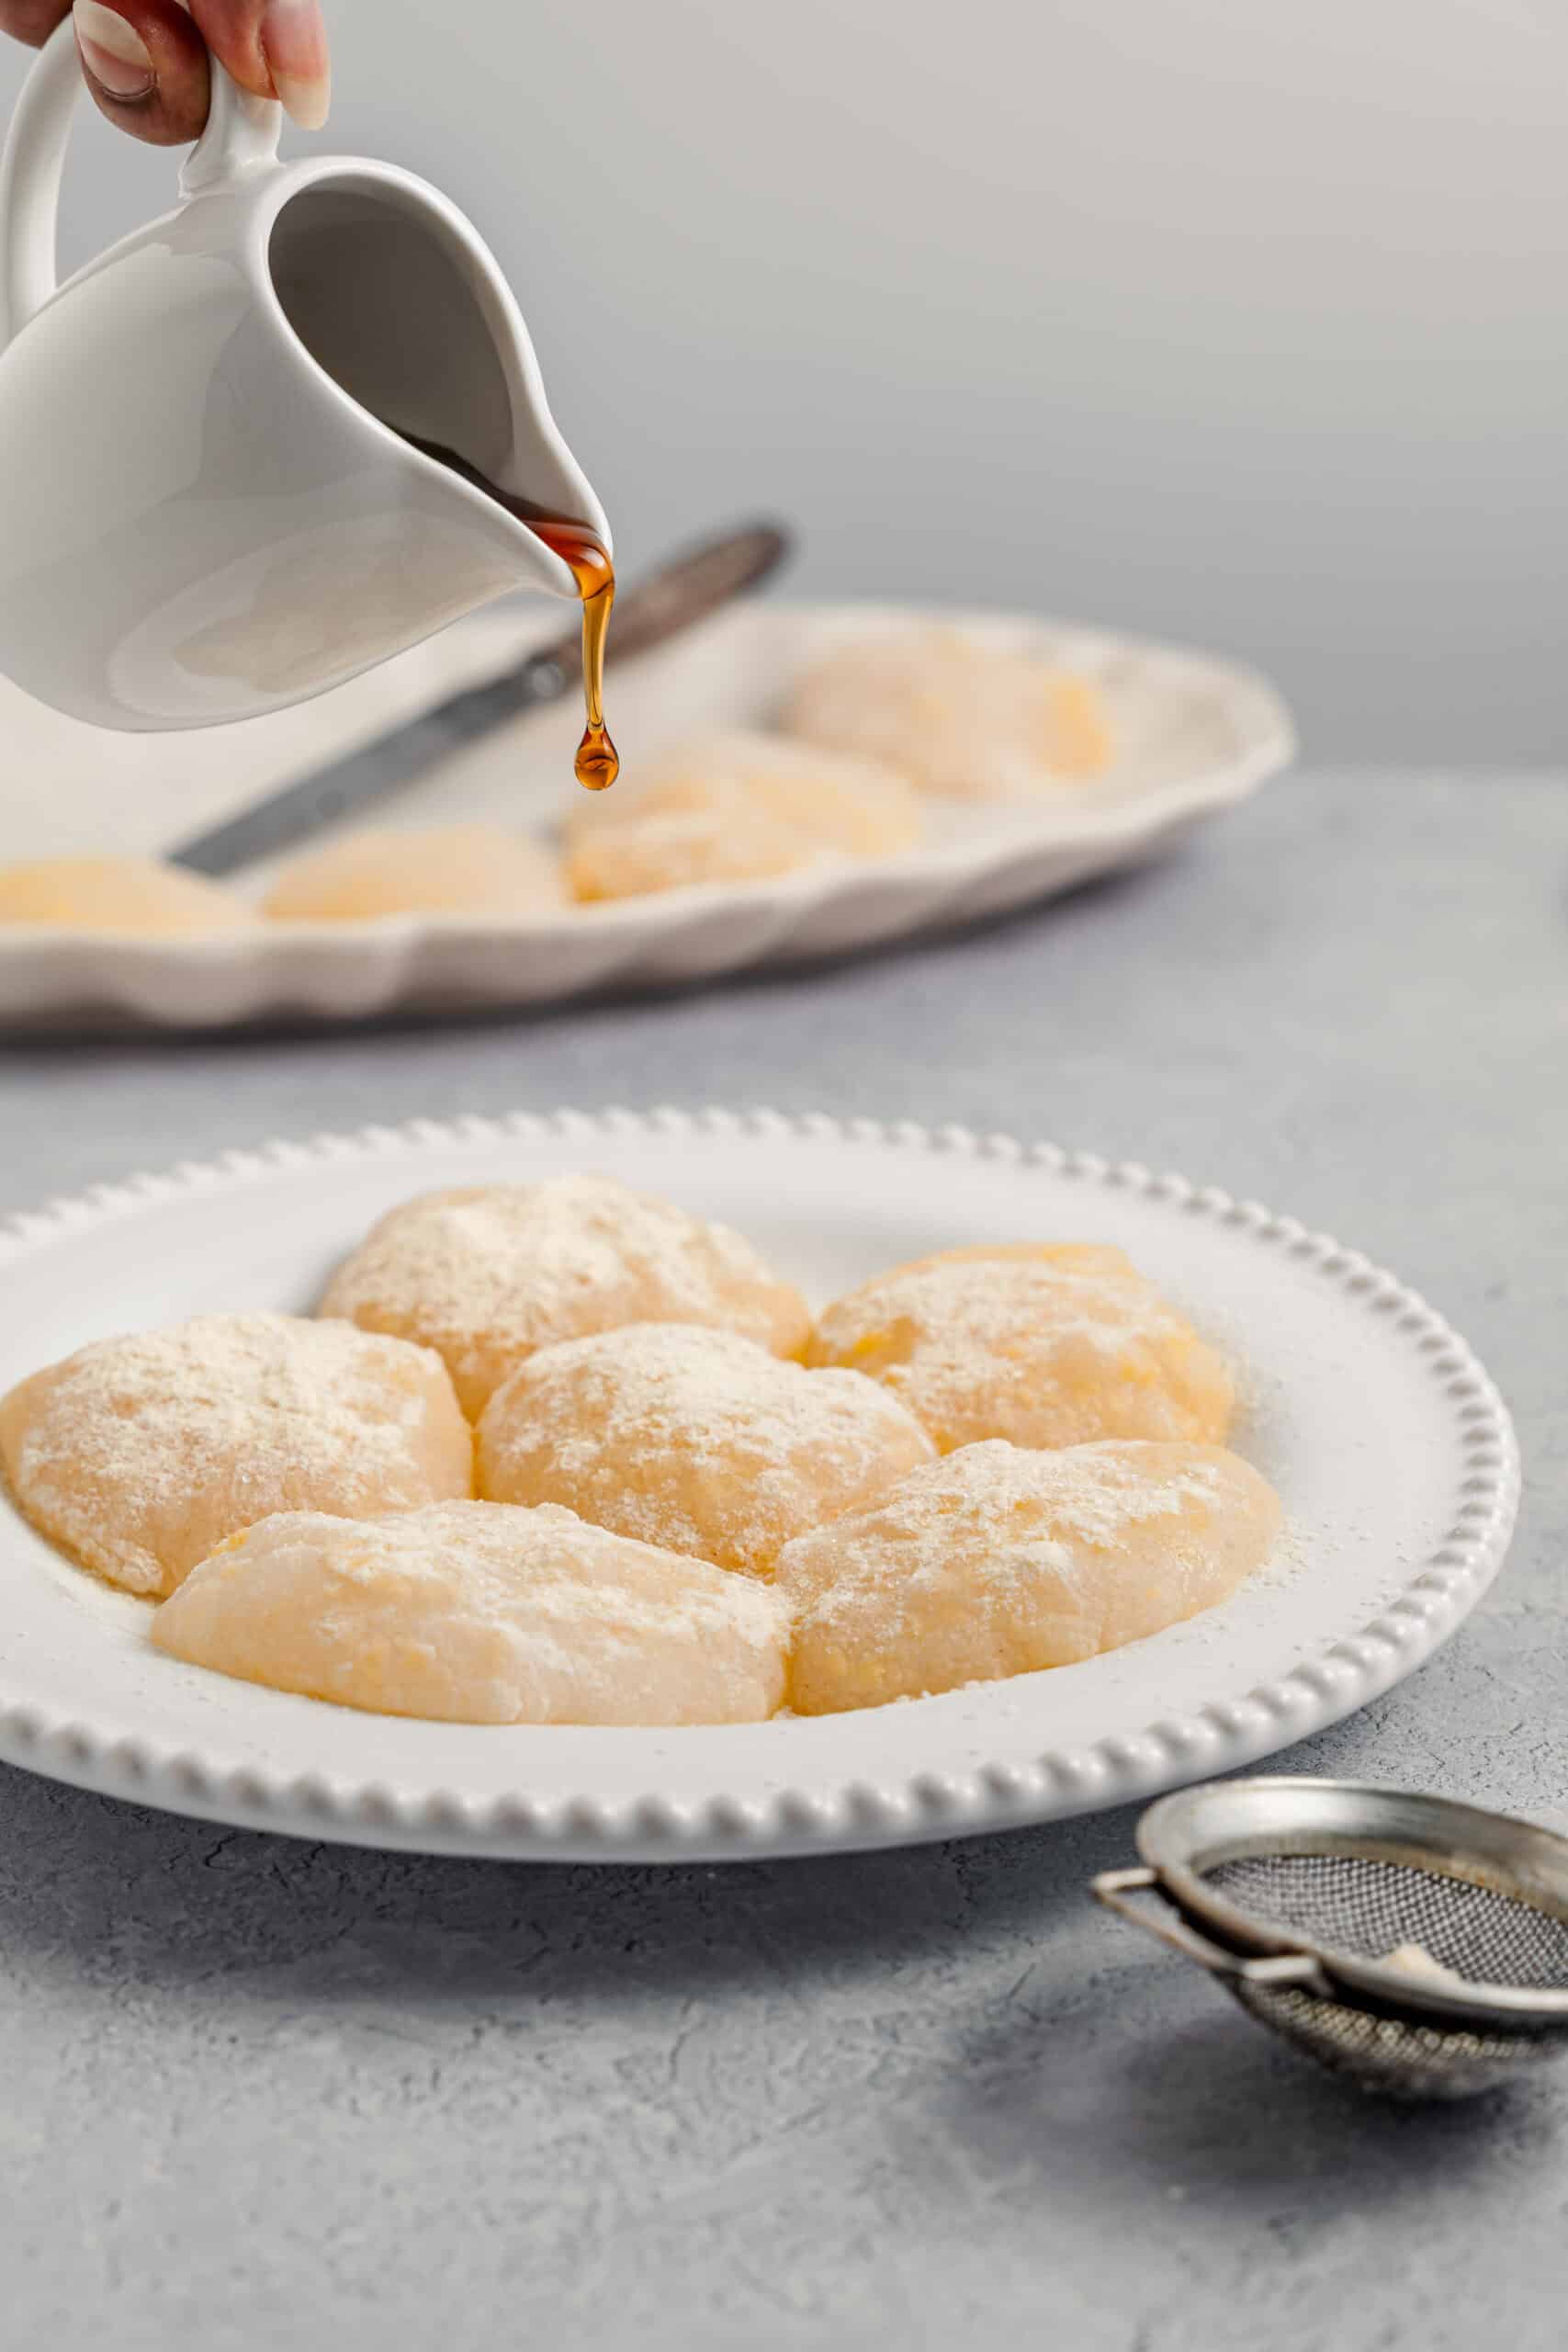
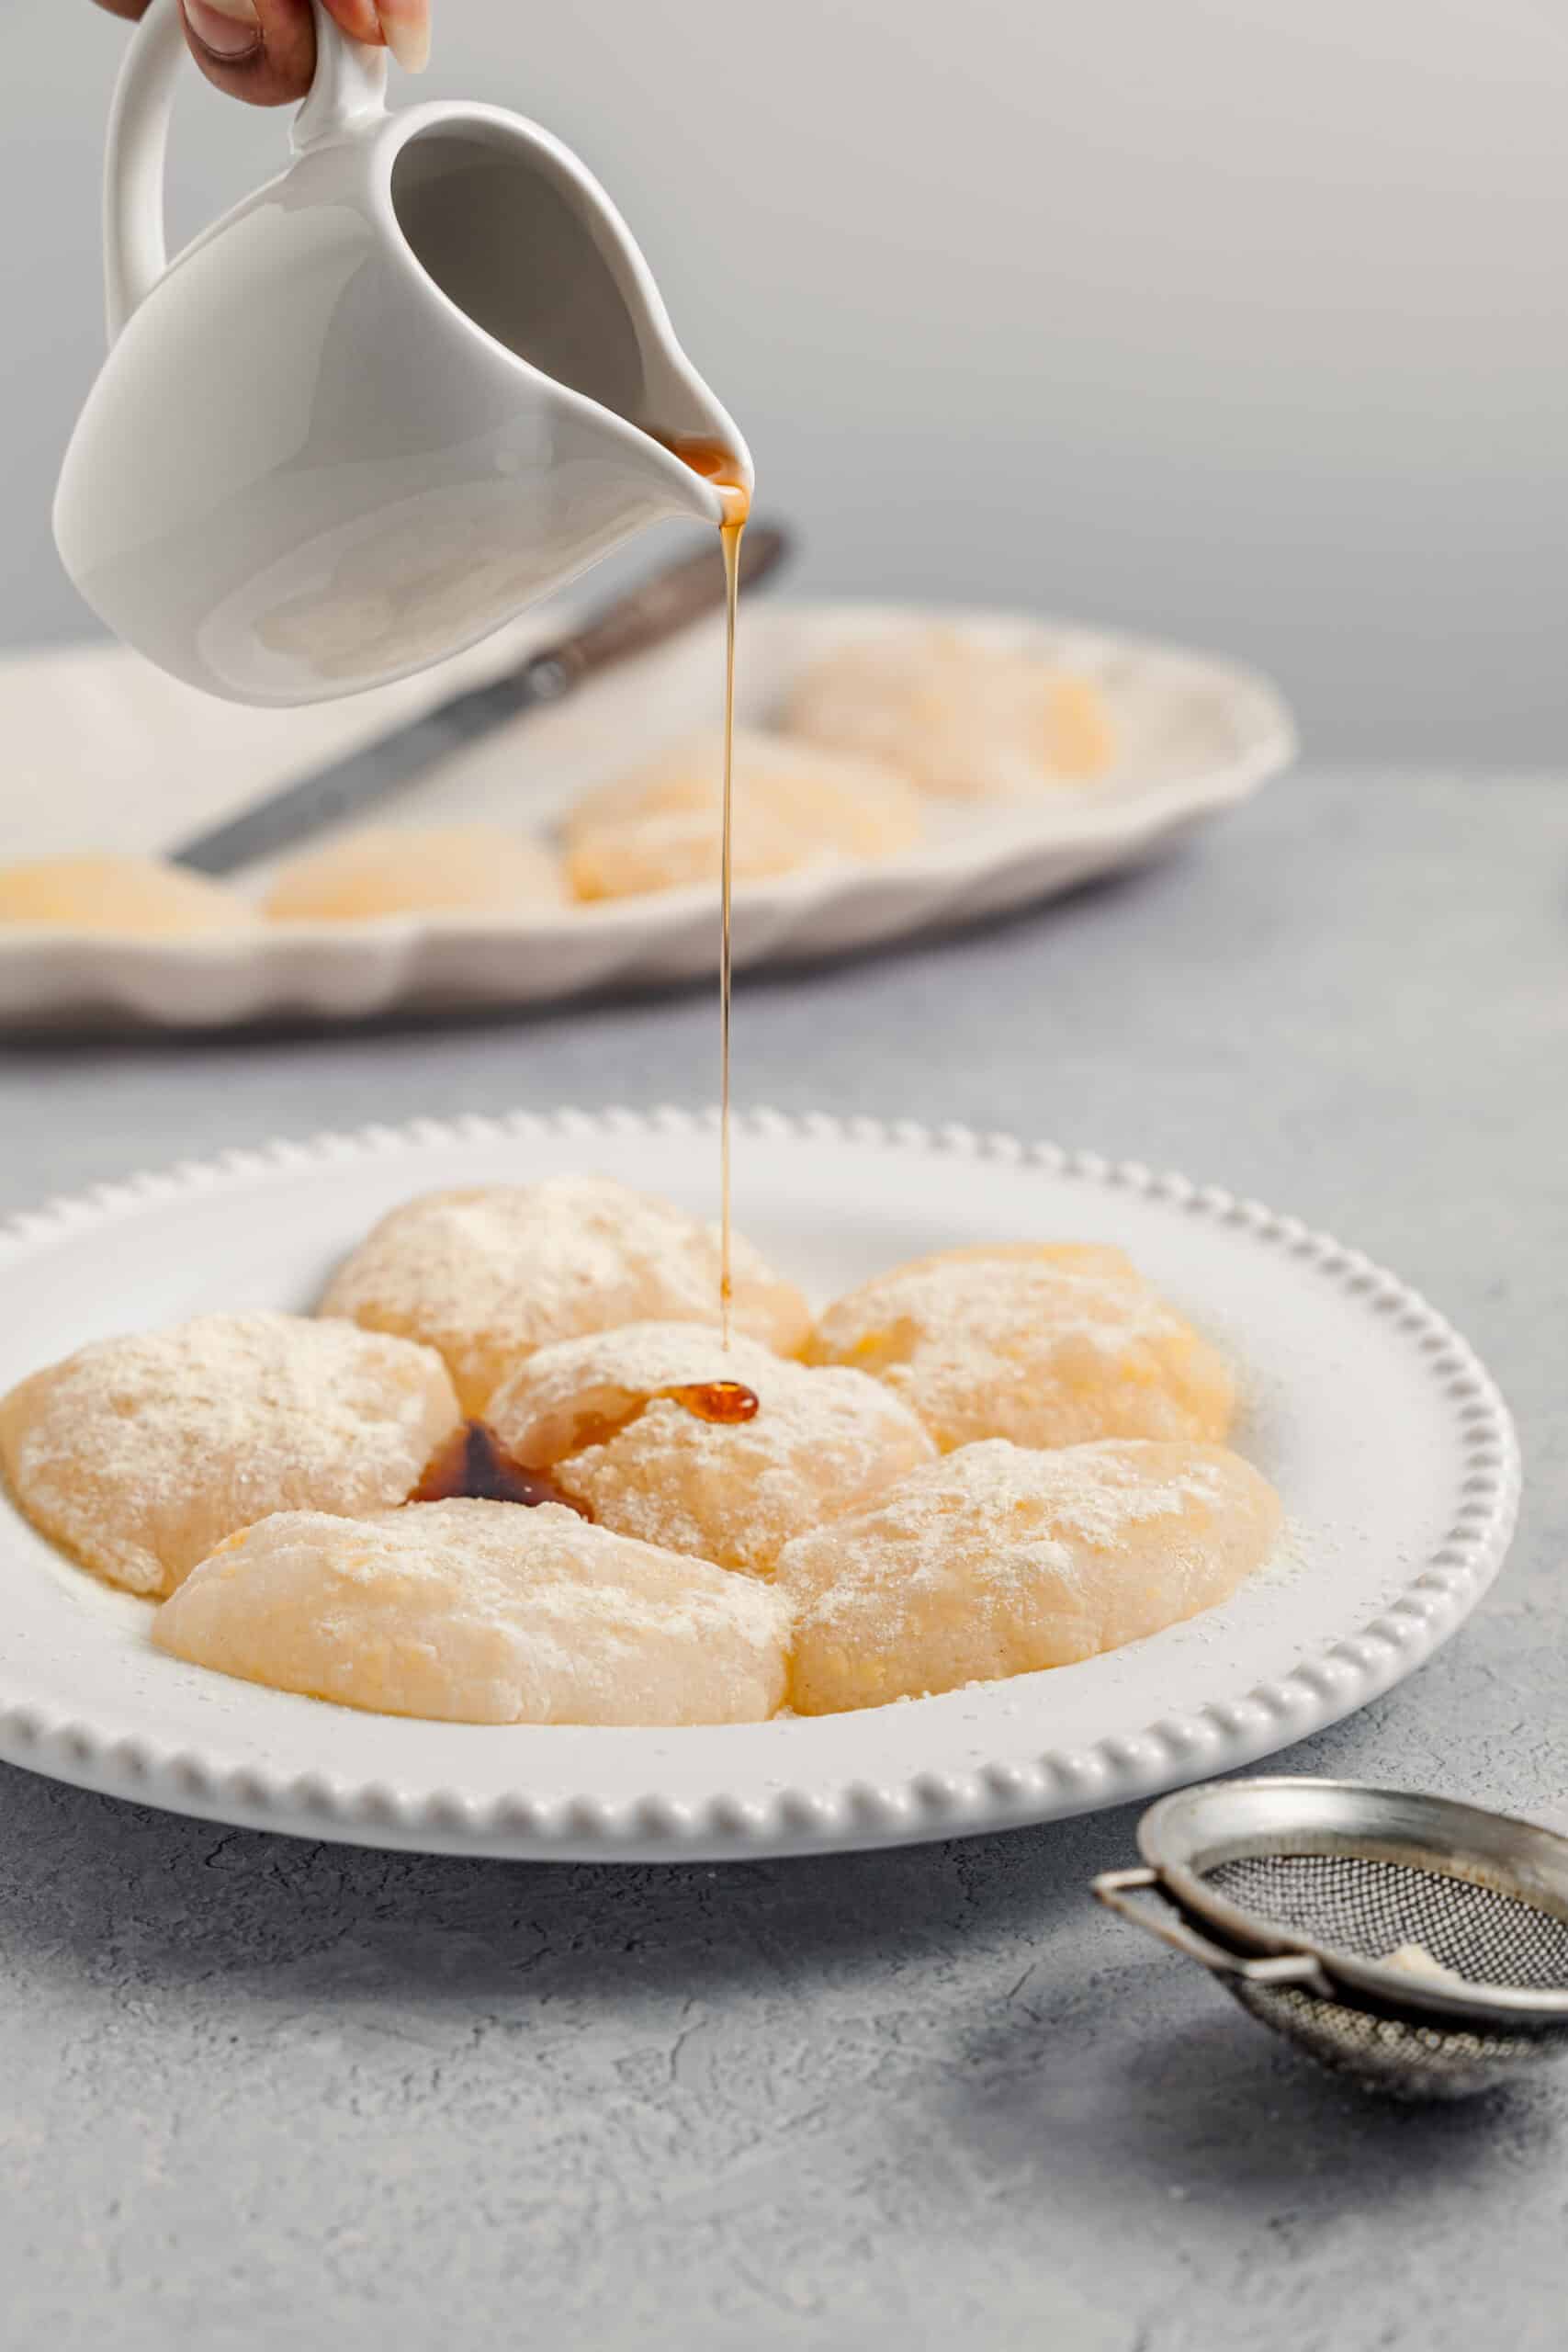
Pour the kuromitsu over at the very last moment, at the table if you can manage it. The syrup soaks into the kinako almost immediately and turns the coating from powdery to fudgy, which is lovely, but it means the plate looks its best for about ninety seconds. Eat it with a small fork or a pick, and expect the pieces to sag on the way to your mouth.
Troubleshooting
Warabimochi fails in a small number of very predictable ways, and every one of them is fixable or preventable. Here is what each problem means.
| Problem | Why it happened | How to fix it |
|---|---|---|
| Grainy or lumpy texture | The starch was not fully dissolved before heating | Whisk the cold mixture longer next time, or push it through a sieve into the pan |
| Never sets, stays liquid | Undercooked, pulled off while still partly white | Return it to the pan and keep stirring over medium heat until completely clear |
| Cloudy and rubbery | Refrigerated too long, so the starch has retrograded | Serve at room temperature and make it the same day. Cold is the enemy here |
| Impossible to cut cleanly | The knife was dry, so the mochi grabbed it | Wet the blade and wipe it between every cut, or use wet scissors |
| Coating slides straight off | The pieces were too wet from the ice water | Pat them lightly before dusting, and dust twice if needed |
| Syrup too thick to pour | The kuromitsu was reduced too far | Whisk in a teaspoon of hot water at a time until it pours in a ribbon |
Tips For The Best Warabimochi
Wait For Complete Translucency, Not Almost
This is the single thing that separates good warabimochi from glue. The mixture goes from milky to clear in stages, and there is a tempting moment where it looks thick and mostly clear but still has faint white marbling running through it. That marbling is uncooked starch, and it will never set properly. Keep stirring until the whole mass is uniformly translucent, then count out one more full minute before you stop.
Do Not Refrigerate It, Ever, If You Can Help It
Starch gels go through a process called retrogradation when they get cold, which is a technical way of saying they turn cloudy, firm and slightly weepy. Warabimochi is unusually prone to it. Set it on the bench at room temperature, and if your kitchen is genuinely hot, use the ice water method instead of the fridge. A tray of warabimochi left overnight in the fridge is a completely different and much worse dessert by morning.
Keep Everything Wet When You Cut
Warabimochi will stick to any dry surface with enthusiasm, including your knife, your board, your hands and each other. Run the knife under the tap, cut, wipe, and run it under again. Wet scissors are honestly easier than a knife if you are not fussed about neat squares, and rough torn pieces are entirely traditional. A wet spoon dipped into the pan and dropped into ice water gives you soft rounded pieces with no cutting at all.
Make The Kuromitsu Well Ahead
Kuromitsu keeps for weeks in a sealed jar in the fridge and takes four minutes to make, so there is no reason to make it while your mochi is sitting waiting. I keep a jar going permanently and use it over ice cream, pancakes and lower sugar mochi. Make a double batch while the pan is out. Full instructions are in my kuromitsu recipe.
Warabimochi is one of the very few desserts where the correct answer to how long will it keep is do not, just eat it now.
Catherine
Variations
Matcha Warabimochi
Whisk a teaspoon of good matcha into the dry starch and sugar before you add the water, so it disperses evenly rather than clumping. You end up with a jade green wobble and a faint bitterness that works beautifully against the sweet kuromitsu. Sift the matcha first, because any lumps will show as dark specks in something this translucent.
Black Sesame Warabimochi
Replace half the kinako in the coating with ground toasted black sesame and a little sugar. The colour contrast against the pale mochi is dramatic and the flavour goes deeper and more bitter, which suits people who find kinako a bit gentle. Grind the sesame fresh if you can, since pre ground sesame loses its aroma fast.
Warabimochi Drink
Cut the pieces much smaller, about the size of a pea, and drop them into iced milk tea or a brown sugar latte in place of tapioca pearls. They are softer than boba and they carry the kinako flavour into the drink. This is a very common bubble tea shop item in Japan and Taiwan now, and it is the best possible use for leftover mochi.
Warabimochi With Ice Cream
Serve a small pile of dusted mochi next to a scoop of vanilla, matcha or black sesame ice cream and pour the kuromitsu over both. The temperature contrast between the cold ice cream and the room temperature mochi is the whole appeal, and it turns a simple confection into a proper plated dessert. If you want to go further, mochi ice cream is the obvious next project.
Serving Suggestions
Serve It With Green Tea
This is the classic pairing and it is classic for a good reason. A cup of sencha or hojicha cuts straight through the sweetness of the kuromitsu and the richness of the kinako, and the warm tea against the cool mochi is exactly the contrast the dessert was designed around. Matcha works too, though it competes a little with the kinako rather than balancing it.
Portion It Small
Warabimochi is deceptively filling despite being mostly water and starch, and it is very sweet once the syrup is on. Four or five pieces per person is a proper serving. It works far better as a small plate at the end of a meal, or with afternoon tea, than as a large dessert bowl.
Let People Dress Their Own
Put the dusted mochi on a platter and set out the kuromitsu in a small jug with a spoon so everyone syrups their own at the last second. It solves the problem of the syrup soaking in before the plate reaches the table, and it lets the people who want to drown theirs do exactly that. A second bowl of extra kinako on the side is always emptied.
How To Store Warabimochi
The honest answer is that warabimochi does not store, and any advice that says otherwise is glossing over what happens to it. Made in the morning and eaten in the afternoon, it is perfect. Left overnight, even covered, it firms up and turns cloudy as the starch retrogrades, and no amount of sitting out will fully bring it back. Make the quantity you plan to eat.
If you do have leftovers, keep them at cool room temperature under a covered dish rather than in the fridge, and eat them within about six hours. Do not dust them with kinako until serving, since the coating goes damp and pasty as the mochi weeps. The kuromitsu is the opposite story: it keeps for at least a month in a sealed jar in the fridge and only gets better. Freezing is not an option for any of it, since the mochi turns to water and grit when it thaws.
Common Mistakes To Avoid
Adding The Starch To Hot Water
Starch hitting hot liquid seizes into instant lumps that will not whisk out, and once they are there the finished mochi is permanently grainy. Always combine the starch, sugar and water cold in the pan, whisk until smooth, and only then put it over heat. If you are worried, pour the cold mixture through a fine sieve into the pan before cooking, which takes ten seconds and guarantees a smooth result.
Stopping The Stirring
The moment you look away, the bottom of the pan sets into a rubbery skin that will not reincorporate and shows up as chewy lumps in the finished mochi. Stir constantly and keep the spatula moving across the whole base of the pan, not just the middle. This is a ten minute recipe that demands your full attention for about six of them.
Pulling It Off The Heat Too Early
The mixture thickens dramatically before it turns fully clear, and it is very easy to mistake thick for done. If there are white streaks, it is not done. Undercooked warabimochi never sets firmly enough to cut and has a raw starch taste that is unmistakable once you have noticed it. When in doubt, cook it longer, because overcooking is much harder to do.
Refrigerating It To Speed Up Setting
I understand the temptation, especially in summer, but the fridge is what turns warabimochi cloudy and firm. If you need it set quickly, drop spoonfuls into a bowl of ice water instead. The cold water sets the surface in seconds without leaving the mochi cold for long, and you can lift the pieces out, pat them, and dust them straight away.
Dusting With Kinako Too Far Ahead
Kinako on wet mochi turns into a paste within about twenty minutes, and the beautiful powdery finish disappears. Coat the pieces as close to serving as you can, and keep a small bowl of the kinako mixture nearby to touch up the plate. The same logic applies to the syrup: kuromitsu goes on last, at the table.
Frequently Asked Questions
What is warabimochi made of?
Traditional warabimochi is made from warabimochiko, a starch milled from the roots of the bracken fern, cooked with sugar and water until translucent. Because real bracken starch is expensive and hard to find, most home versions today use sweet potato or tapioca starch instead. It is not made from glutinous rice, which is what separates it from every other kind of mochi.
Is warabimochi the same as regular mochi?
No, and the shared name causes a lot of confusion. Regular mochi is pounded glutinous rice, which makes it opaque, chewy and very elastic. Warabimochi is a starch gel, so it is translucent, extremely soft and closer to a jelly that melts on the tongue than something you chew.
Can I use tapioca starch instead of warabimochiko?
Yes, and most people do. Tapioca starch gives a slightly bouncier and clearer result than genuine bracken starch, but the texture is still soft and wobbly and the recipe works exactly the same way. Sweet potato starch is the other common substitute and sits somewhere between the two. Avoid cornstarch, which sets cloudy and chalky.
Why did my warabimochi turn cloudy and hard?
It was refrigerated. Starch gels retrograde when they get cold, which means the starch molecules recrystallise and the mochi turns opaque, firm and slightly weepy. Set warabimochi at cool room temperature instead, and if you need it to firm up fast, drop spoonfuls into ice water rather than putting the tray in the fridge.
How long does warabimochi keep?
A few hours at most, which is genuinely part of the deal with this dessert. It is at its best within about two to four hours of cooking, kept at cool room temperature under a cover. Overnight it firms and clouds, and it cannot be frozen or revived, so make only as much as you plan to eat.
What is kinako and can I substitute it?
Kinako is roasted soybean flour, pale beige and deeply toasty, with a flavour somewhere between peanut and roasted barley. There is no true substitute, since it carries most of the flavour of the finished dish, but ground toasted black sesame mixed with sugar makes a very good alternative coating with a darker, more bitter character.
Let’s Get Cooking
If you liked this recipe make sure to leave me a comment and rating down below. I’d love to know how it went! Also, don’t forget to tag me on Instagram @catherine.desserts.
Follow me on Facebook, Pinterest, YouTube, and TikTok for more of my baking creations and updates!
Warabimochi (Japanese Jiggly Mochi) with Kinako and Kuromitsu
Warabimochi is the wobbly, translucent Japanese mochi made from starch rather than glutinous rice, dusted in nutty kinako and drenched in dark kuromitsu syrup. It takes one saucepan, ten minutes of stirring and no special equipment.
- Prep Time: 5 minutes
- Setting Time: 1 to 2 hours
- Cook Time: 10 minutes
- Total Time: 2 hours 15 minutes
- Yield: 4 servings 1x
- Category: Dessert
- Method: Stovetop
- Cuisine: Japanese
Ingredients
Warabimochi
- 1/2 cup (70 g) warabimochiko (bracken starch), or sweet potato or tapioca starch
- 1/4 cup (50 g) granulated sugar
- 1 3/4 cups (420 ml) water
Kinako coating
- 1/4 cup (30 g) kinako (roasted soybean flour)
- 2 tablespoons granulated sugar
- Pinch of salt
Kuromitsu
- 1/2 cup (100 g) kurozato (Japanese black sugar) or dark brown sugar
- 1/4 cup (60 ml) water
Instructions
- Stir the kinako, sugar and salt together in a small bowl until evenly combined, and set it aside. Prepare a bowl of ice water.
- Make the kuromitsu: combine the black sugar and water in a small saucepan and simmer over low heat for 3 to 4 minutes until lightly syrupy, then cool. Skip this step if you already have kuromitsu made.
- In a saucepan off the heat, whisk the starch, sugar and water together until completely smooth with no lumps at all. Lumps now become grainy mochi later, so whisk properly before any heat goes near it.
- Cook over medium heat, stirring constantly with a spatula. The mixture will look milky white at first, then start to turn translucent and become very thick and stretchy, about 5 to 8 minutes.
- Once it is fully translucent with no white streaks left, keep stirring for 1 more minute to cook it through.
- Working quickly, either spread the mochi into a lightly oiled dish, or drop spoonfuls straight into the ice water to set their shape.
- Let it cool until set but still soft and jiggly. Do not refrigerate it for long, since extended cold turns warabimochi cloudy and firm.
- Cut or pull it into bite size pieces with a wet knife or wet scissors. Dust generously with the kinako mixture and drizzle with kuromitsu just before serving.
Notes
- Starch choice: true warabimochiko (bracken starch) gives the most authentic melt in the mouth texture, but it is expensive and hard to find. Sweet potato or tapioca starch is the common substitute and works very well.
- Serve fresh: warabimochi is at its best the day it is made, at room temperature or only lightly chilled. Refrigeration firms and clouds the starch, so make it close to serving time.
- Matcha version: whisk 1 teaspoon of matcha into the dry starch before adding the water for a green, matcha forward wobble.
- Kuromitsu: the syrup keeps for weeks in the fridge, so it is worth making a double batch while you have the pan out.
- Troubleshooting: grainy texture means lumps were not fully dissolved before heating, too soft means it was undercooked so keep going until fully translucent, and too firm or cloudy means it was refrigerated too long.
Nutrition
- Serving Size: 1 plate
Love mochi? Find every type in one place in our complete guide to mochi recipes.