Japanese castella cake is the honey sponge from Nagasaki that tastes better on day two than it does the day you bake it, and after eleven goes in my kitchen I finally understand why.
I first ate proper kasutera in a tiny shop in Nagasaki where they sold it in long paper wrapped bricks and cut it in front of you with a knife they kept dipping in hot water. It was denser than I expected. I had assumed a Japanese sponge would be all air, the way Japanese souffle pancakes are, and instead it was moist and faintly chewy, with a dark sticky crust on the bottom that stuck to my fingers. I bought a second one for the train and ate that too.
Getting it right at home took me longer than almost anything else I have written up. My first three attempts came out dry, which I now know means I was slicing them too soon. The fourth sank in the middle. The seventh had holes through the crumb the size of peas. What finally fixed it was not a fancy tin or a special flour order, it was patience: wrapping the loaf while it was still hot and refusing to touch it until the next morning. That one habit is the whole recipe.
What Is Japanese Castella Cake
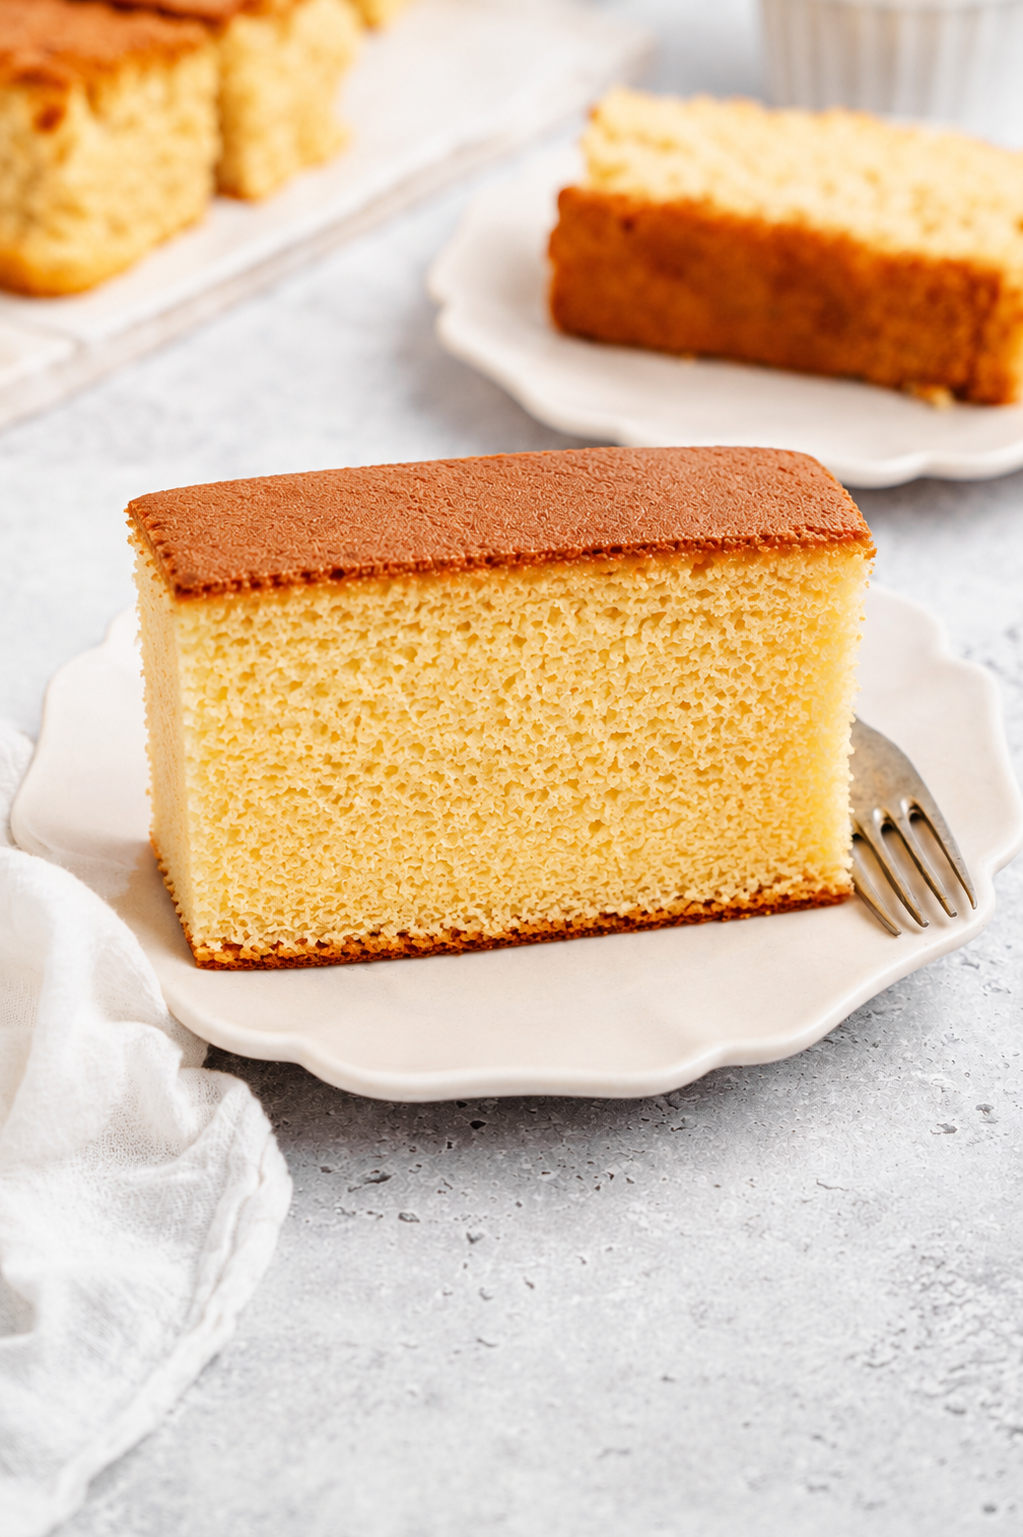
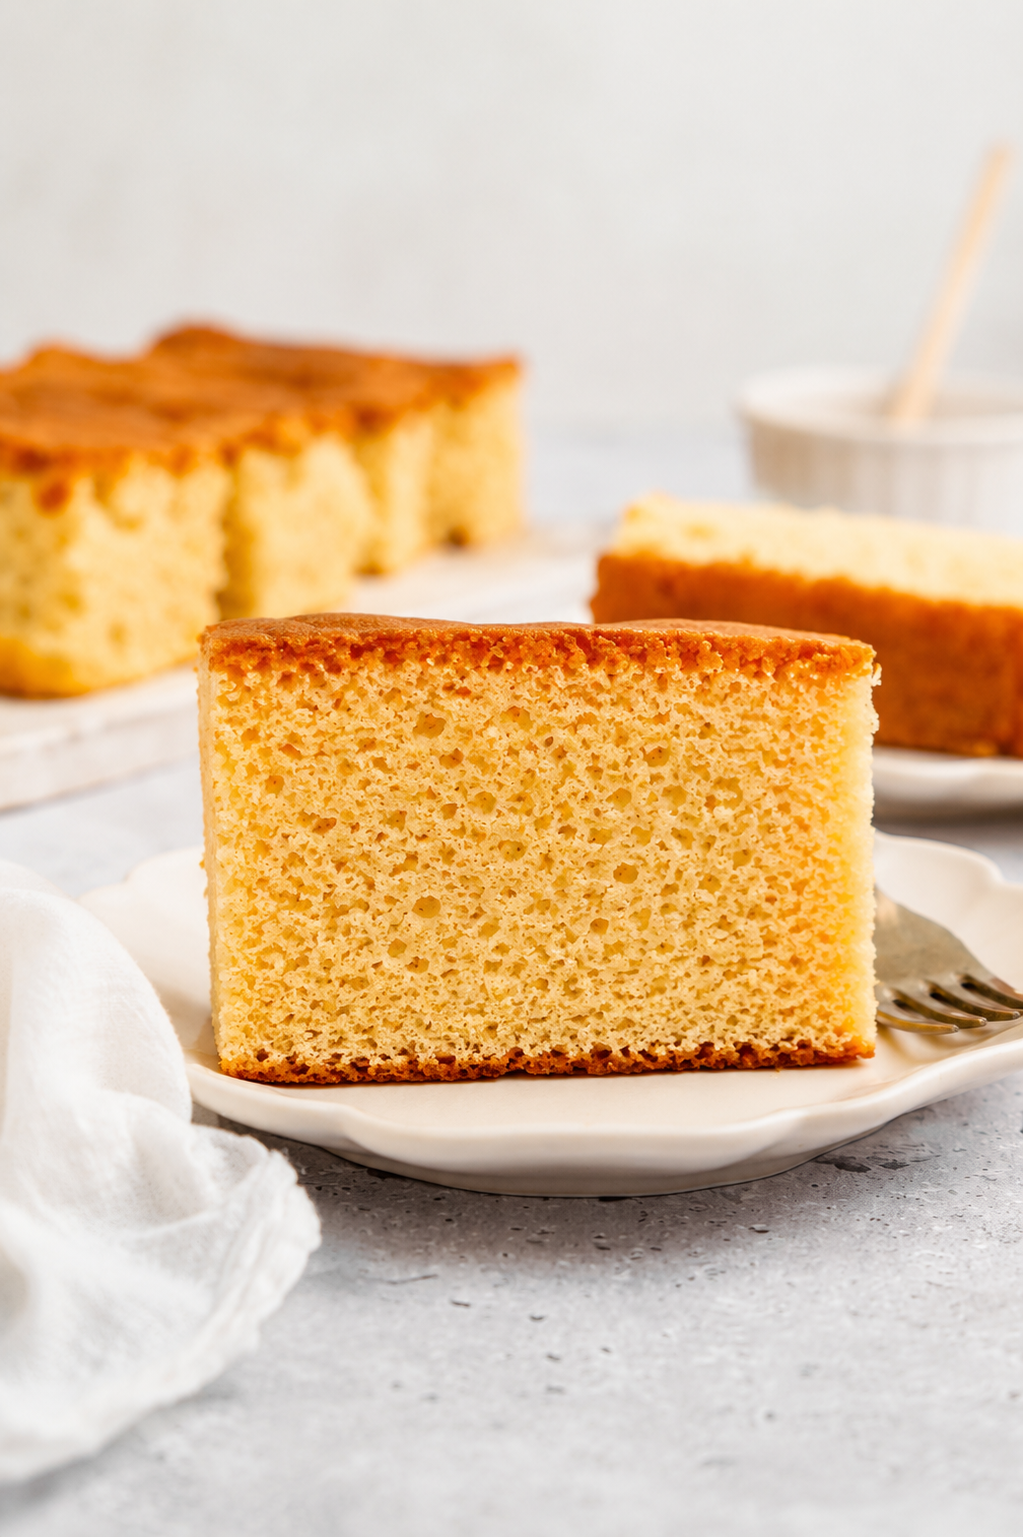
Japanese castella cake, or kasutera, is a honey sweetened sponge made from five ingredients: eggs, sugar, honey, bread flour and a splash of milk. There is no baking powder, no baking soda, no butter and no oil anywhere in it. Every bit of lift comes from eggs whipped over gentle heat until they triple, and all of the moisture comes from honey plus a long rest after baking. The result is dense in the good way, closer to a very fine steamed cake than to a Western sponge, with a deep chestnut top and a slightly sticky sugar crust underneath.
The texture is the part people are not ready for. It has a faint chew, almost a pull, because it is made with bread flour rather than cake flour. That higher protein is deliberate. Swap it for plain flour and you get a pleasant sponge, but you lose the exact quality that makes castella recognisable.
Where Japanese Castella Cake Comes From
Portuguese traders brought the cake to Nagasaki in the sixteenth century, when Nagasaki was one of very few ports open to foreign ships. The name is a worn down version of pão de Castela, bread from Castile. Japanese bakers kept the idea and rebuilt it around what they had and what they liked, leaning on honey and dropping the butter entirely.
Four hundred years later it is still a Nagasaki speciality, sold in wooden boxes as a gift cake and cut into thick rectangular fingers rather than wedges. The traditional bake happens in a wooden frame that holds the heat gently and evenly, which is where the reputation for difficulty comes from. You do not need one, and I will come back to that.
How to Make Japanese Castella Cake
The method is a warm whipped sponge, the same family as a genoise. You beat whole eggs and sugar over a pan of barely simmering water until the mixture is about body temperature, then take it off the heat and beat it hard until it triples and holds a ribbon on the surface for a full five seconds. Warm honey and milk go in, then bread flour is sifted over in three additions and folded through with a light hand.
From there it is pour, debubble, bake low and slow, then drop the tin on the bench the moment it comes out of the oven. Brush the top with honey, wrap the whole hot loaf in cling film, and walk away until tomorrow. If you have made a Swiss roll cake or my matcha cotton soft sponge cake, the whipping stage will feel familiar. The difference here is that there is nothing else holding the cake up, so underwhipping shows immediately.
Japanese Castella Cake At a Glance
| Serves | Prep | Cook | Rest | Total |
|---|---|---|---|---|
| 10 slices | 25 minutes | 50 minutes | 12 hours | 13 hours 15 minutes |
Ingredients
For the Cake
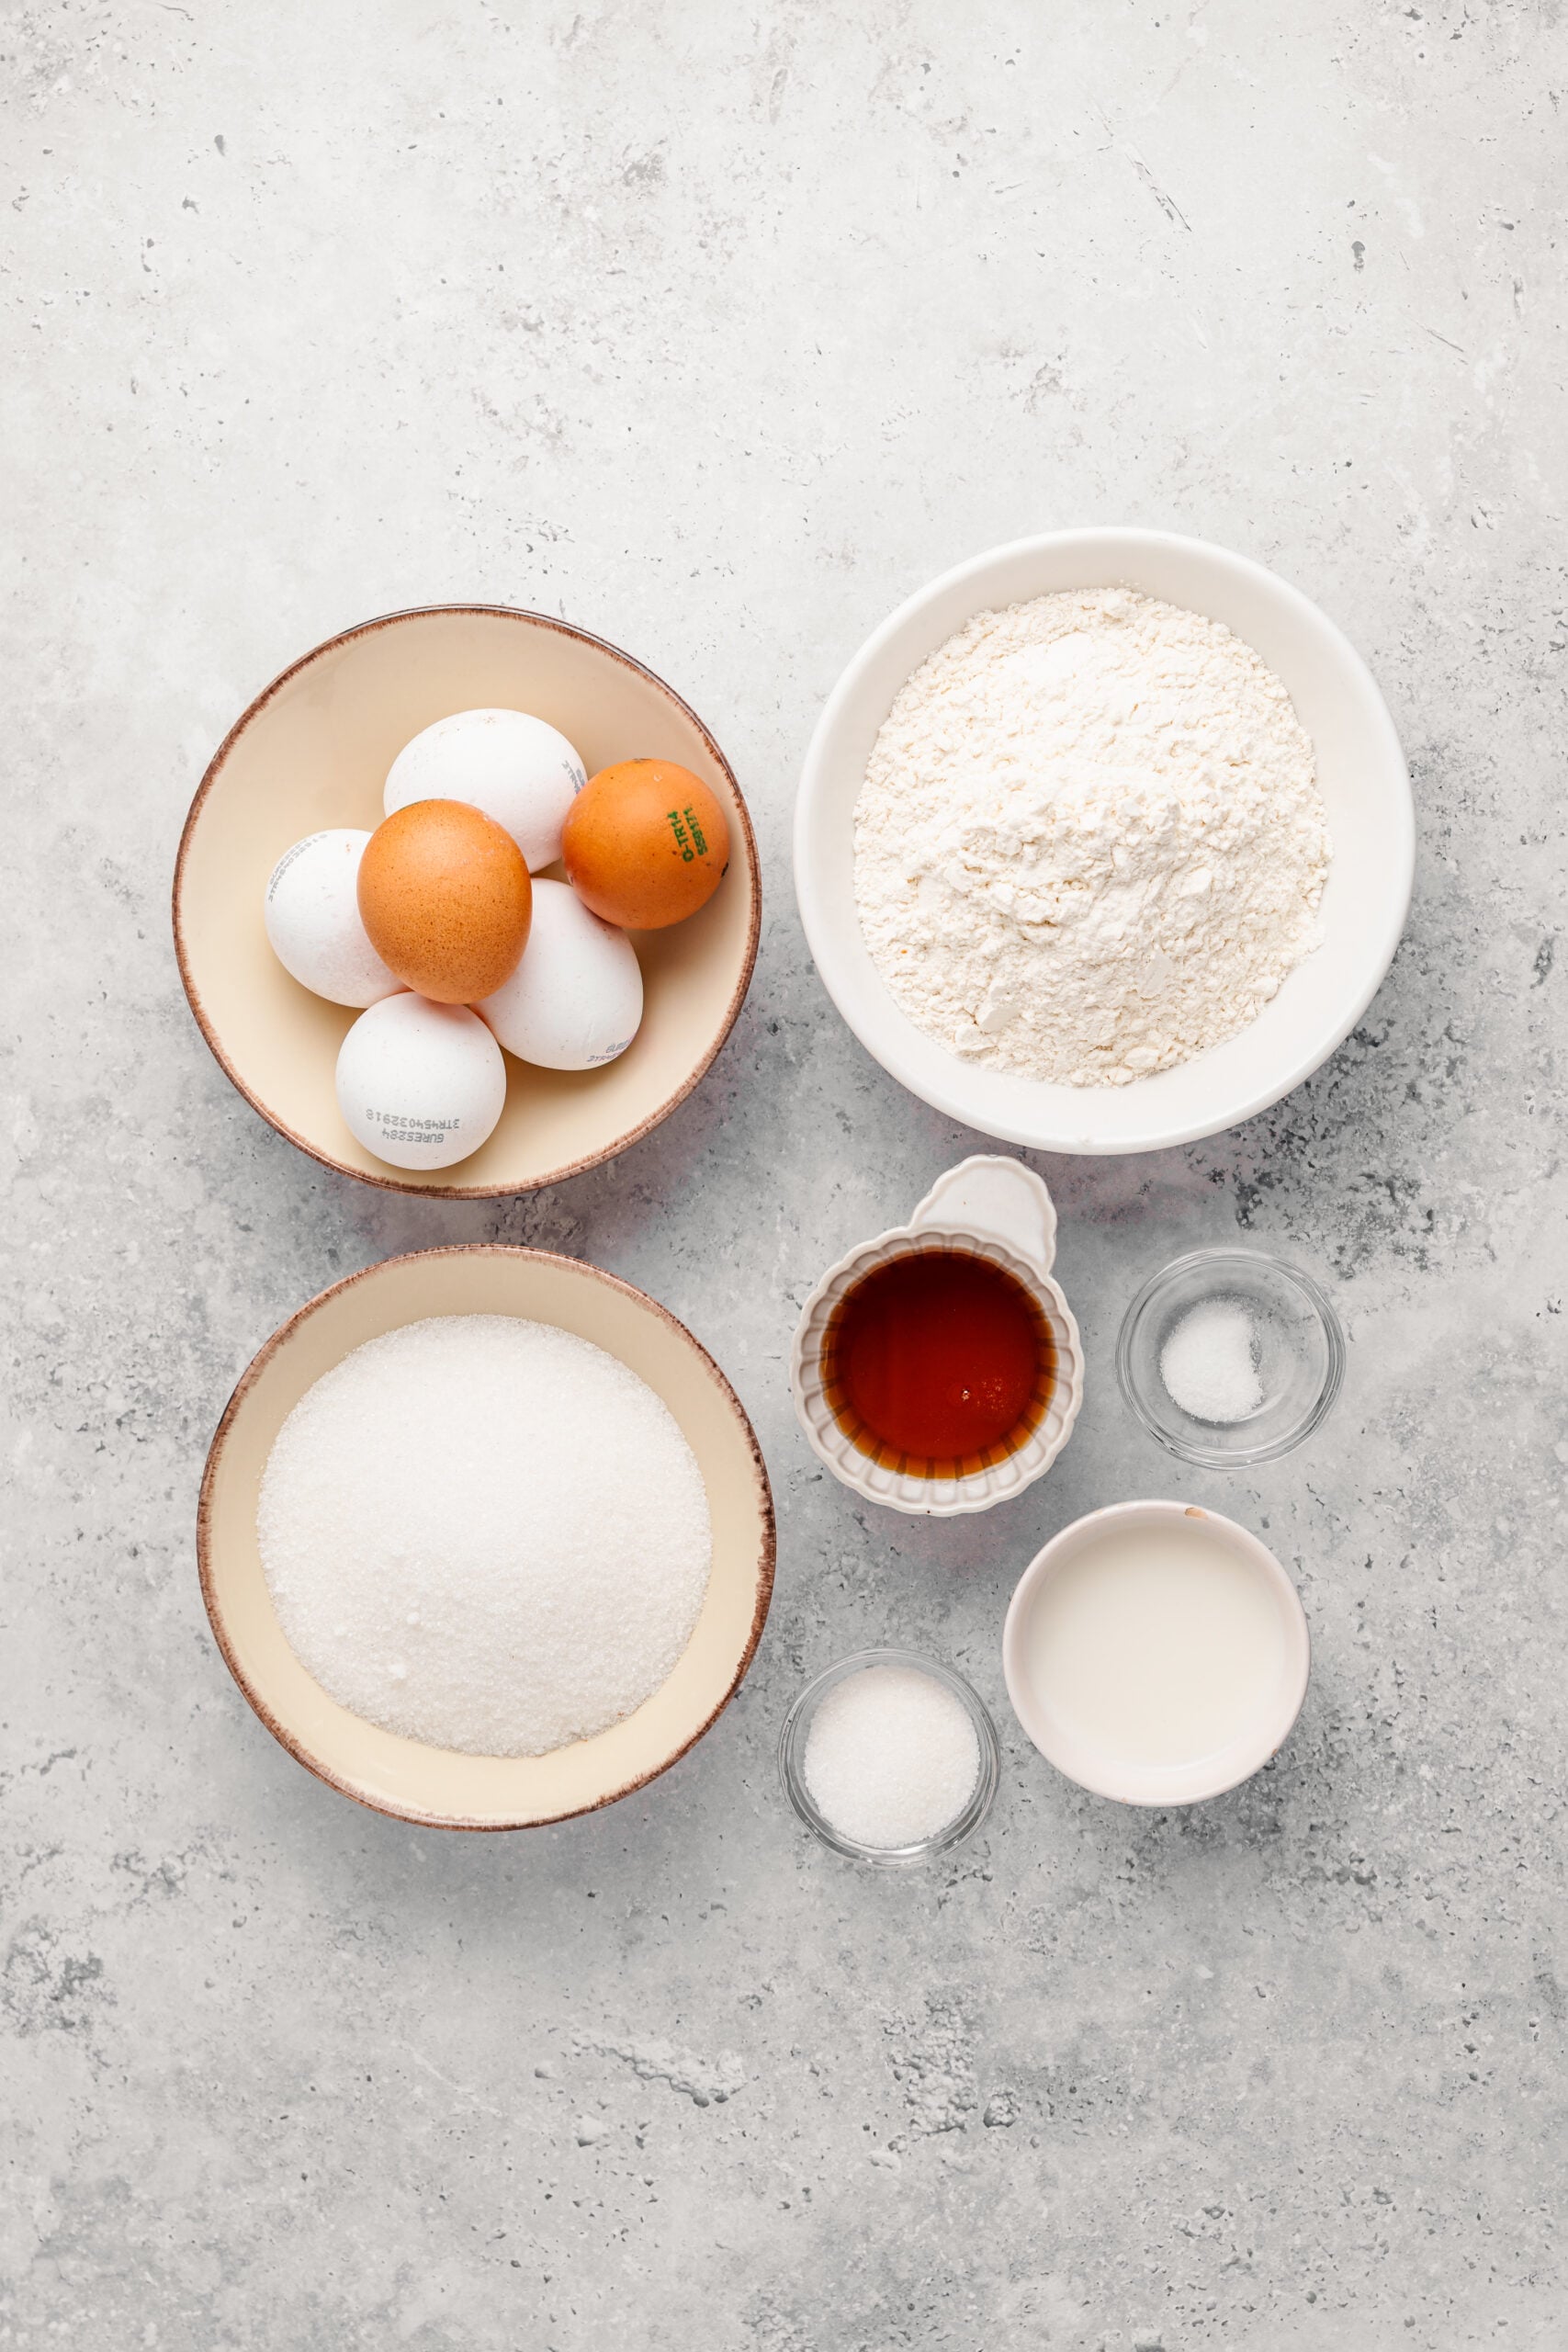
- Eggs: the entire structure of the cake. Whole eggs, at room temperature, whipped warm so they take on far more air than cold ones will. If yours are straight from the fridge, sit them in a bowl of warm water for five minutes first.
- Caster sugar: sweetens, but more importantly it stabilises the egg foam so it does not collapse while you fold in the flour. The fine grain dissolves quickly over the warm water, which matters because undissolved sugar makes a grainy crumb.
- Honey: the flavour and the reason castella stays moist for days. Honey is hygroscopic, so it holds water in the crumb long after the cake has cooled. Use something mild and floral, because a strong honey will take over completely.
- Bread flour: not optional and not interchangeable. The higher protein gives castella its close, faintly chewy crumb. Sift it twice so it falls in a cloud and folds through in seconds rather than needing to be worked in.
- Whole milk: just three tablespoons, warmed with the honey so the two pour together as one loose liquid. It softens the crumb slightly and keeps the honey from seizing into a lump when it hits the cool batter.
- Fine salt: a single pinch, added with the eggs. Without it the cake reads flat and one note. With it the honey suddenly tastes like honey.
For the Tin
- Baking paper: line the tin so the paper stands about 5 cm above the rim on every side. Castella climbs high while it bakes and the collar gives it something to hold on to. Sharp creases in the corners keep the sides straight.
- Caster sugar for the base: a tablespoon scattered over the lined base before the batter goes in. It melts and sets into the gritty dark sugar crust you find on shop bought kasutera. Leave it out if you prefer a clean bottom.
Optional: My Favourite Extras That Add a Little Magic
- Matcha: sift 2 teaspoons of good ceremonial grade matcha in with the last addition of bread flour. It turns the crumb a soft green and cuts the honey with a pleasant bitterness.
- Brown sugar instead of caster: swapping a third of the sugar for light brown sugar deepens the colour and gives the cake a faint caramel edge that suits winter.
- Mirin: a teaspoon stirred into the honey and milk is a genuinely traditional touch in some Nagasaki recipes. It adds a rounded, slightly savoury sweetness that is hard to place and very good.
- Zarame sugar: the coarse Japanese crystal sugar scattered on the base of the tin in place of caster. It stays crunchy rather than dissolving, which is the version sold in the best Nagasaki shops.
Substitutions: Smart Ingredient Swaps That Still Taste Amazing
- Plain flour for bread flour: it works and the cake is nice, but the chew goes and you end up with something closer to a sponge finger. If it is all you have, hold back a tablespoon of the milk to compensate for the lower absorption.
- Maple syrup for honey: a reasonable stand in that gives a darker, more caramel flavour. It is slightly thinner than honey so the crumb will be a touch softer and it will not keep quite as long.
- Oat or soy milk for whole milk: both are fine at this quantity. It is only three tablespoons and it is doing very little beyond loosening the honey.
- Golden syrup for honey: use it if you must, but understand you are making a honey cake without the honey. The texture holds up and the flavour becomes plain sweet rather than floral.
Steps
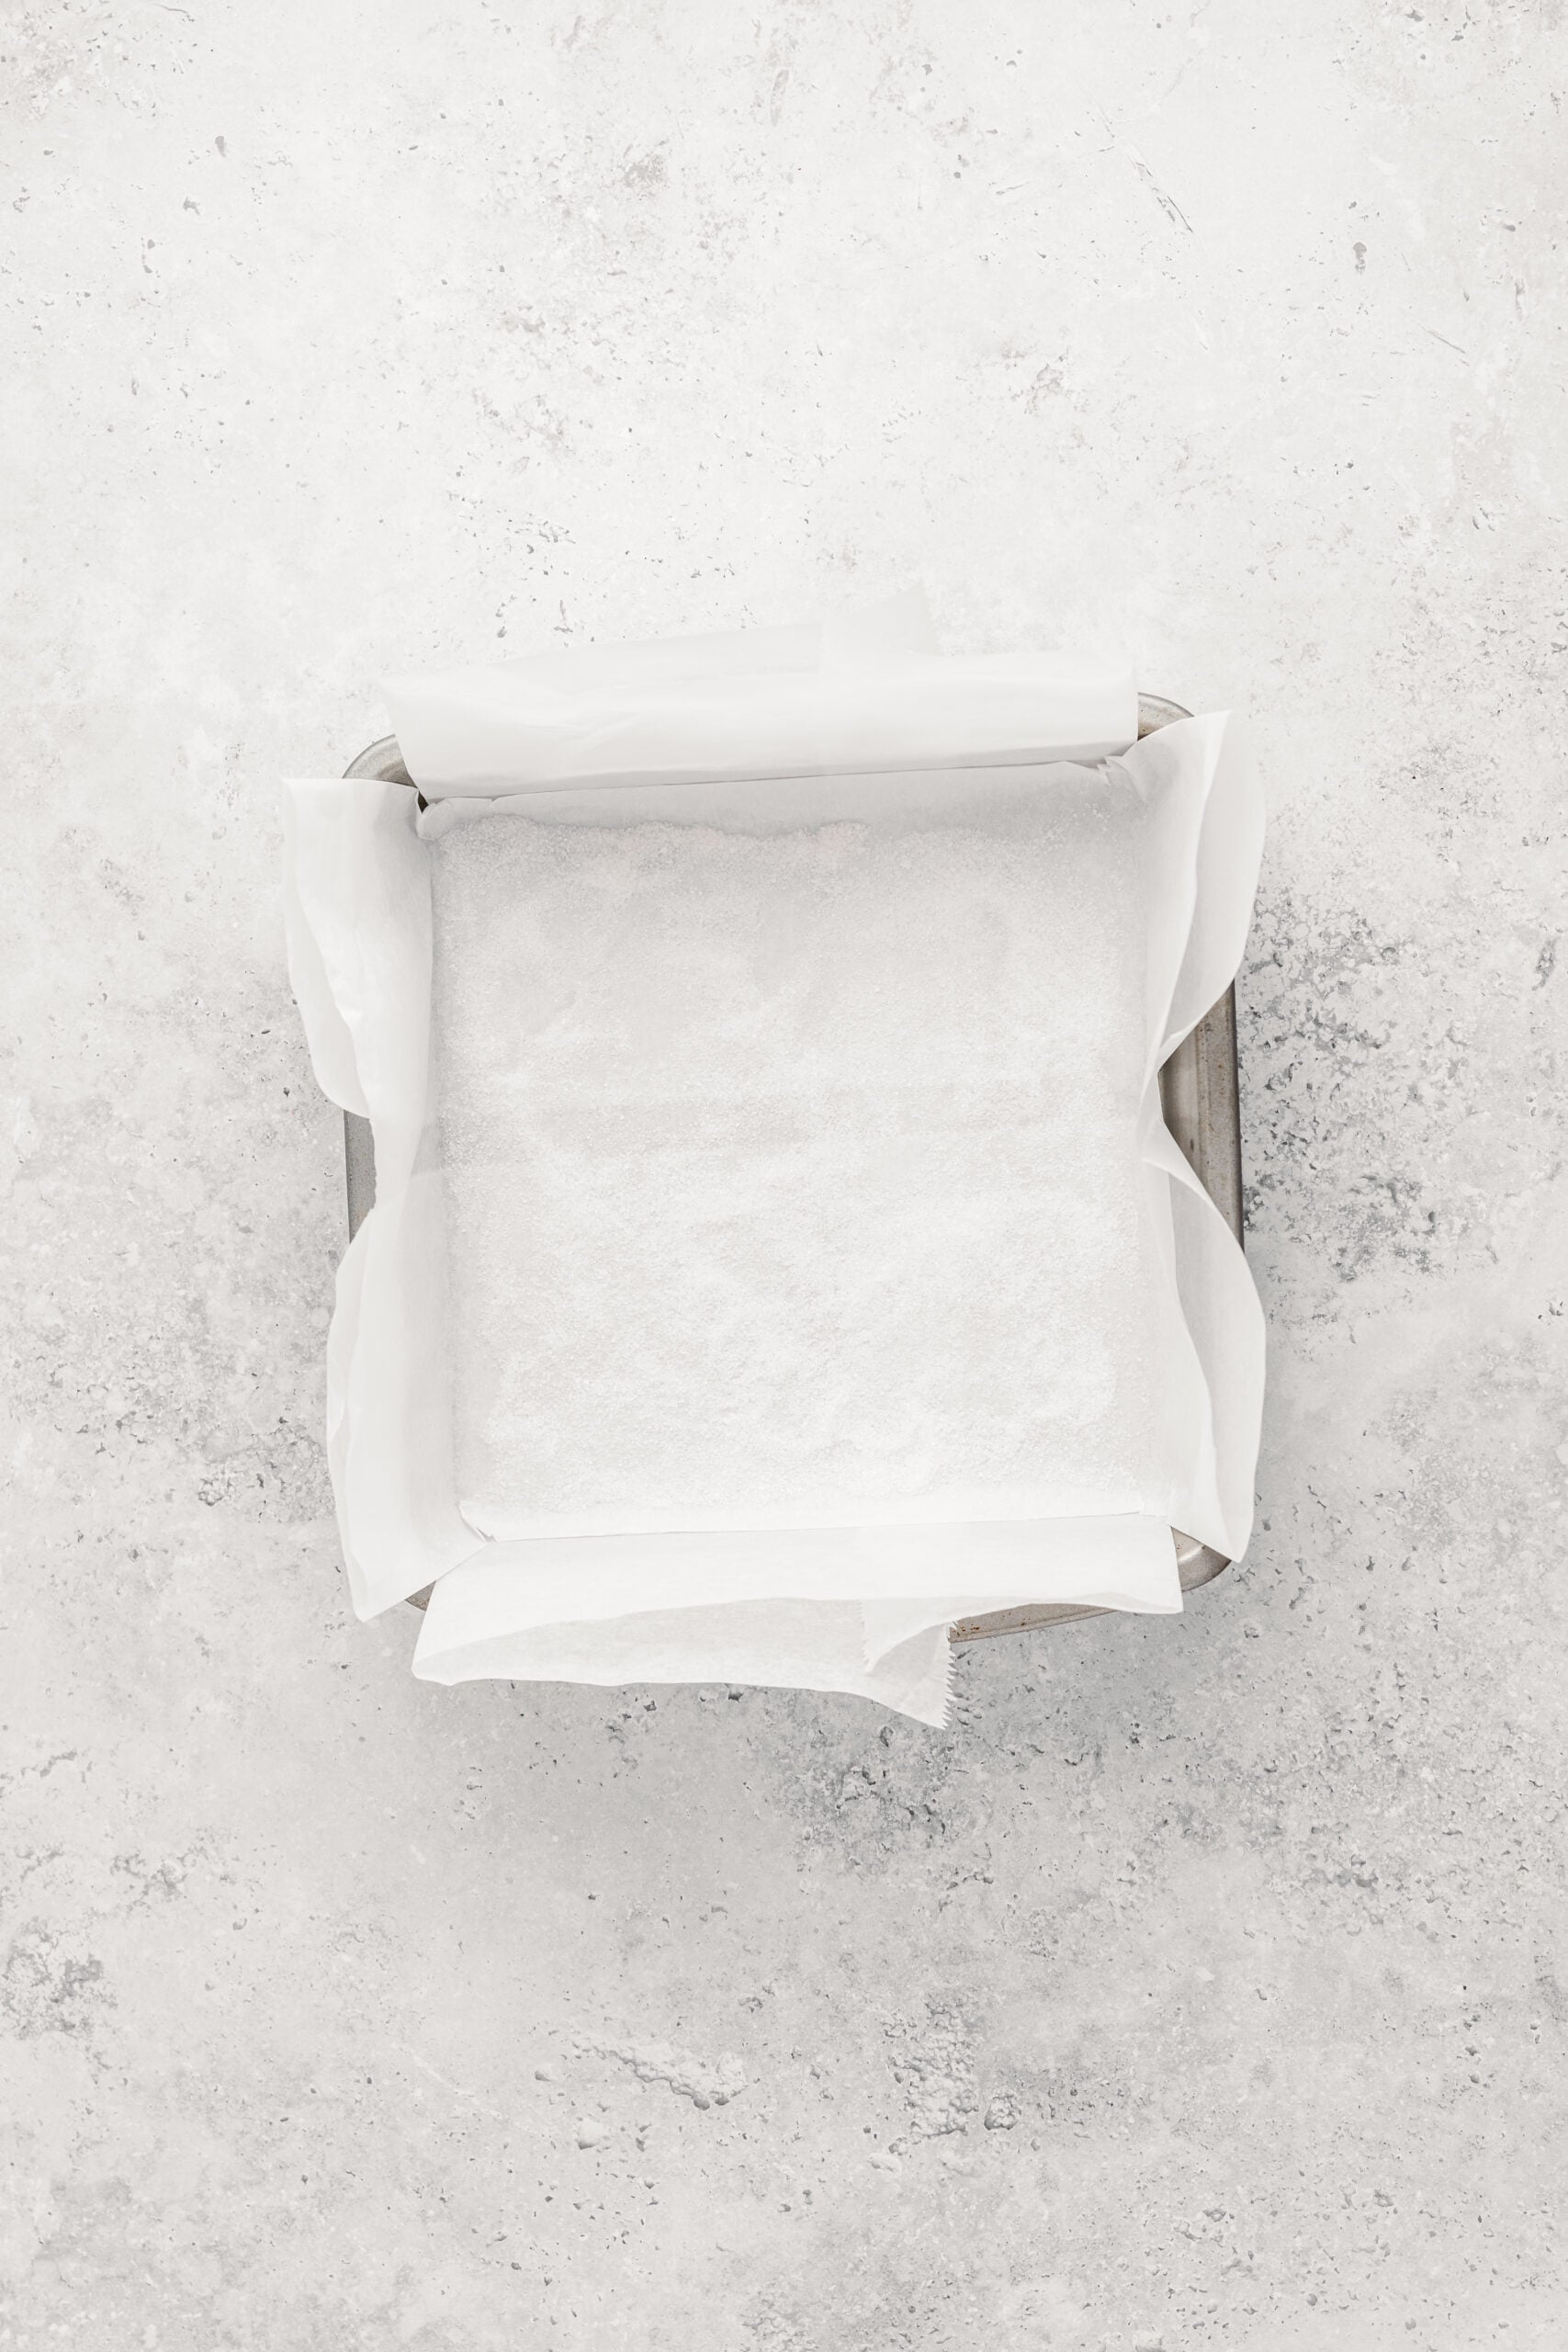
- Heat the oven to 160 C (320 F). Line a 20 cm (8 inch) square tin with baking paper, bringing the paper about 5 cm above the rim on all sides so the cake has something to climb. Scatter a tablespoon of caster sugar over the base if you want the traditional gritty sugar crust. A 9 by 5 inch loaf tin works too and gives you fewer, wider fingers.
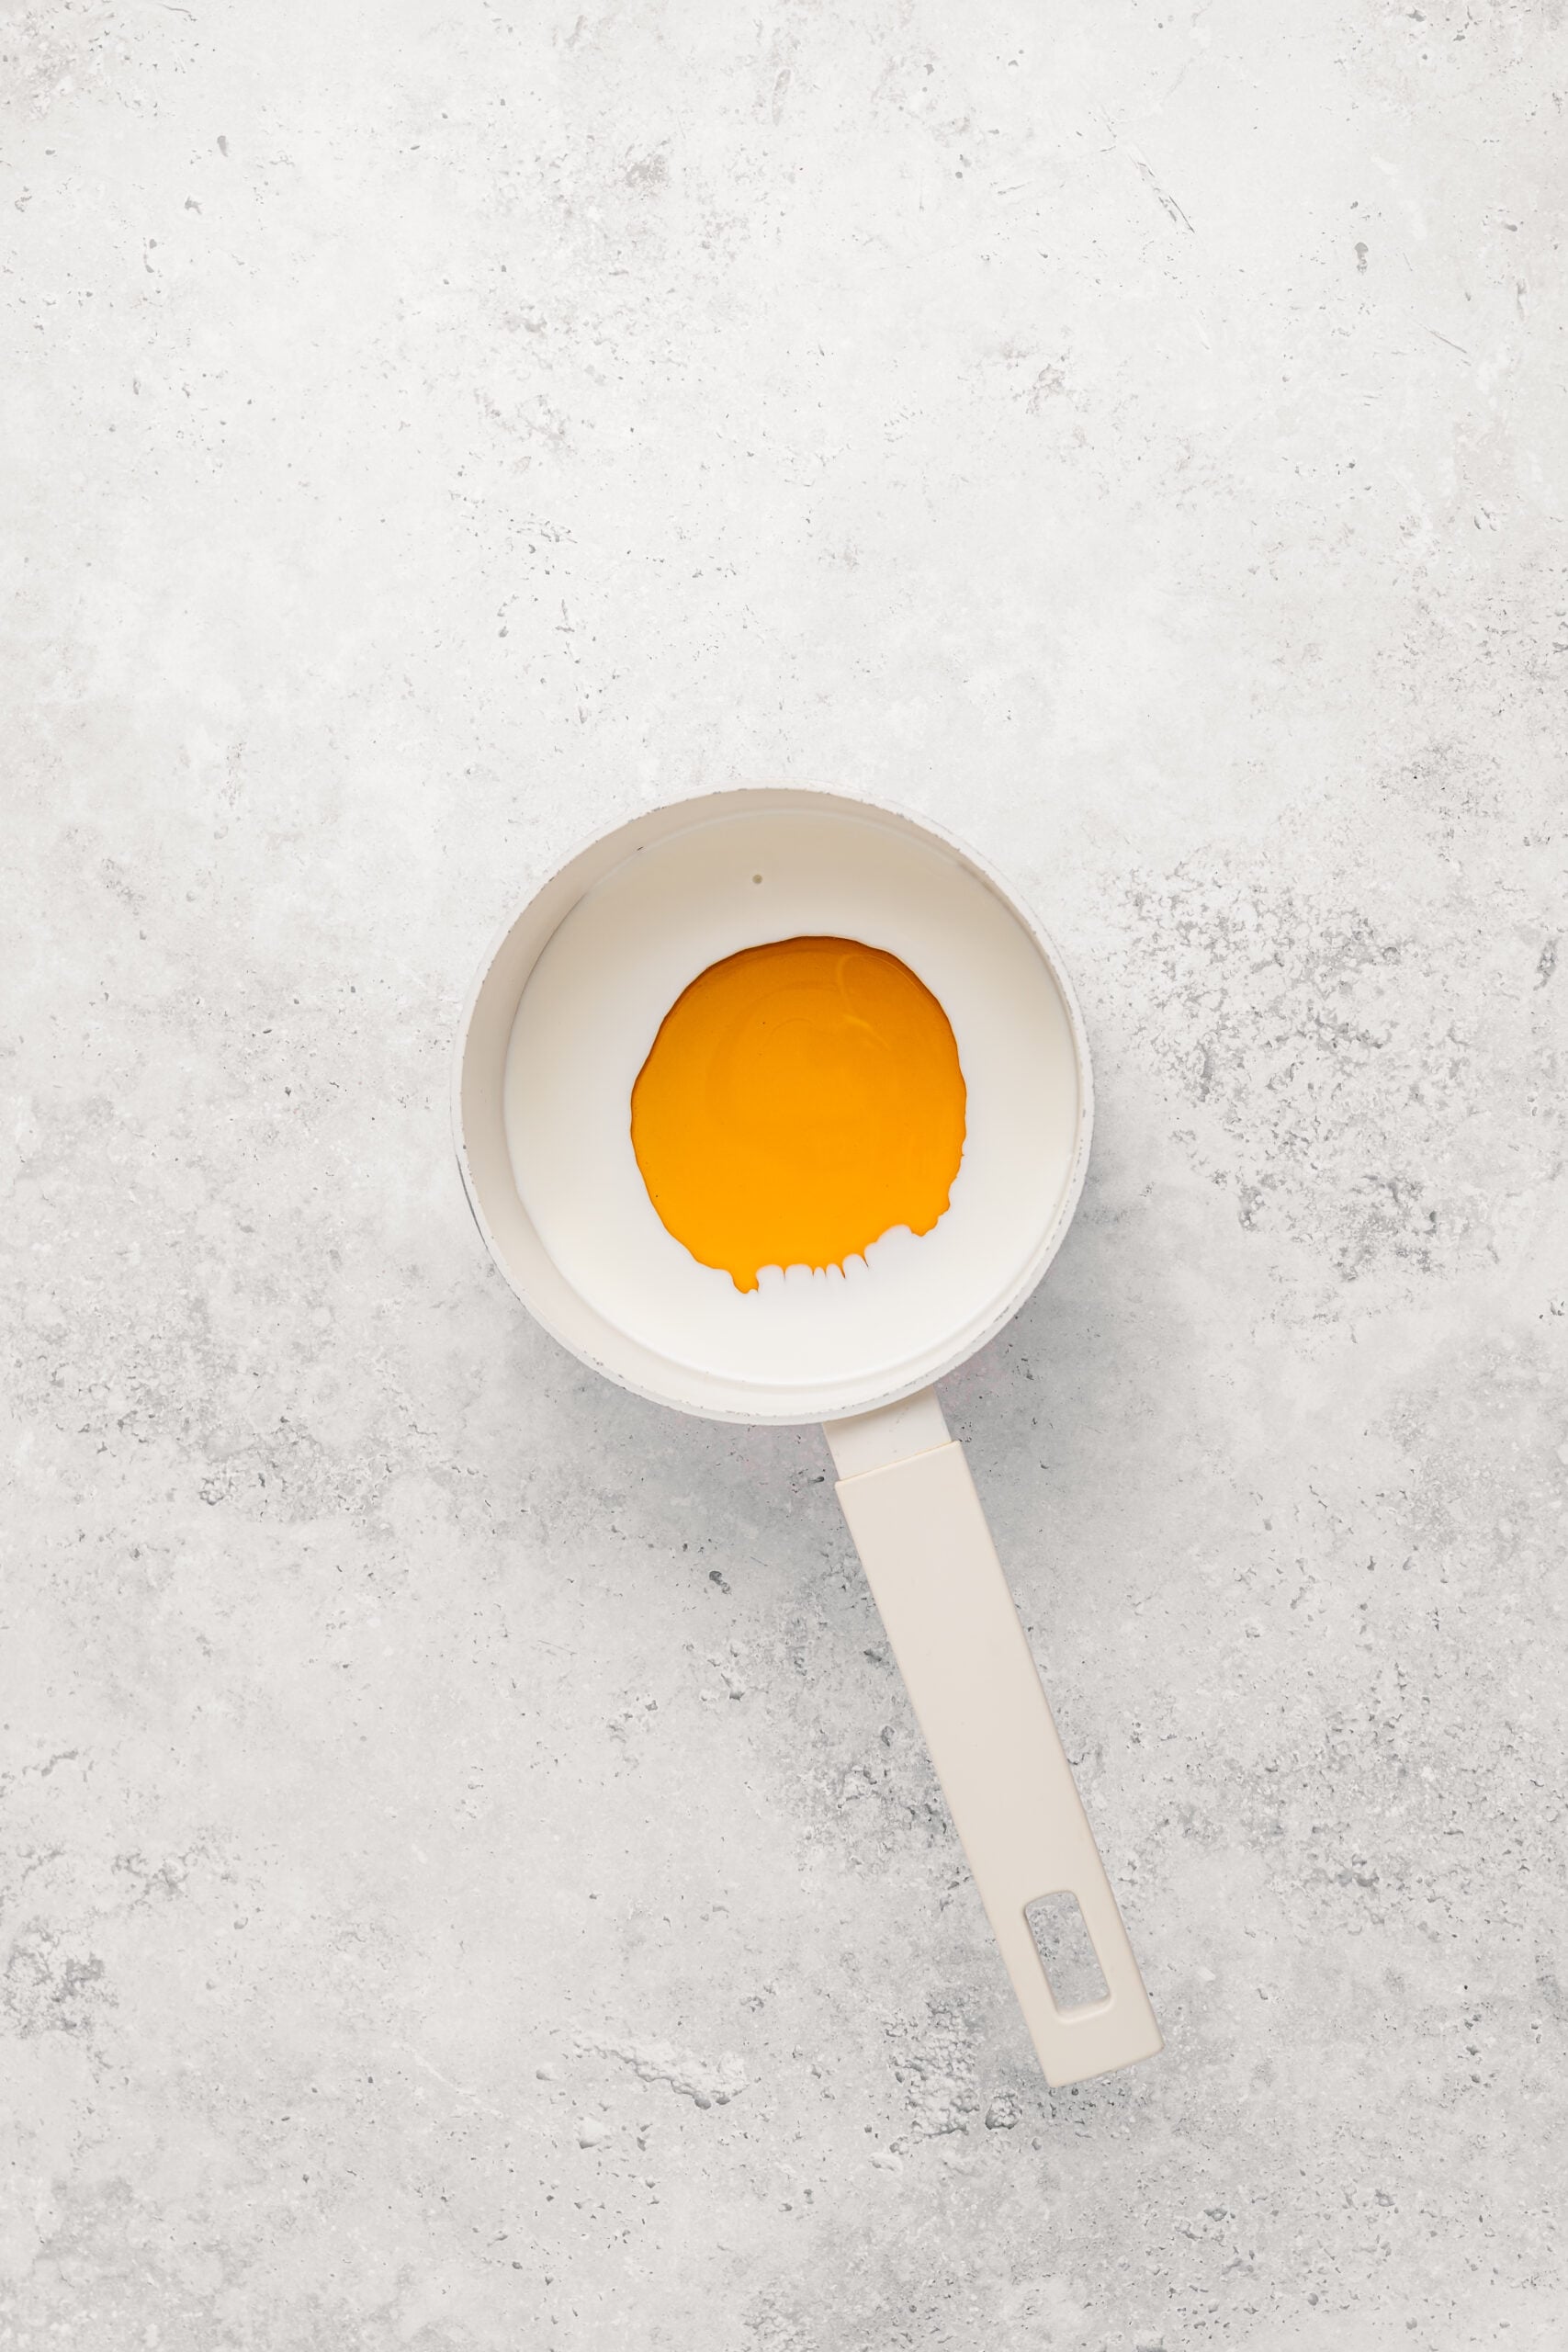
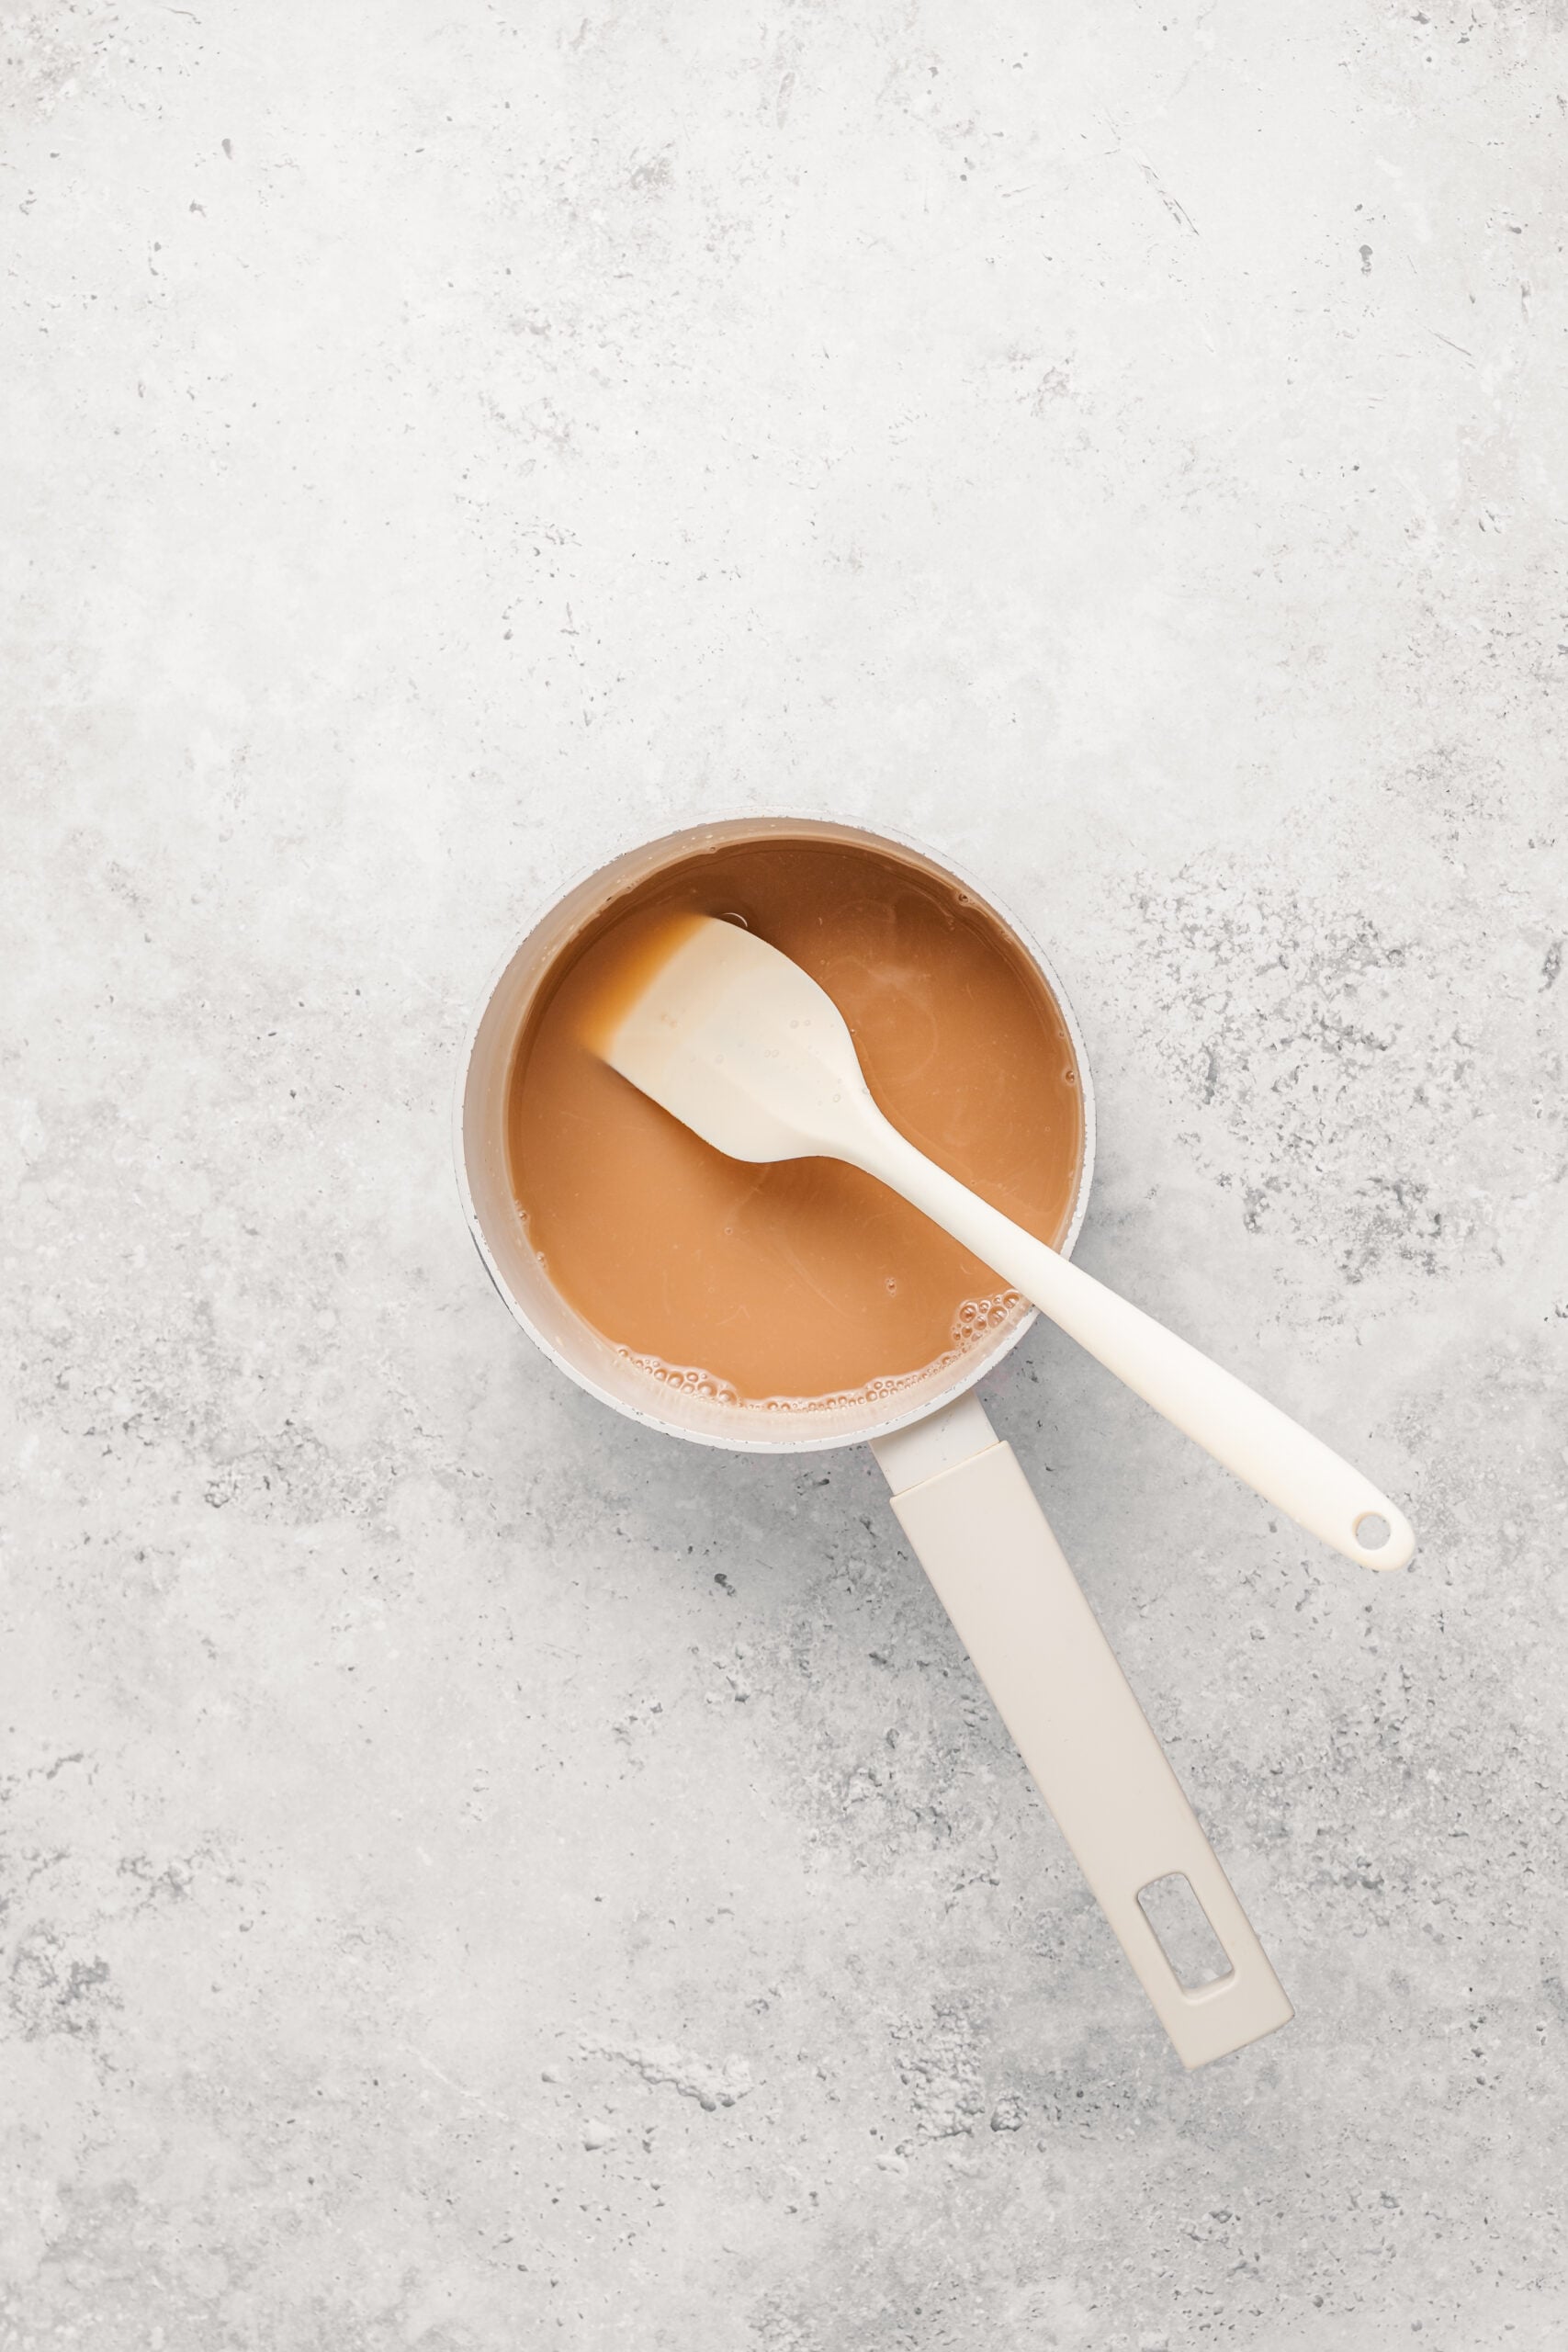
- Warm the honey and milk together in a small saucepan until the honey loosens and pours easily. You are not cooking it, just making it fluid enough to disappear into the batter in seconds. Set it aside somewhere warm.
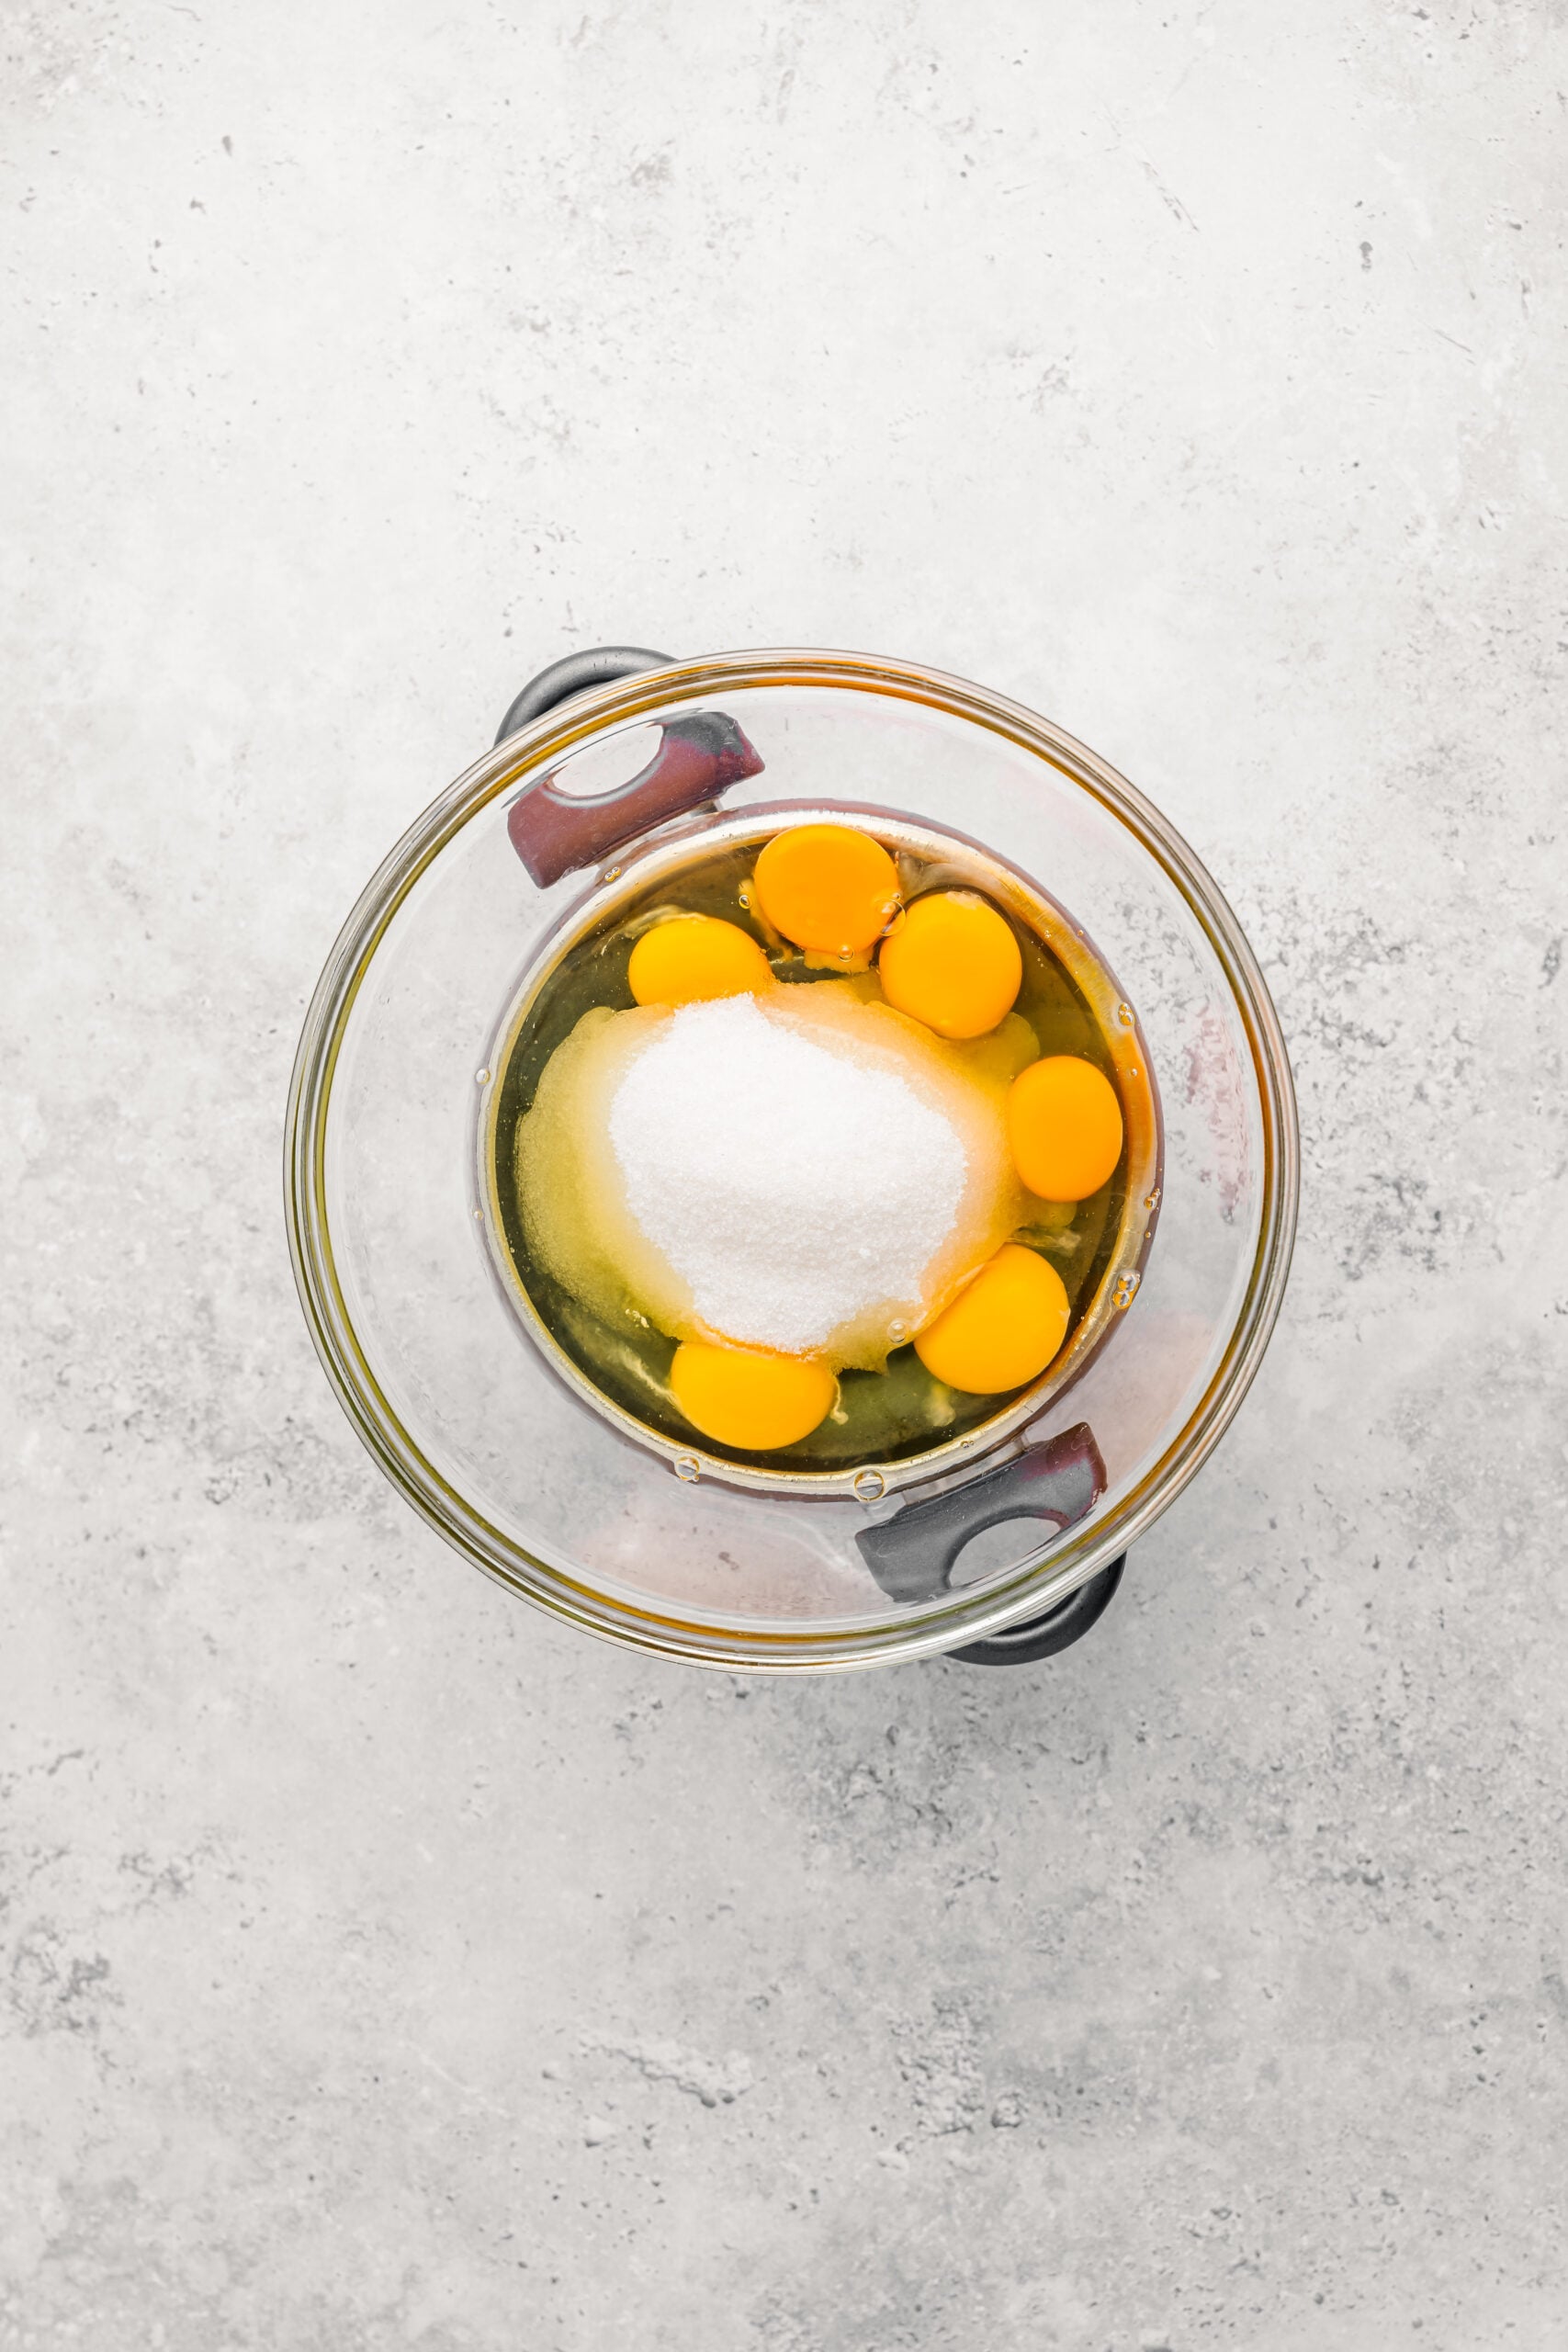
- Set a heatproof bowl over a pan of barely simmering water, making sure the base does not touch the water. Add the eggs, caster sugar and salt.
- Beat with an electric mixer over the water for 2 to 3 minutes, until the mixture is warm to the touch, roughly body temperature. Dip a finger in to check. It should feel neither warm nor cold, which is the point at which the sugar has dissolved and the eggs whip fastest. Lift the bowl off the heat.
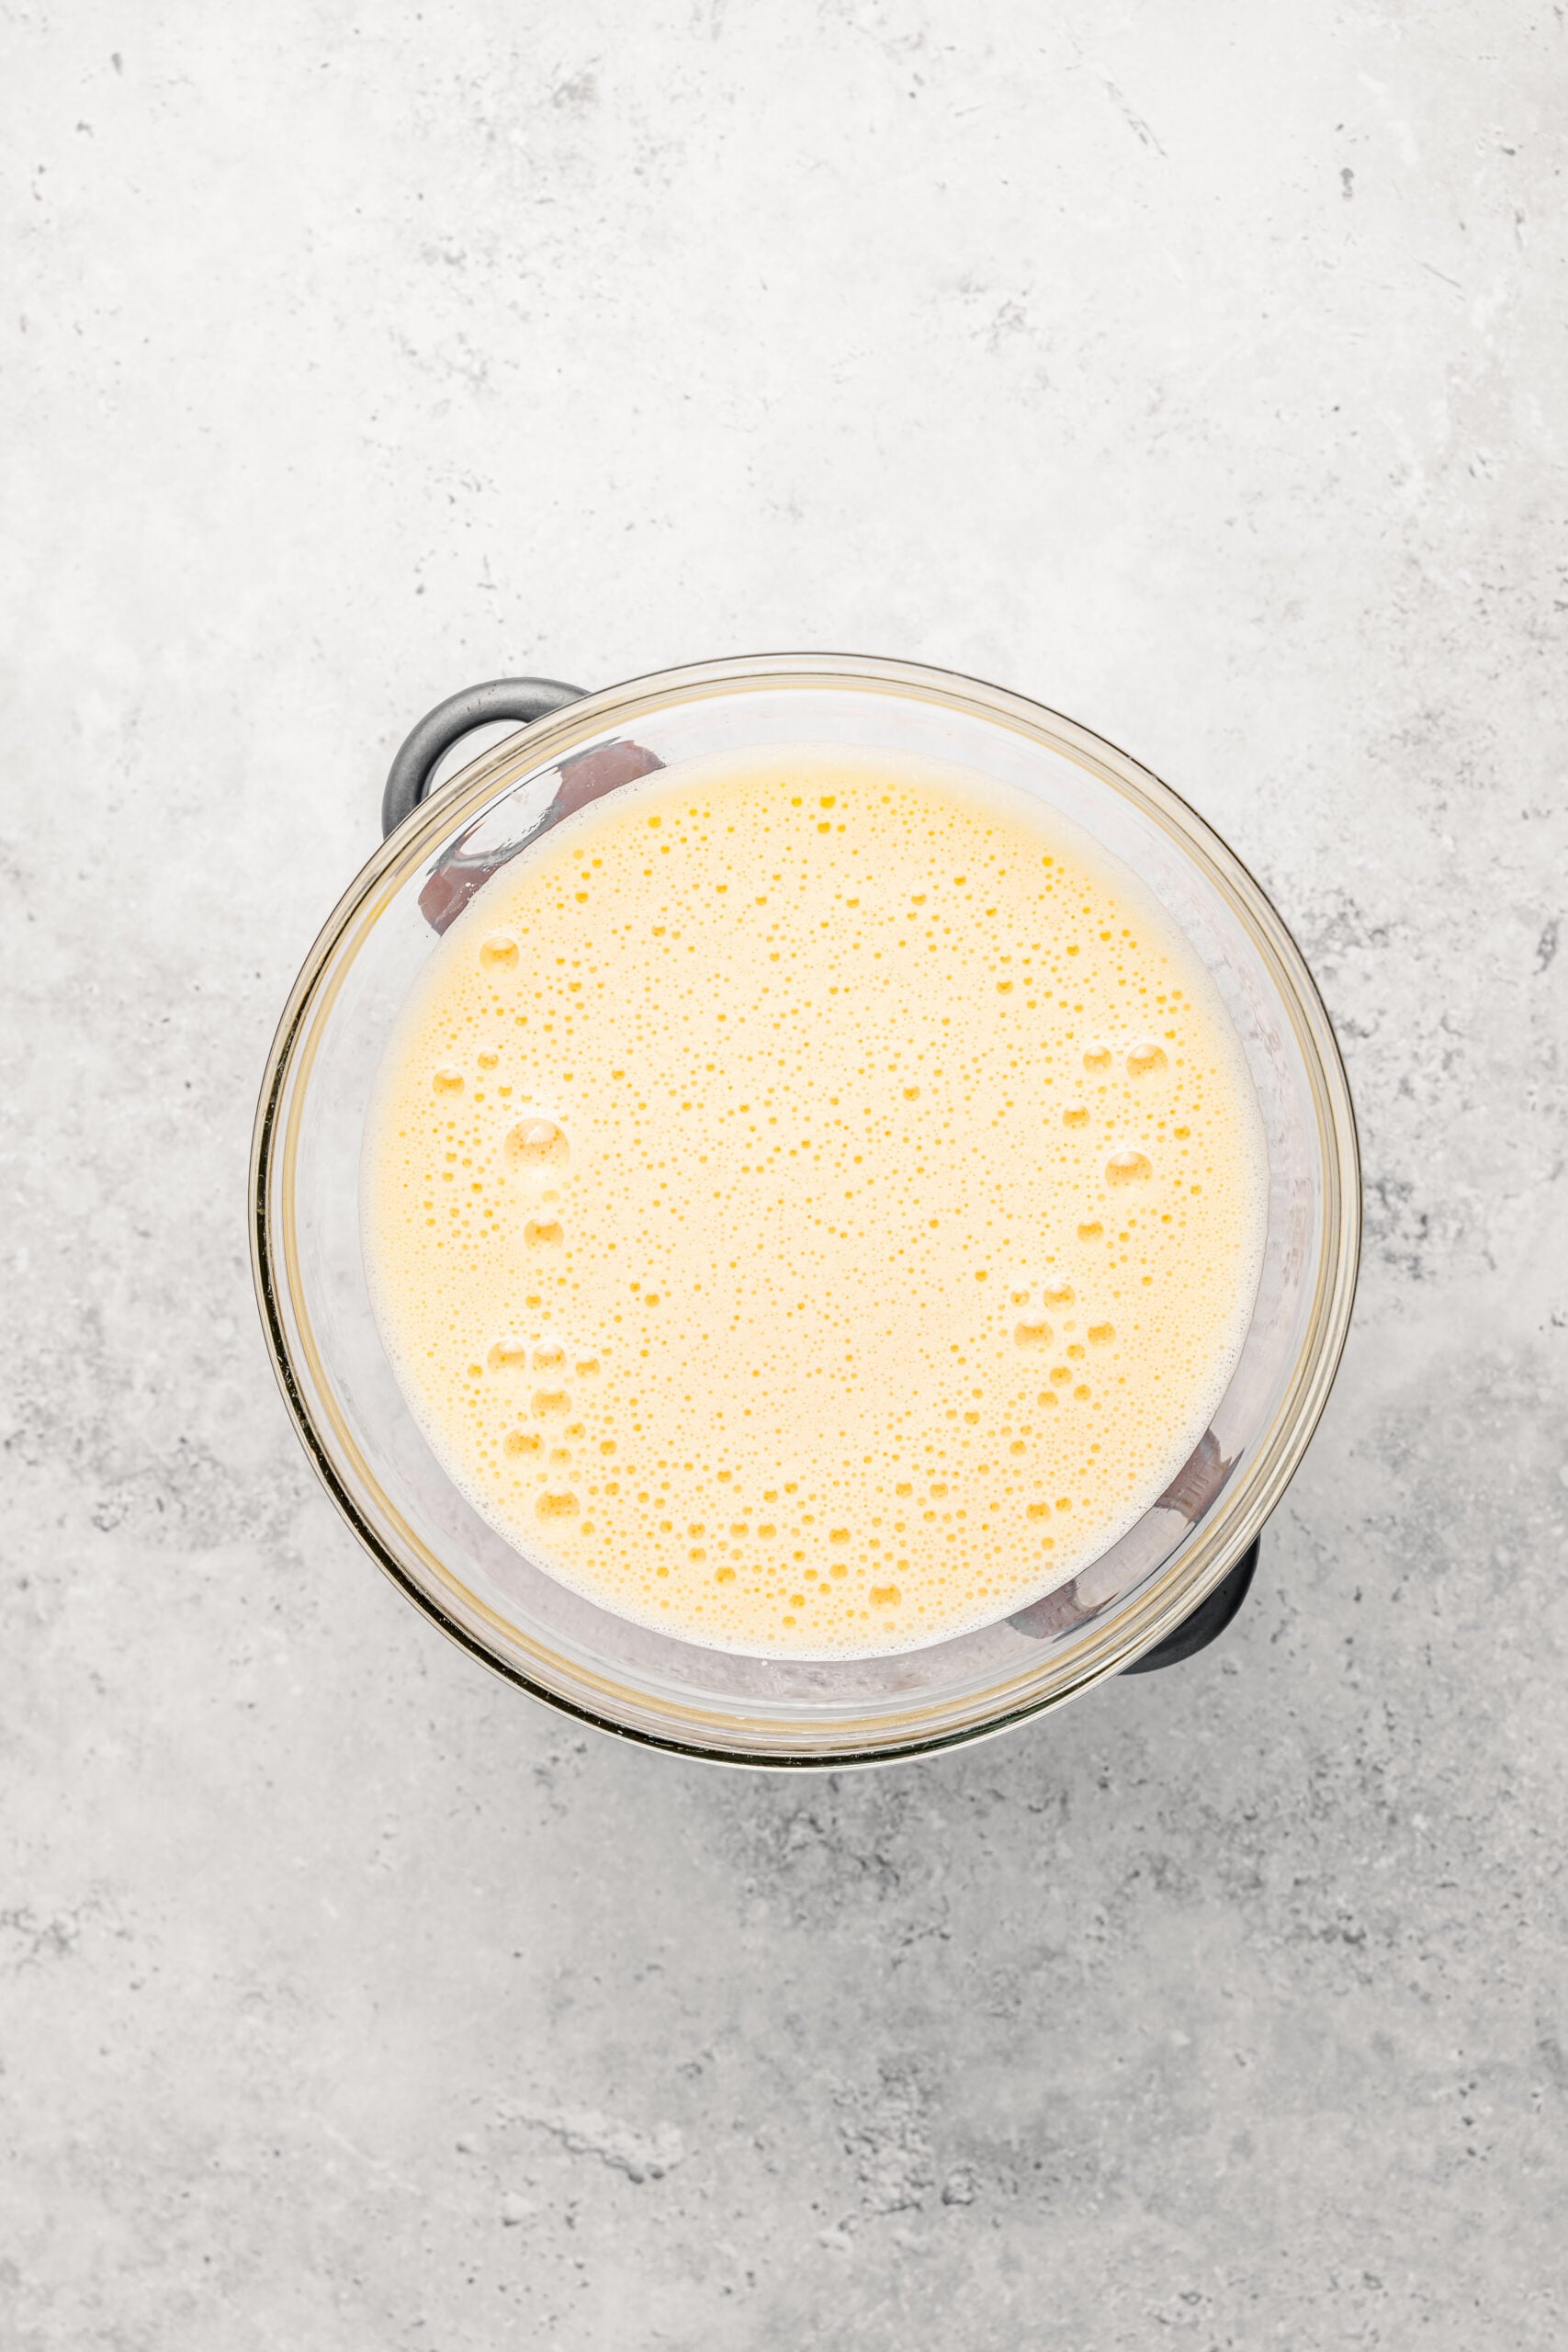
- Keep beating on high for 6 to 8 minutes, until the mixture has tripled in volume, turned very pale, and holds a ribbon on the surface for a full 5 seconds when you lift the beaters. This is the only aeration in the cake, so do not cut it short. If the ribbon sinks straight back in, keep going.
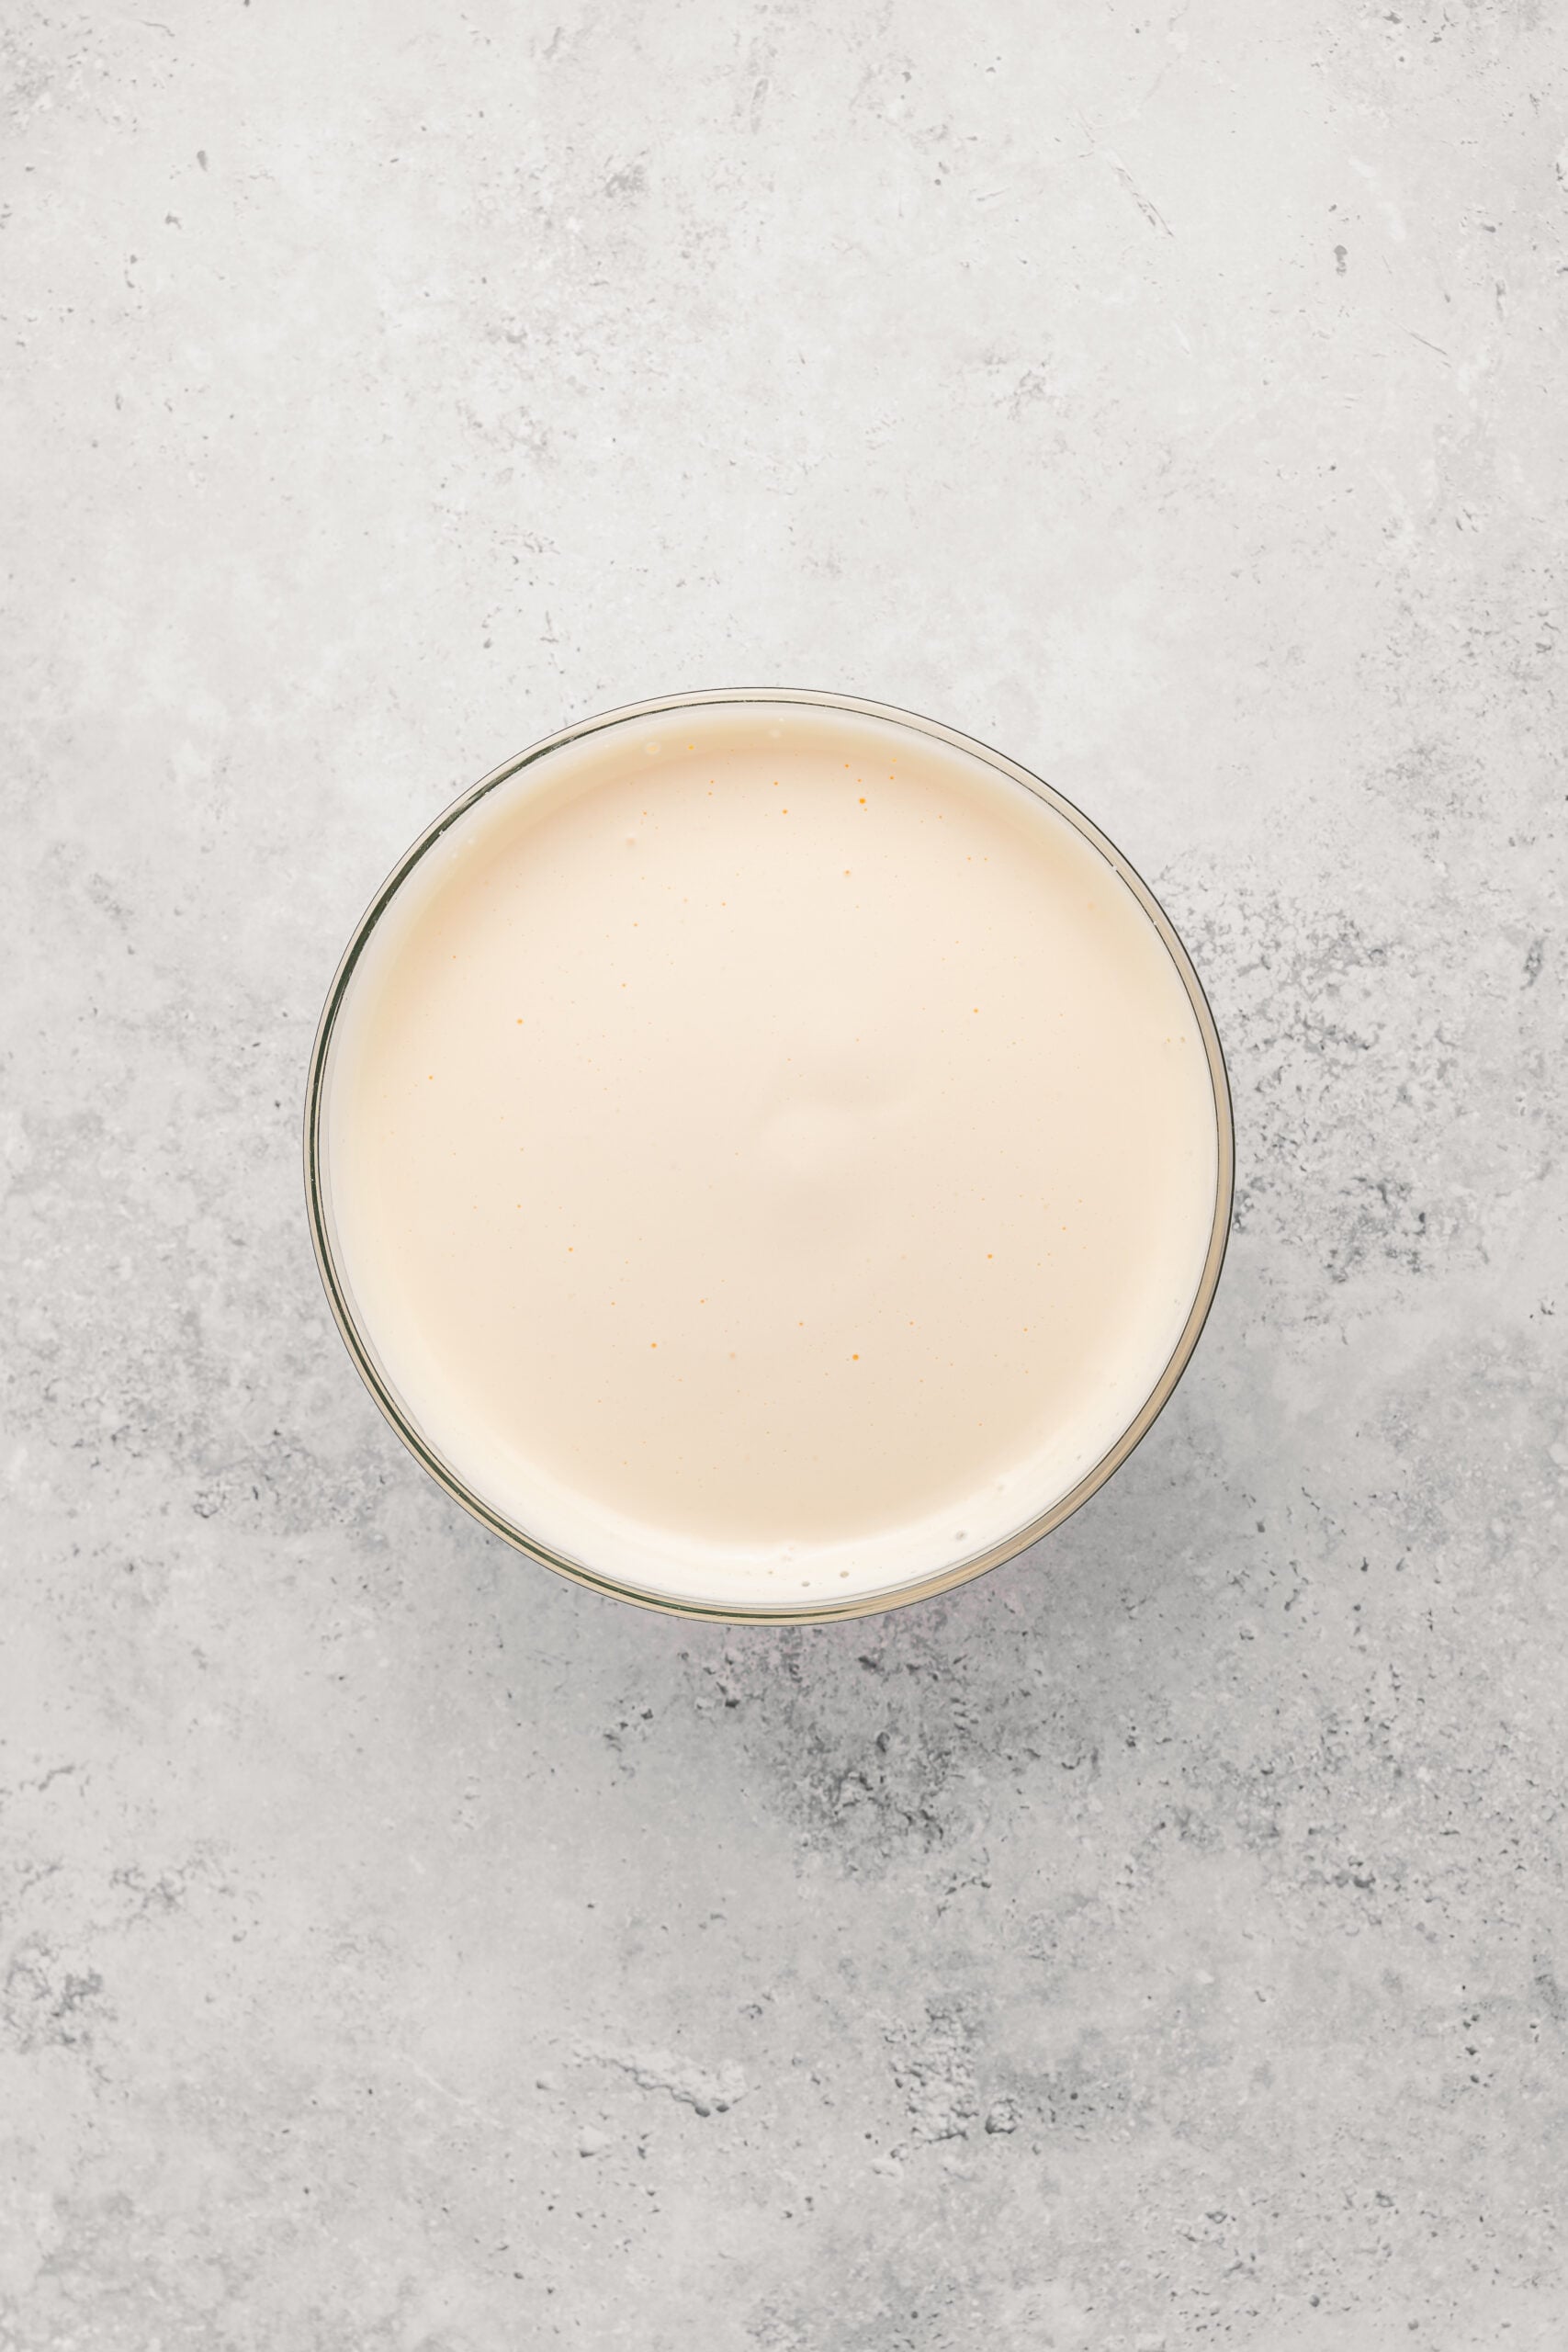
- Pour in the warm honey and milk and beat on low for 30 seconds, just until the streaks disappear. The volume will drop a little and that is expected.
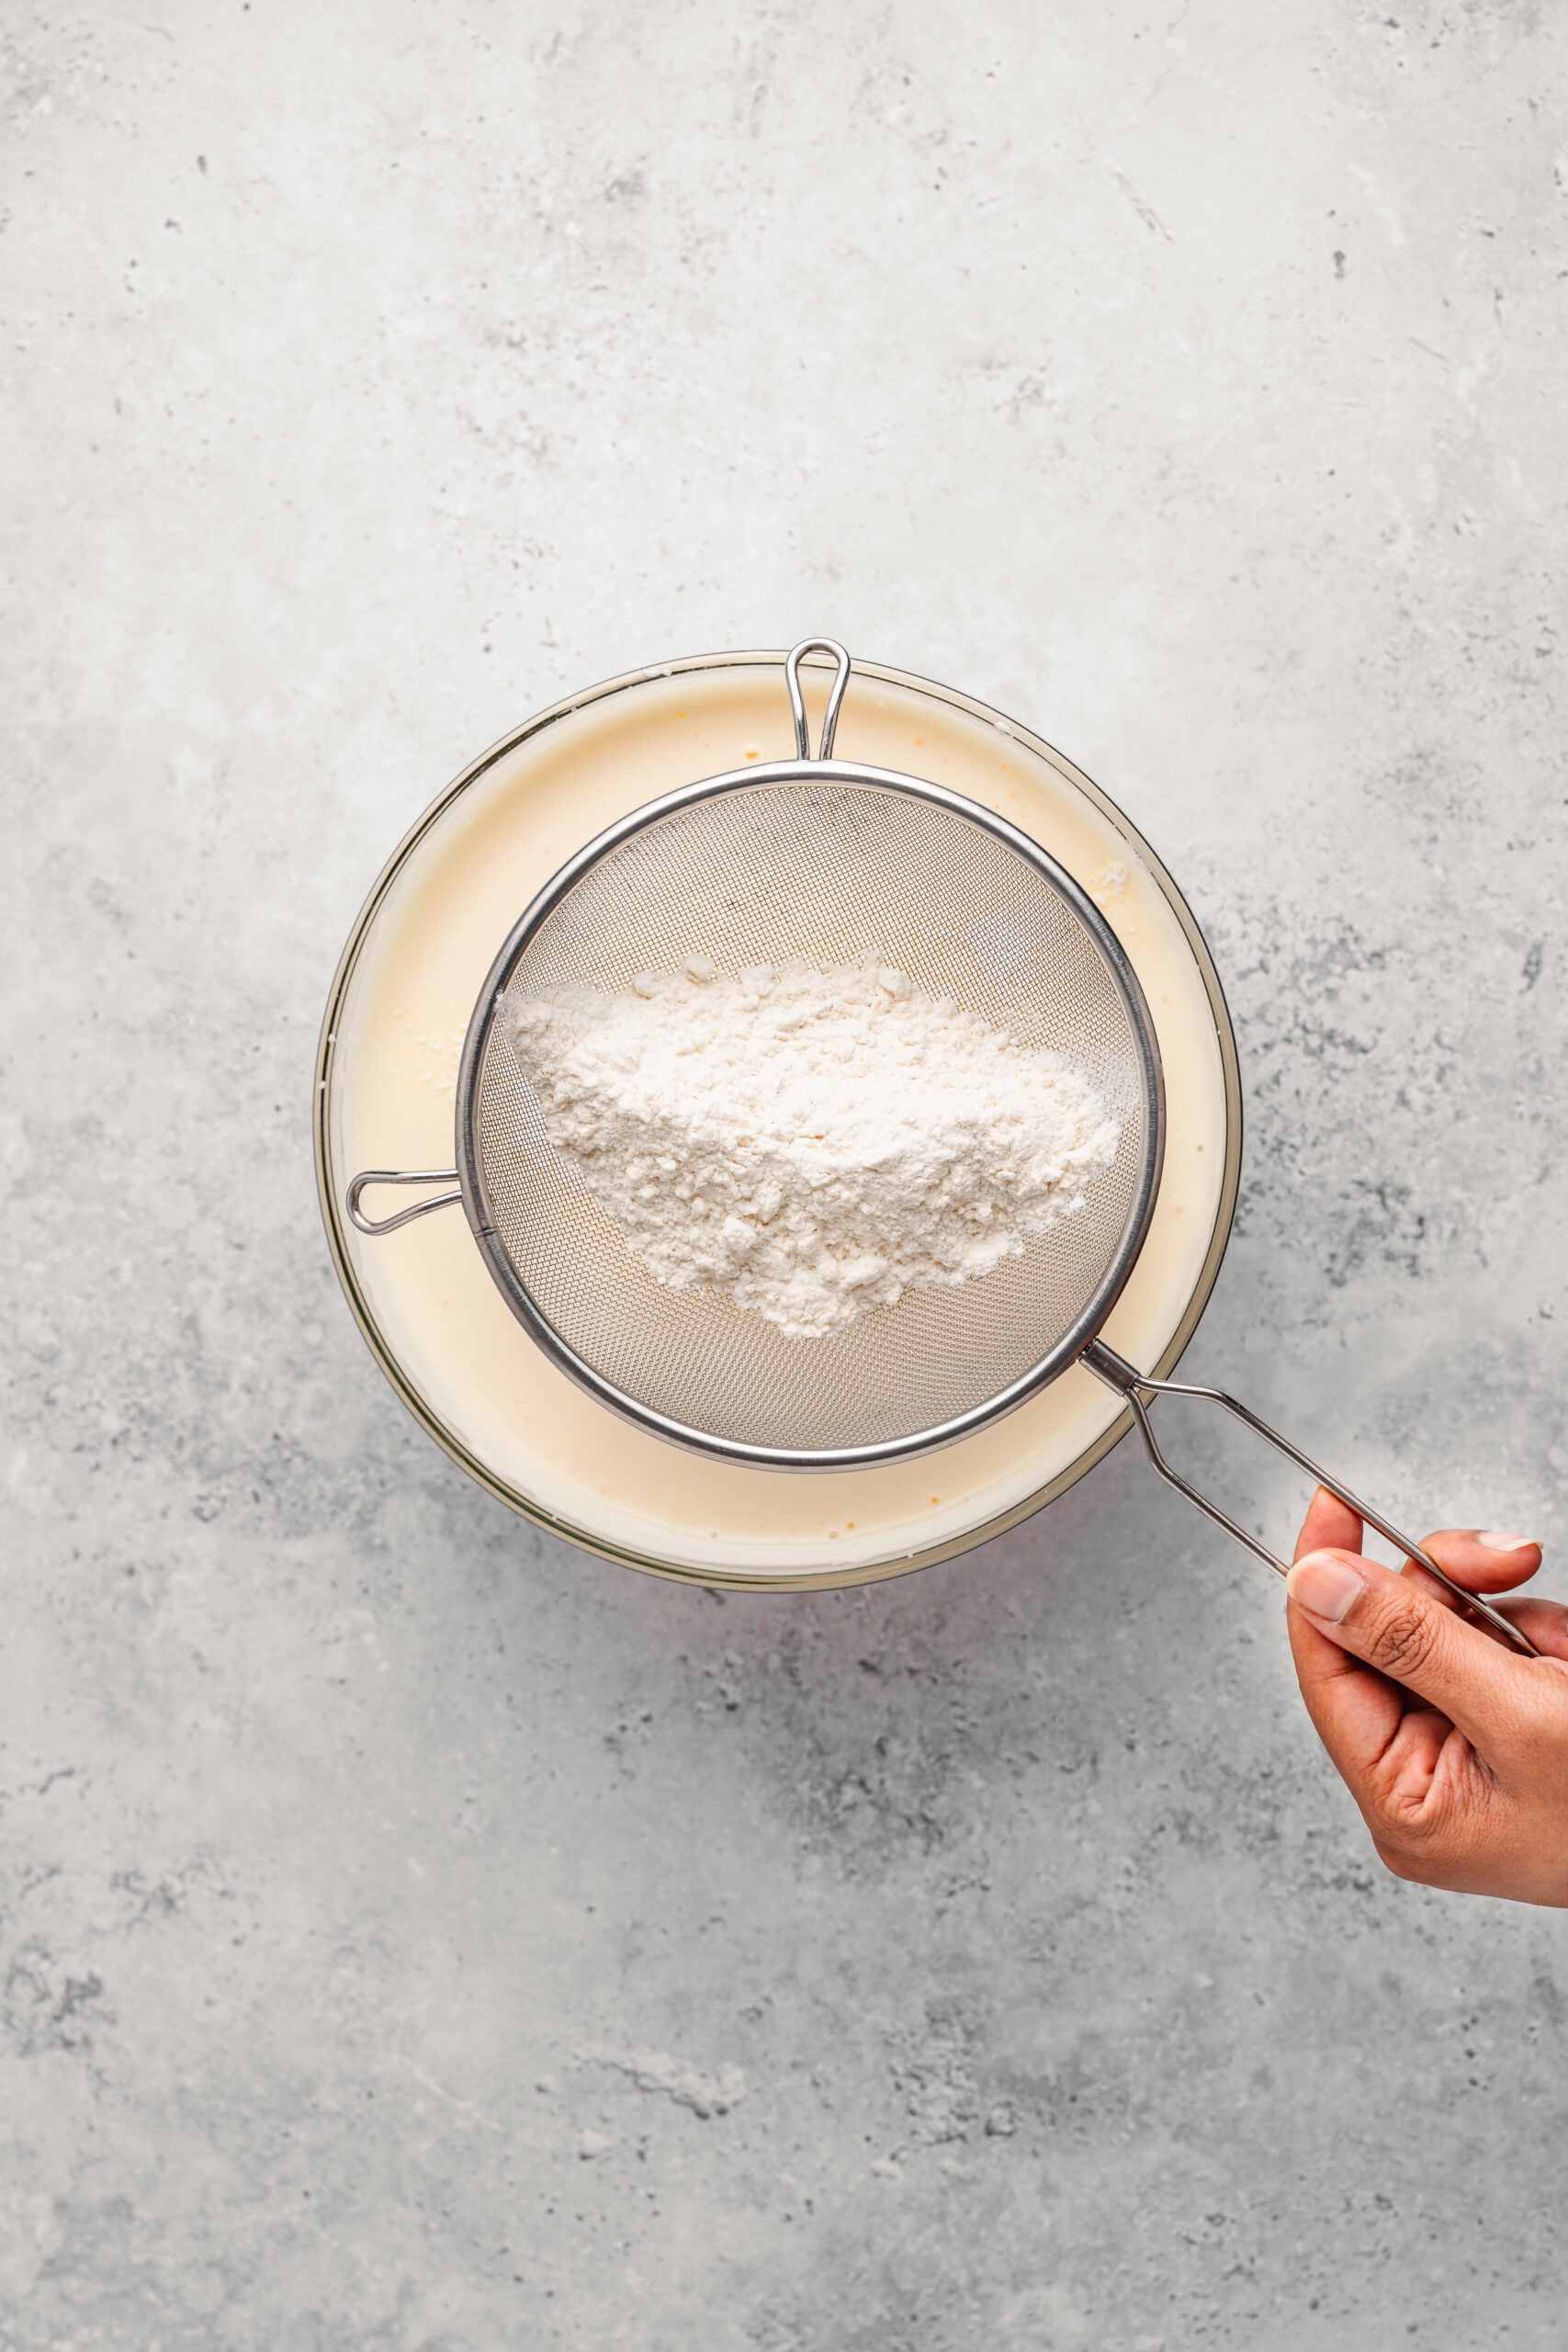
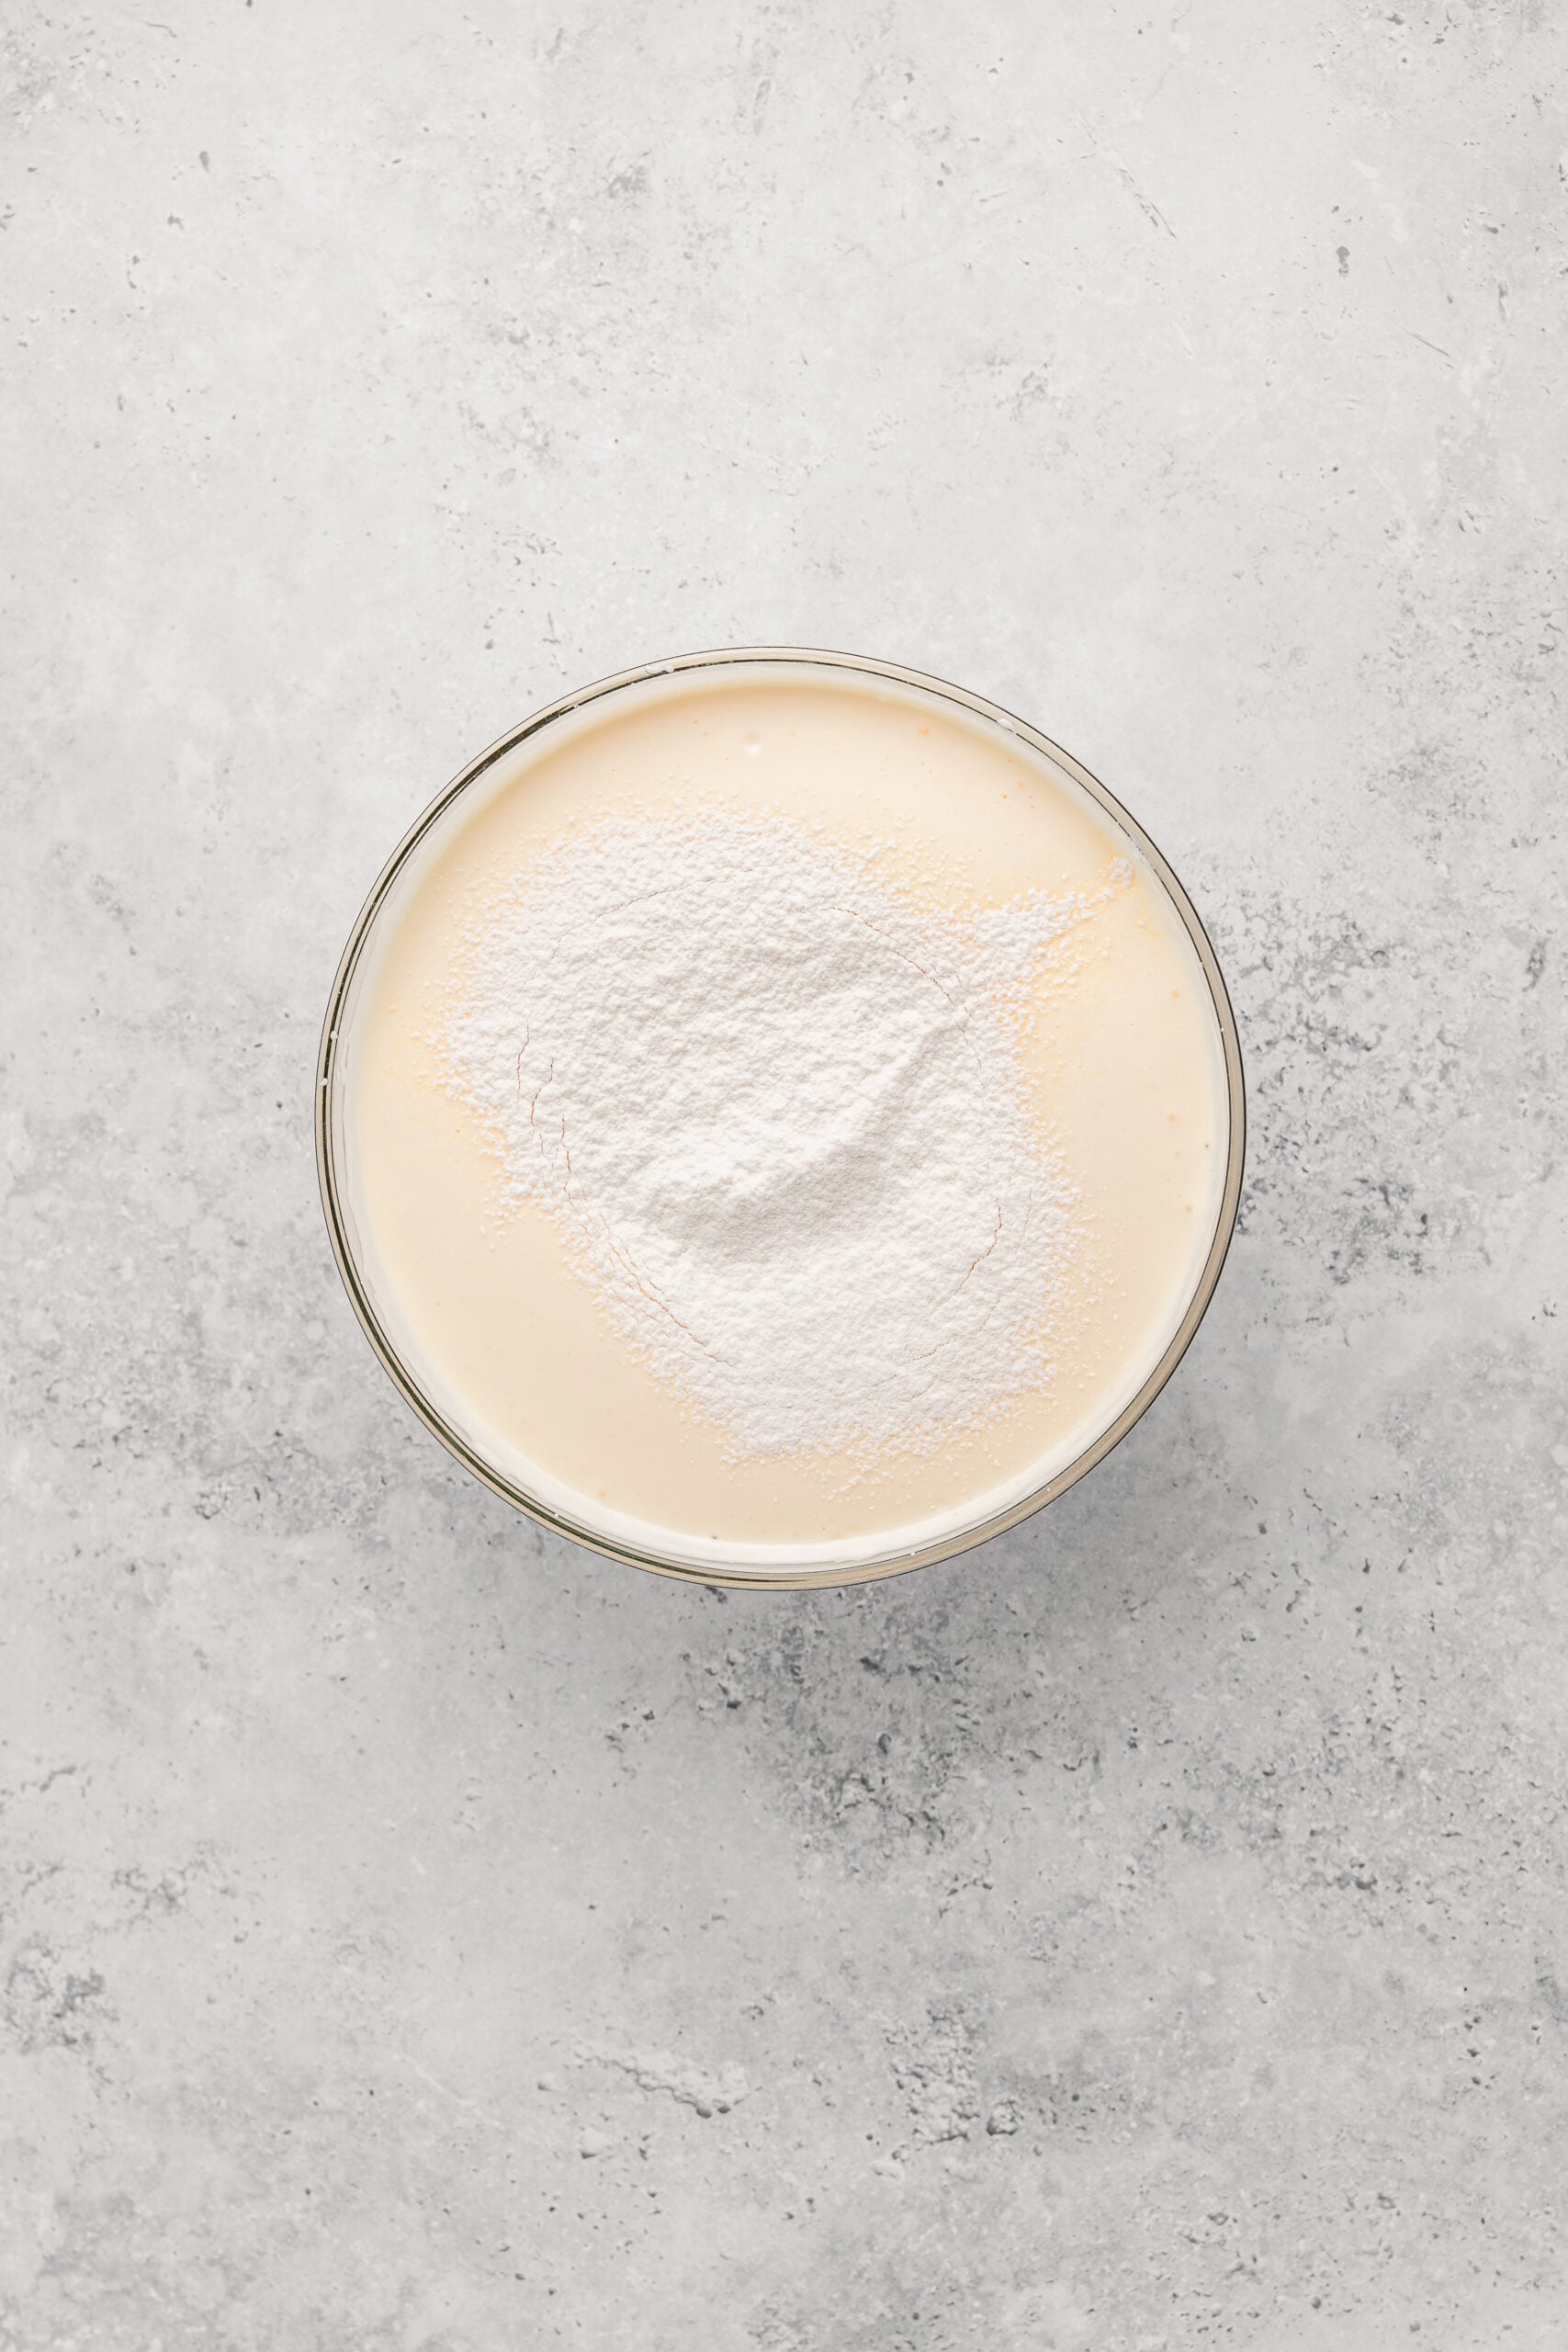
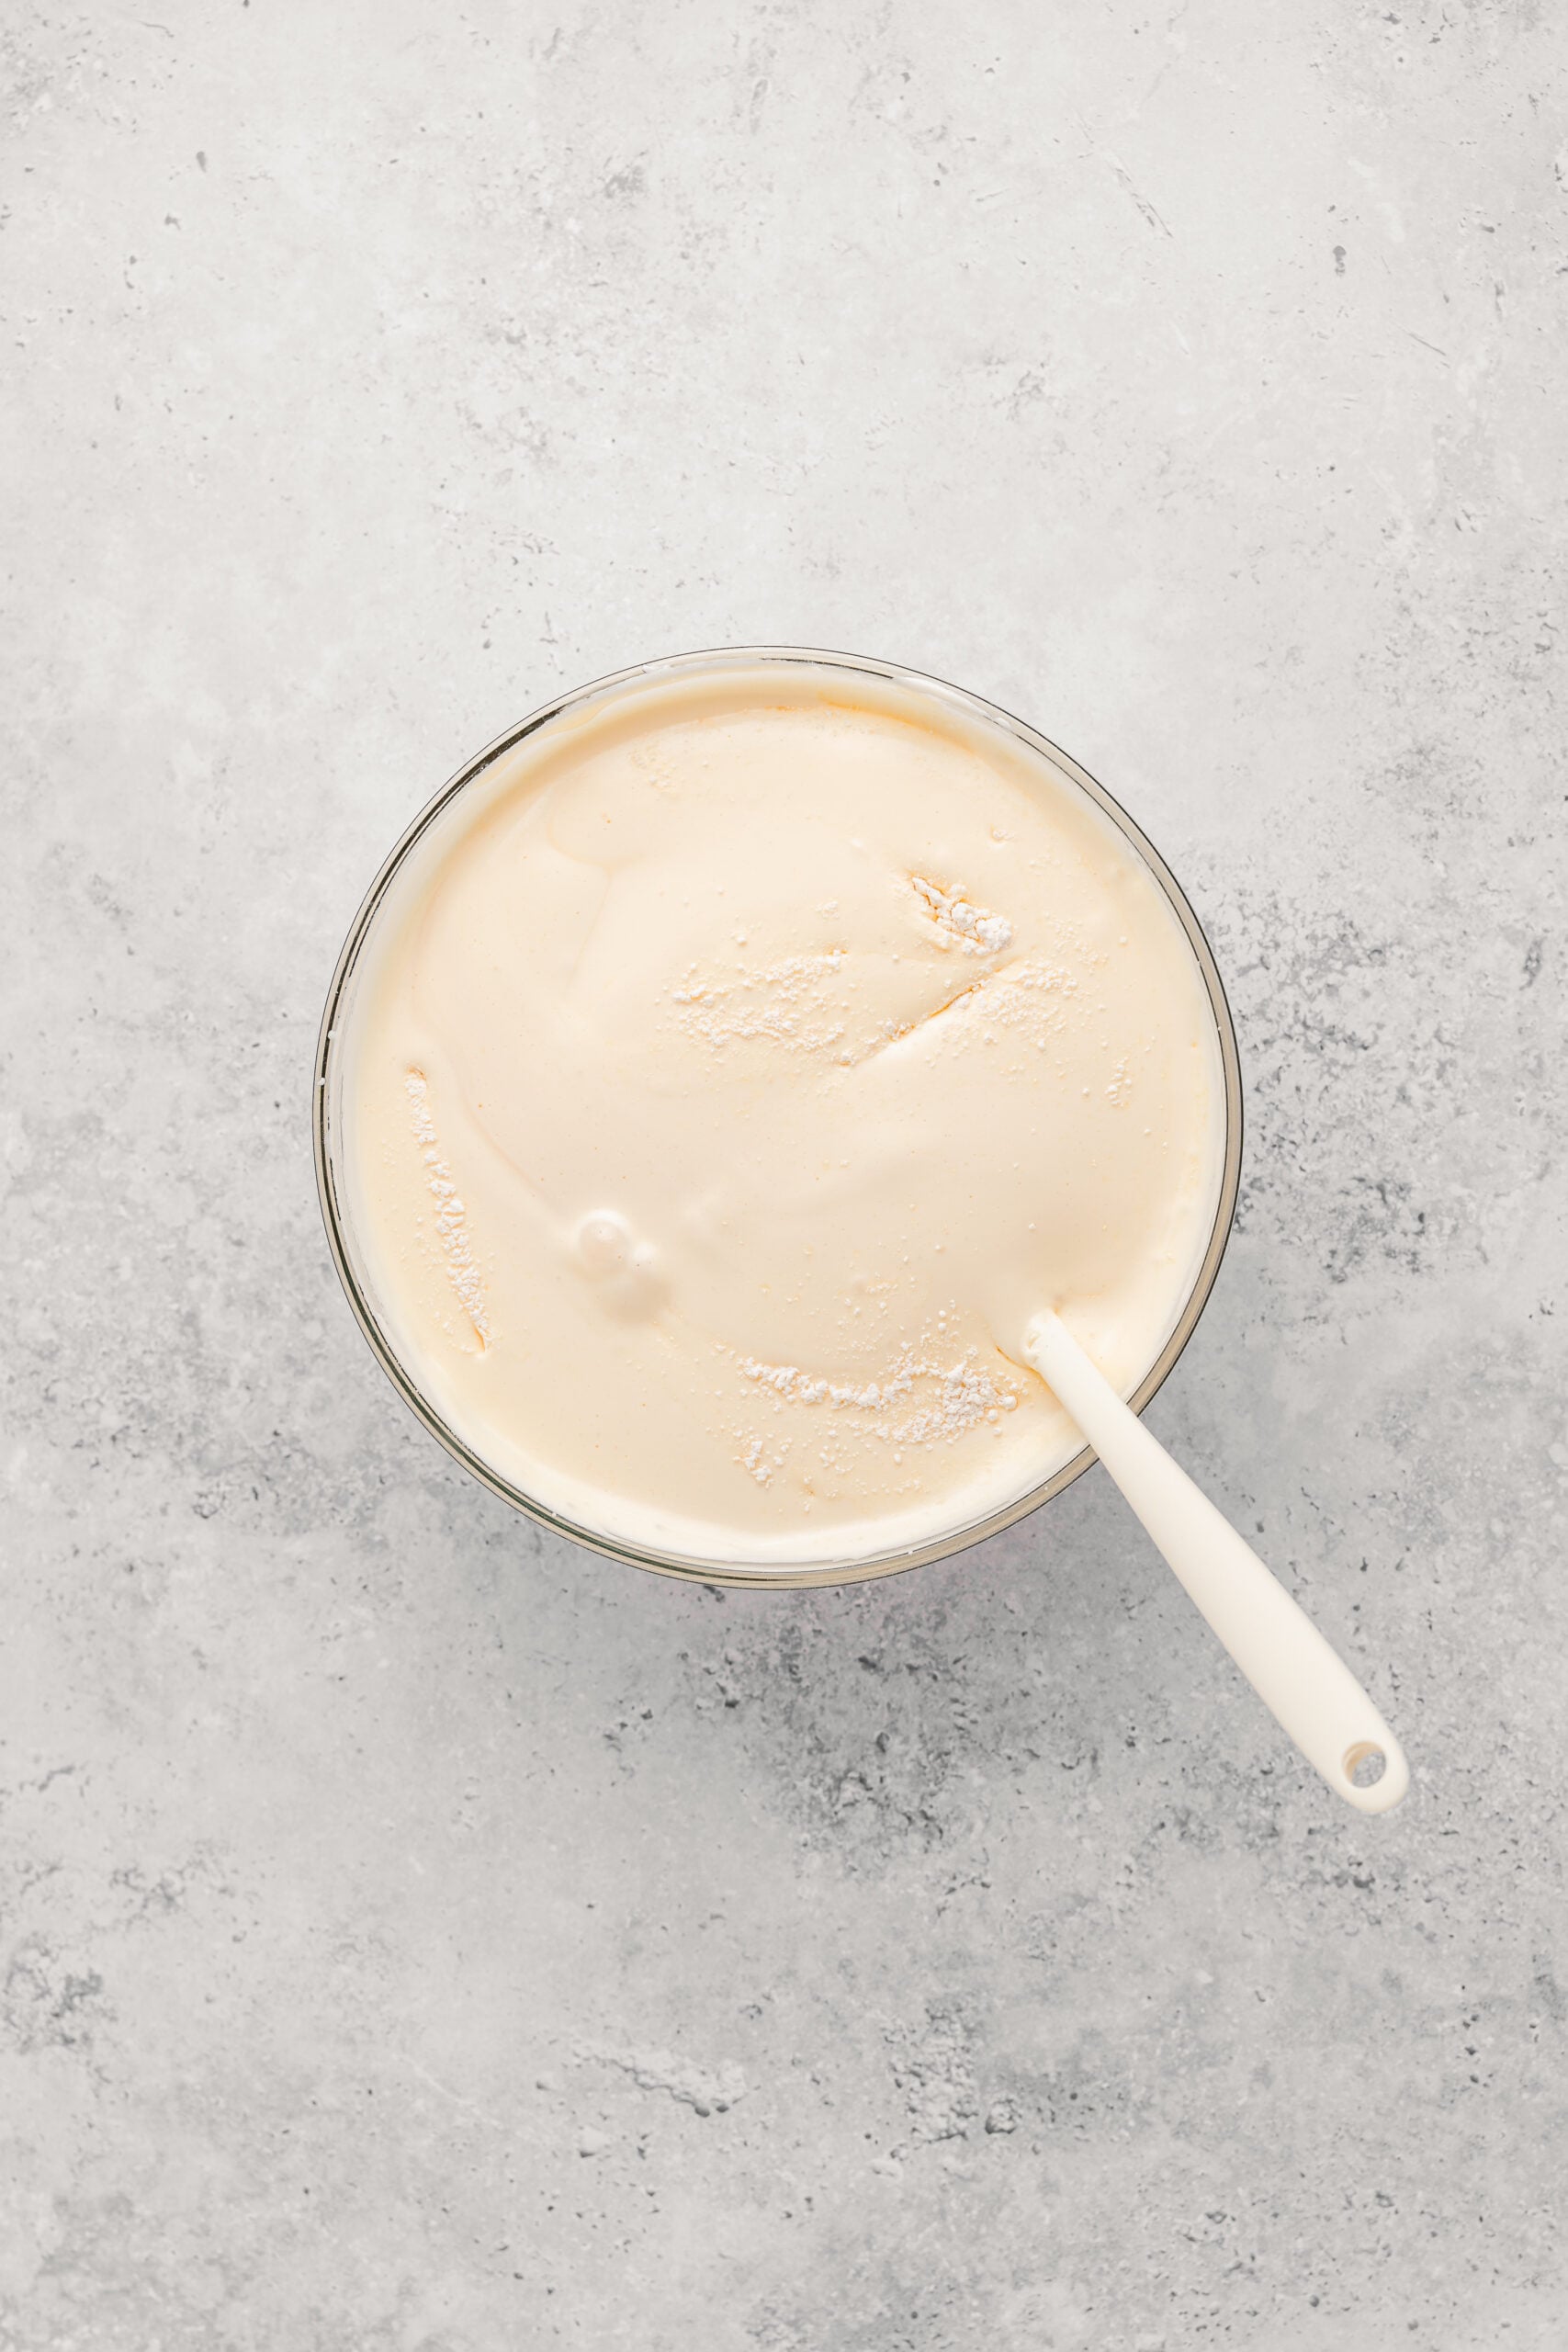
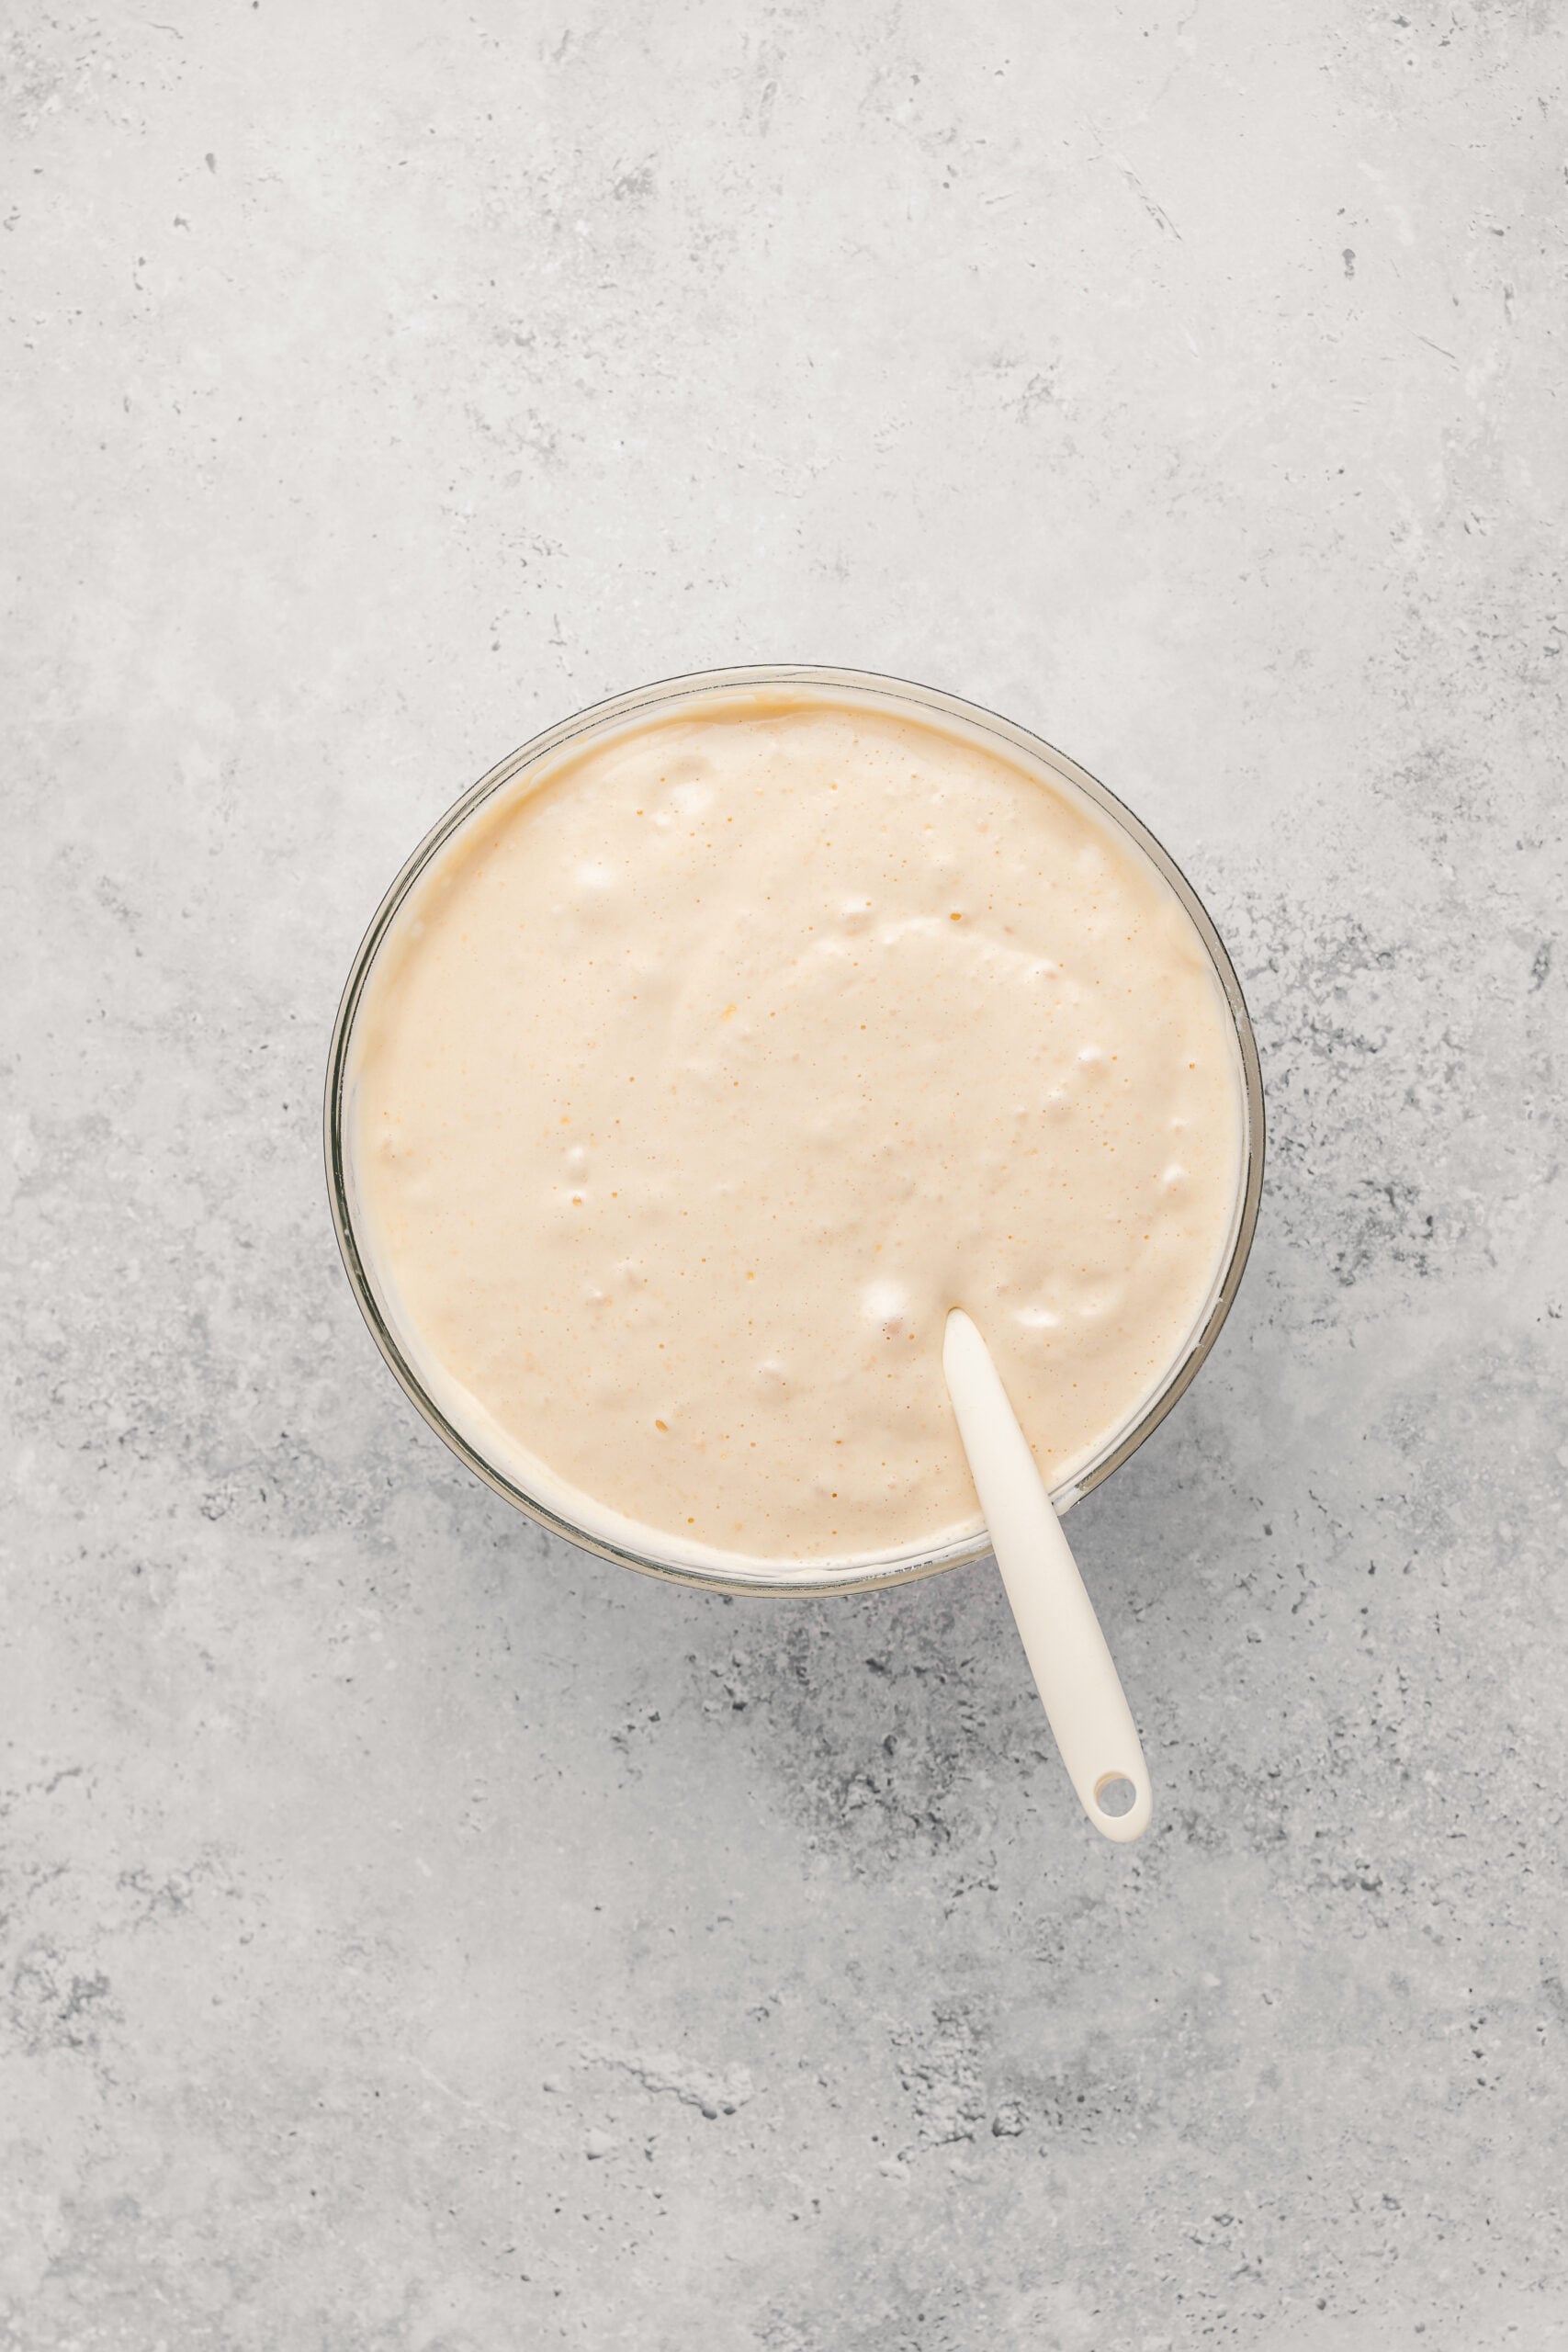
- Sift the bread flour over the surface in three additions, folding gently with a spatula after each. Cut down through the middle, sweep along the bottom of the bowl, and turn the batter up and over itself. Stop the moment no dry flour is visible, because every extra fold costs you air.
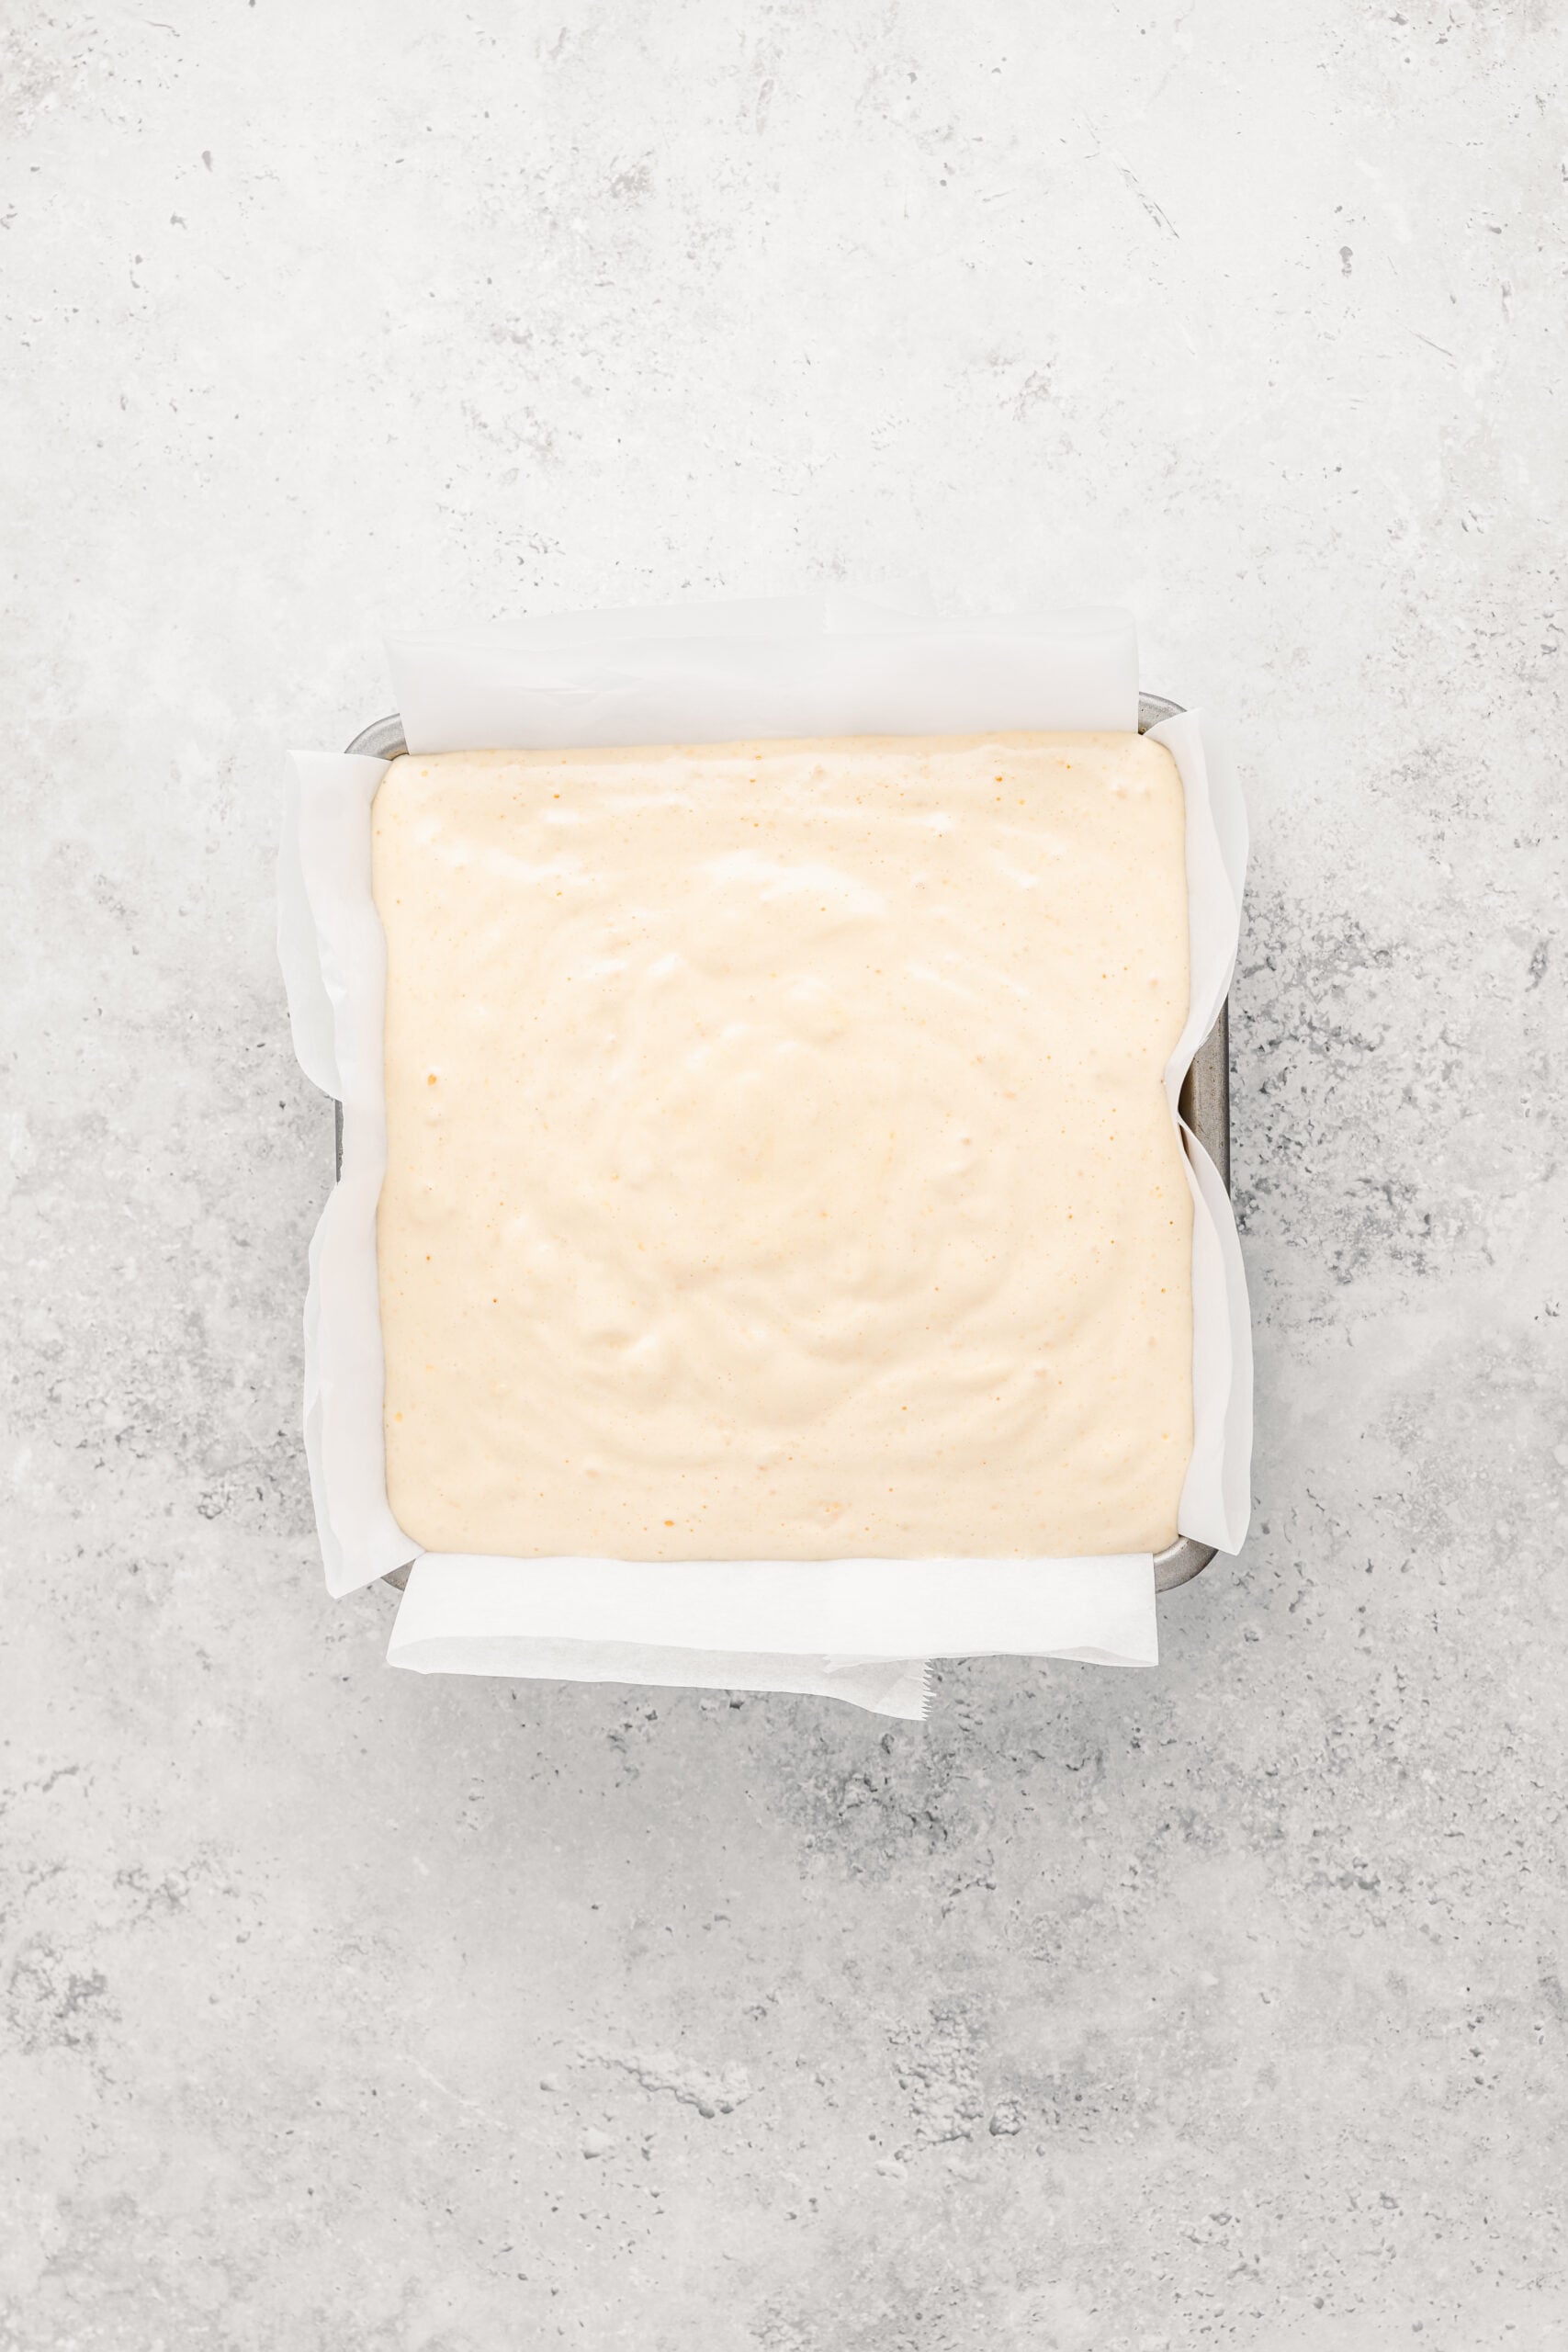
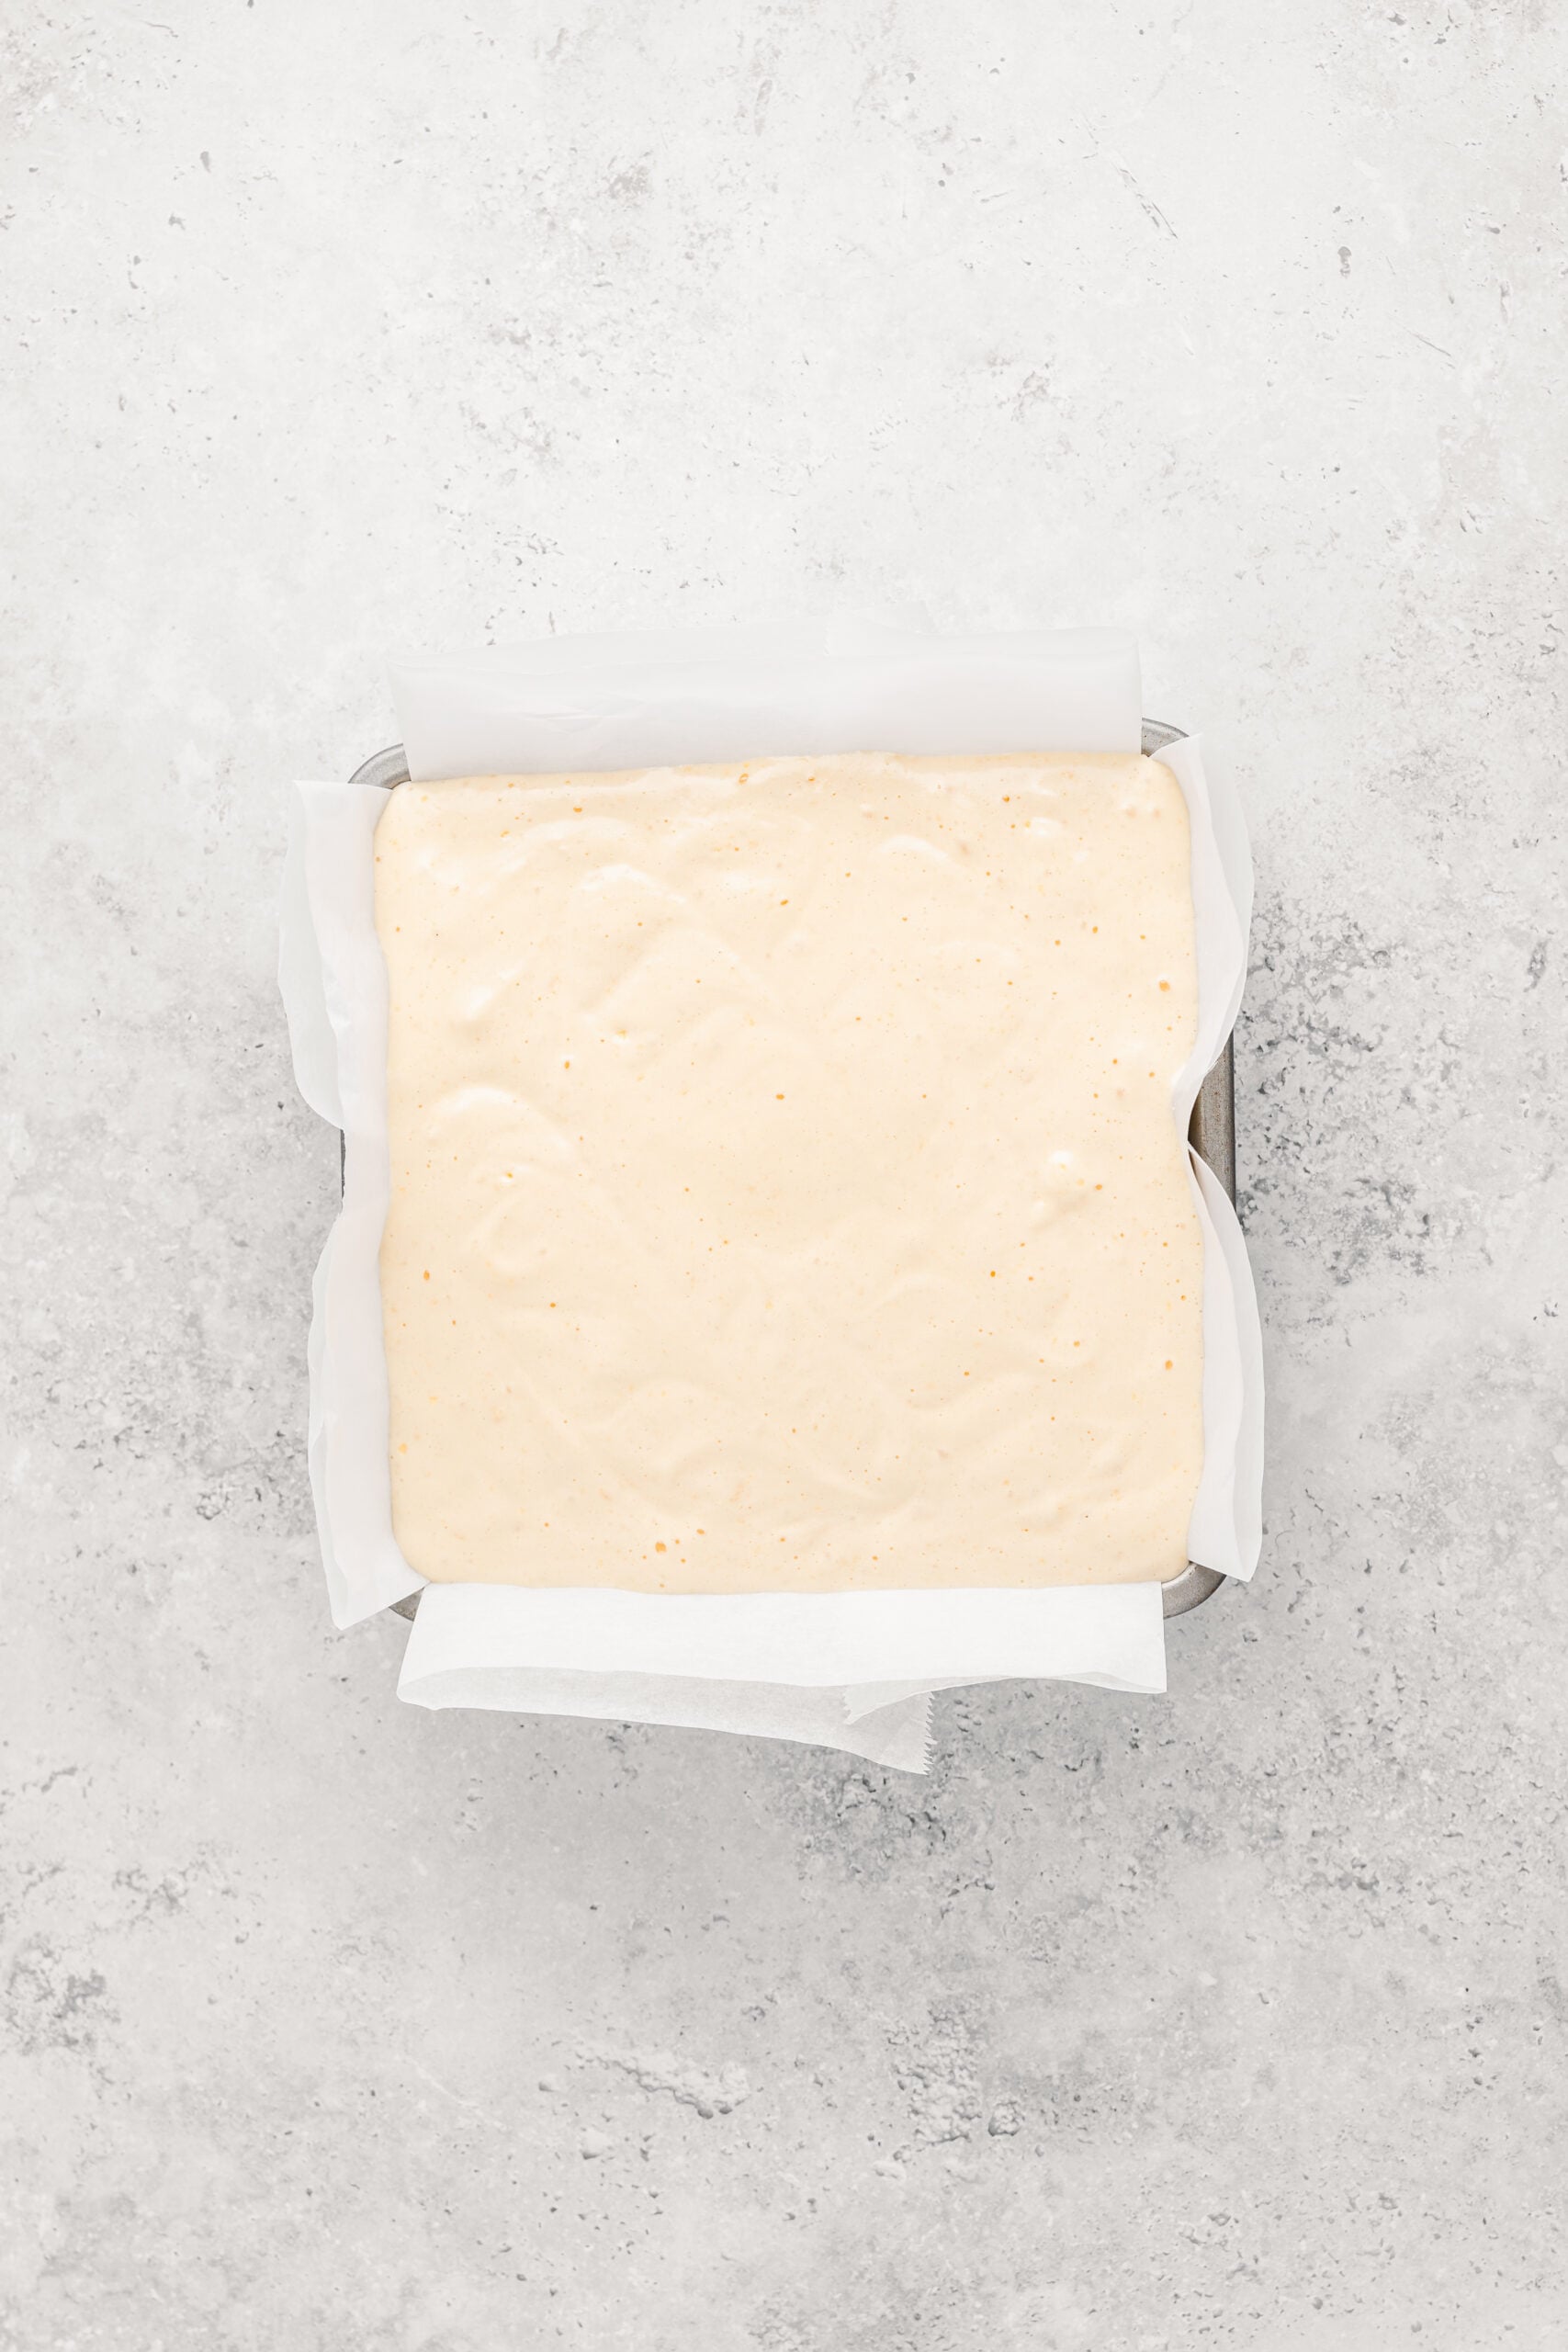
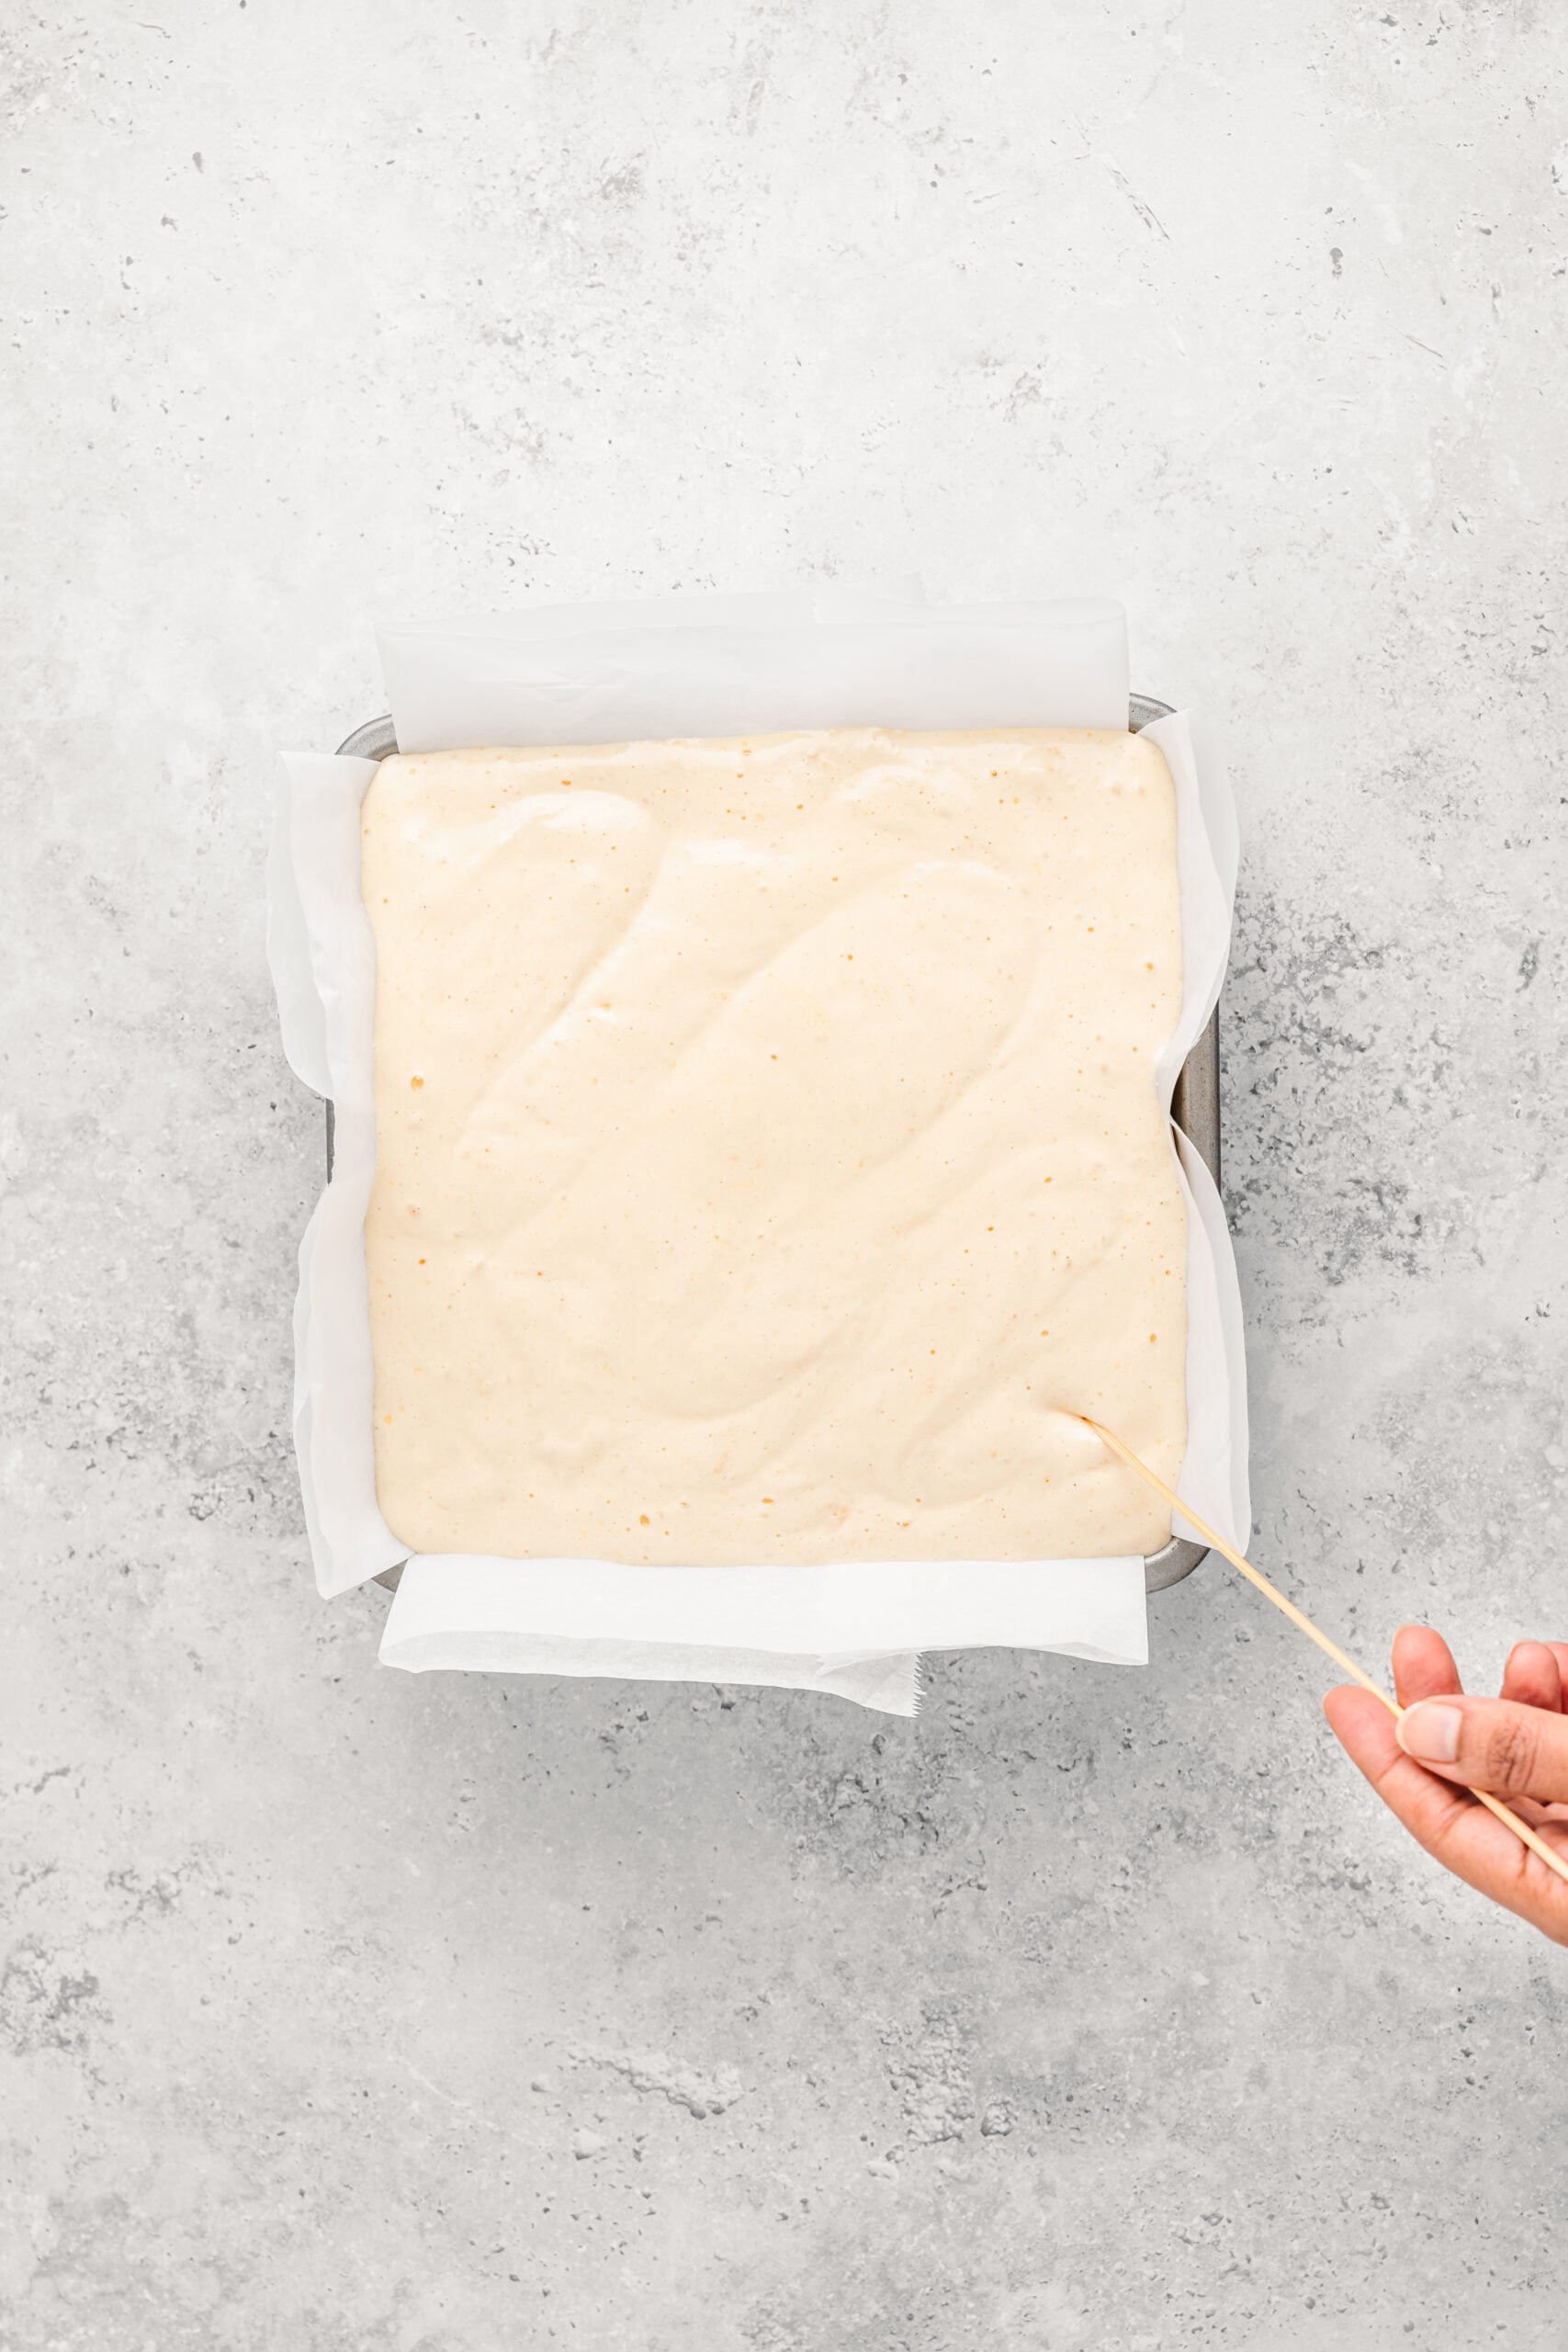
- Pour the batter into the lined tin from a height of about 30 cm, which bursts the biggest bubbles on the way down. Drag a chopstick or skewer back and forth through the batter in a zigzag ten times, then tap the tin firmly on the bench three times.
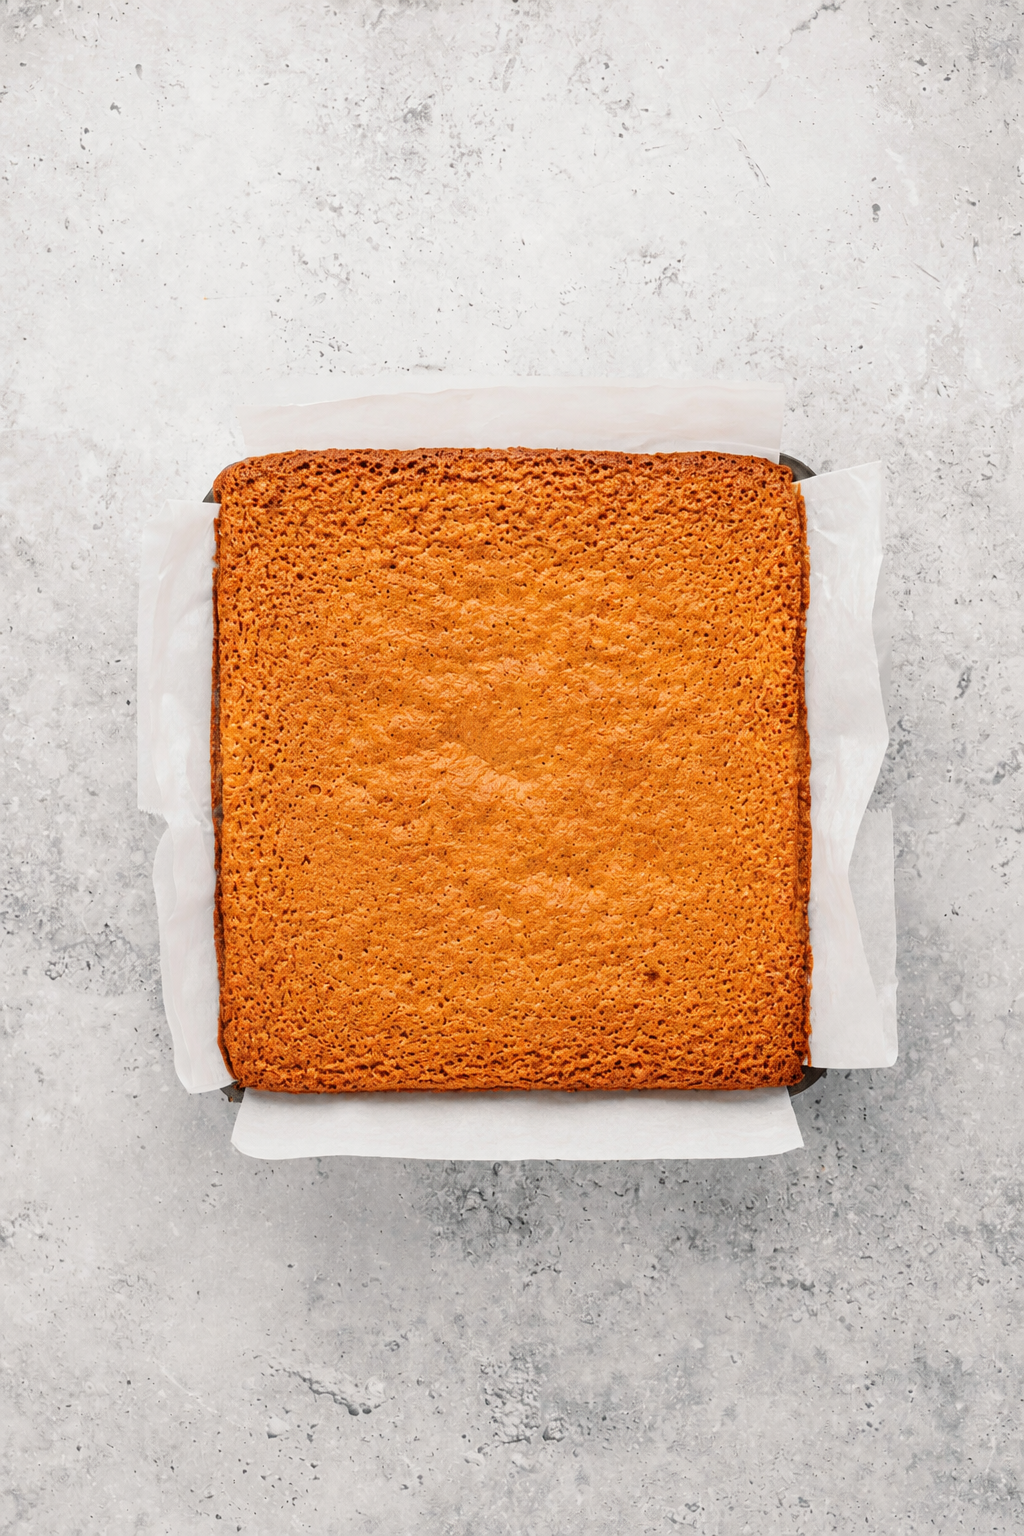
- Bake for 10 minutes at 160 C (320 F), then drop the oven to 150 C (300 F) and bake for a further 35 to 40 minutes, until the top is deep chestnut brown and a skewer comes out clean. If it is colouring too fast at any point, tent it loosely with foil.
- Take it out and immediately drop the tin onto the bench from about 20 cm. This sounds violent and it is correct. The shock sets the crumb and stops the cake shrinking away from itself as it cools.
- Brush the top with the remaining tablespoon of honey. Turn the cake out, peel the paper from the sides only, and wrap the whole loaf tightly in cling film while it is still warm, top side down. Wrapping it hot is what traps the steam.
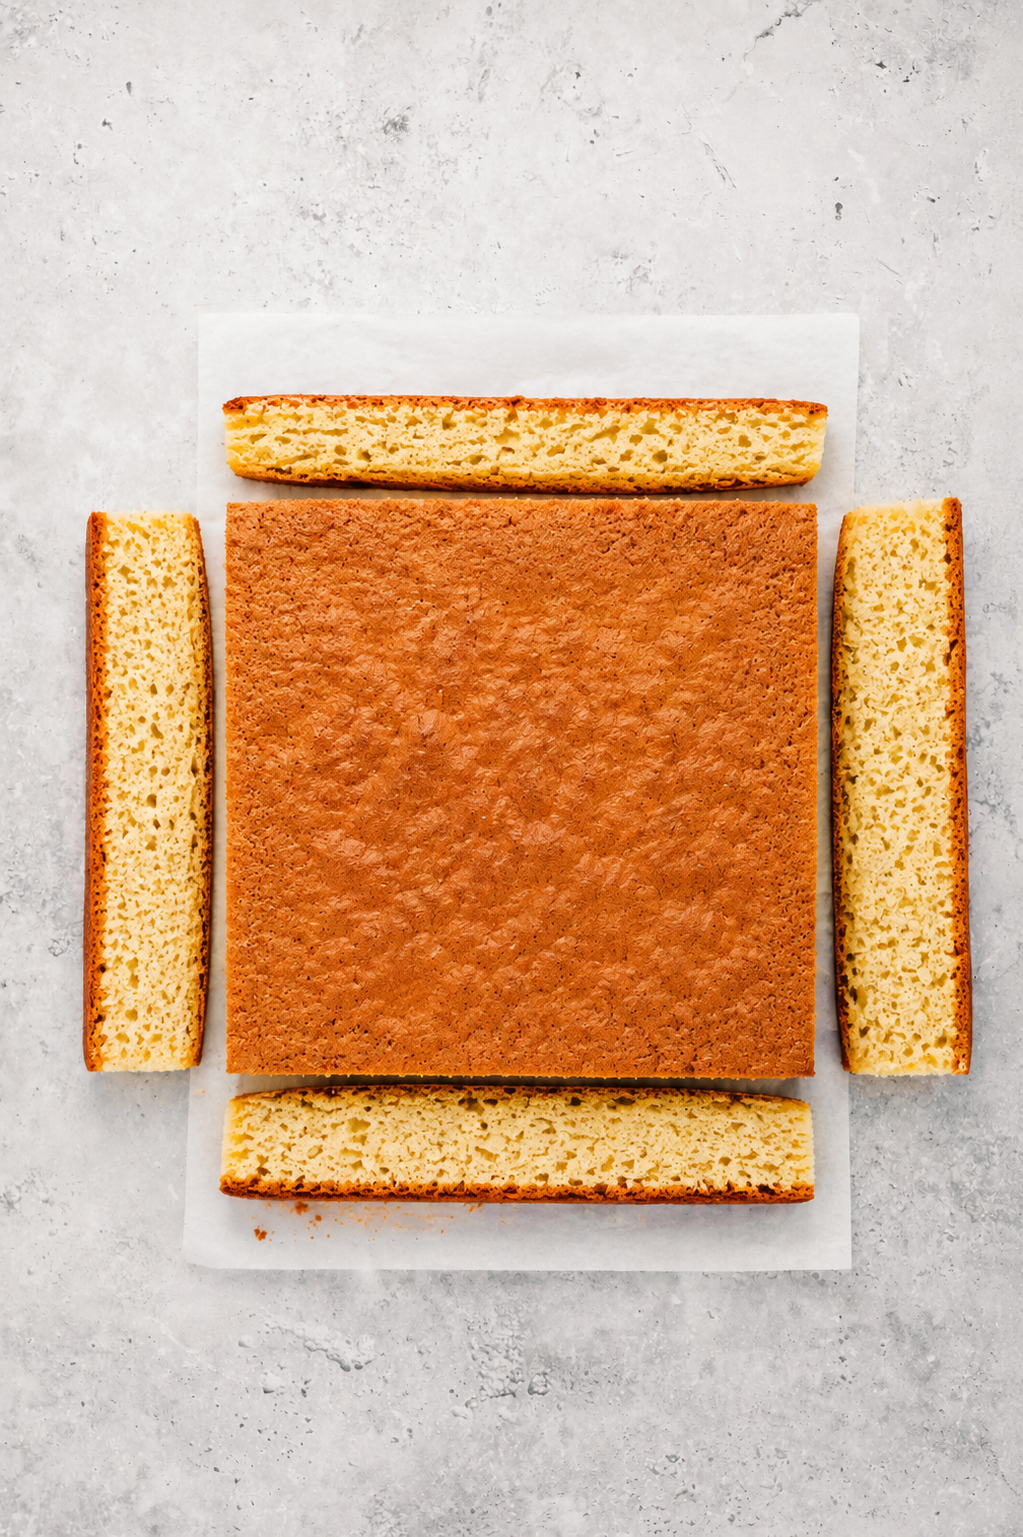
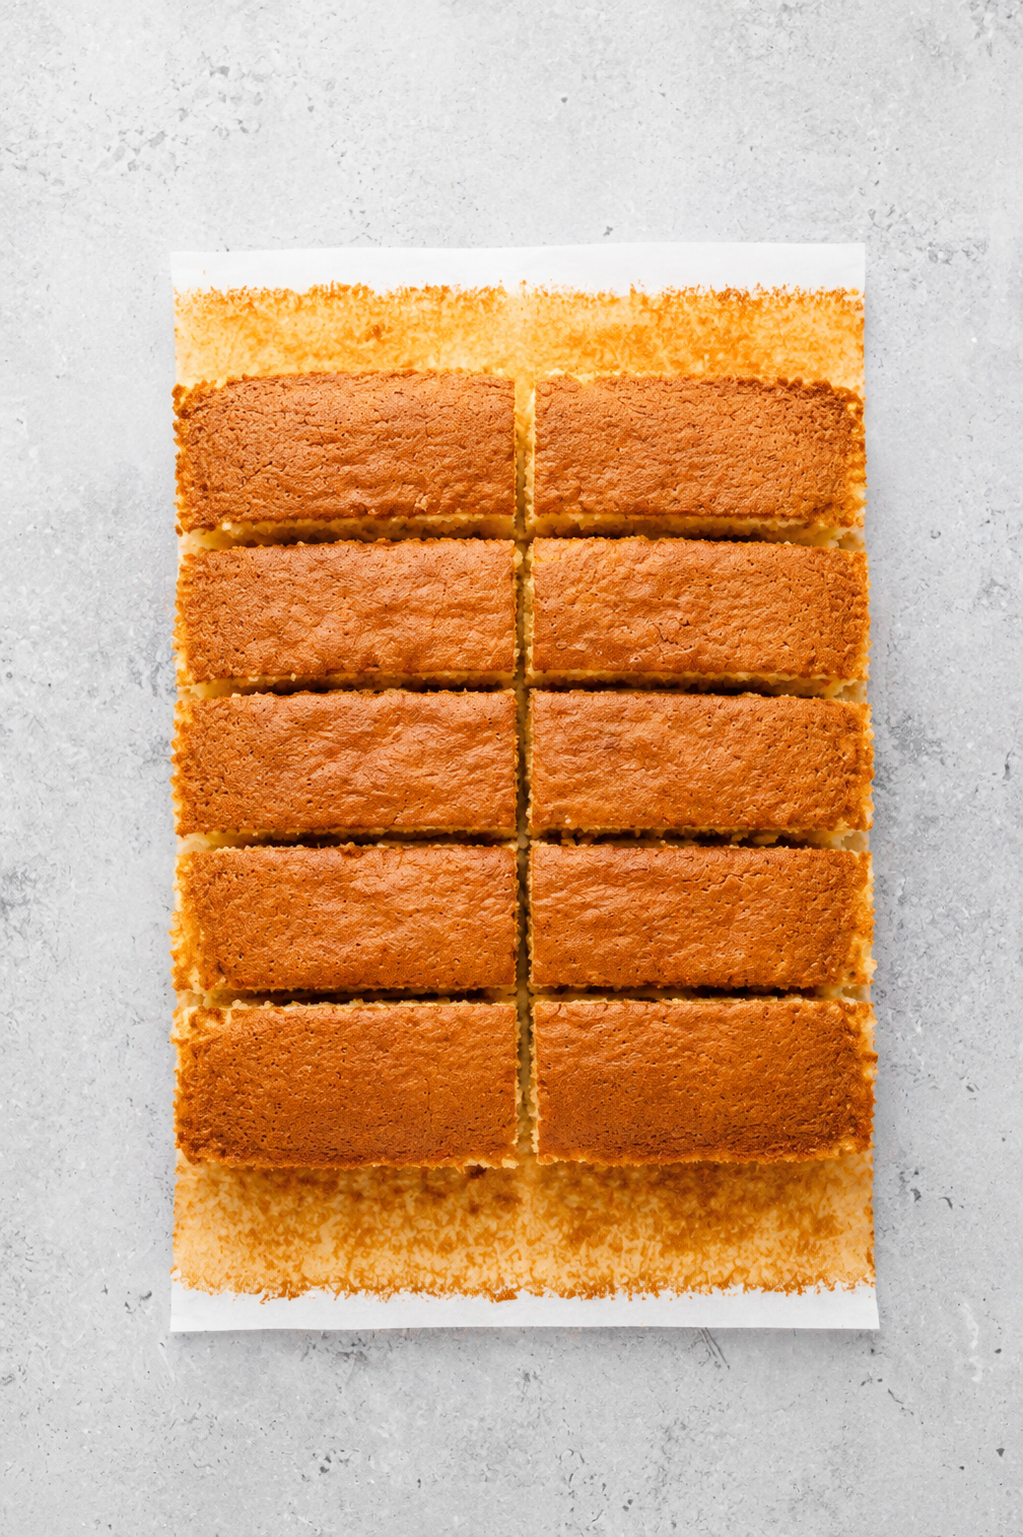
- Rest at room temperature for at least 12 hours, ideally overnight. Trim the four sides to expose the crumb, then slice into thick fingers with a hot, wet knife, wiping the blade between cuts.
Troubleshooting
| What went wrong | Why it happened | How to fix it |
|---|---|---|
| The cake sank and wrinkled as it cooled | The eggs were underwhipped, or you skipped dropping the tin on the bench | Whip until the ribbon holds a full 5 seconds, and drop the tin the second it leaves the oven |
| Large holes through the crumb | You skipped pouring from a height and the zigzag skewer step | Do both. They take fifteen seconds and they are the difference between a tidy crumb and a lacy one |
| Dense and rubbery | The batter was overfolded once the flour went in | Fold to just combined and stop, even if you can still see a faint streak or two |
| Dry and crumbly | It was sliced too soon, or the rest was cut short | There is no shortcut here. Twelve hours wrapped, minimum |
| The top burned before the middle set | Your oven runs hot, which most do | Drop another 10 degrees and tent with foil once the colour is right |
| The sides caved in when you turned it out | It was turned out too early, before the structure firmed | Leave it in the tin for 2 minutes after the drop, then turn out and wrap |
Tips for the Best Japanese Castella Cake
Trust the Ribbon, Not the Clock
Six to eight minutes is a guide, not a rule. Mixer power, bowl shape and egg temperature all change how long the foam takes to triple. The only test that matters is lifting the beaters and counting: if the trail of batter sits on the surface for a slow five seconds before melting back in, you are there. Undershoot this and no amount of careful folding will save the cake.
Sift the Bread Flour Twice
Bread flour is denser and clumpier than cake flour, and a single sift leaves small compacted knots that need extra folding to break up. Sifting twice means the flour lands as a cloud and disappears in about six folds instead of fifteen. Those nine saved folds are air you get to keep.
Wrap It Hot, Not Warm
The wrap is the technique, and the timing is tighter than most recipes admit. You want the cake still hot enough that it fogs the inside of the cling film, because that trapped steam is what redistributes through the crumb overnight. Wait until it is merely warm and you seal in far less moisture, which is exactly how you end up with a dry castella and no idea why.
Use a Hot Wet Knife
Castella is sticky and a dry blade drags, tearing the crumb and smearing the crust across the cut face. Dip a long knife in just boiled water, wipe it, cut once in a single confident stroke, then repeat for every slice. The difference between a smeared slice and a clean one is entirely about the knife.
The cake you pull out of the oven is not the cake you are making. That one shows up in the morning.
Variations
Matcha Castella
Sift 2 teaspoons of matcha in with the final addition of bread flour and reduce the flour by the same amount. The bitterness sits beautifully against the honey and the colour is a soft sage rather than a bright green, because there is so much egg in the batter. It is the version I make most often now.
Brown Sugar and Kuromitsu Castella
Replace a third of the caster sugar with light brown sugar and brush the finished top with kuromitsu instead of honey. The crumb turns a shade darker and picks up a molasses note that makes it taste almost like a very refined Russian honey cake. Serve it with unsweetened whipped cream to keep it from tipping into too much.
Honey and Yuzu Castella
Stir the finely grated zest of one yuzu, or one lemon and a little grapefruit, into the honey and milk before it goes in. Citrus oil is volatile and the long low bake keeps most of it, so the finished cake smells like the peel without tasting sharp. This one is best on day two, like all of them.
Castella in a Pan
If turning the oven on in summer feels absurd, my castella skillet pancake takes the same flavour and cooks it covered on the stove in about twenty minutes. It is a different texture, softer and more pancake like, but it scratches the same itch on a weeknight.
Serving Suggestions
Plain, in Thick Fingers
This is how it is sold in Nagasaki and it is genuinely the best way to eat it. Cut fingers about 2.5 cm thick so you get a proper mouthful of crumb against the crust. No cream, no fruit, nothing. Just green tea alongside, hot and slightly bitter, which cuts the honey.
With Fruit and Cream
Cut the slices thinner, about 1.5 cm, and serve them with barely sweetened whipped cream and macerated strawberries. The cake is sturdy enough to hold up under the cream without going soggy, which is more than most sponges manage. This is the version my family asks for.
Toasted, With Butter
A day three slice, toasted in a dry pan for a minute a side until the sugar crust caramelises, is one of my favourite things. Add a slick of salted butter while it is hot. It is not remotely traditional and I do not care.
As a Gift
Castella keeps and travels better than almost any other cake, which is exactly why it became a gift food in Japan. Wrap the untrimmed loaf in baking paper, tie it with string, and hand it over with the instruction to leave it another day before cutting. It will still be perfect.
How to Store Japanese Castella Cake
Keep it wrapped tightly in cling film at room temperature and it holds for 3 days, genuinely improving on days two and three as the honey keeps working through the crumb. Do not refrigerate it. The fridge dries sponge cakes faster than anything else and castella has no butter to protect it, so a night in there will undo all your patience.
For longer storage, slice the trimmed loaf into fingers, wrap each one individually in cling film, and freeze in a bag for up to 1 month. Thaw at room temperature for about an hour, still wrapped, so the condensation forms on the plastic rather than on the cake. The offcuts from trimming freeze well too and are excellent blitzed into crumbs over ice cream.
Common Mistakes to Avoid
Slicing It the Same Day
This is the mistake, the one that accounts for nearly every disappointed castella. Straight from the oven the crumb is dry and slightly coarse and the honey has not moved anywhere yet. Twelve hours wrapped completely transforms it. If you only take one thing from this post, take that.
Reaching for Cake Flour
Every instinct says a delicate cake wants a delicate flour, and here that instinct is wrong. Bread flour builds the fine, tight, slightly chewy crumb that separates kasutera from every other sponge. Cake flour gives you something lighter and more crumbly that is perfectly nice and is not castella.
Folding Like You Mean It
The flour needs to go in, not be beaten in. Once you see no dry patches, stop, even if the batter still looks slightly uneven. I lost two cakes to overfolding before I accepted that a faintly streaky batter bakes better than a perfectly smooth one.
Skipping the Drop
Dropping a beautiful cake onto the bench from 20 cm feels like sabotage. It is not. The impact collapses the weakest bubbles while the structure is still hot and flexible, which is what stops the middle sinking as it cools. Do it once, firmly, straight out of the oven.
Confusing It With Souffle Castella
These are two different cakes with an overlapping name. The jiggly, cloud light Taiwanese style version is my souffle castella cake, which uses cake flour, oil and separated eggs. Japanese kasutera is dense, honey forward and made with none of those things. Both are worth baking, but do not follow one recipe expecting the other.
Frequently Asked Questions
Why does Japanese castella cake need to rest overnight?
Because the honey and the trapped steam need time to move through the crumb. Straight from the oven the cake is drier and coarser than it should be, and after twelve hours wrapped it turns moist and faintly chewy. It is not a resting step you can shorten, it is the technique that makes the cake.
Can I use plain flour instead of bread flour?
You can, and it will bake into a perfectly pleasant sponge, but it will not be castella. Bread flour has more protein, which builds the close, slightly chewy crumb the cake is known for. If plain flour is all you have, hold back a tablespoon of the milk to account for the lower absorption.
Do I need a special wooden frame or a kanto pan?
No, and this is the single biggest reason people never attempt castella at home. A 20 cm square tin lined with baking paper that stands about 5 cm above the rim does the job. A 9 by 5 inch loaf tin works too, it just gives you fewer and wider fingers.
Why did my castella sink in the middle?
Almost always one of two things. Either the eggs were not whipped far enough, so there was not enough structure to hold the cake up, or you skipped dropping the tin on the bench straight out of the oven. Whip until the ribbon sits on the surface for a full five seconds, and drop the tin firmly the moment it leaves the heat.
What is the difference between Japanese castella and souffle castella cake?
They are two different cakes that share part of a name. Japanese kasutera is dense and honey forward, made with bread flour, whole eggs and no fat at all. Souffle castella is the Taiwanese style: light, jiggly and cloud like, made with cake flour, oil and separated eggs. Both are worth baking, just do not follow one recipe expecting the other.
Can I freeze Japanese castella cake?
Yes, and it freezes better than most sponges. Slice the trimmed loaf into fingers, wrap each piece individually in cling film, and freeze in a bag for up to a month. Thaw at room temperature for about an hour with the wrapping still on so any condensation lands on the plastic rather than the cake.
Let’s Get Cooking
If you liked this recipe make sure to leave me a comment and rating down below. I’d love to know how it went! Also, don’t forget to tag me on Instagram @catherine.desserts.
Follow me on Facebook, Pinterest, YouTube, and TikTok for more of my baking creations and updates!
Japanese Castella Cake (Kasutera)
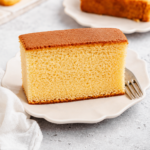
Japanese castella cake, or kasutera, is the honey sponge from Nagasaki: dense, moist and faintly chewy, with a deep chestnut crust and a sugar crust on the base. Five ingredients, no special tin, and an overnight rest that does all the work.
- Prep Time: 25 minutes
- Rest: 12 hours
- Cook Time: 50 minutes
- Total Time: 13 hours 15 minutes
- Yield: 10 slices 1x
- Category: Dessert
- Method: Baking
- Cuisine: Japanese
Ingredients
Cake
- 6 large eggs, at room temperature
- 1 cup (200 g) caster sugar
- 1/4 cup (85 g) honey, plus 1 tablespoon for the glaze
- 3 tablespoons whole milk, warm
- 1 1/3 cups (170 g) bread flour, sifted twice
- 1 pinch fine salt
For the Tin
- Baking paper, to line
- 1 tablespoon caster sugar, for the base (optional)
Instructions
- Heat the oven to 160 C (320 F). Line a 20 cm (8 inch) square tin with baking paper, bringing the paper about 5 cm above the rim on all sides. Scatter the tablespoon of caster sugar over the base if you want the traditional sugar crust.
- Warm the honey and milk together in a small saucepan until the honey loosens and pours easily. Set aside somewhere warm.
- Set a heatproof bowl over a pan of barely simmering water, making sure the base does not touch the water. Add the eggs, caster sugar and salt.
- Beat with an electric mixer over the water for 2 to 3 minutes, until the mixture is warm to the touch, about body temperature. Lift the bowl off the heat.
- Keep beating on high for 6 to 8 minutes, until the mixture has tripled in volume, turned very pale, and holds a ribbon on the surface for a full 5 seconds when you lift the beaters.
- Pour in the warm honey and milk and beat on low for 30 seconds to combine.
- Sift the bread flour over the surface in three additions, folding gently with a spatula after each. Stop the moment no dry flour is visible.
- Pour the batter into the lined tin from a height of about 30 cm. Drag a skewer through the batter in a zigzag ten times, then tap the tin firmly on the bench three times.
- Bake for 10 minutes at 160 C (320 F), then drop the oven to 150 C (300 F) and bake for a further 35 to 40 minutes, until the top is deep chestnut brown and a skewer comes out clean.
- Take it out and immediately drop the tin onto the bench from about 20 cm. This sets the crumb and stops the cake shrinking as it cools.
- Brush the top with the remaining tablespoon of honey. Turn the cake out, peel the paper from the sides only, and wrap the whole loaf tightly in cling film while still warm, top side down.
- Rest at room temperature for at least 12 hours, ideally overnight. Trim the four sides, then slice into thick fingers with a hot, wet knife.
Notes
- Bread flour is not optional. Its higher protein is what gives castella the faintly chewy, close crumb that separates it from an ordinary sponge.
- There is no baking powder, no baking soda, no oil and no butter. All the lift comes from the eggs and all the moisture comes from the honey and the overnight rest.
- Room temperature eggs whip to far greater volume than cold ones. If you forget, sit them in warm water for 5 minutes.
- The overnight wrap is the whole technique. Wrapping the cake while hot traps the steam and redistributes it through the crumb. Castella eaten straight from the oven is disappointing and the next day it is excellent.
- Use a mild honey. Strong varieties such as manuka will dominate. Nagasaki castella traditionally uses a light wildflower honey.
- Wrapped, it keeps at room temperature for 3 days and improves on days two and three. Do not refrigerate, it dries out. It freezes well sliced for up to 1 month.
Nutrition
- Serving Size: 1 slice